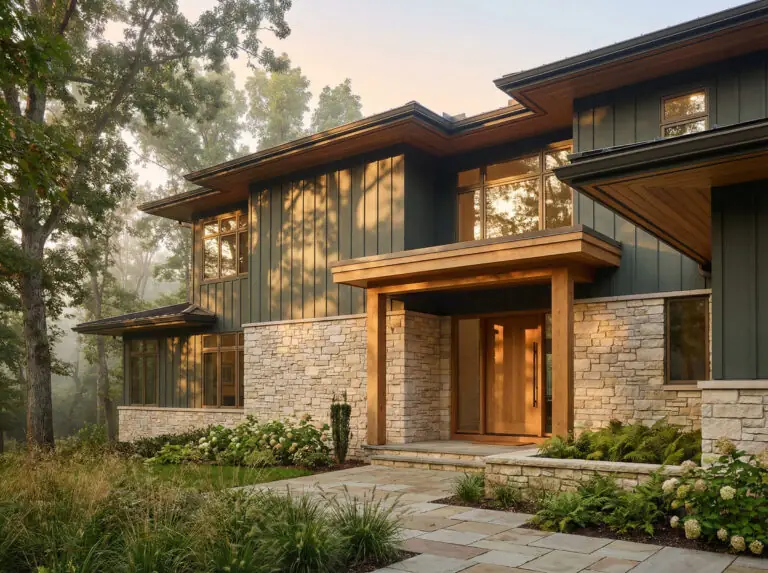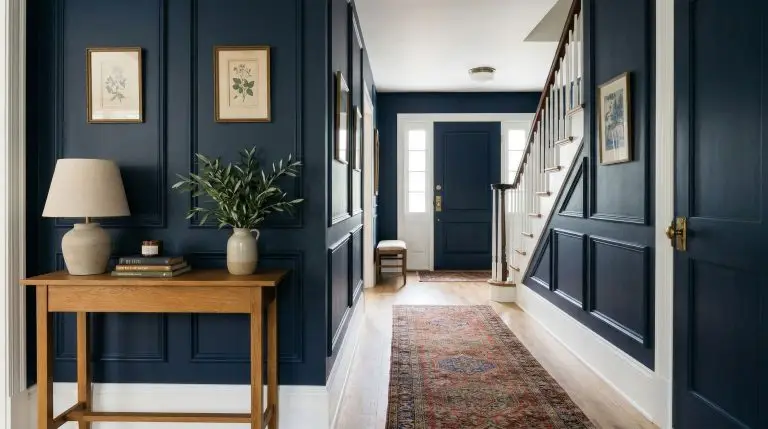
You have just signed the mortgage on a brand-new tract home. The financial fatigue of the down payment is settling in, but as you walk through the empty rooms, a different kind of disappointment takes hold. The environment is a sterile, textureless white box. Builder-grade homes are engineered for construction speed and profit margins, resulting in lightweight materials, hollow acoustics, and a mass-produced aesthetic that feels identical to every other house on the block.
To elevate a builder grade home, you do not need a massive structural budget; you need targeted, tactical architectural hacking that manipulates visual and tactile weight.
Industry standards for tract housing rely on the cheapest acceptable minimums: 2.25-inch baseboards, flat paint, and hollow zinc hardware. Stripping away this cookie-cutter look requires a mechanical, step-by-step approach to replacing these specific failure points. By focusing strictly on hard surfaces, precise millwork ratios, and exact material swaps, you can deceive the eye and hand into perceiving custom luxury. This is the definitive manual for executing high-ROI cosmetic upgrades, leveraging exact formulas and brand dupes to engineer bespoke character without tearing down a single wall.
The Budget Allocation Matrix: High-Impact vs. Low-Yield Upgrades
The most common failure state in DIY home improvement is misallocating capital. Spending $5,000 on a generic bathroom vanity replacement yields a negligible return on investment if the surrounding architecture remains flat and lifeless. True architectural hacking relies on the Layering Principle: the strategic distribution of funds toward foundational elements that dictate the subconscious feel of the entire property.
Investing $1,000 into whole-house applied molding and heavy-gauge hardware will fundamentally alter the structural perception of the home. A $1,000 bathroom vanity simply changes a single focal point in an isolated room. We prioritize upgrades that carry maximum visual weight and tactile permanence across the entire floor plan.
The Tactile Rule of Thumb (What You Touch Matters Most)
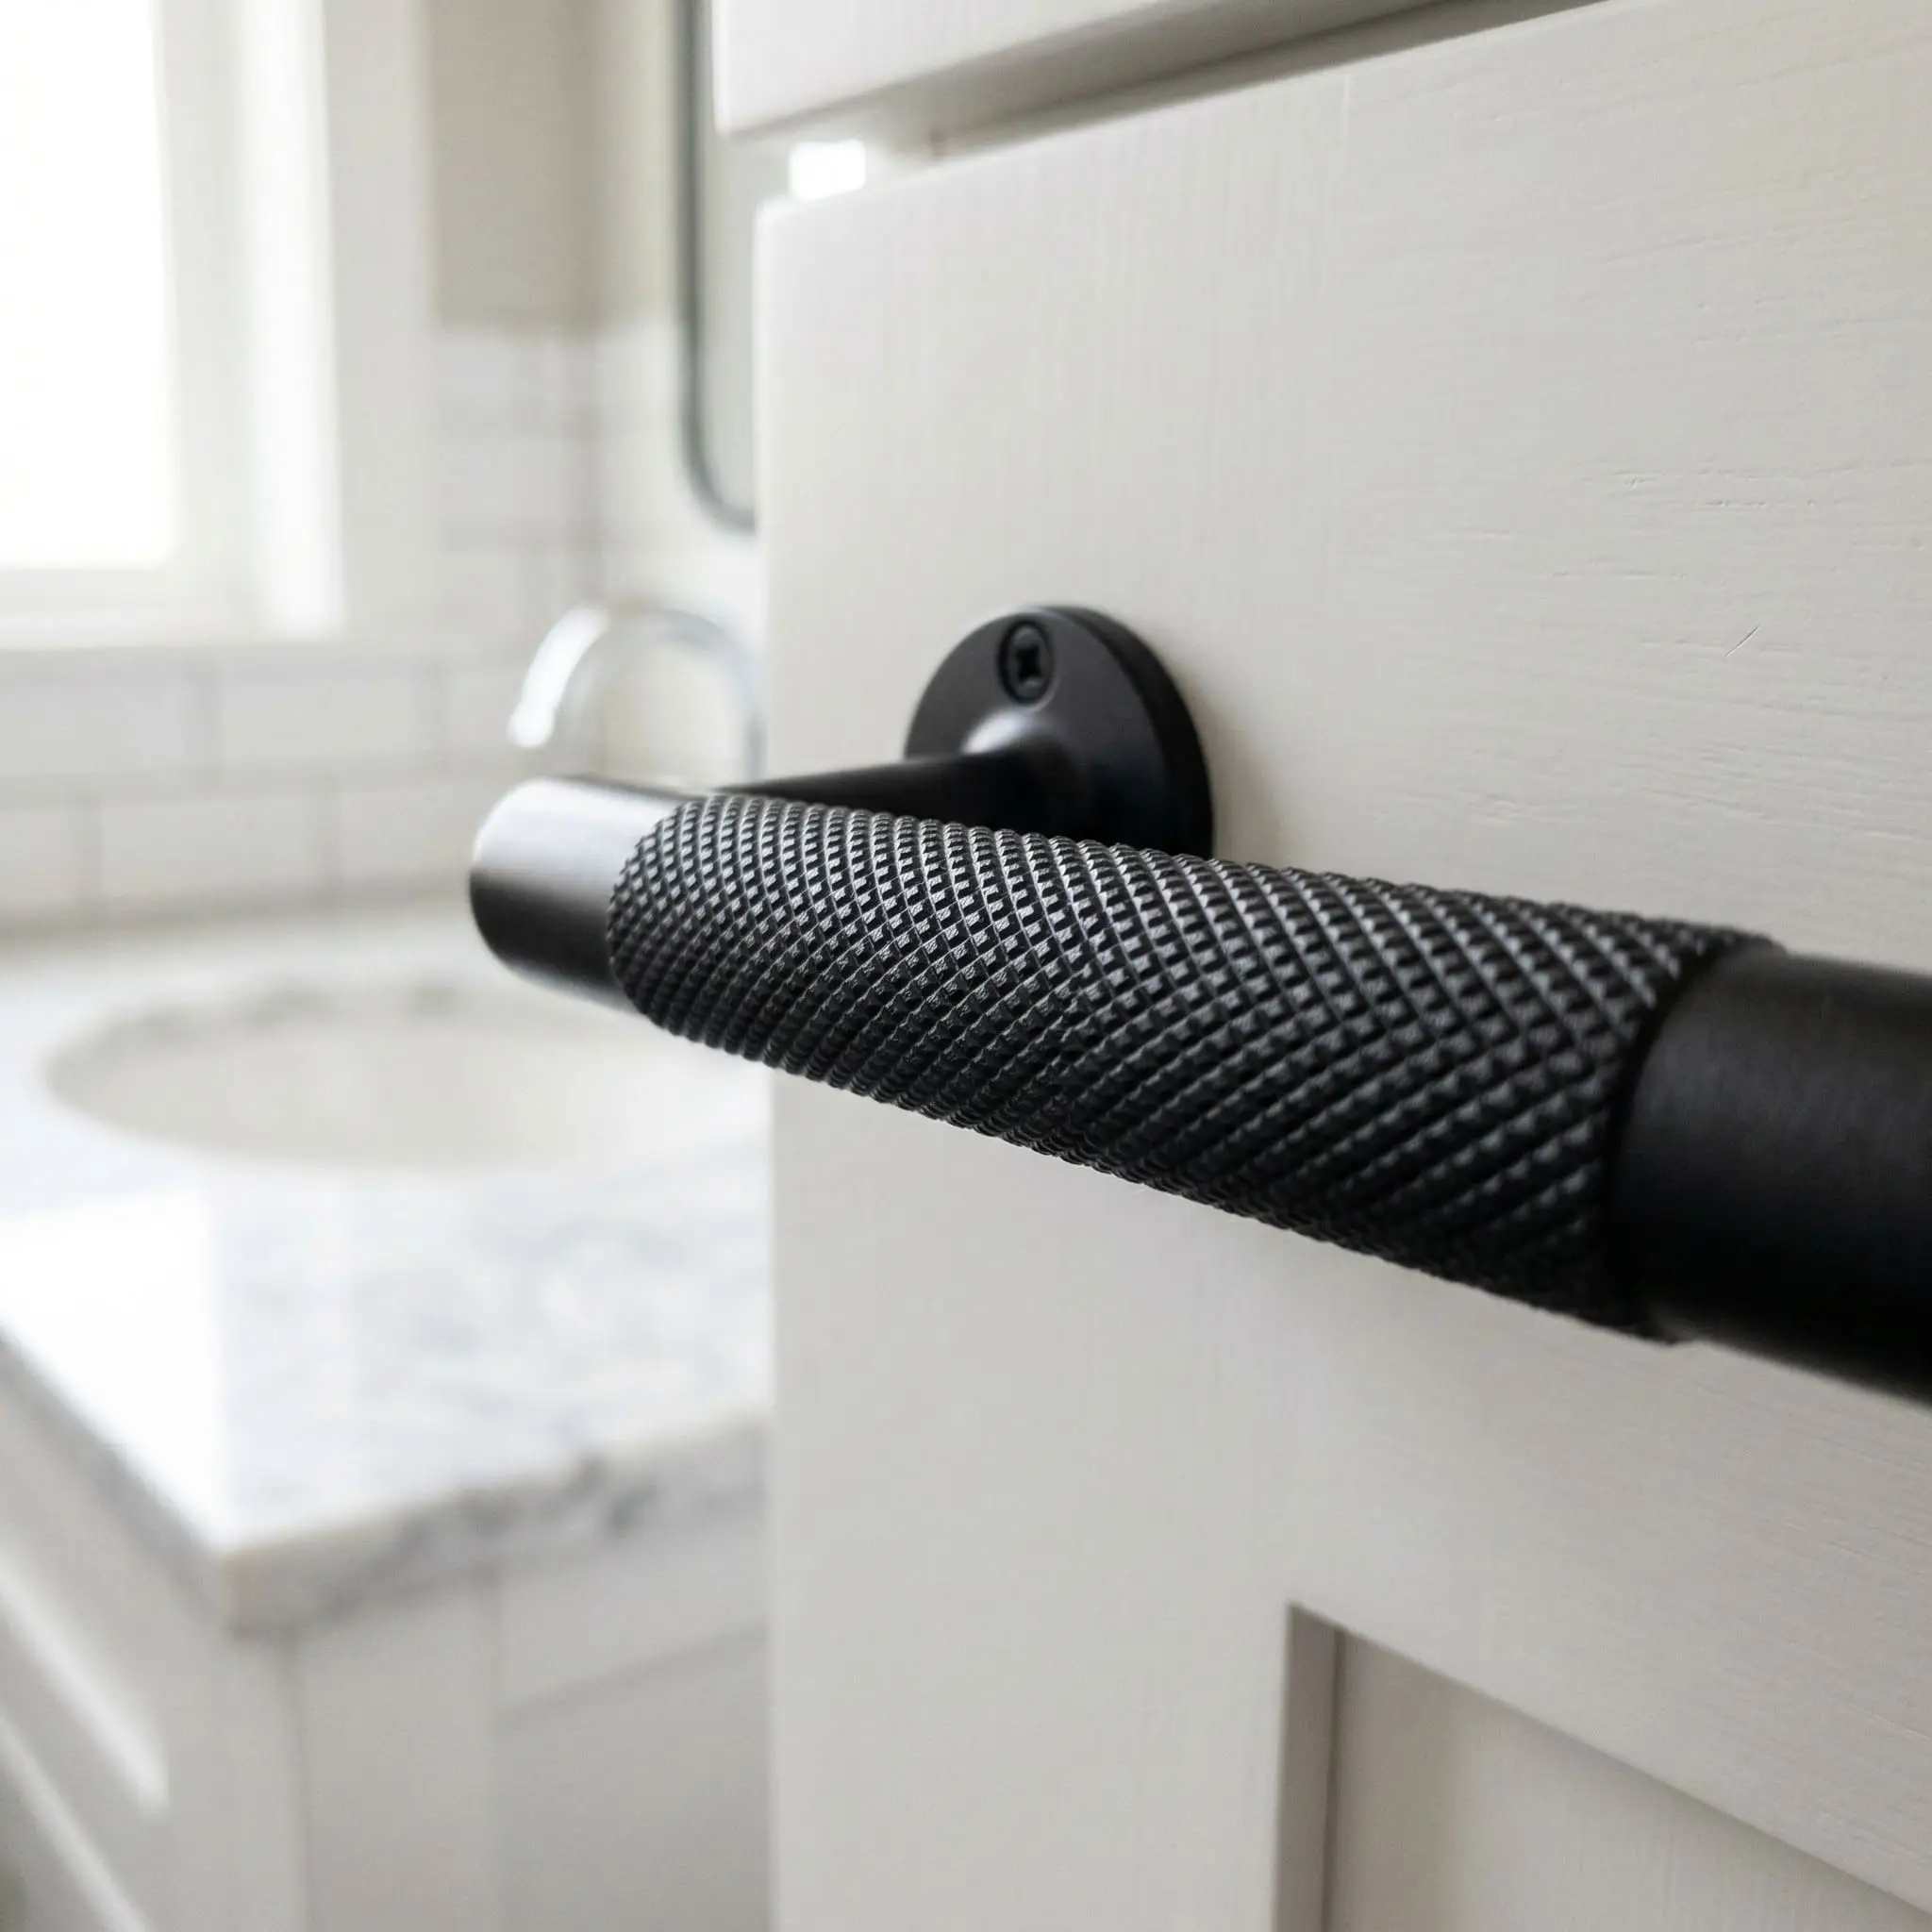
Human perception of quality is dictated by touch and acoustics. When you grasp a doorknob or close a bedroom door, your brain instantly calculates the mass and density of the object. Standard builder-grade hollow-core doors weigh roughly 30 lbs and possess an abysmal Sound Transmission Class (STC) rating. When paired with a hollow zinc doorknob, the resulting acoustic rattle signals “cheap construction” to the subconscious.
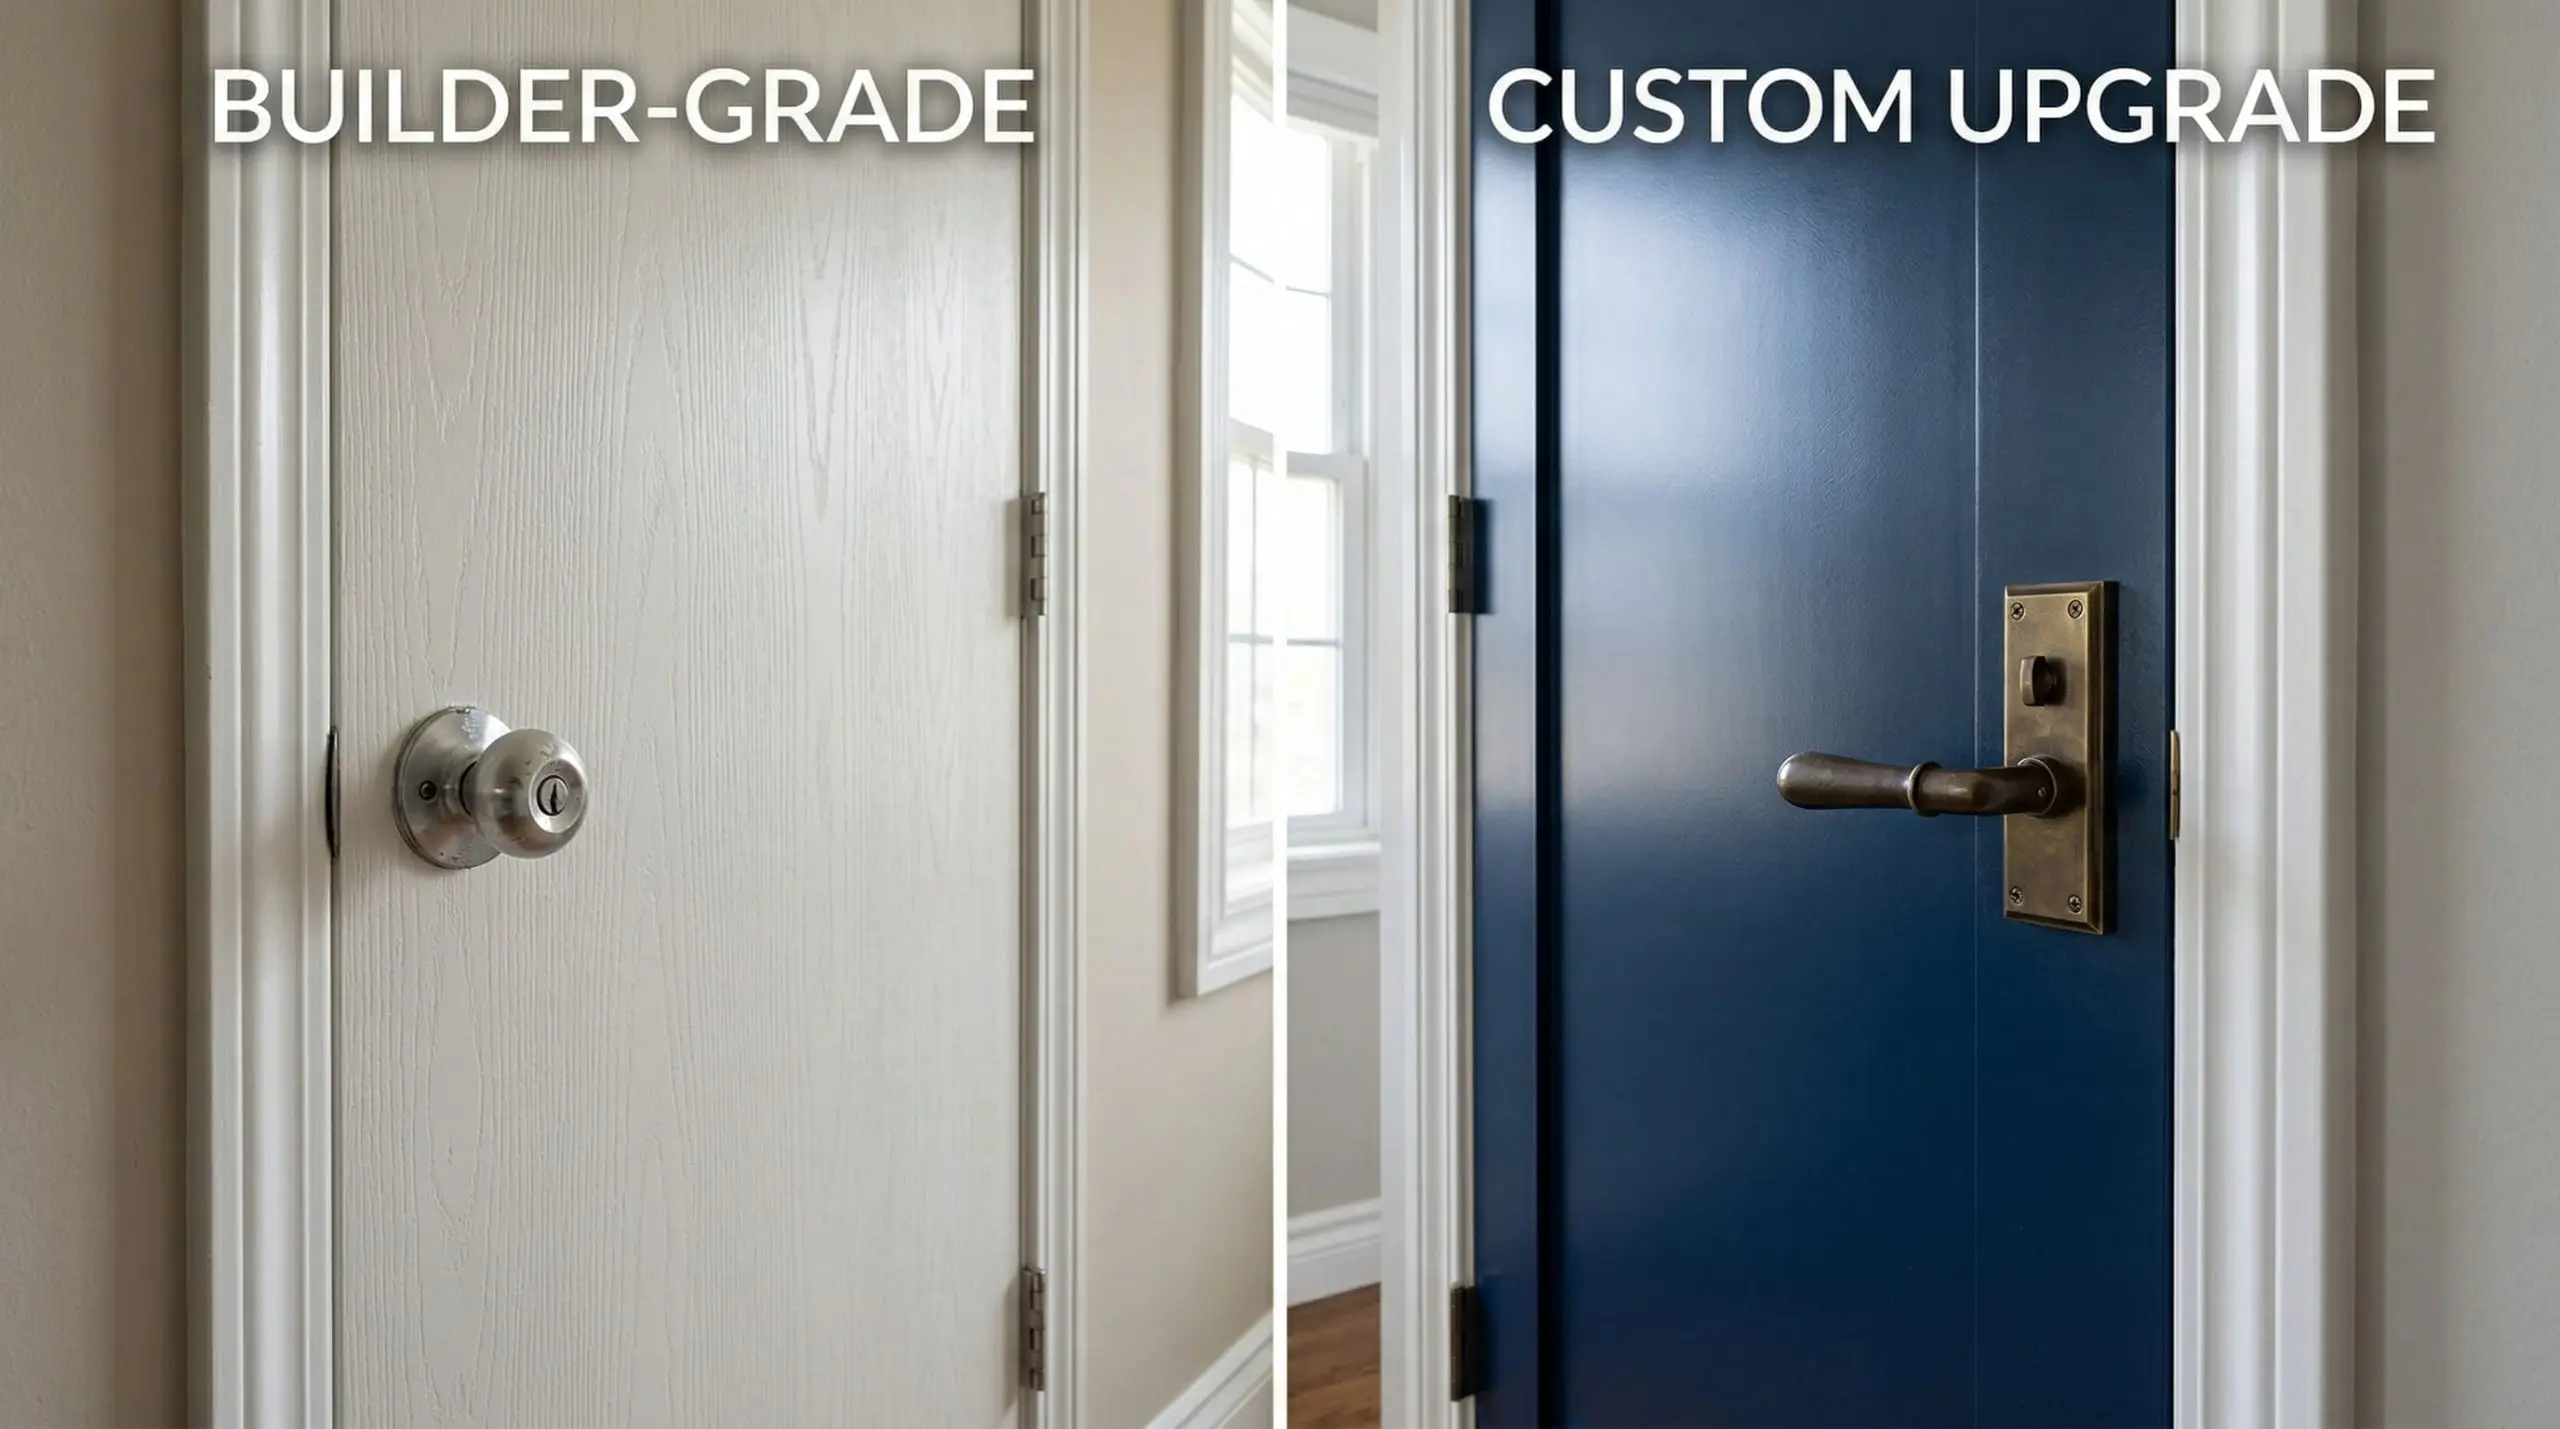
To hack this perception, you must upgrade the specific touchpoints. By swapping lightweight plastics and hollow metals for solid, heavyweight materials, you trick the senses into assuming the hidden infrastructure of the home is equally robust.
The Touchpoint Checklist:
Swapping the Builder-Grade Touchpoints (Hardware & Fixtures)
This is the lowest effort, highest visual yield stage of the architectural hacking process. A screwdriver, a weekend, and strict adherence to material specifications are all that are required to strip away the mass-produced aesthetic.
Ditching the “Boob Light”: Strategic Illumination Swaps
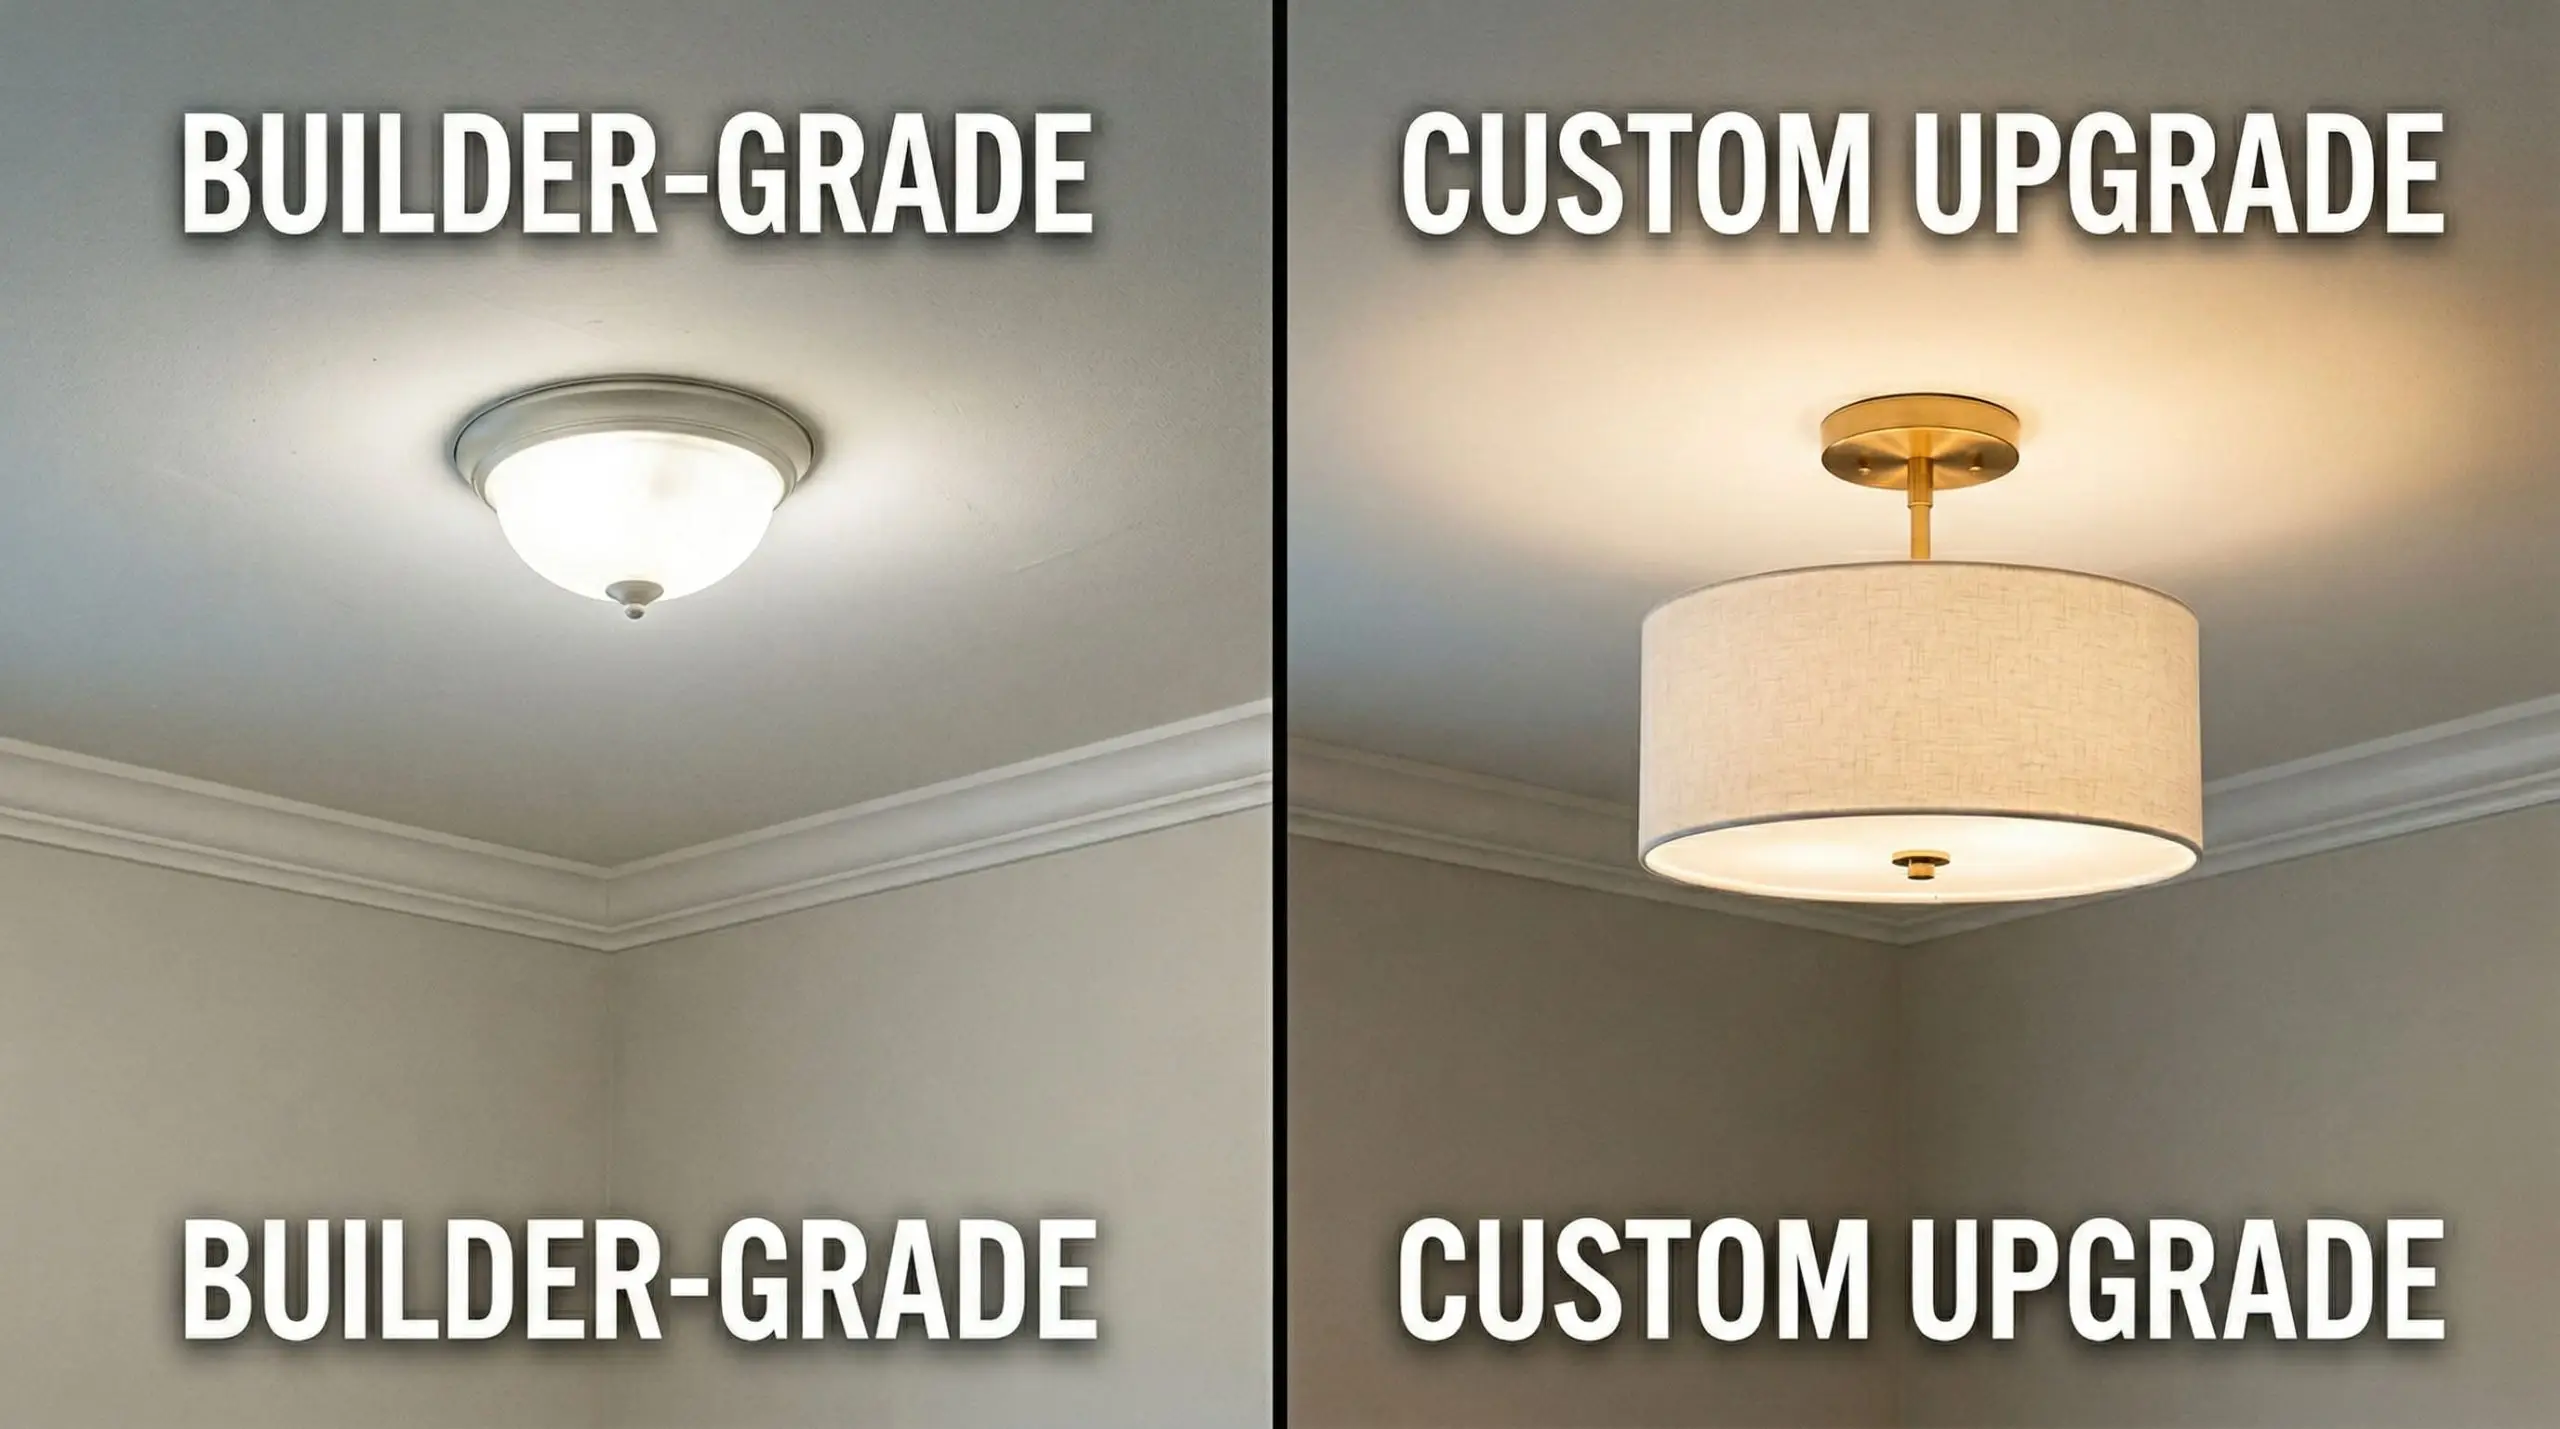
The flush-mount frosted glass dome light—ubiquitous in tract homes—is the ultimate indicator of builder-grade cost-cutting. These fixtures cast harsh, diffuse shadows and utilize cheap glass that distorts color rendering. Eliminating them is non-negotiable.
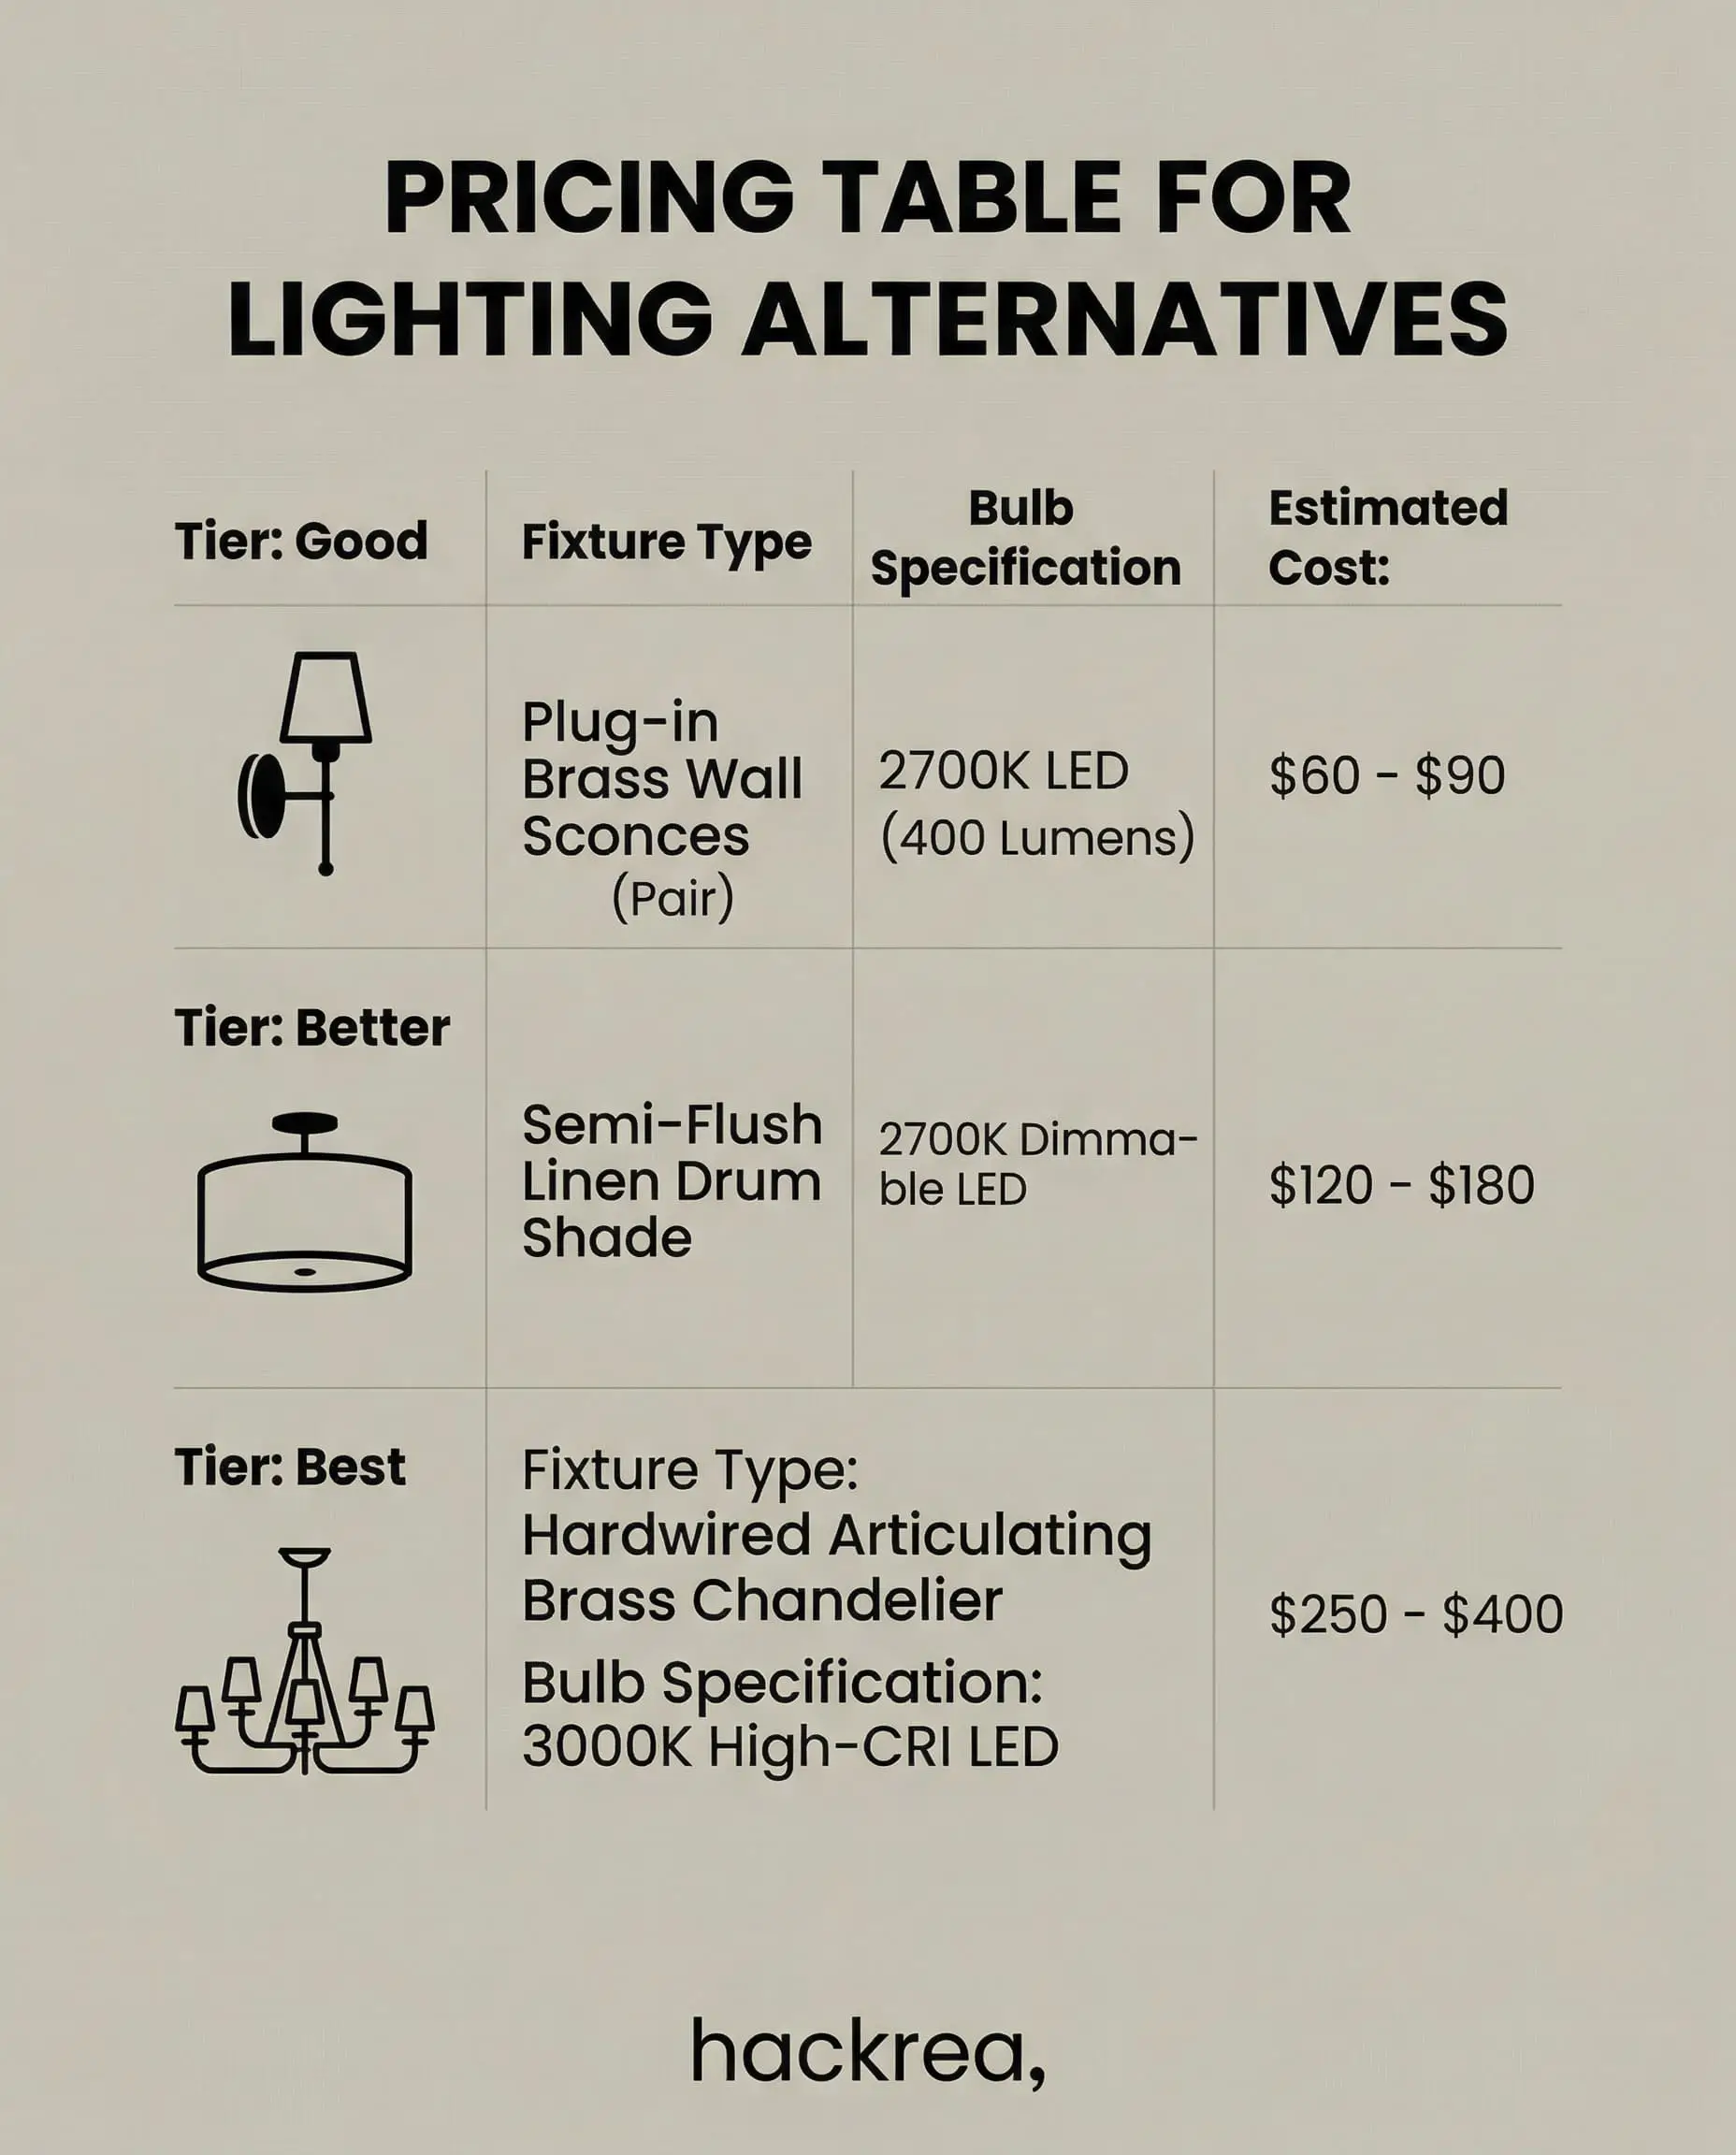
The structural replacement must be a semi-flush mount fixture, such as a linen drum shade or a dimmable brass canopy. Dropping the light source even three inches from the ceiling creates a shadow line that adds architectural depth. Furthermore, the science of illumination dictates the atmosphere. You must mandate 2700K to 3000K for all bulbs. Anything higher introduces a sterile, blue-light spectrum that exacerbates the flat, textureless reality of drywall. If hardwiring new junction boxes is outside the budget, utilize plug-in wall sconces with cord covers painted to match the wall, instantly adding localized, ambient visual weight.
Lighting Alternatives
| Tier | Fixture Type | Bulb Specification | Estimated Cost (Per Room) |
|---|---|---|---|
| Good | Plug-in Brass Wall Sconces (Pair) | 2700K LED (400 Lumens) | $60 – $90 |
| Better | Semi-Flush Linen Drum Shade | 2700K Dimmable LED | $120 – $180 |
| Best | Hardwired Articulating Brass Chandelier | 3000K High-CRI LED | $250 – $400 |
Heavyweight Door and Cabinet Hardware (The Escutcheon Hack)
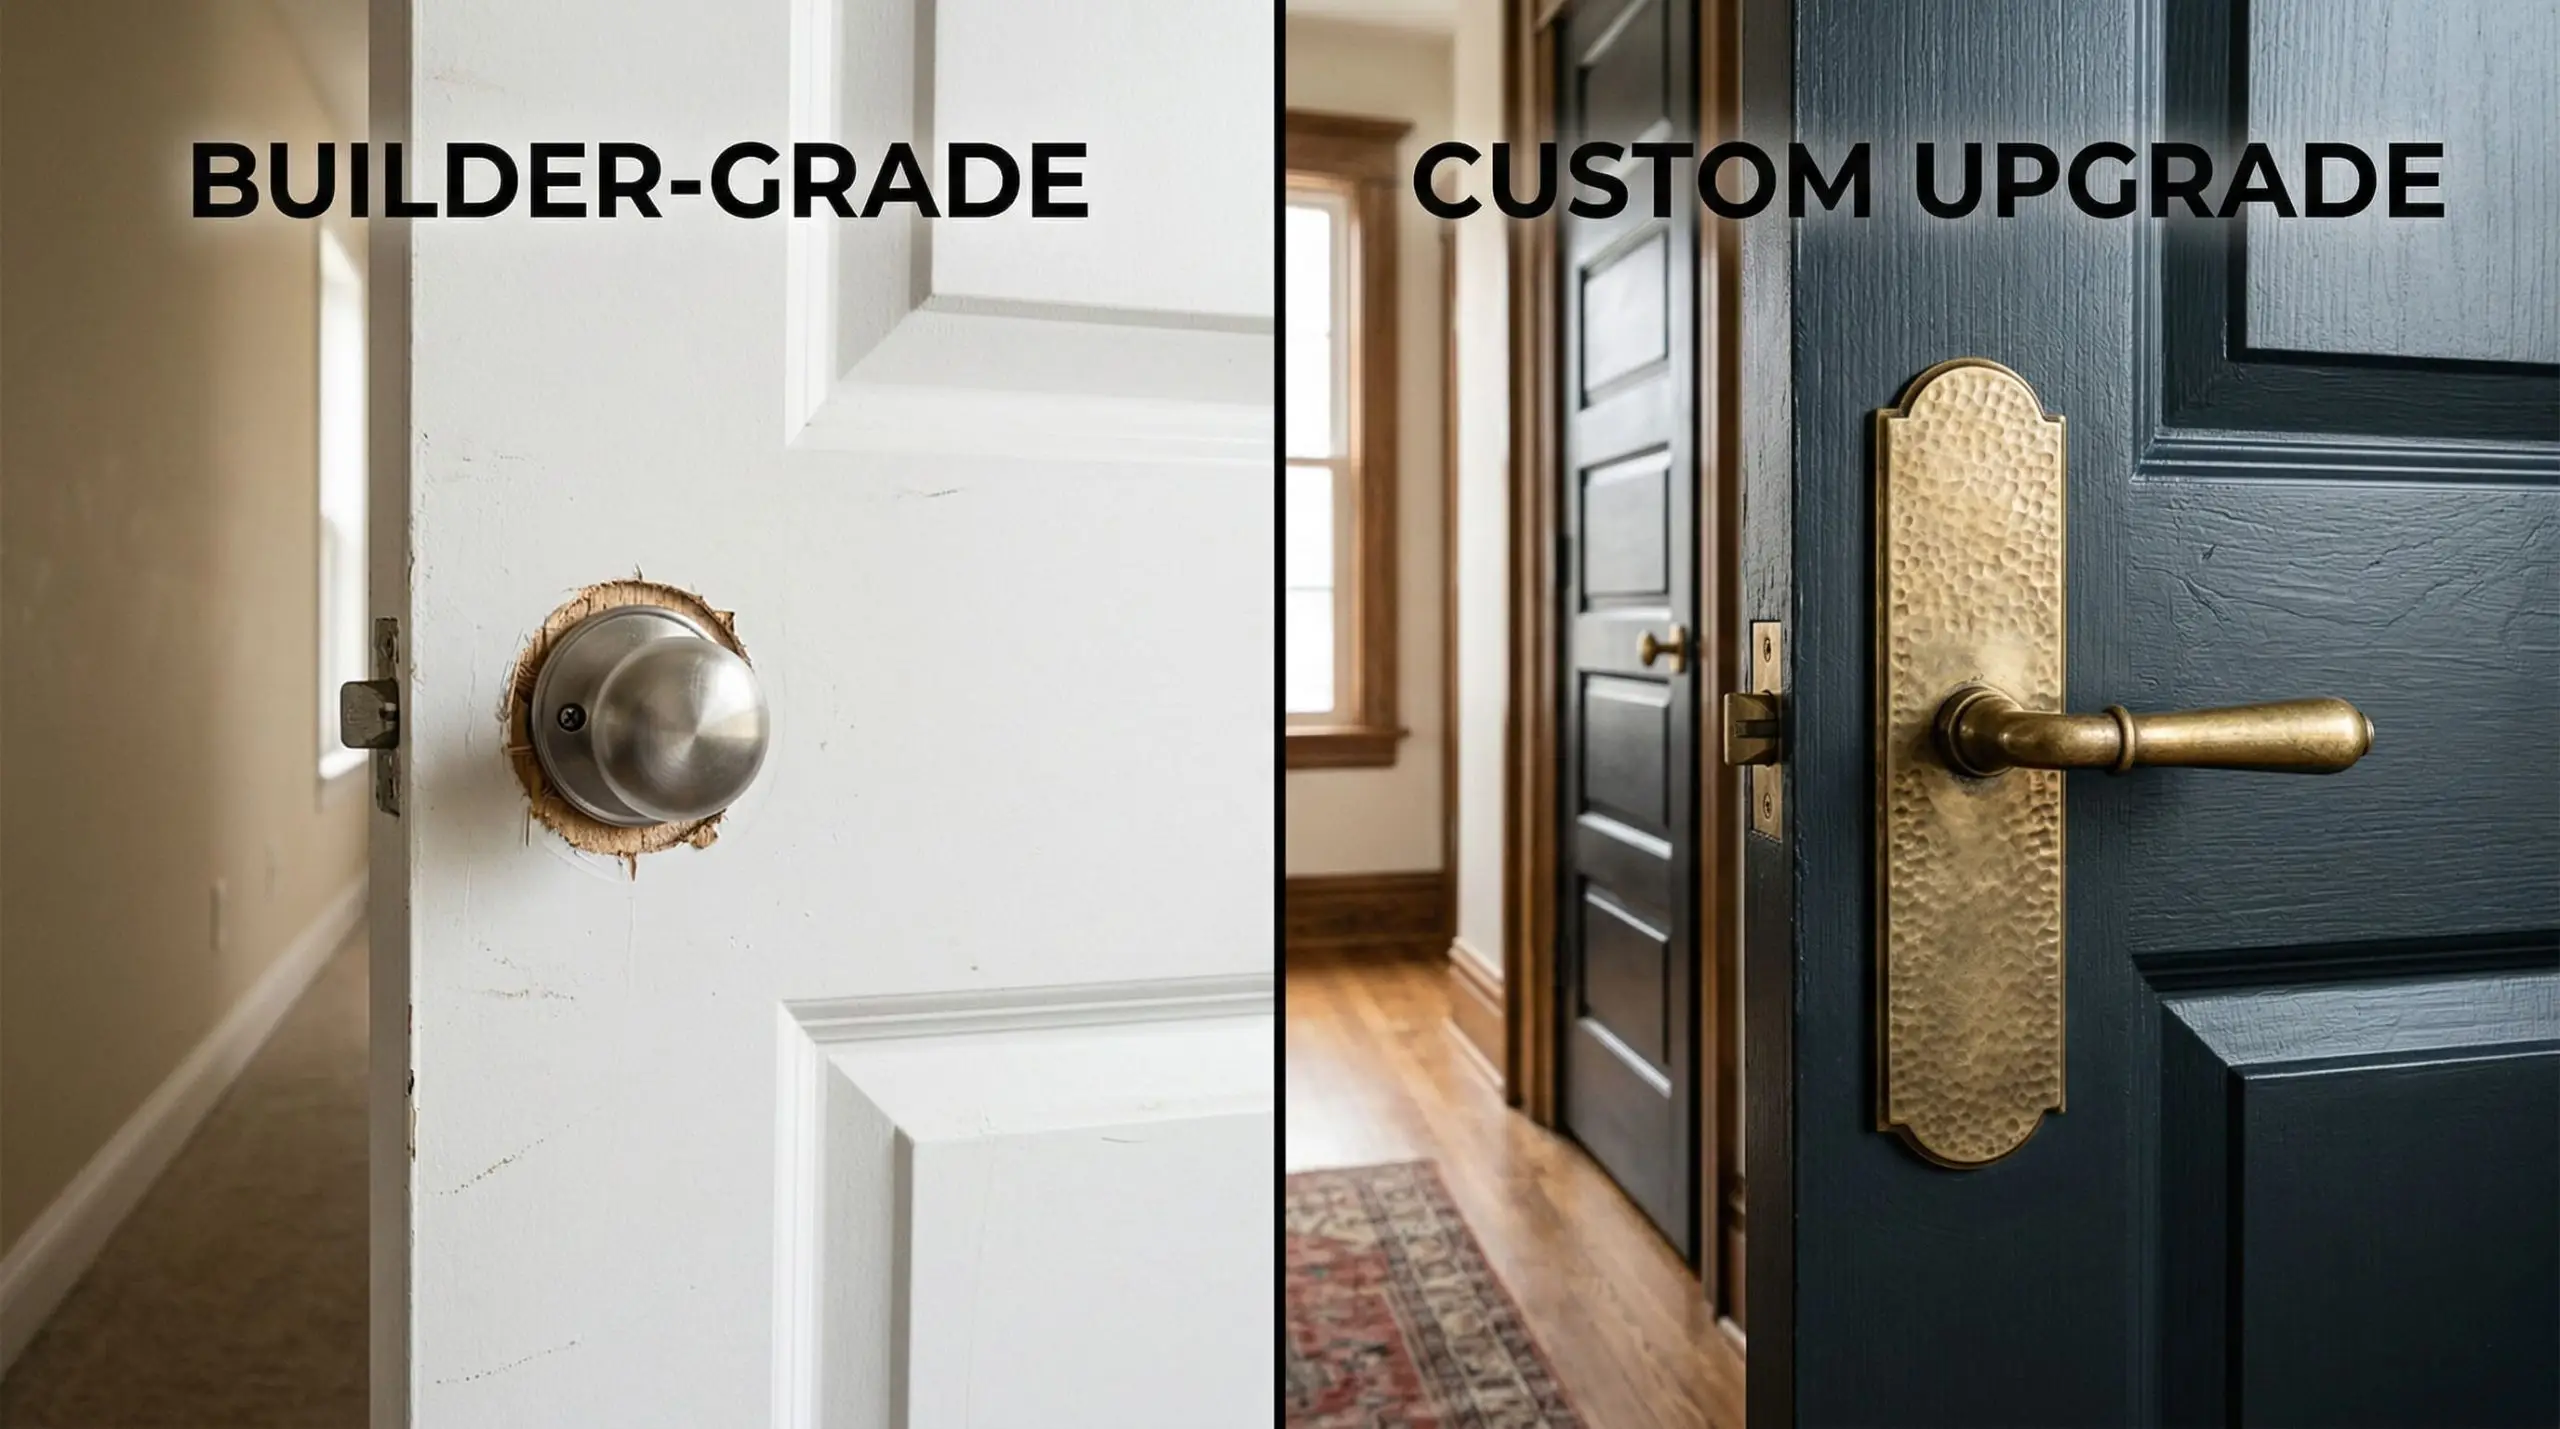
Builder-grade interior doors are typically fitted with the smallest, cheapest rosettes (the plate behind the knob) allowed by manufacturing standards. To inject massive visual weight without replacing the entire door unit, execute the “Escutcheon Hack.”
An escutcheon plate is an oversized, elongated backplate that mounts behind the doorknob. By installing a 7-inch or 8-inch solid metal escutcheon, you instantly cover up cheap door-hole cuts and mimic the heavy, historical hardware found in century-old custom homes. The tactile upgrade of pressing a thumb-latch on a solid plate fundamentally changes the user experience.
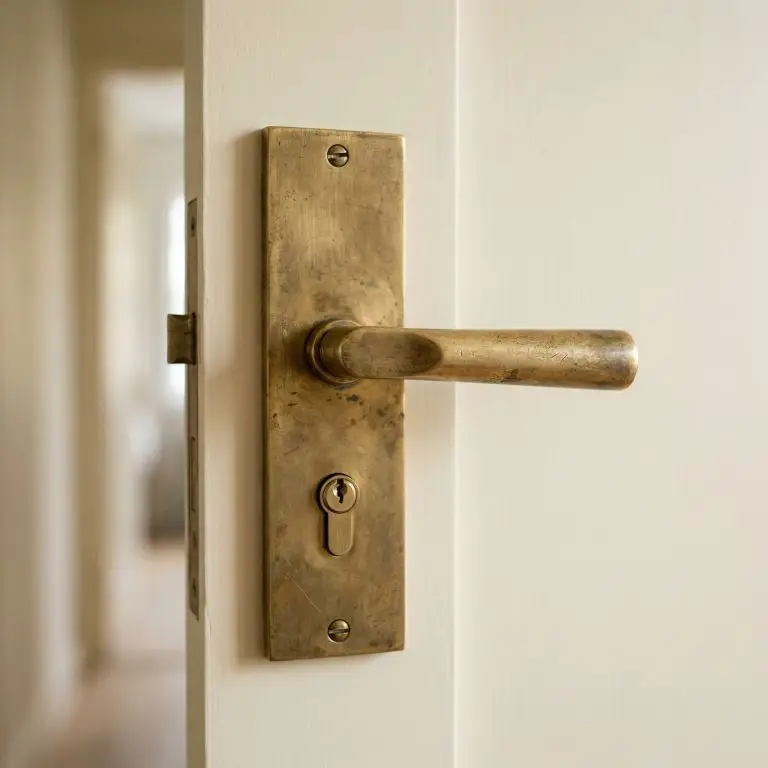
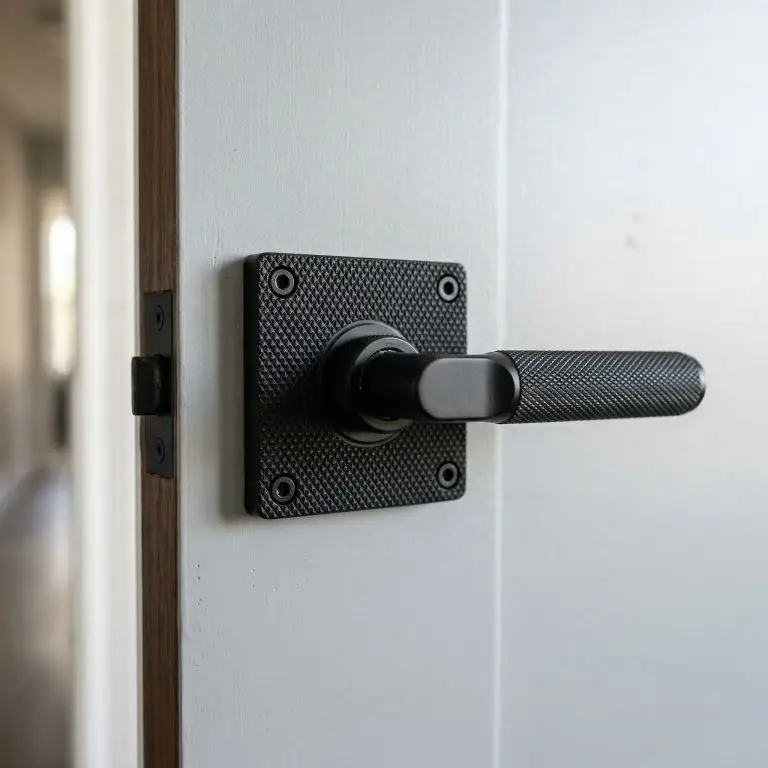
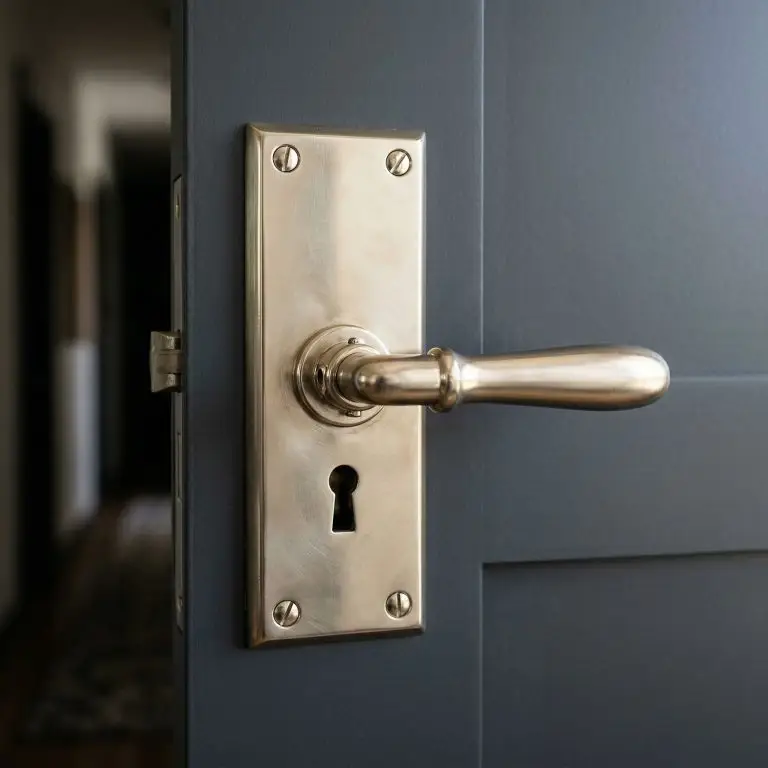
If you plan to mix and match these finishes, learn how to mix metal finishes like a pro to ensure aesthetic consistency.
Sourcing the Hardware:
The Faucet & Plumbing Fixture Facelift
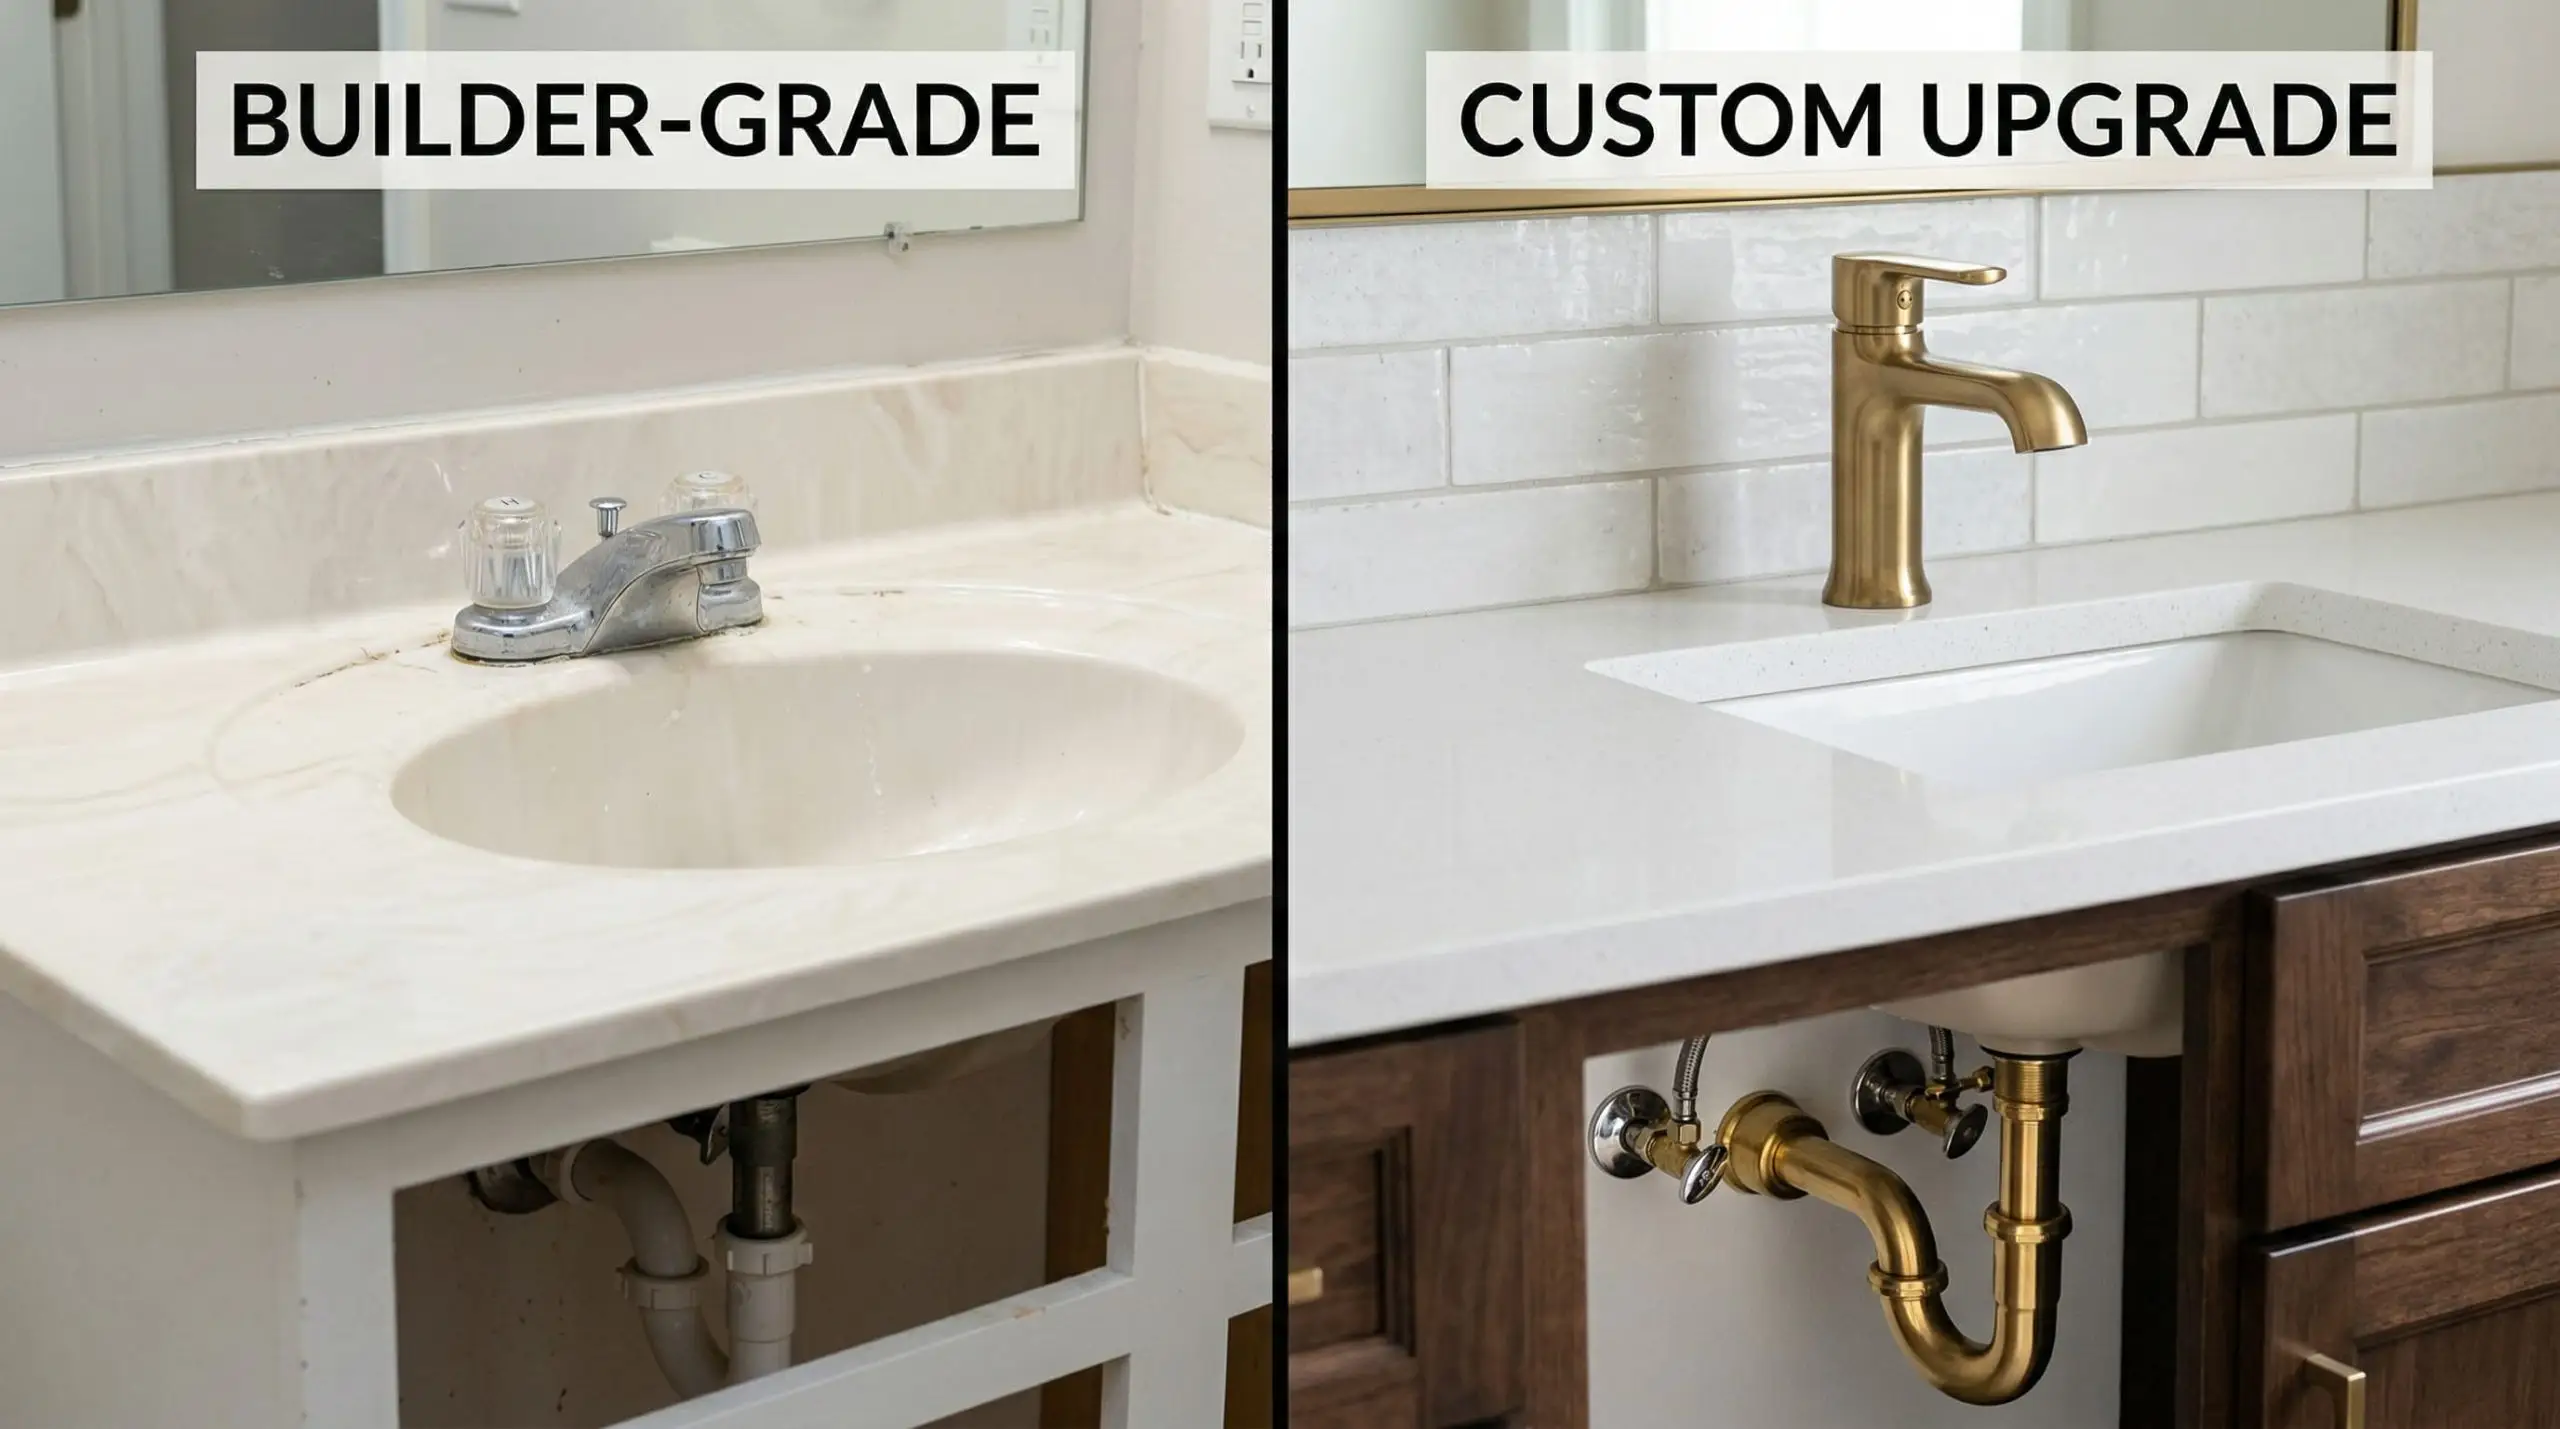
Standard tract-home bathrooms feature 4-inch centerset faucets housed in chrome-plated plastic. They feel hollow to the touch and visually clutter the vanity deck. You must swap these for widespread mimics (mini-widespread) or utilize a deck plate to install a heavy-brass, single-hole fixture. This localized upgrade shifts the vanity from mass-produced to bespoke.
Simultaneously, unscrew the generic 2.5 GPM plastic showerhead and install a high-pressure, solid-metal rain fixture. If the plumbing p-trap beneath a wall-mounted or pedestal sink is exposed, you must match its finish to the new faucet. Failure to match the p-trap finish will result in a glaring visual disconnect that betrays the entire upgrade.

Never purchase shower trim kits (handles and faceplates) without first verifying the internal rough-in valve installed in your wall. A Moen trim kit will not fit a Delta valve. Attempting to force incompatible hardware will strip the cartridge and cause catastrophic in-wall leaks. Always identify the valve brand before sourcing upgrades.
Hackrea Warning
Faking Architectural Pedigree (Millwork & Trim)
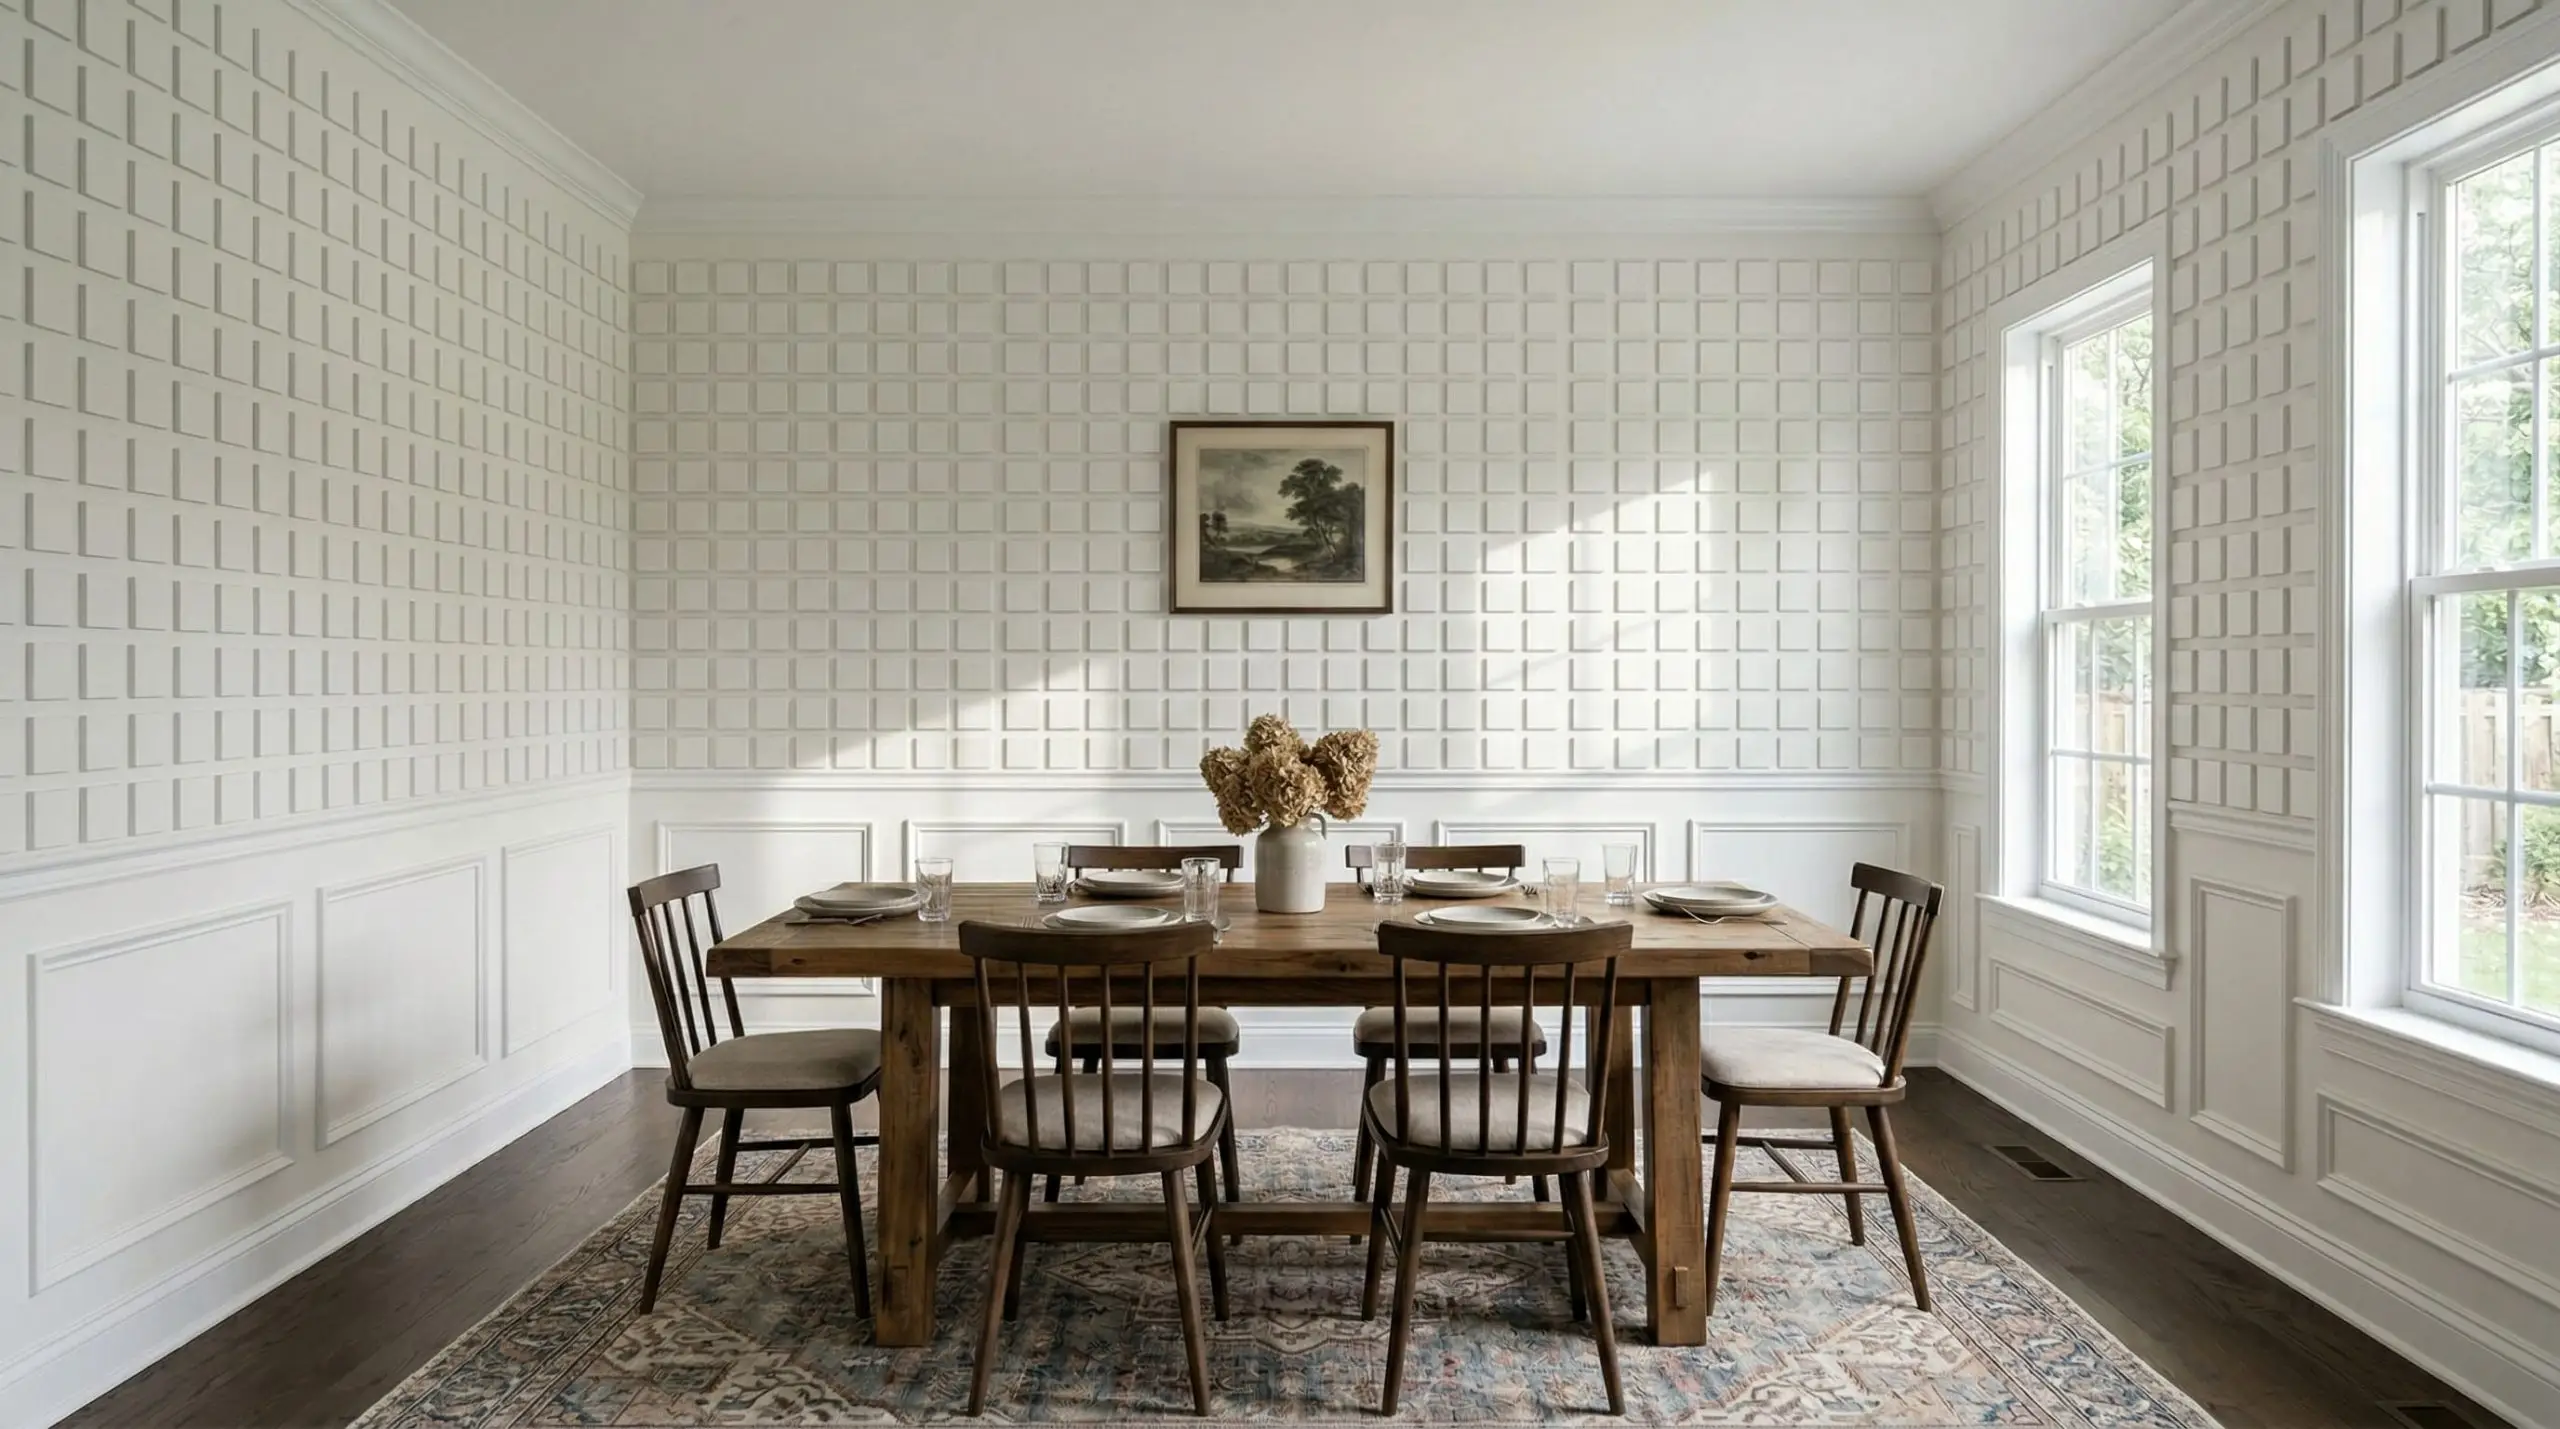
Tract homes feel cavernous and flat because they lack shadow lines. In architectural theory, shadow lines dictate depth, scale, and craftsmanship. Builder-grade drywall transitions seamlessly into the floor or window jamb with minimal interruption. By installing mathematically precise architectural millwork, you force light to break, creating the deep shadow lines that the human brain inherently associates with historical, custom construction.
Upgrading Skimpy Baseboards (The 1×6 Trick)
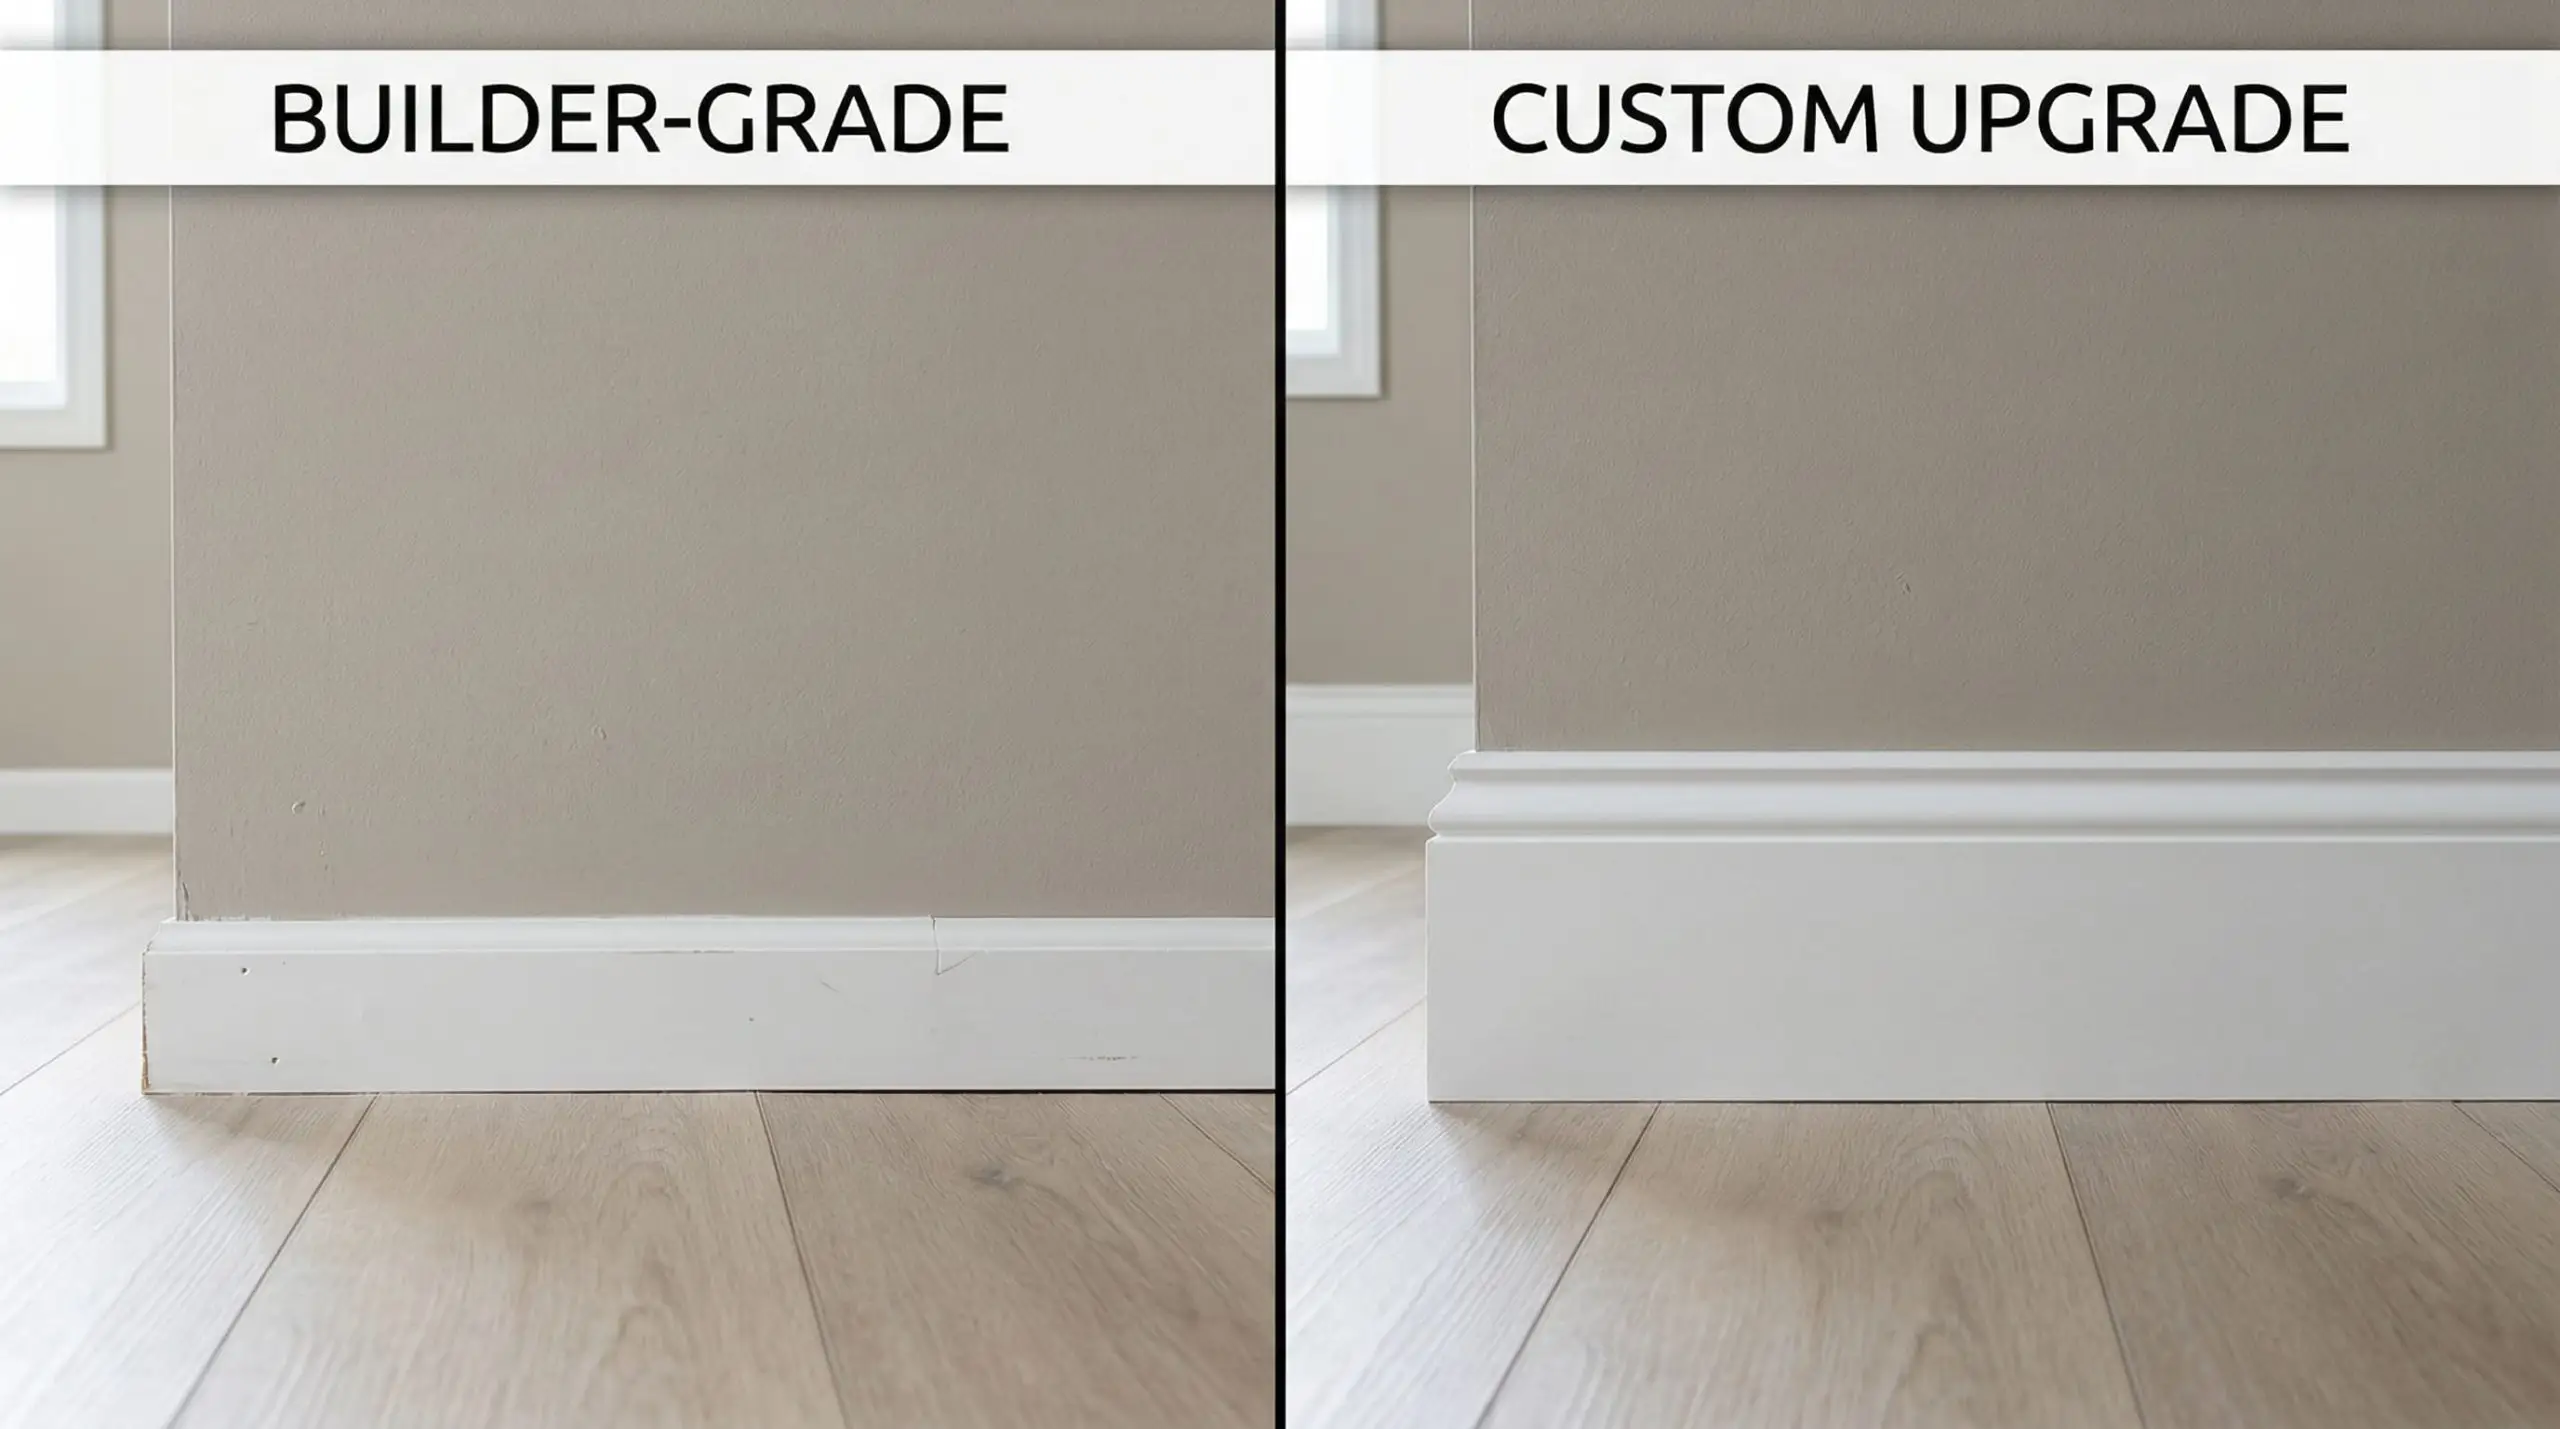
The 2.25-inch clam-shell baseboard is the most egregious offense in modern residential construction. It is disproportionate to standard wall heights and offers zero visual grounding. Industry standards dictate a strict golden ratio for baseboards: a minimum 5.25-inch profile for 8-foot ceilings, and a 7.25-inch profile for 9-foot ceilings.
To achieve this without the exorbitant cost of solid wood architectural profiles, deploy “The 1×6 Trick.” This involves installing a flat, square-edged 1×6 MDF board directly against the drywall, and topping it with a 1.25-inch base cap molding. This two-piece assembly creates a bespoke, Shaker-style profile with a sharp, custom shadow line at a fraction of the cost.
Required Tools:
Step-by-Step Upgrade:
- Score the Caulk: Run a sharp utility knife along the top edge of the existing builder-grade baseboard to break the caulk seal. Failure to do this will tear the drywall paper.
- Pry and Remove: Use a pry bar to carefully remove the skimpy 2.25-inch trim. Remove any leftover brad nails with pliers.
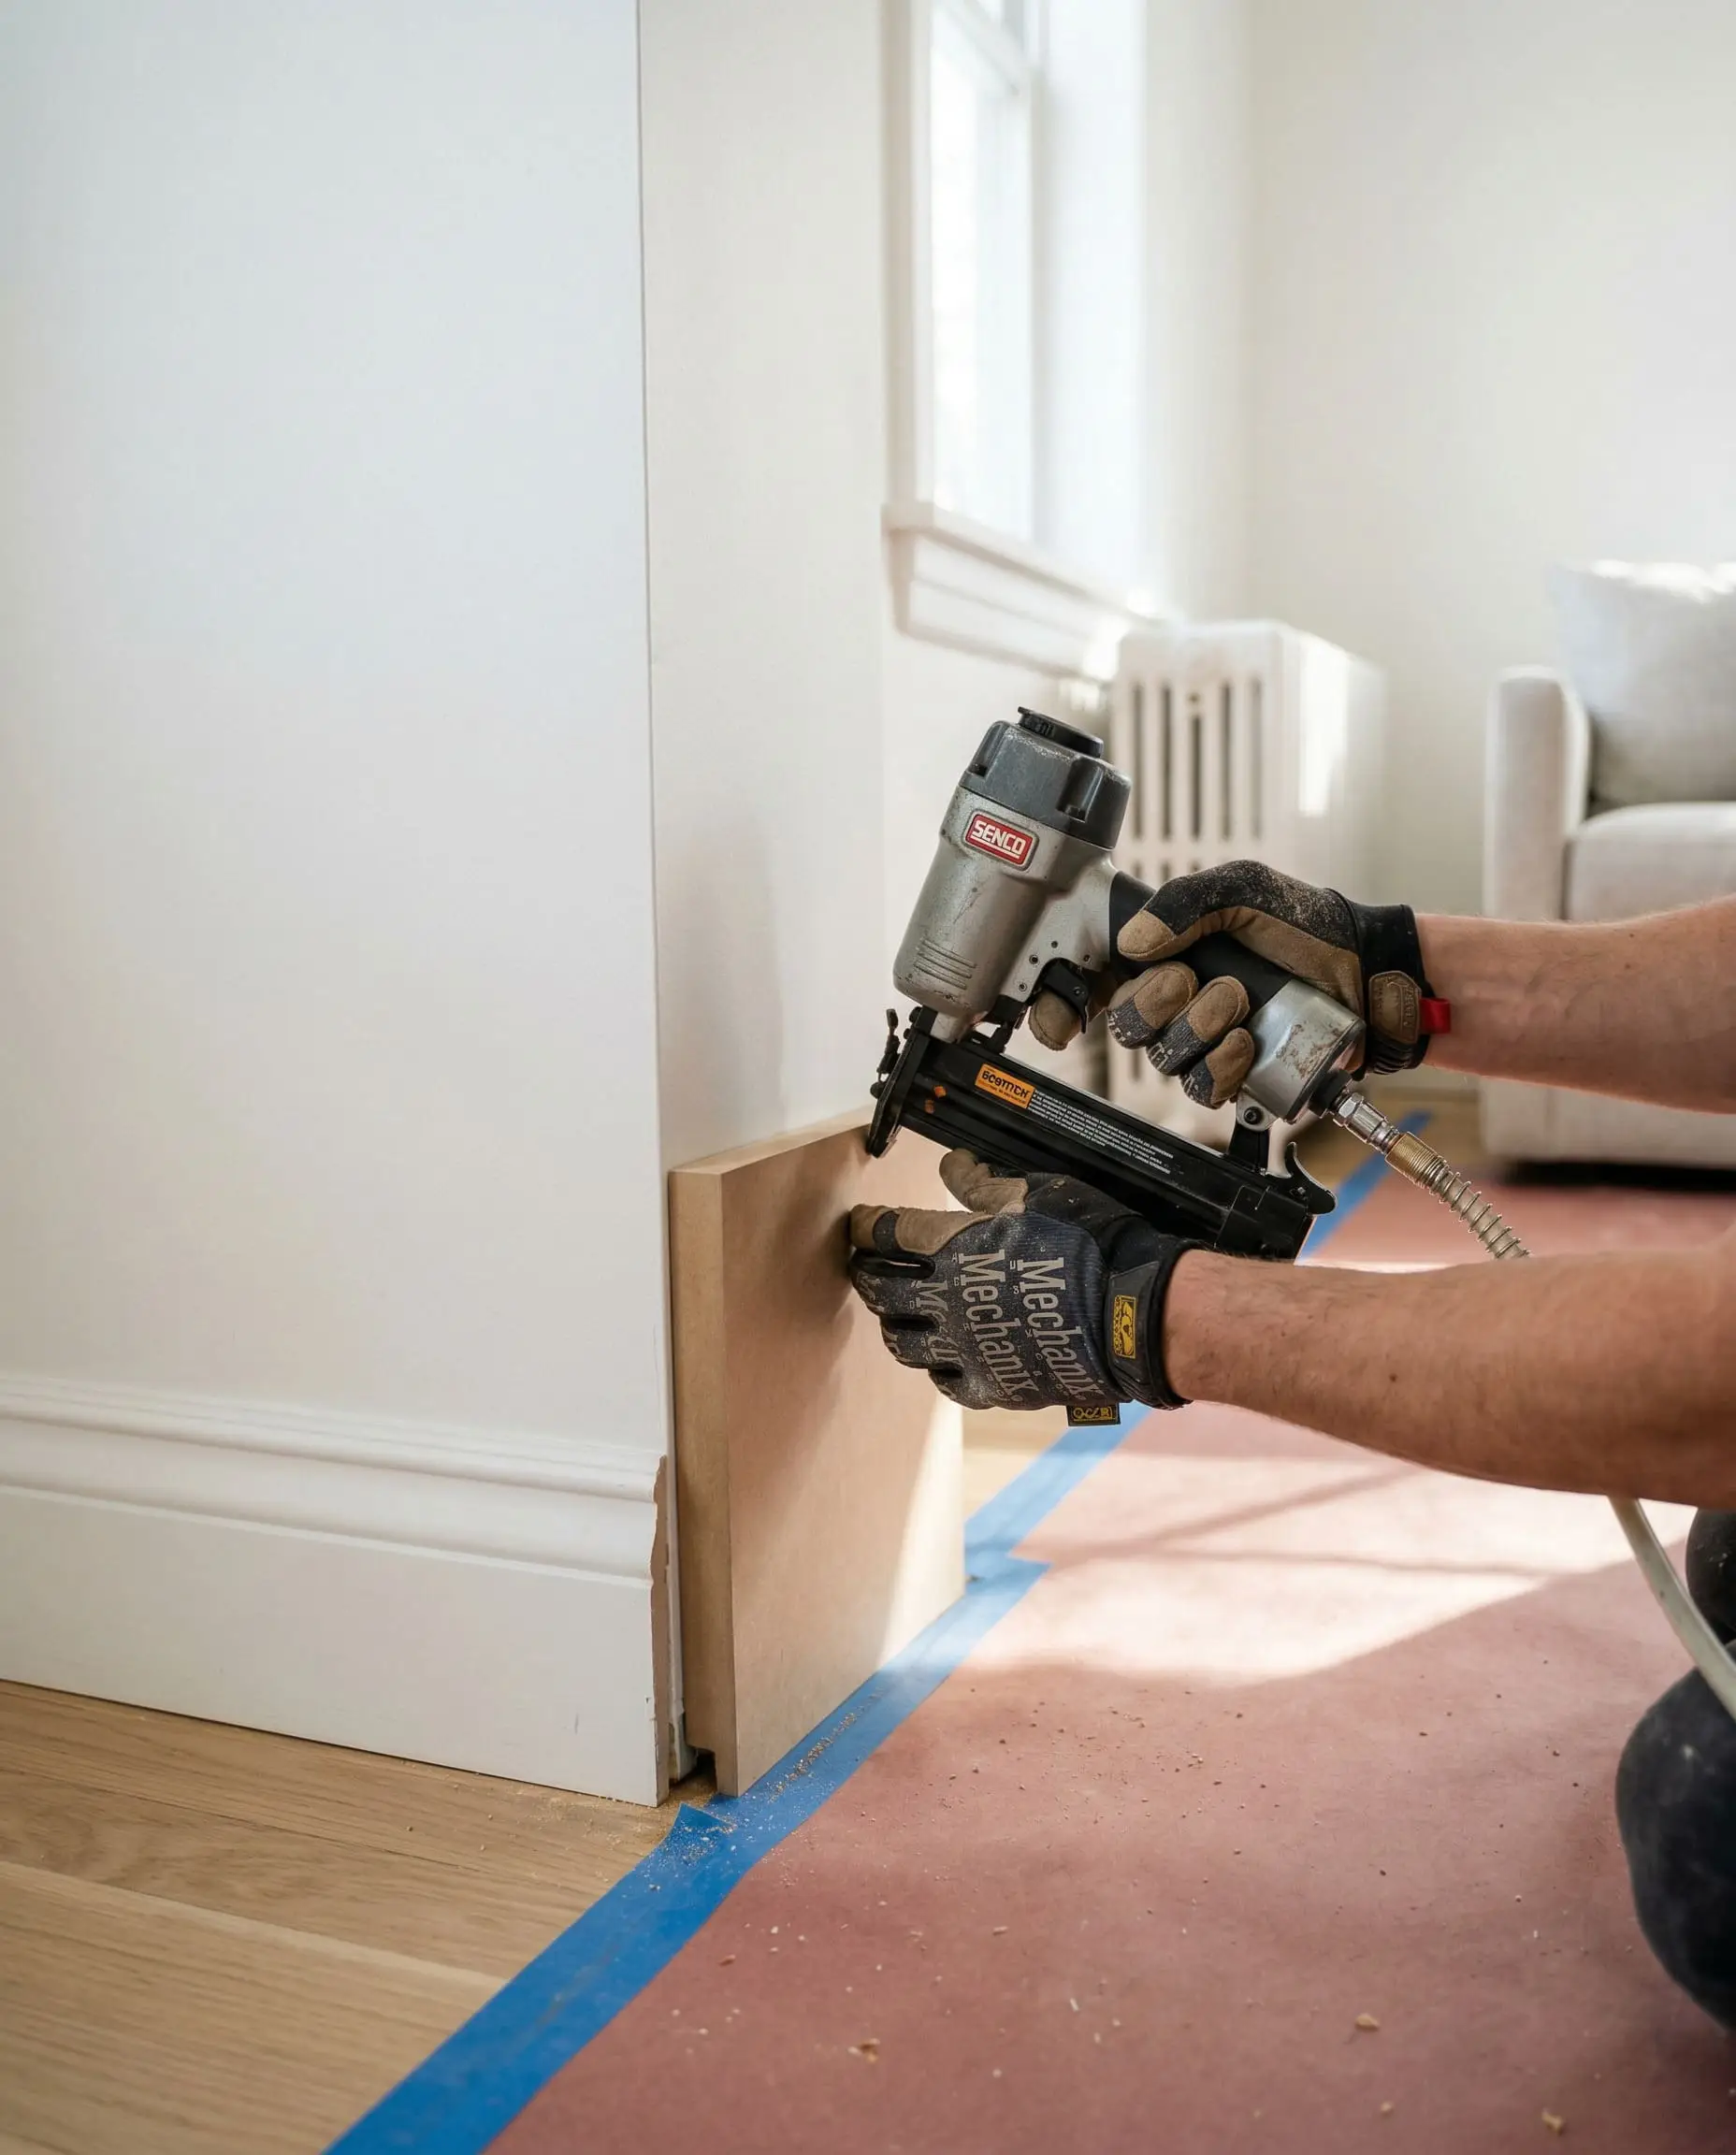
- Install the 1×6 MDF: Cut the 1×6 MDF to length. Nail it directly into the wall studs using an 18-gauge brad nailer.
- Cap the Profile: Cut and install the base cap molding flush on top of the MDF board, nailing it downward into the MDF edge.
- Finish the Seams: Fill all nail holes with wood filler, sand flat, and caulk the top edge where the base cap meets the drywall.
Picture Frame Molding & Box Trim Application
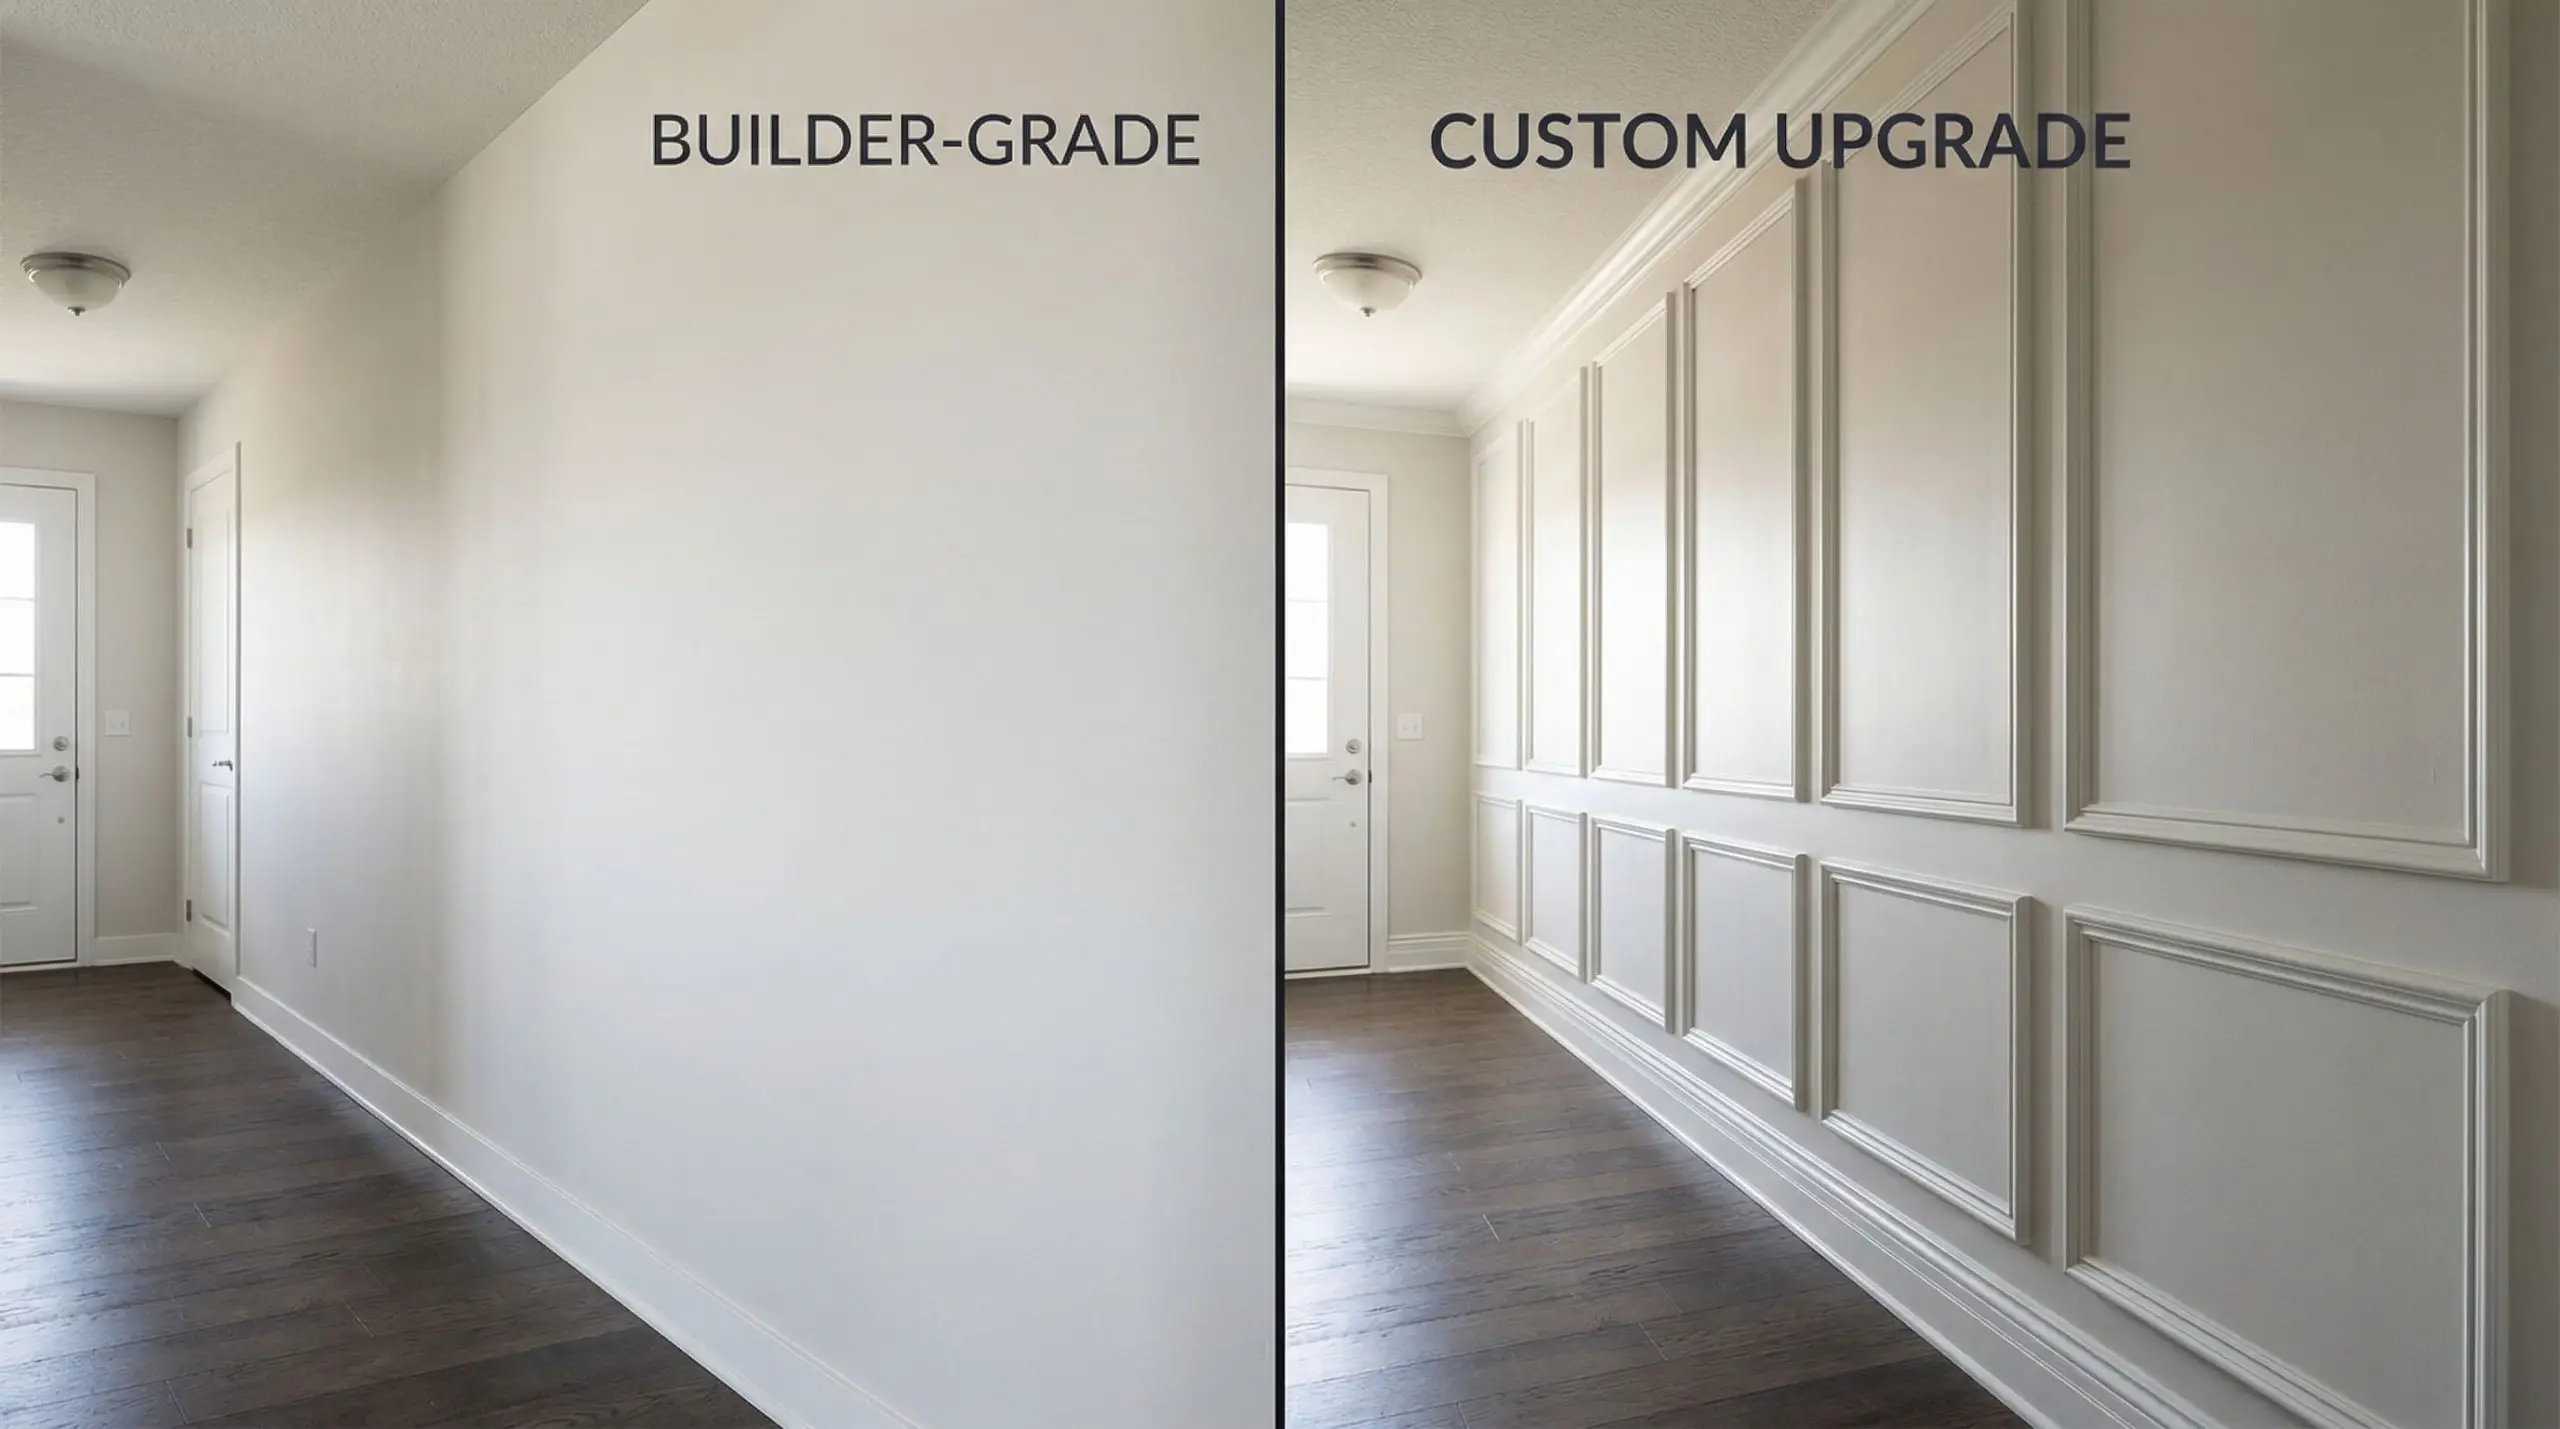
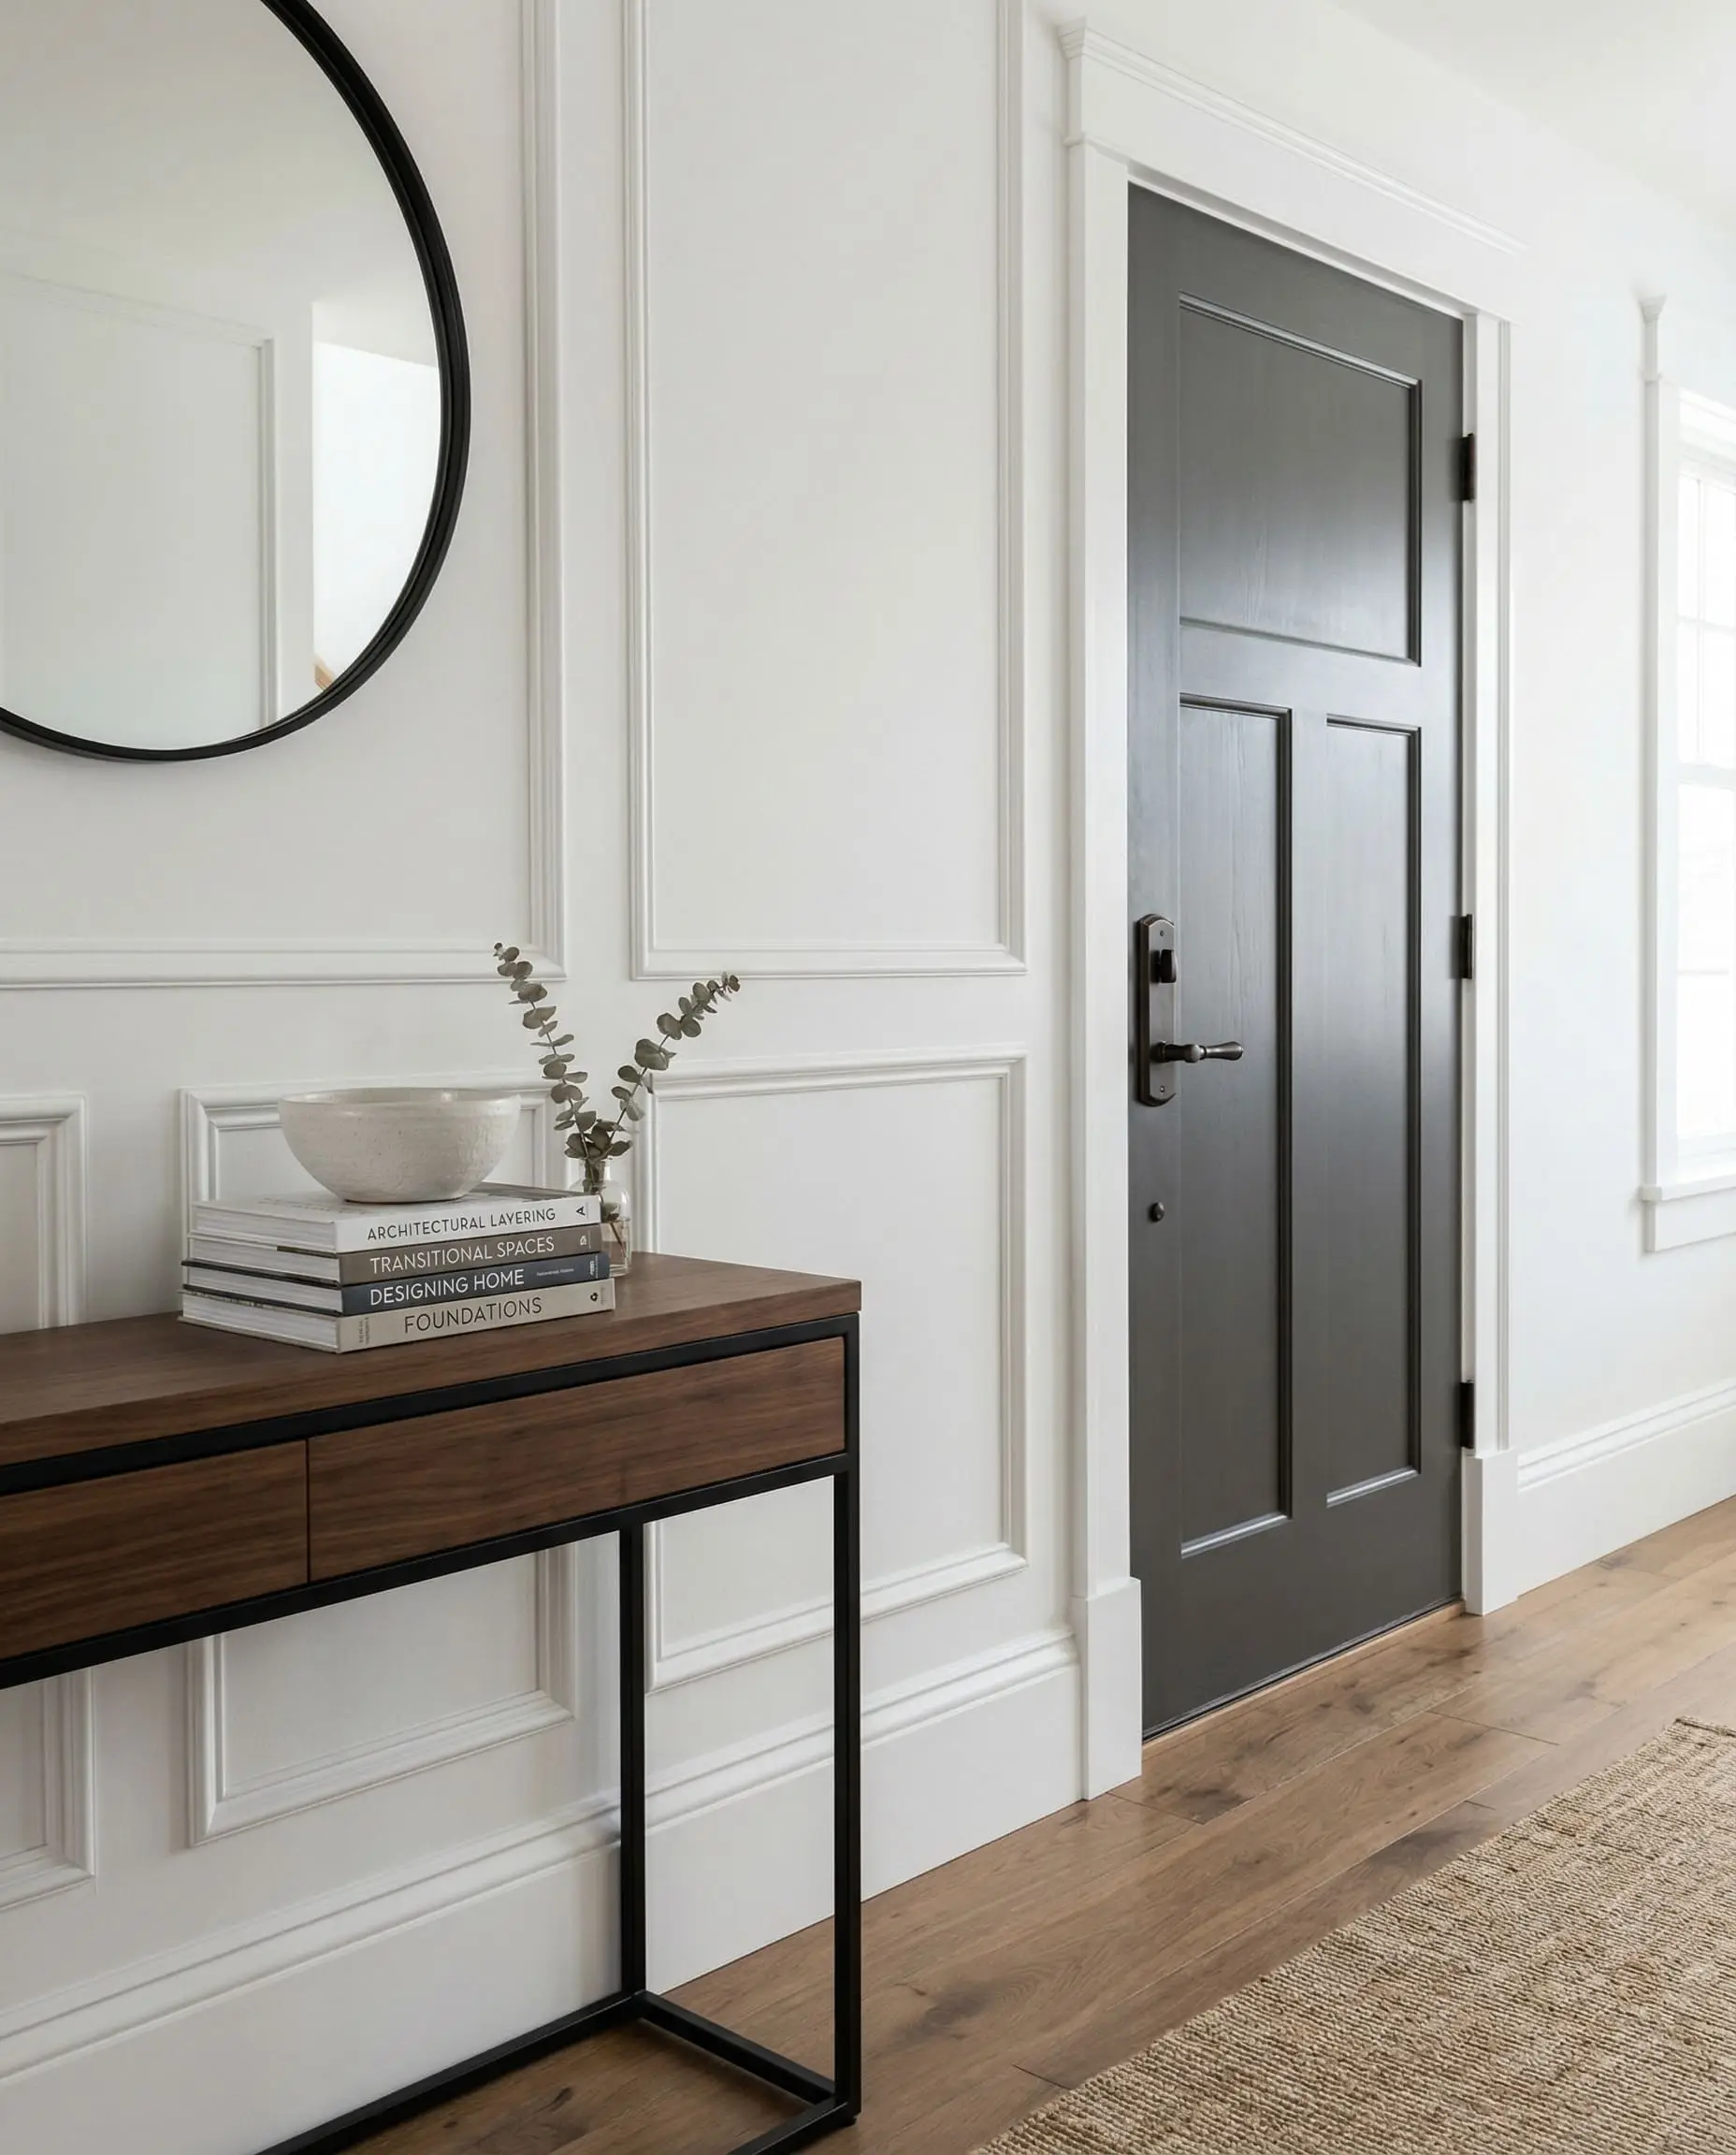
Flat hallways and dining rooms require applied molding to break up the visual monotony. Picture frame molding (or box trim) is the most effective DIY wall treatment to establish architectural pedigree.
The math must be flawless. Boxes must be spaced exactly 3 to 4 inches apart from each other, the baseboards, and the crown molding. If installing a chair rail, it must sit at exactly 36 inches from the floor (or roughly one-third of the wall height). Deviating from these specific spatial dimensions will result in a warped, fun-house aesthetic that ruins the custom illusion.
Required Tools:
Calculate the dimensions of your wall, subtract the total width of your predetermined gaps, and divide the remaining space by the number of boxes desired. Map the entire grid on the wall using a laser level before cutting a single piece of trim.
The difference between a DIY disaster and a master-craftsman finish is entirely dependent on caulk. You must use a high-quality, paintable acrylic latex caulk. Silicone caulk will repel paint, ruining the installation. Run a microscopic bead along both the inside and outside edges of every piece of applied molding to seamlessly fuse the wood to the drywall.
The Technician’s Mandate on Caulk
Framing Out Standard-Issue Windows
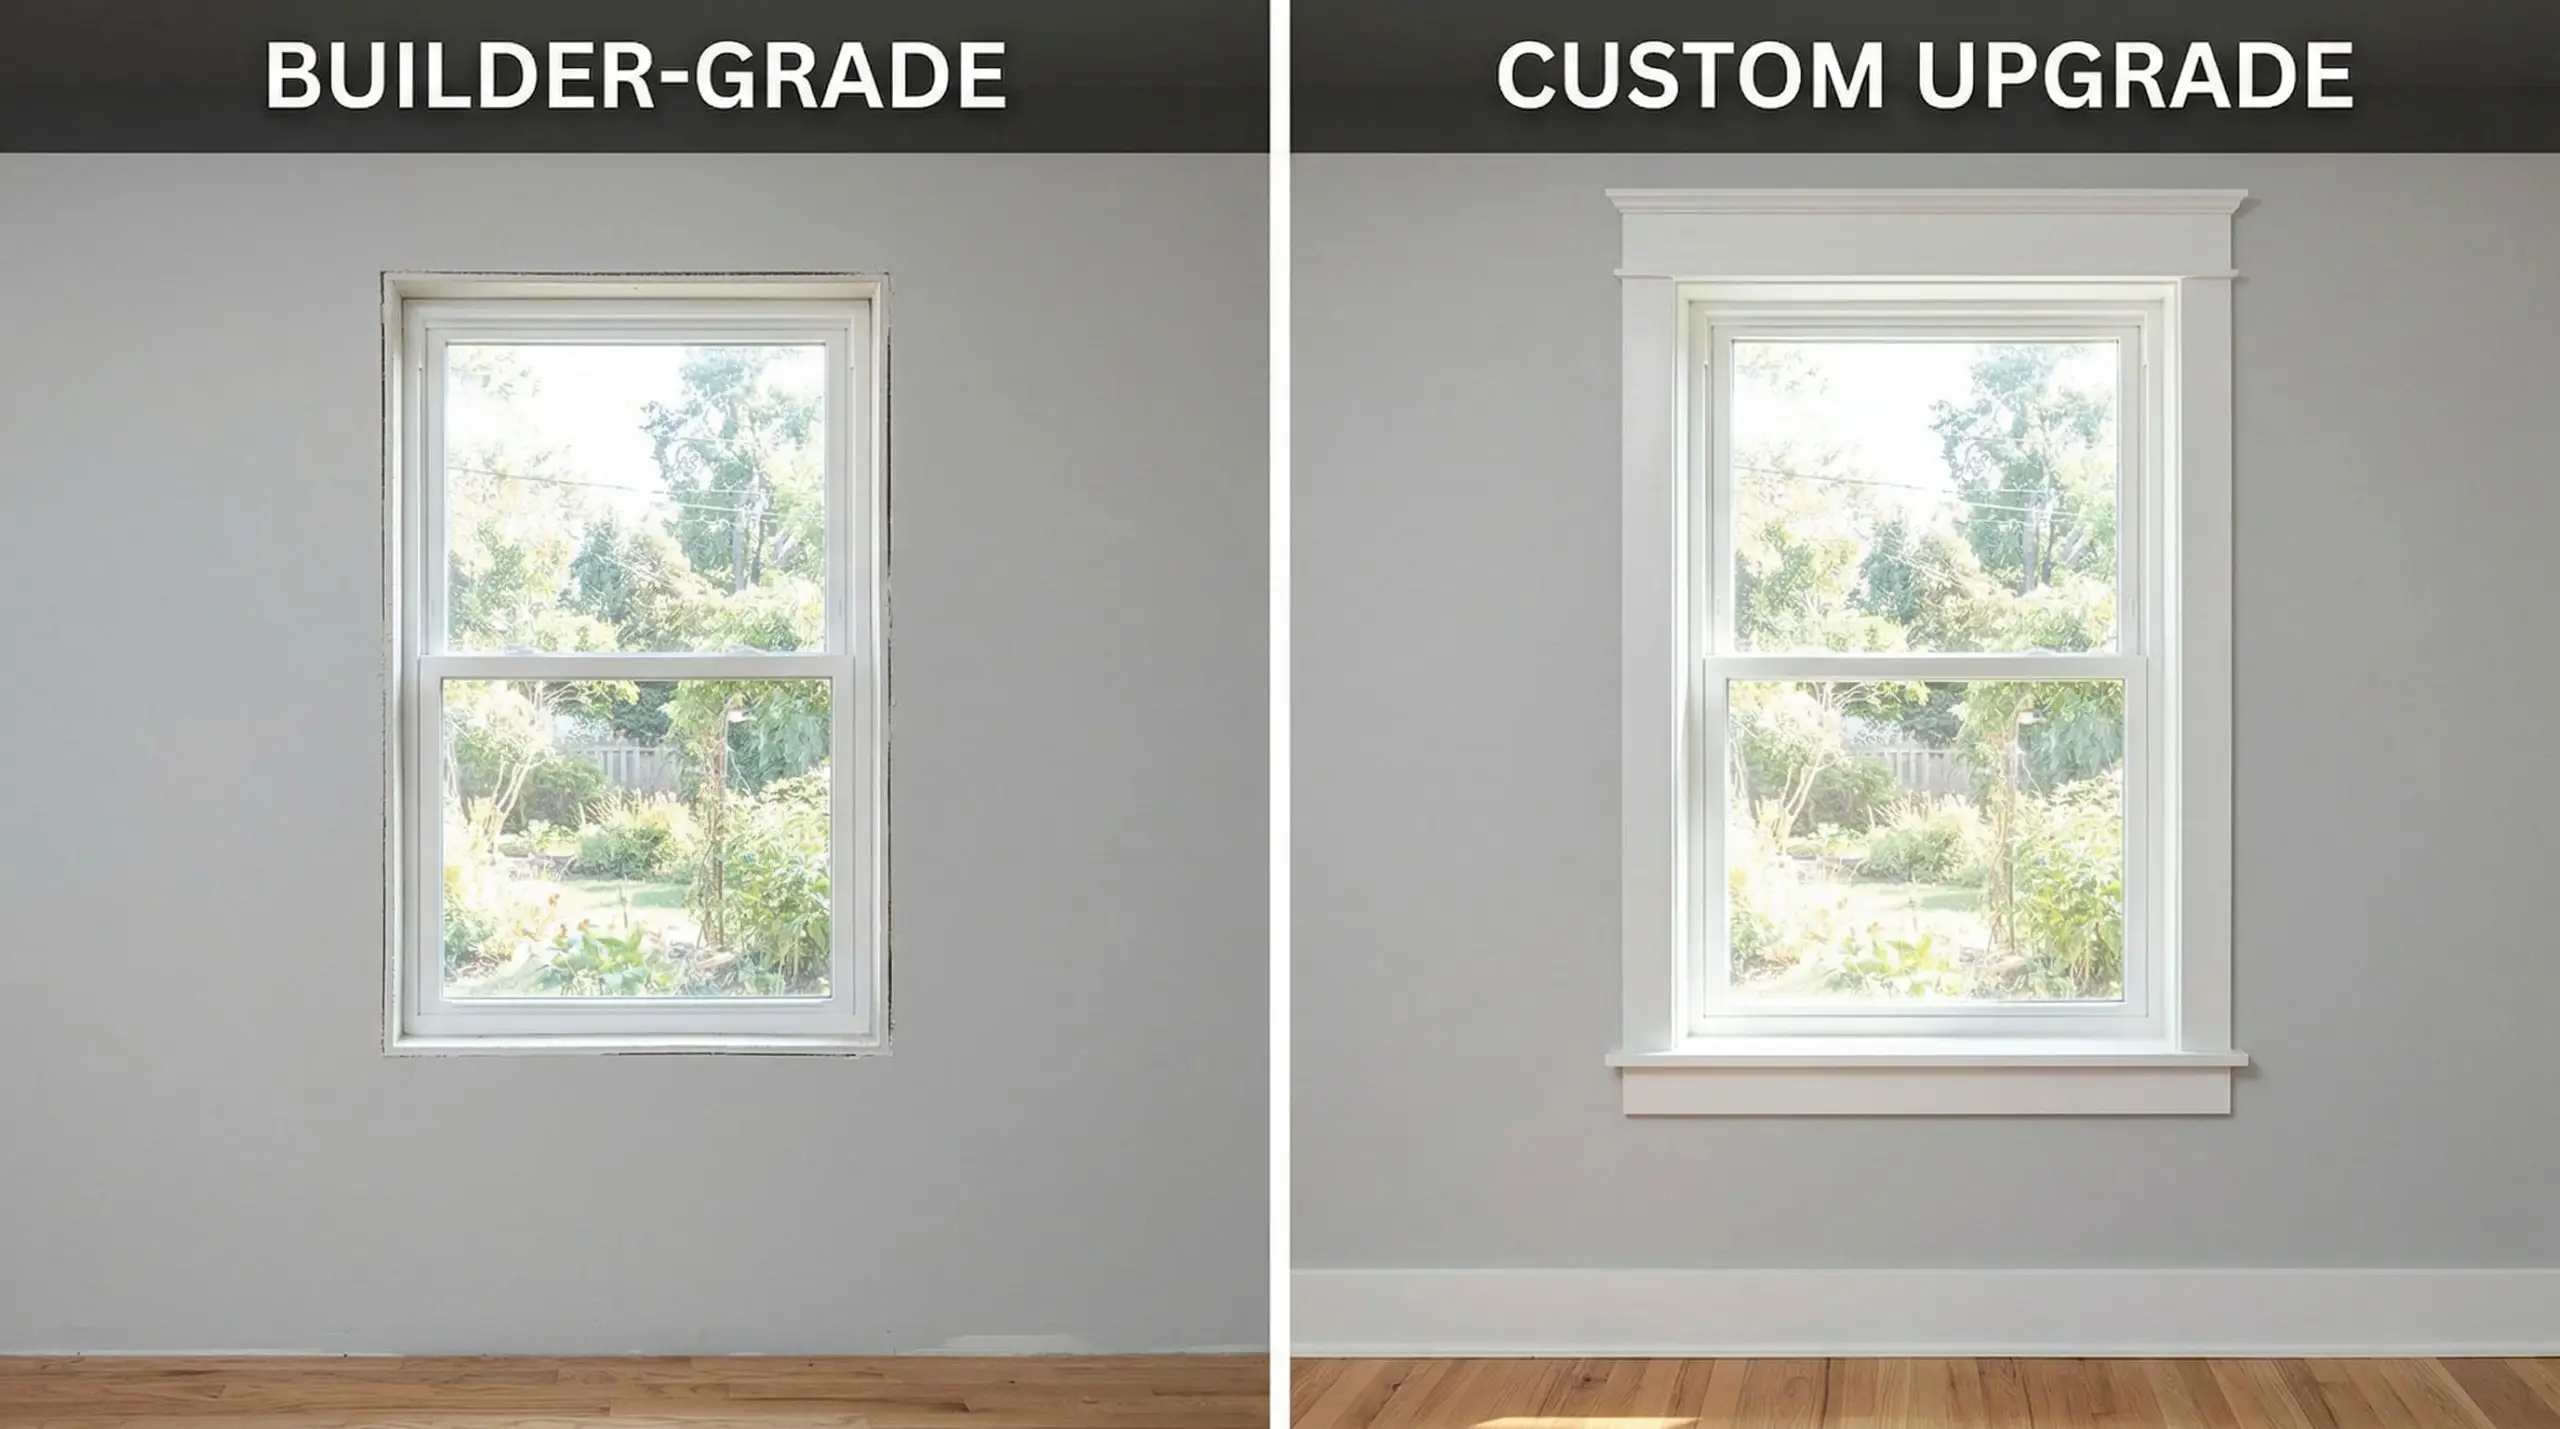
Builder-grade windows are typically “drywall-returned,” meaning the drywall simply wraps into the window jamb with no surrounding trim. This leaves the window looking unfinished and visually small.
You must frame the window using classic carpentry techniques to add visual weight. This involves installing a window stool (the horizontal sill that protrudes at the bottom), supported by an apron (the trim piece directly beneath the stool). Next, install vertical 1×4 casing on the sides, leaving a precise 1/4-inch reveal (the exposed edge of the window jamb). Finally, cap the assembly with a heavy 1×6 header and a 1×2 overhang.
Adding this structural casing visually doubles the footprint of standard builder-grade windows. It provides a hard architectural boundary that allows natural light to bounce more effectively into the room, framing the exterior view like a piece of art.
Required Tools:
Camouflaging the Mass-Produced Surfaces (Paint & Texture)
Once the tactile hardware is swapped and the architectural millwork is installed, you are left with the final failure state of tract homes: the surface treatments. Builder-grade properties are notorious for flat “Agreeable Gray” paint and vast expanses of cheap LVP (Luxury Vinyl Plank) or low-pile carpet. Ripping out 2,000 square feet of flooring is a structural renovation, not a cosmetic hack. Instead, we deploy strategic camouflage.
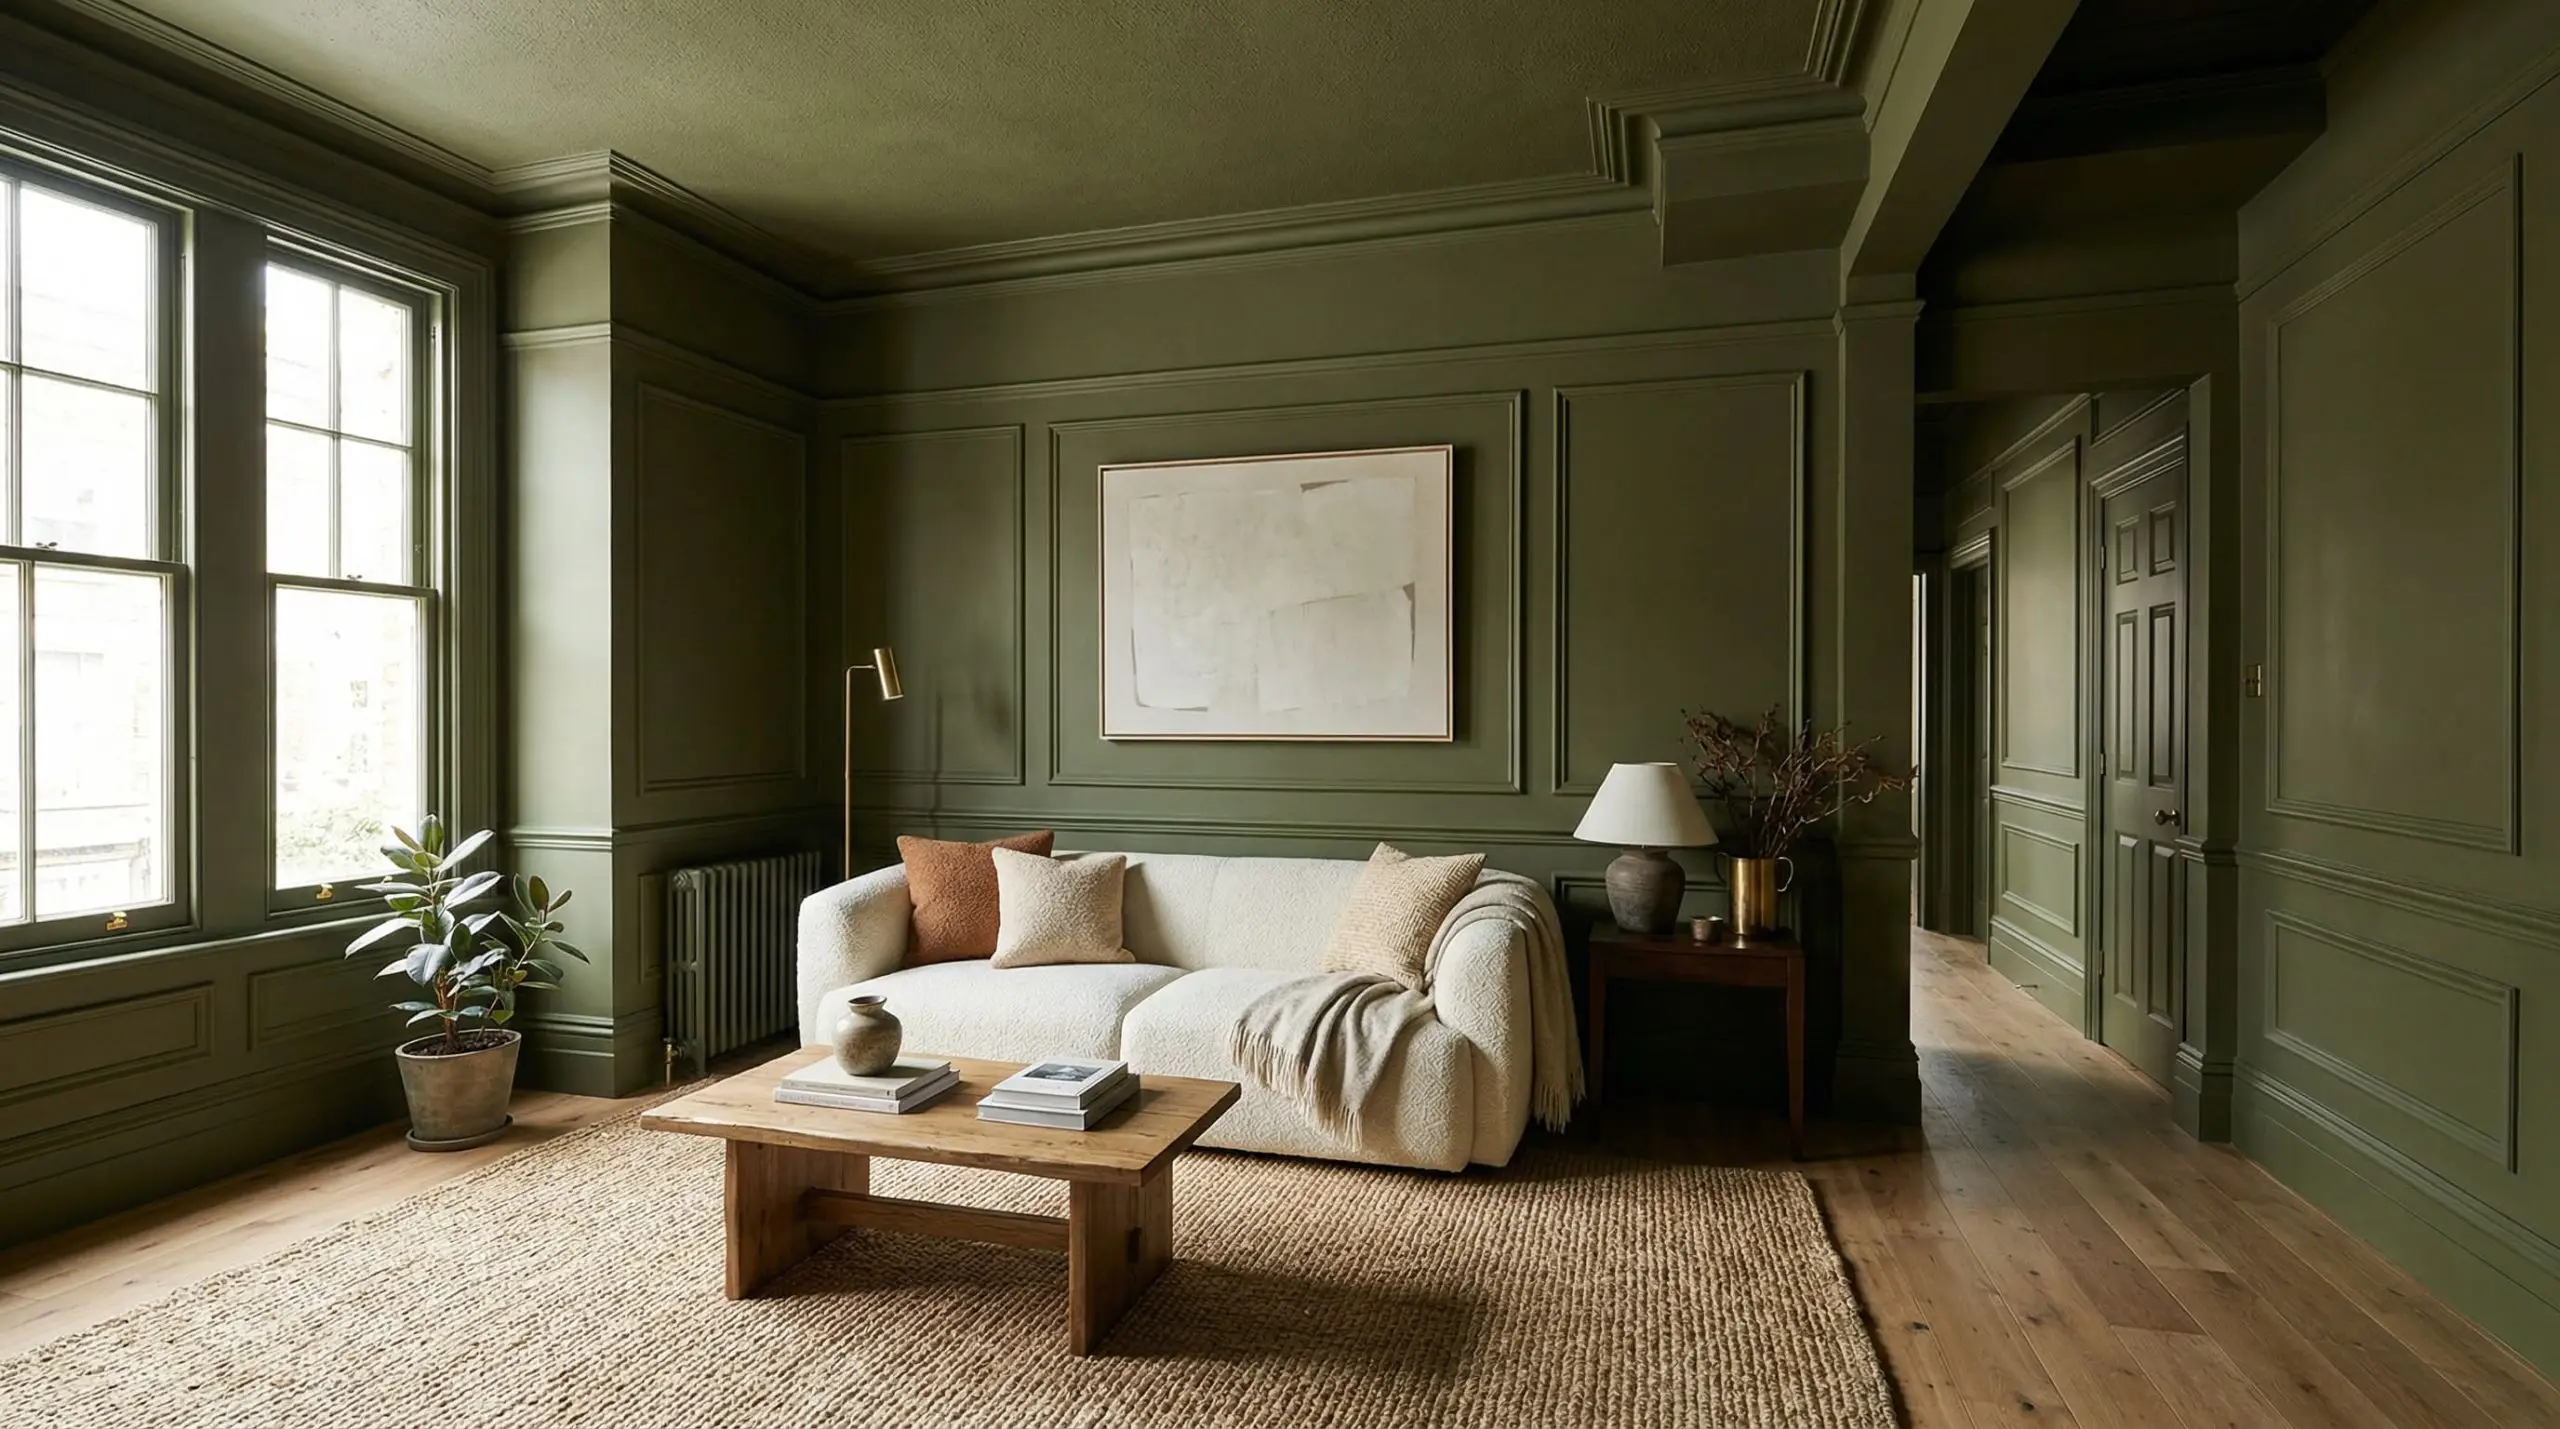
The Power of Color Drenching for Awkward Transitions
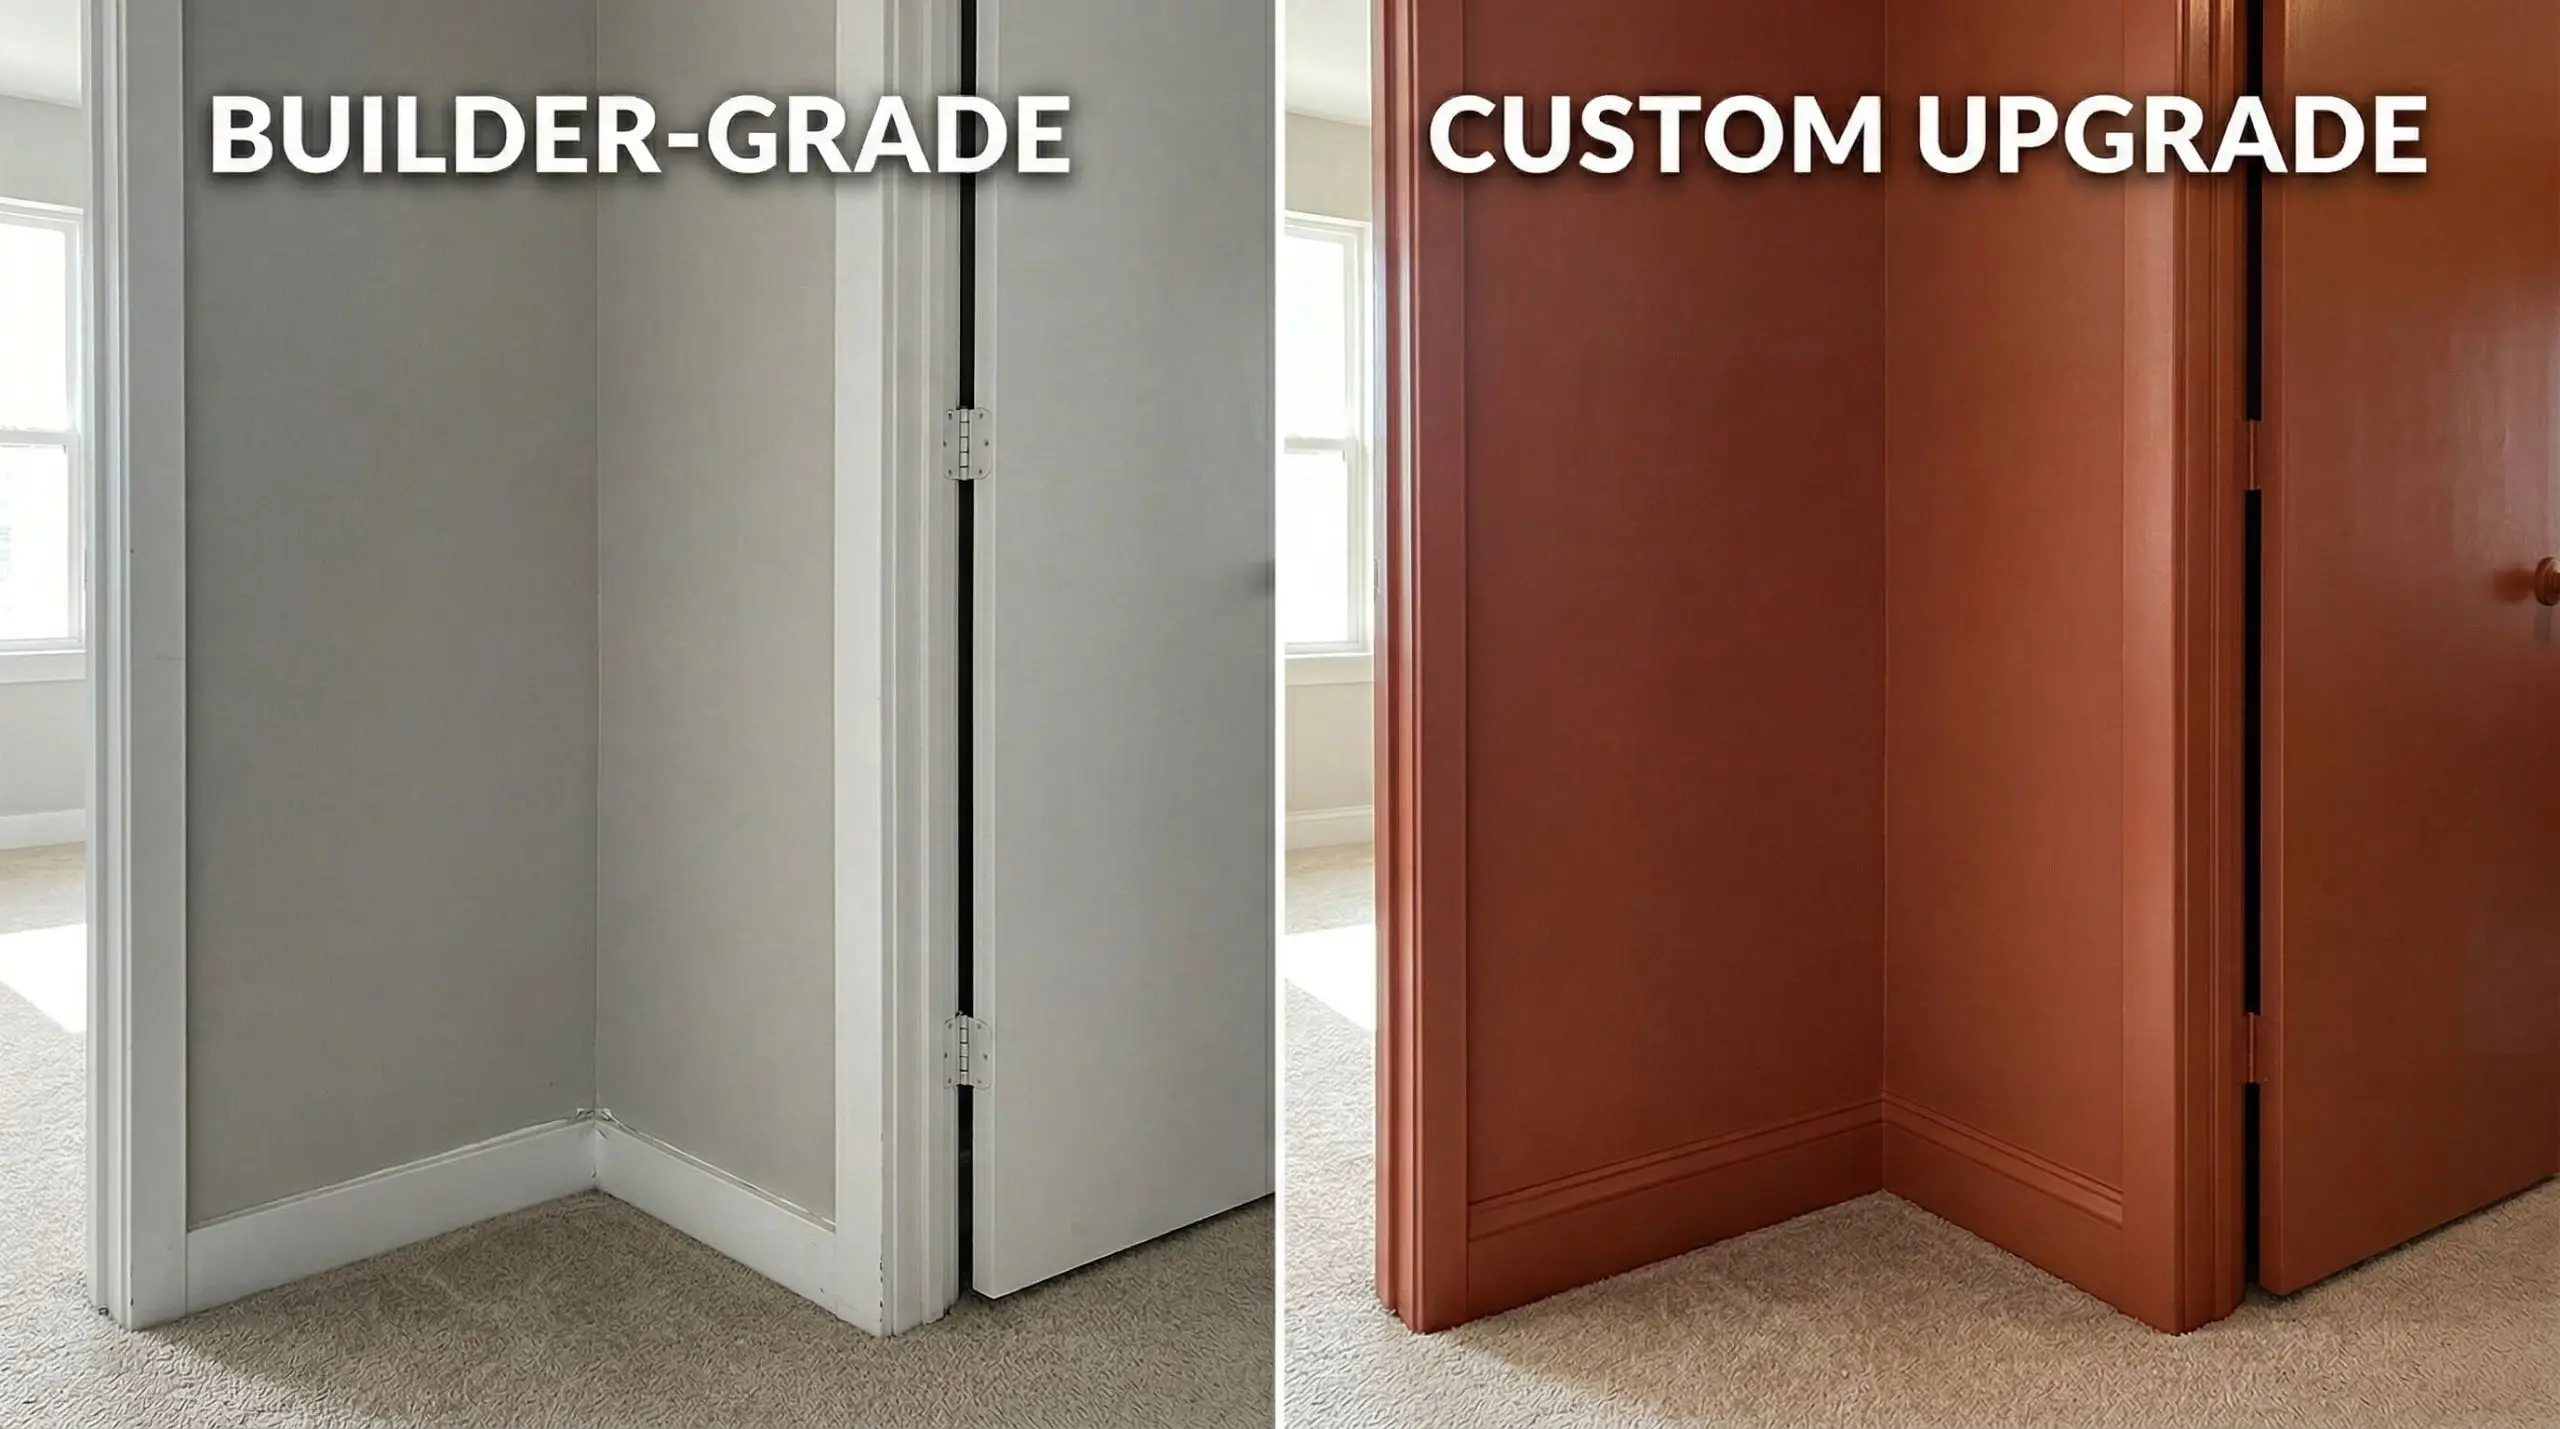
Tract homes often feature awkward bulkheads, uneven drywall tape lines, and cheap door hinges. Painting the walls, baseboards, doors, and ceilings the exact same color—a technique known as color drenching—acts as a structural cloaking device.
By eliminating the high-contrast white trim against gray walls, the eye stops registering the cheap builder-grade transitions. Color drenching elevates the newly installed box trim, creating a seamless, moody, custom aesthetic where the shadow lines do the heavy lifting rather than the paint colors. Because you are painting high-traffic touchpoints like doors and baseboards, you must specify a high-durability, scuff-resistant commercial finish, such as Benjamin Moore Scuff-X.
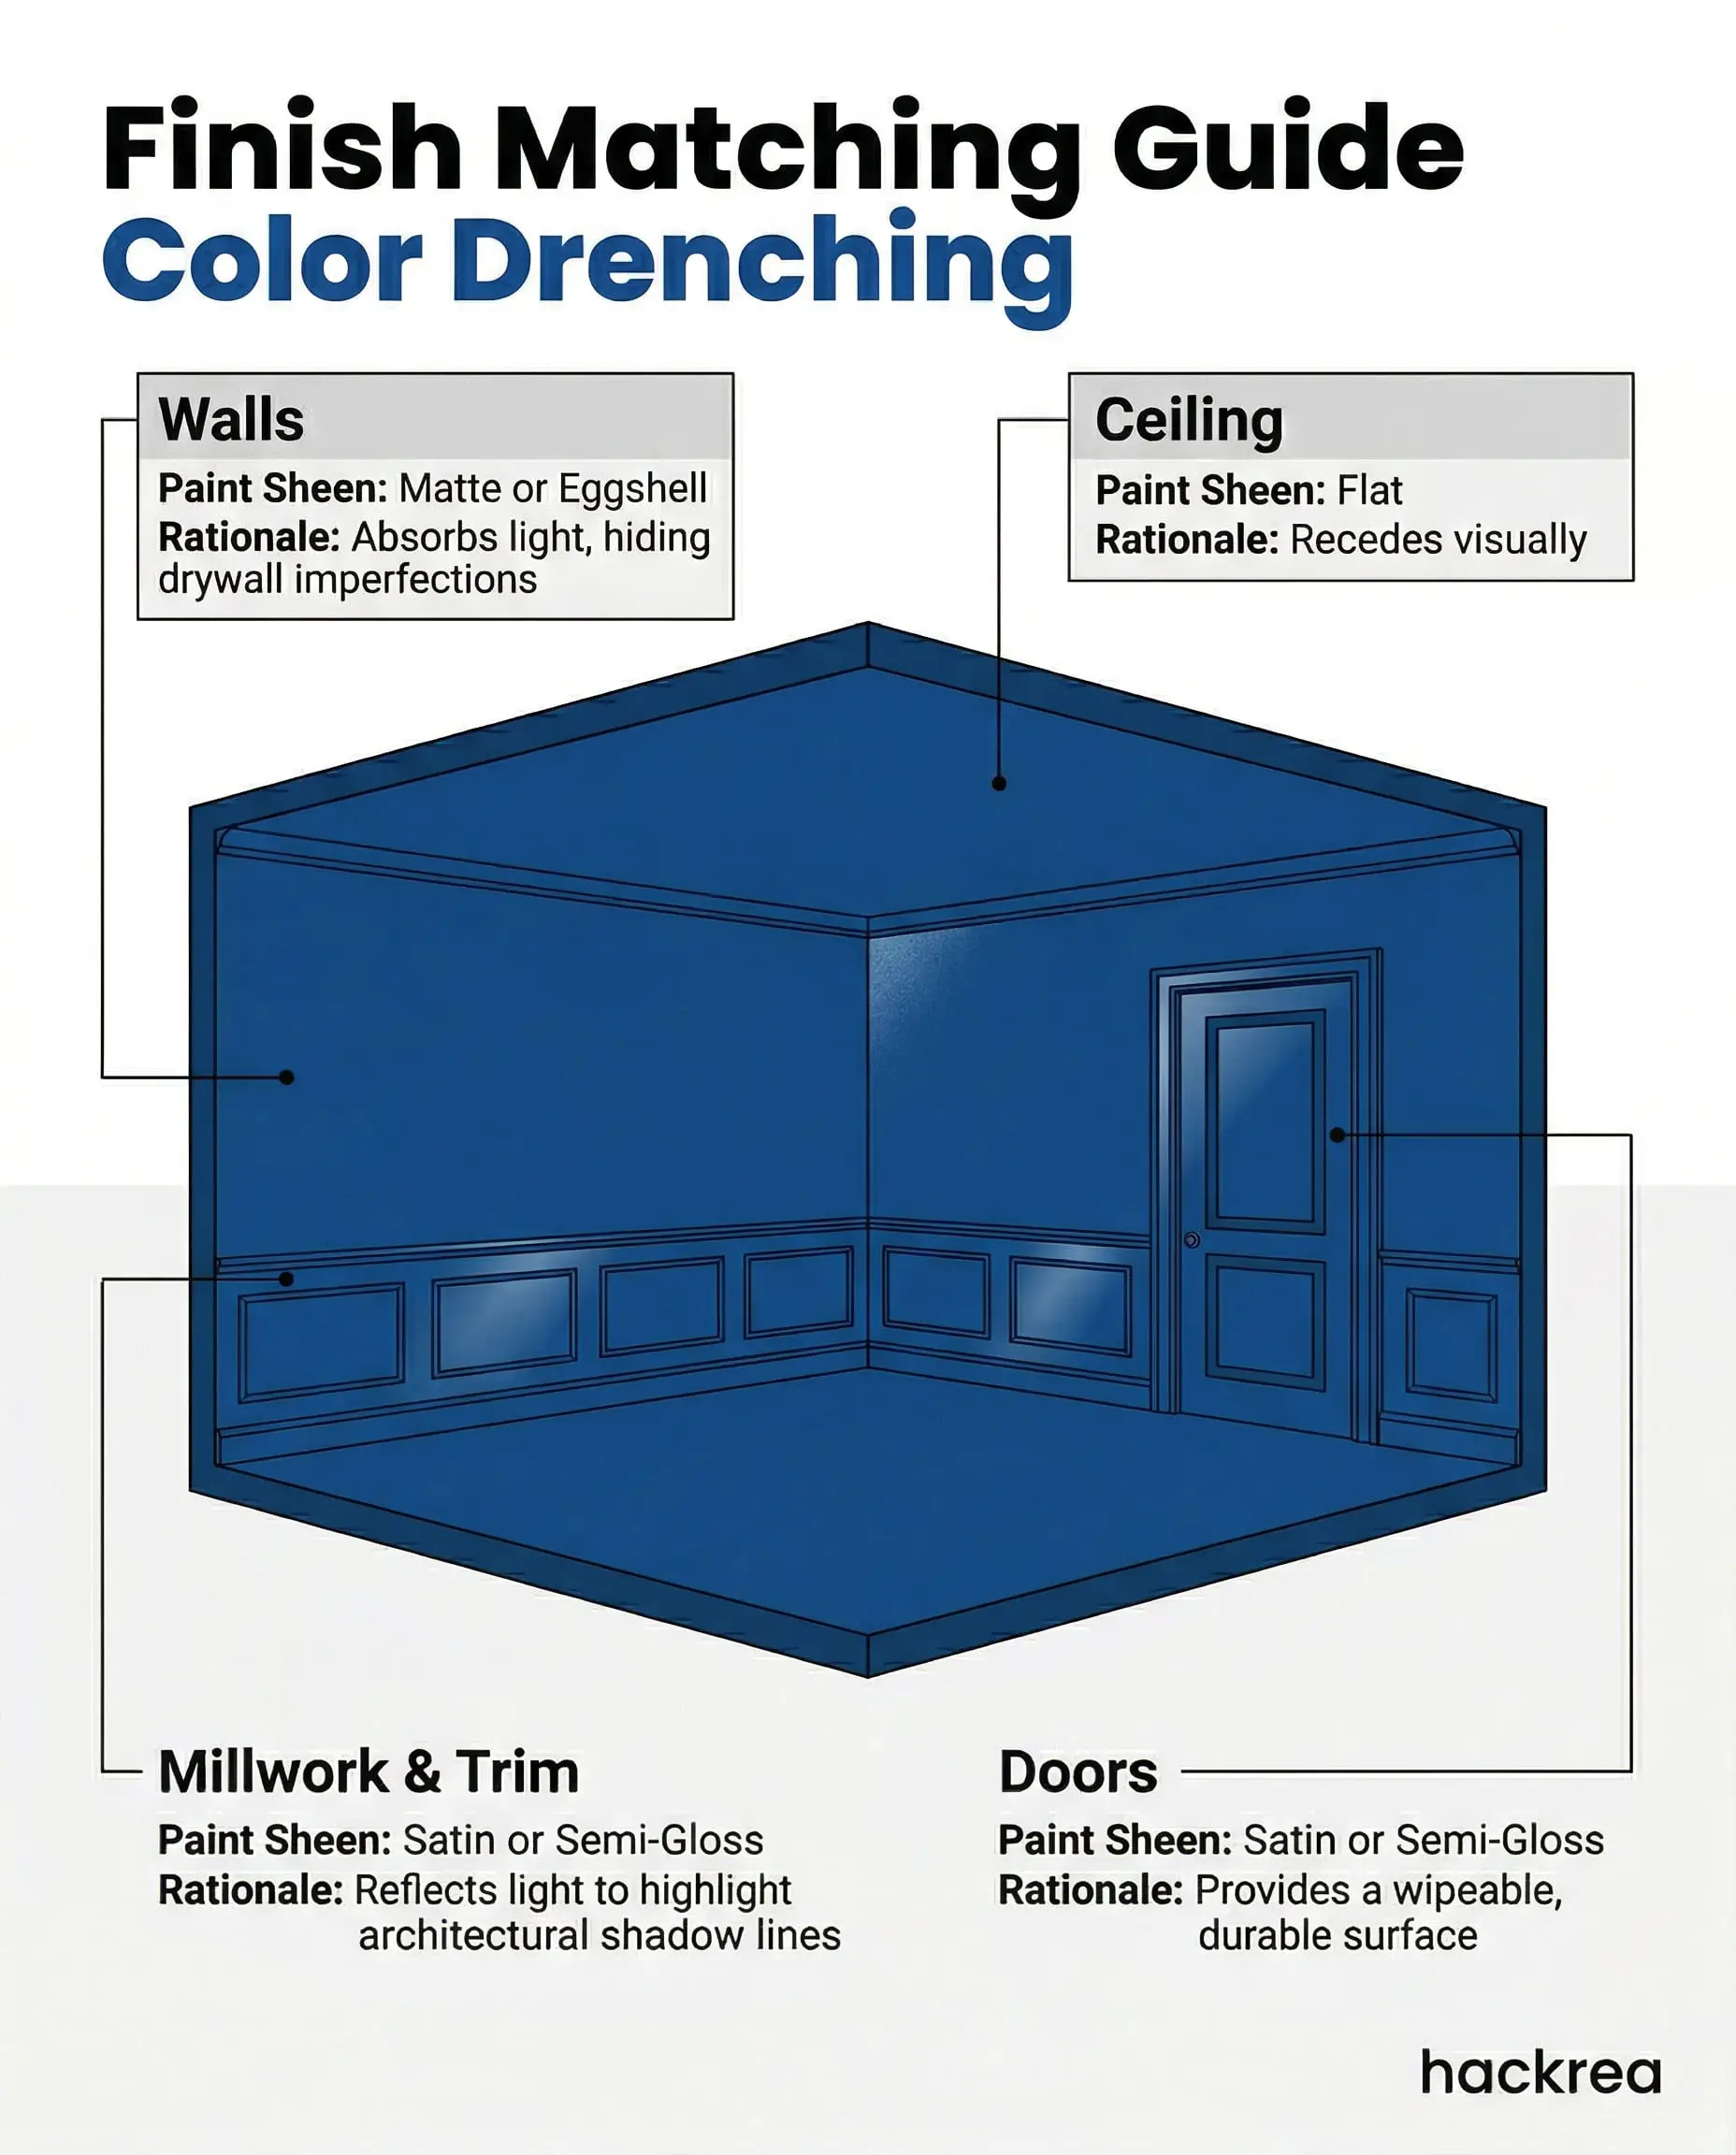
Finish Matching Guide
| Surface | Recommended Paint Sheen | Rationale for Color Drenching |
|---|---|---|
| Walls | Matte or Eggshell | Absorbs light, hiding drywall imperfections. |
| Millwork & Trim | Satin or Semi-Gloss | Reflects light to highlight the architectural shadow lines. |
| Doors | Satin or Semi-Gloss | Provides a wipeable, durable surface for tactile touchpoints. |
| Ceiling | Flat | Recedes visually, making the ceiling appear higher. |
Elevating the Standard Hollow-Core Door
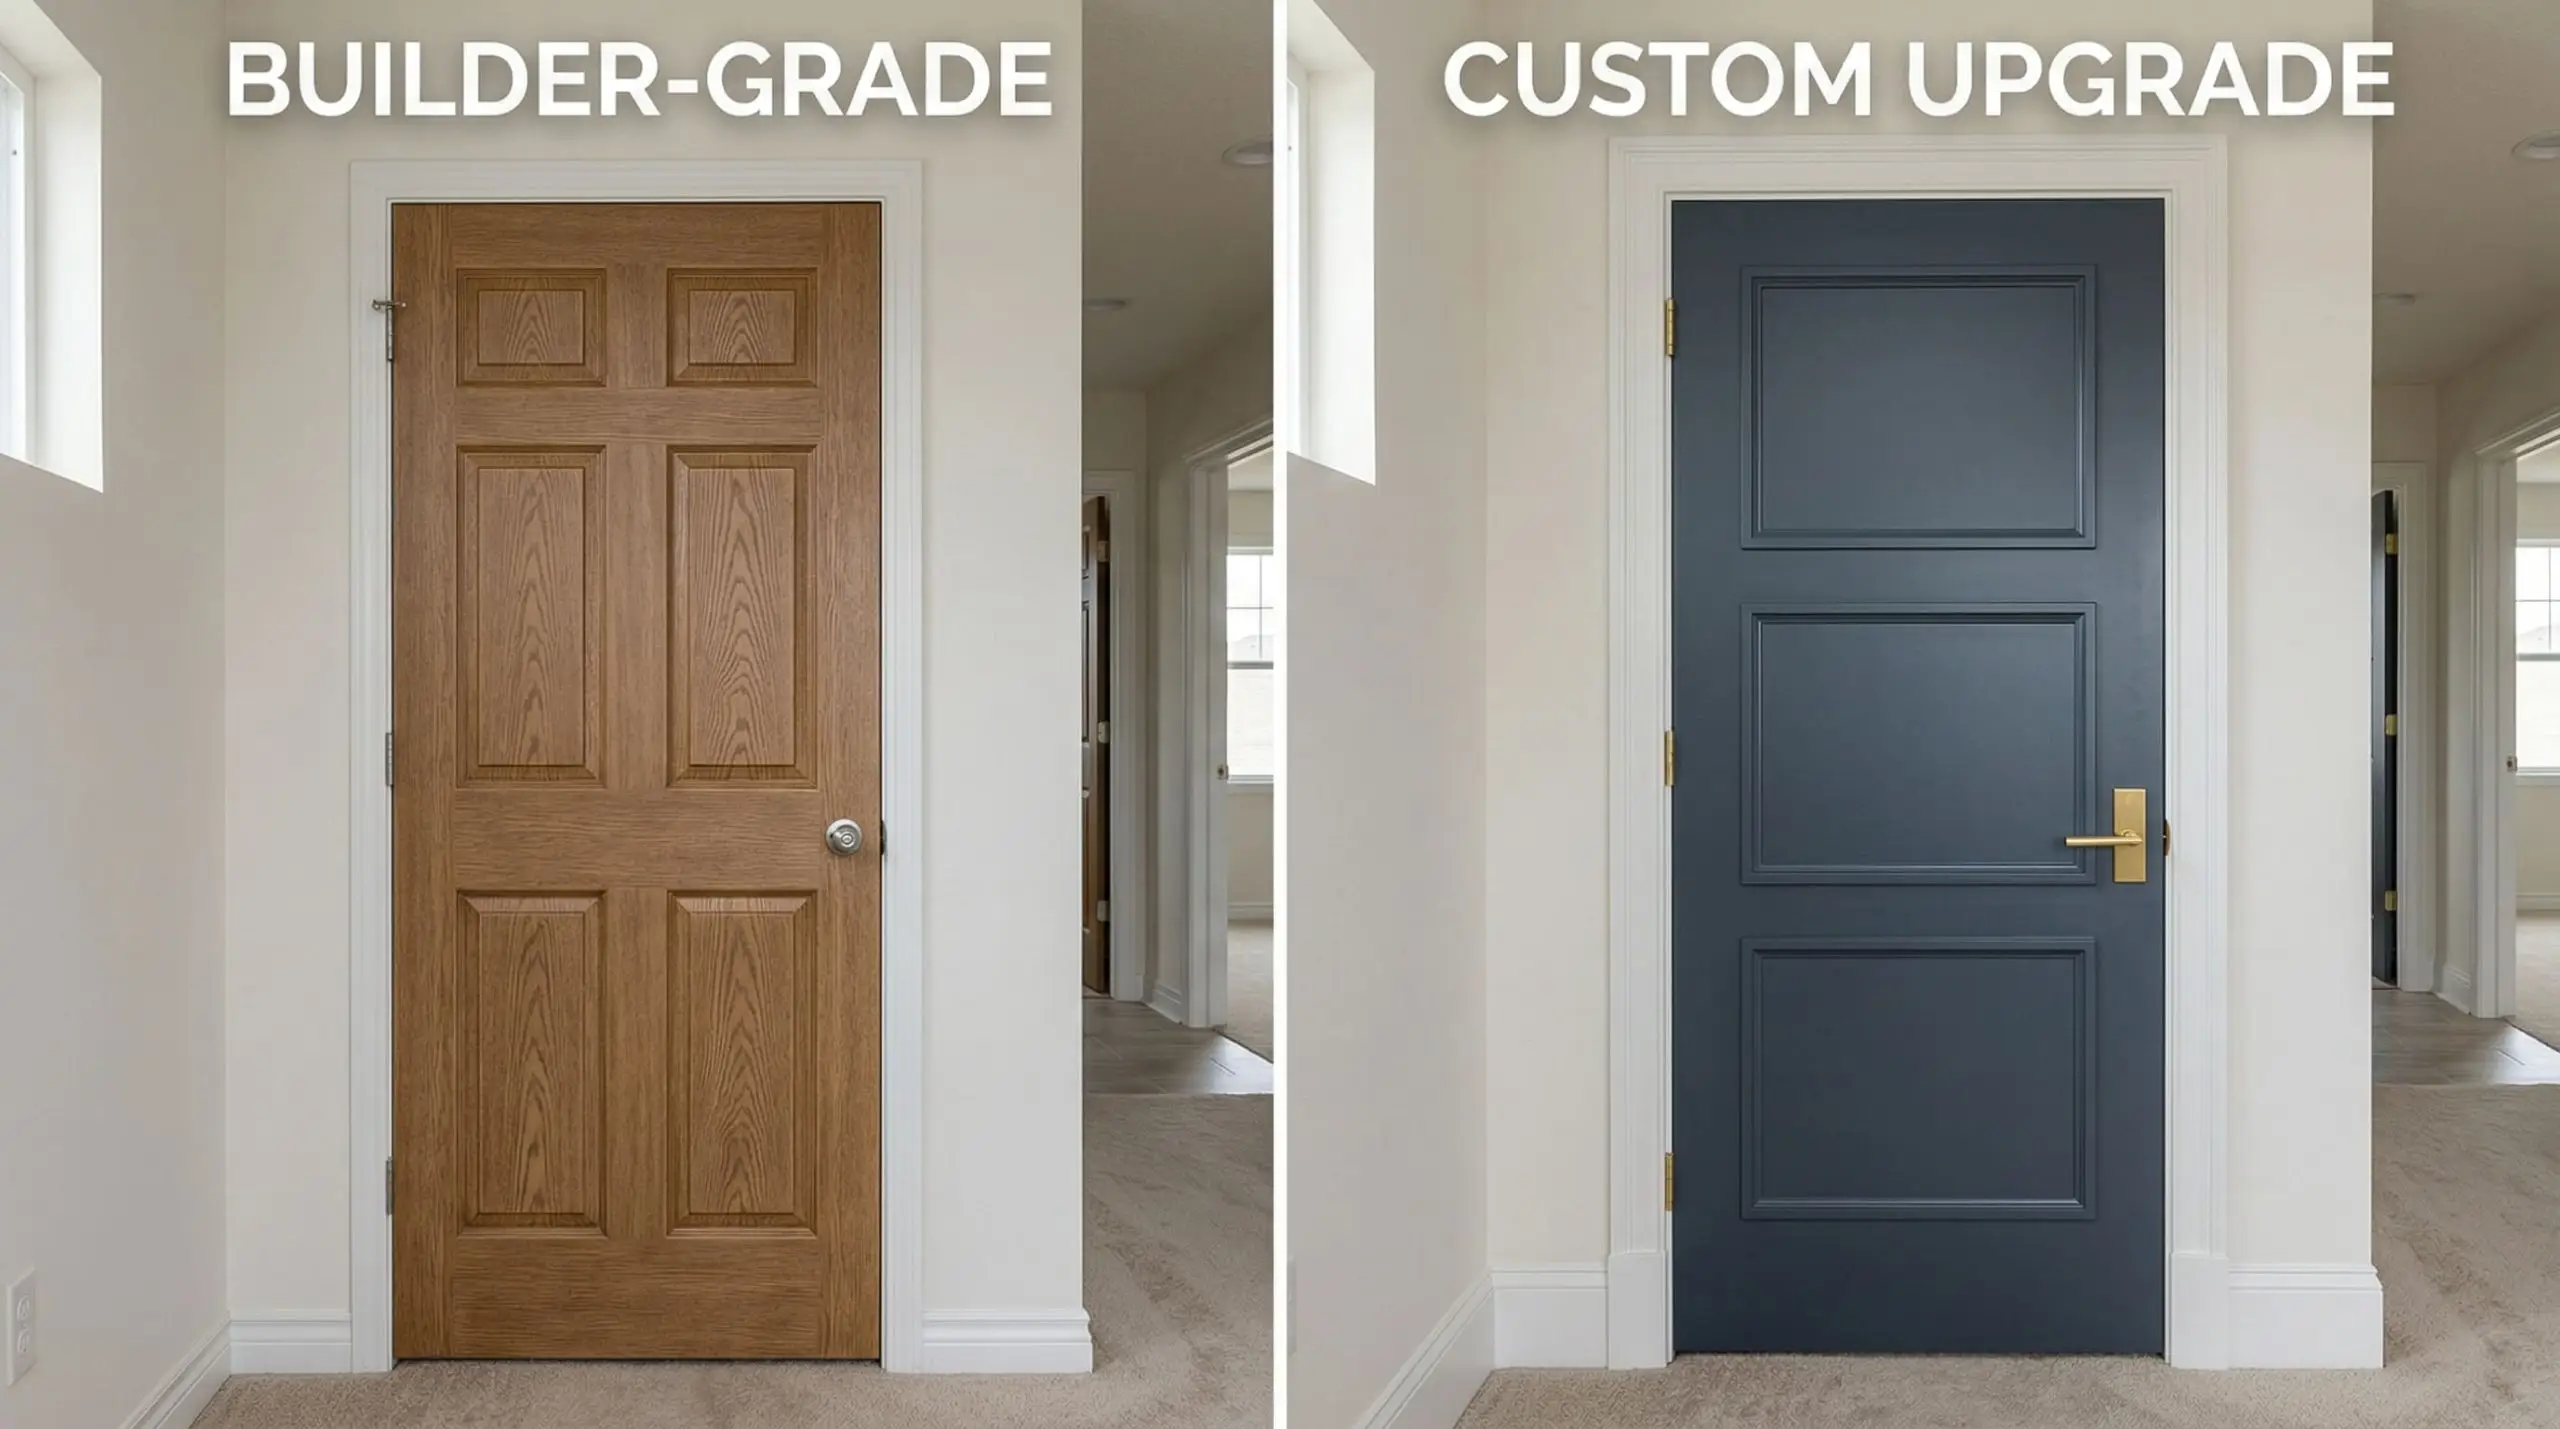
The textured, 6-panel hollow-core door is the hallmark of cheap residential construction. You have two distinct paths to eliminate this aesthetic, dictated entirely by your budget and STC acoustic requirements.
Layering Over Generic Flooring Options
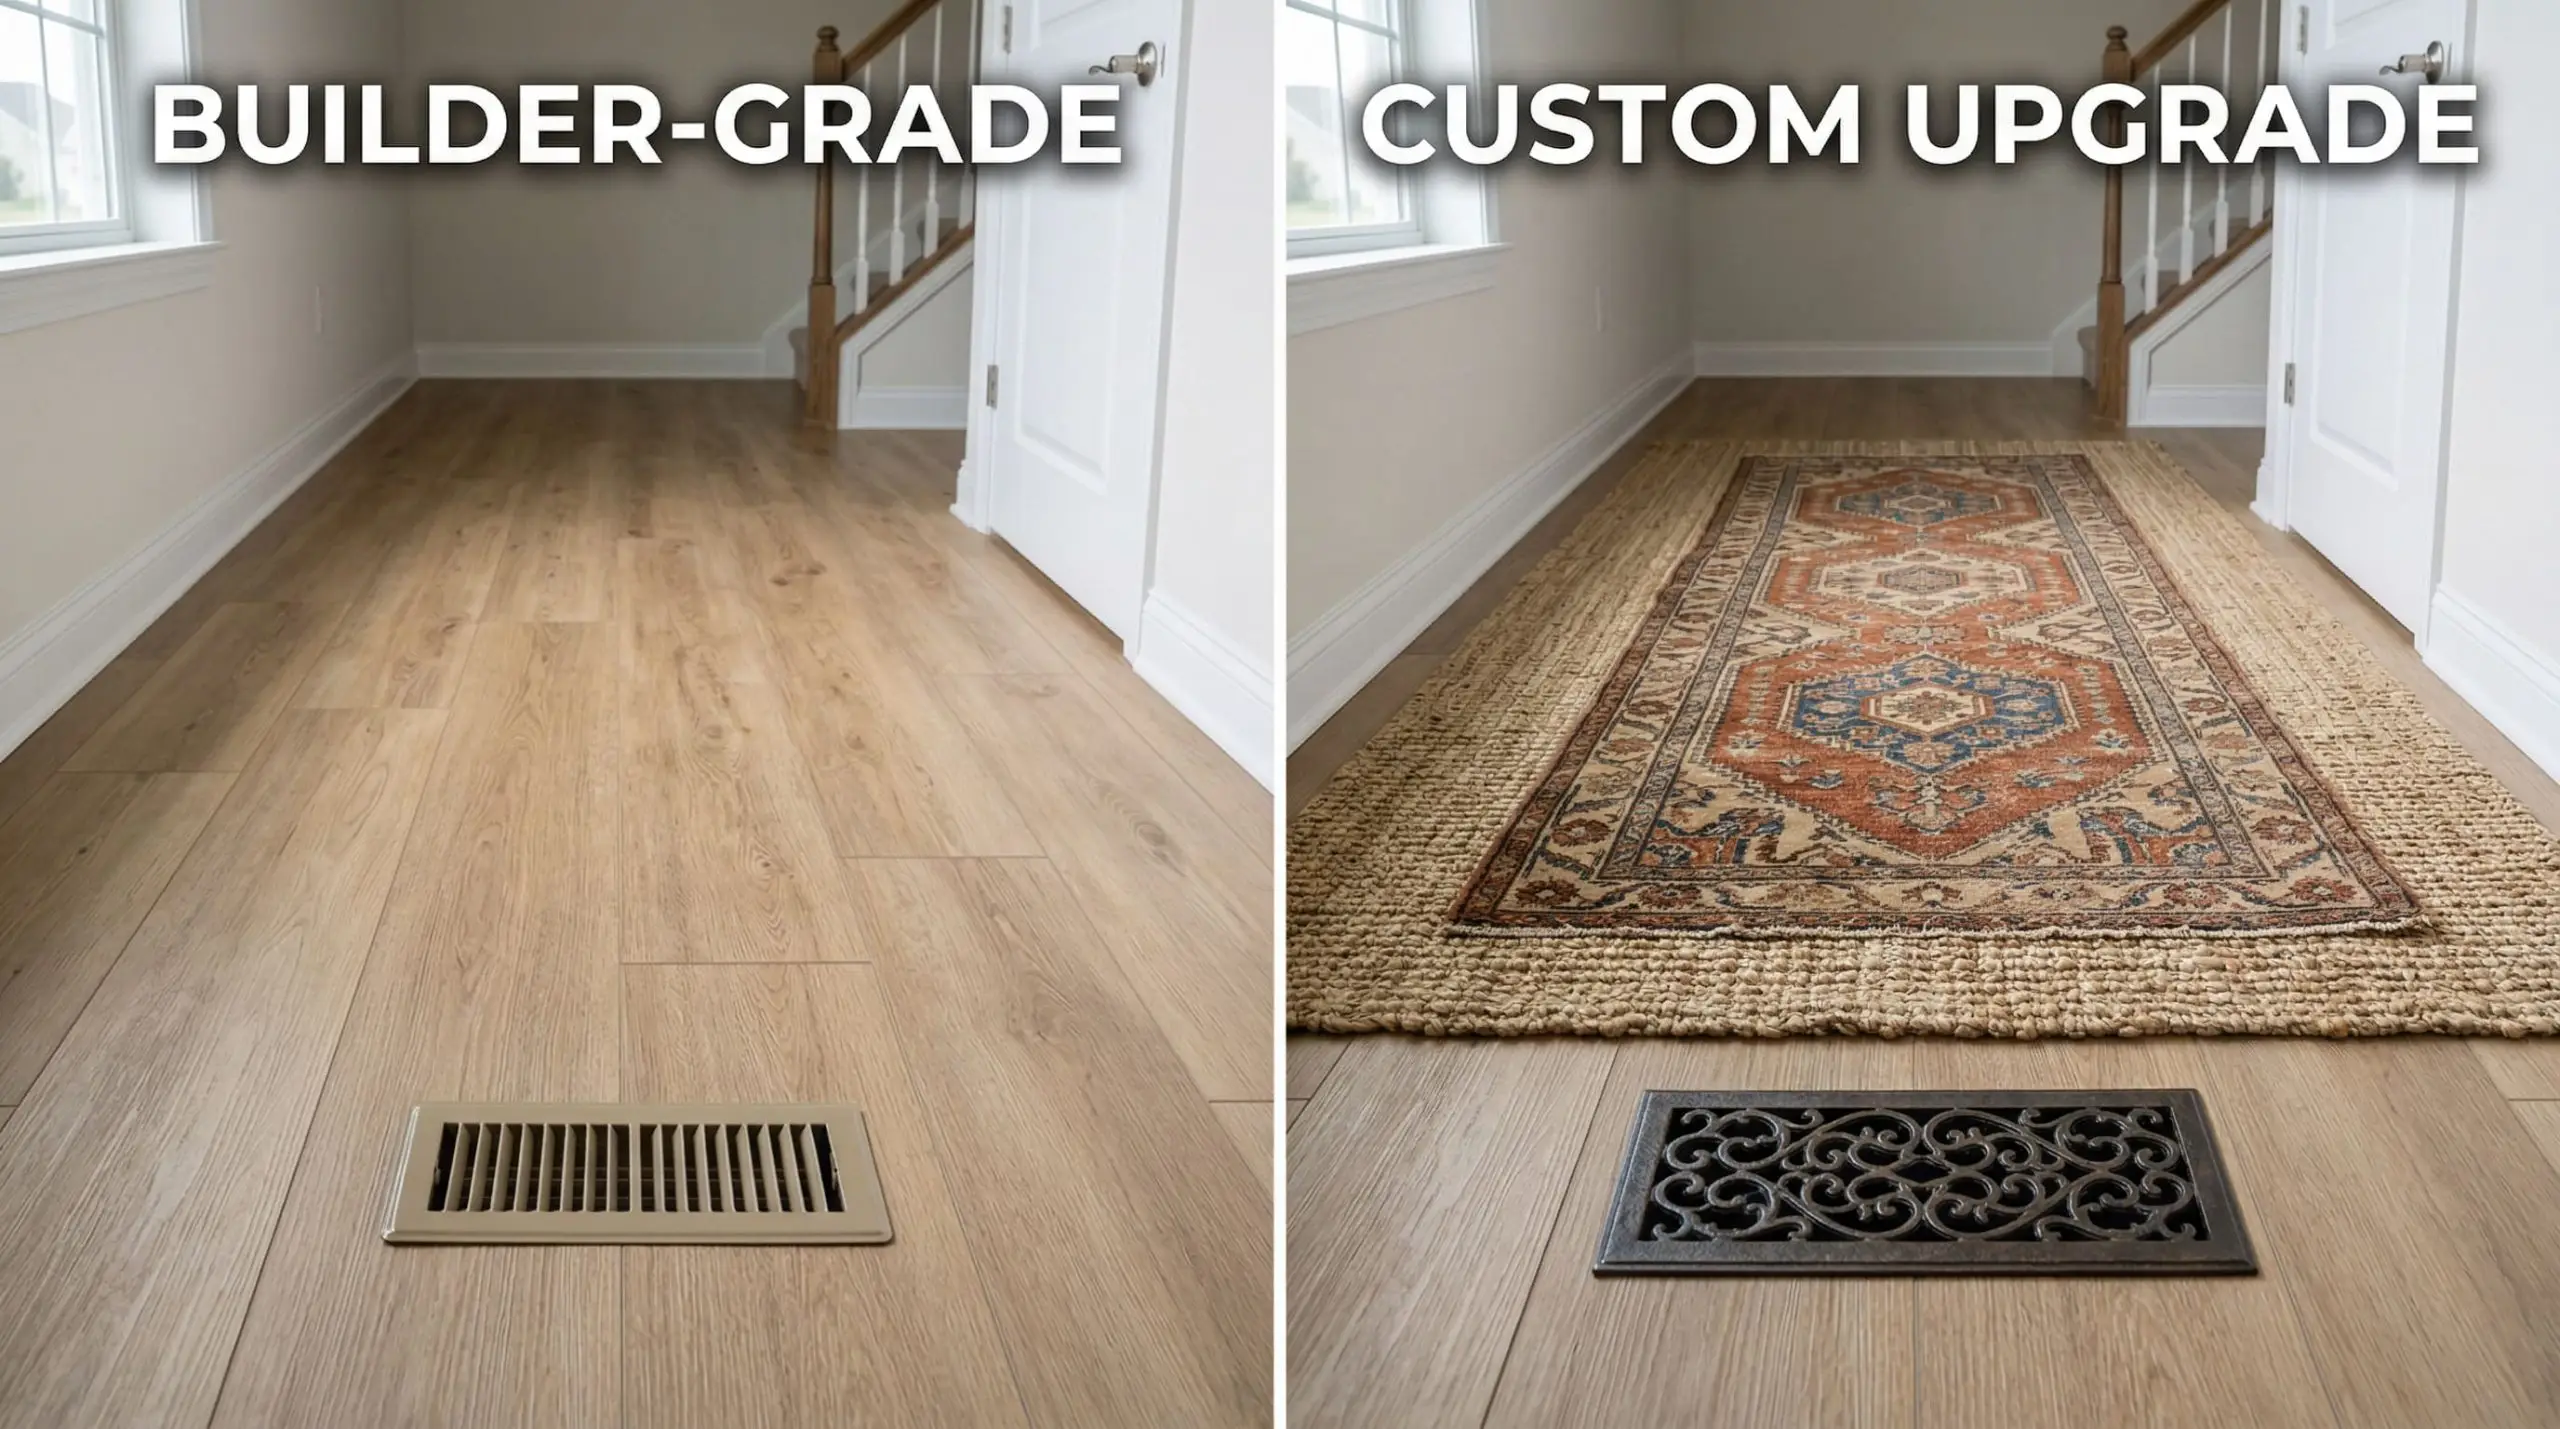
You cannot ignore cheap LVP or standard-issue carpet, but you can manipulate spatial proportions to draw the eye away from them. The solution is strategic layering using heavy, natural textiles.
Deploy oversized, natural fiber rugs (such as thick jute or sisal) as your foundational layer. The strict spatial rule here is to leave exactly an 18-inch border of exposed floor around the perimeter of the rug. Anything smaller shrinks the room. Over this natural fiber base, layer a vintage Turkish or Persian runner. The dense, historical patterns of the vintage wool command visual attention, forcing the cheap builder-grade flooring to recede into the background.
Finally, extract the flimsy, stamped-metal floor registers and HVAC vents. Swap them for flush-mount wood grilles or heavy cast-iron drop-in vents. This micro-upgrade costs less than $40 per vent but removes a glaring indicator of mass-production from your floor plan.
The Technician’s Sourcing Rolodex: Where to Buy Upgrades

Executing these upgrades requires bypassing the standard big-box home improvement stores. Big-box retailers cater to the lowest common denominator, marking up flimsy materials while limiting profile options. To achieve custom results on a strict budget, you must source materials like a general contractor.
Local lumberyards offer MDF profiles in continuous 16-foot lengths, which eliminates ugly scarf joints on long walls and is often 30% cheaper per linear foot than the 8-foot sections sold at retail hardware stores.
The Sourcing Rolodex
| Category | Recommended Sourcing Channel | Why It Beats Big-Box Stores |
|---|---|---|
| Millwork & Trim | Local Commercial Lumberyards | Access to 16-foot continuous lengths; 30% cheaper bulk pricing; superior MDF density. |
| Hardware & Doors | Architectural Salvage Yards & Direct-to-Consumer | Authentic solid brass and forged steel; access to heavy solid-core doors; avoids hollow zinc dupes. |
| Lighting Fixtures | Online Outlet Centers & Open-Box Retailers | High-end 2700K fixtures at 40-60% discounts; superior brass canopies and linen shades. |
Your Weekend Strike Plan: Mapping the Upgrades
Elevating a builder-grade home is a marathon of precision, not a chaotic sprint. Attempting to tackle millwork, paint, and plumbing simultaneously will result in half-finished rooms and blown budgets. You must compartmentalize the execution into highly focused, chronological phases.
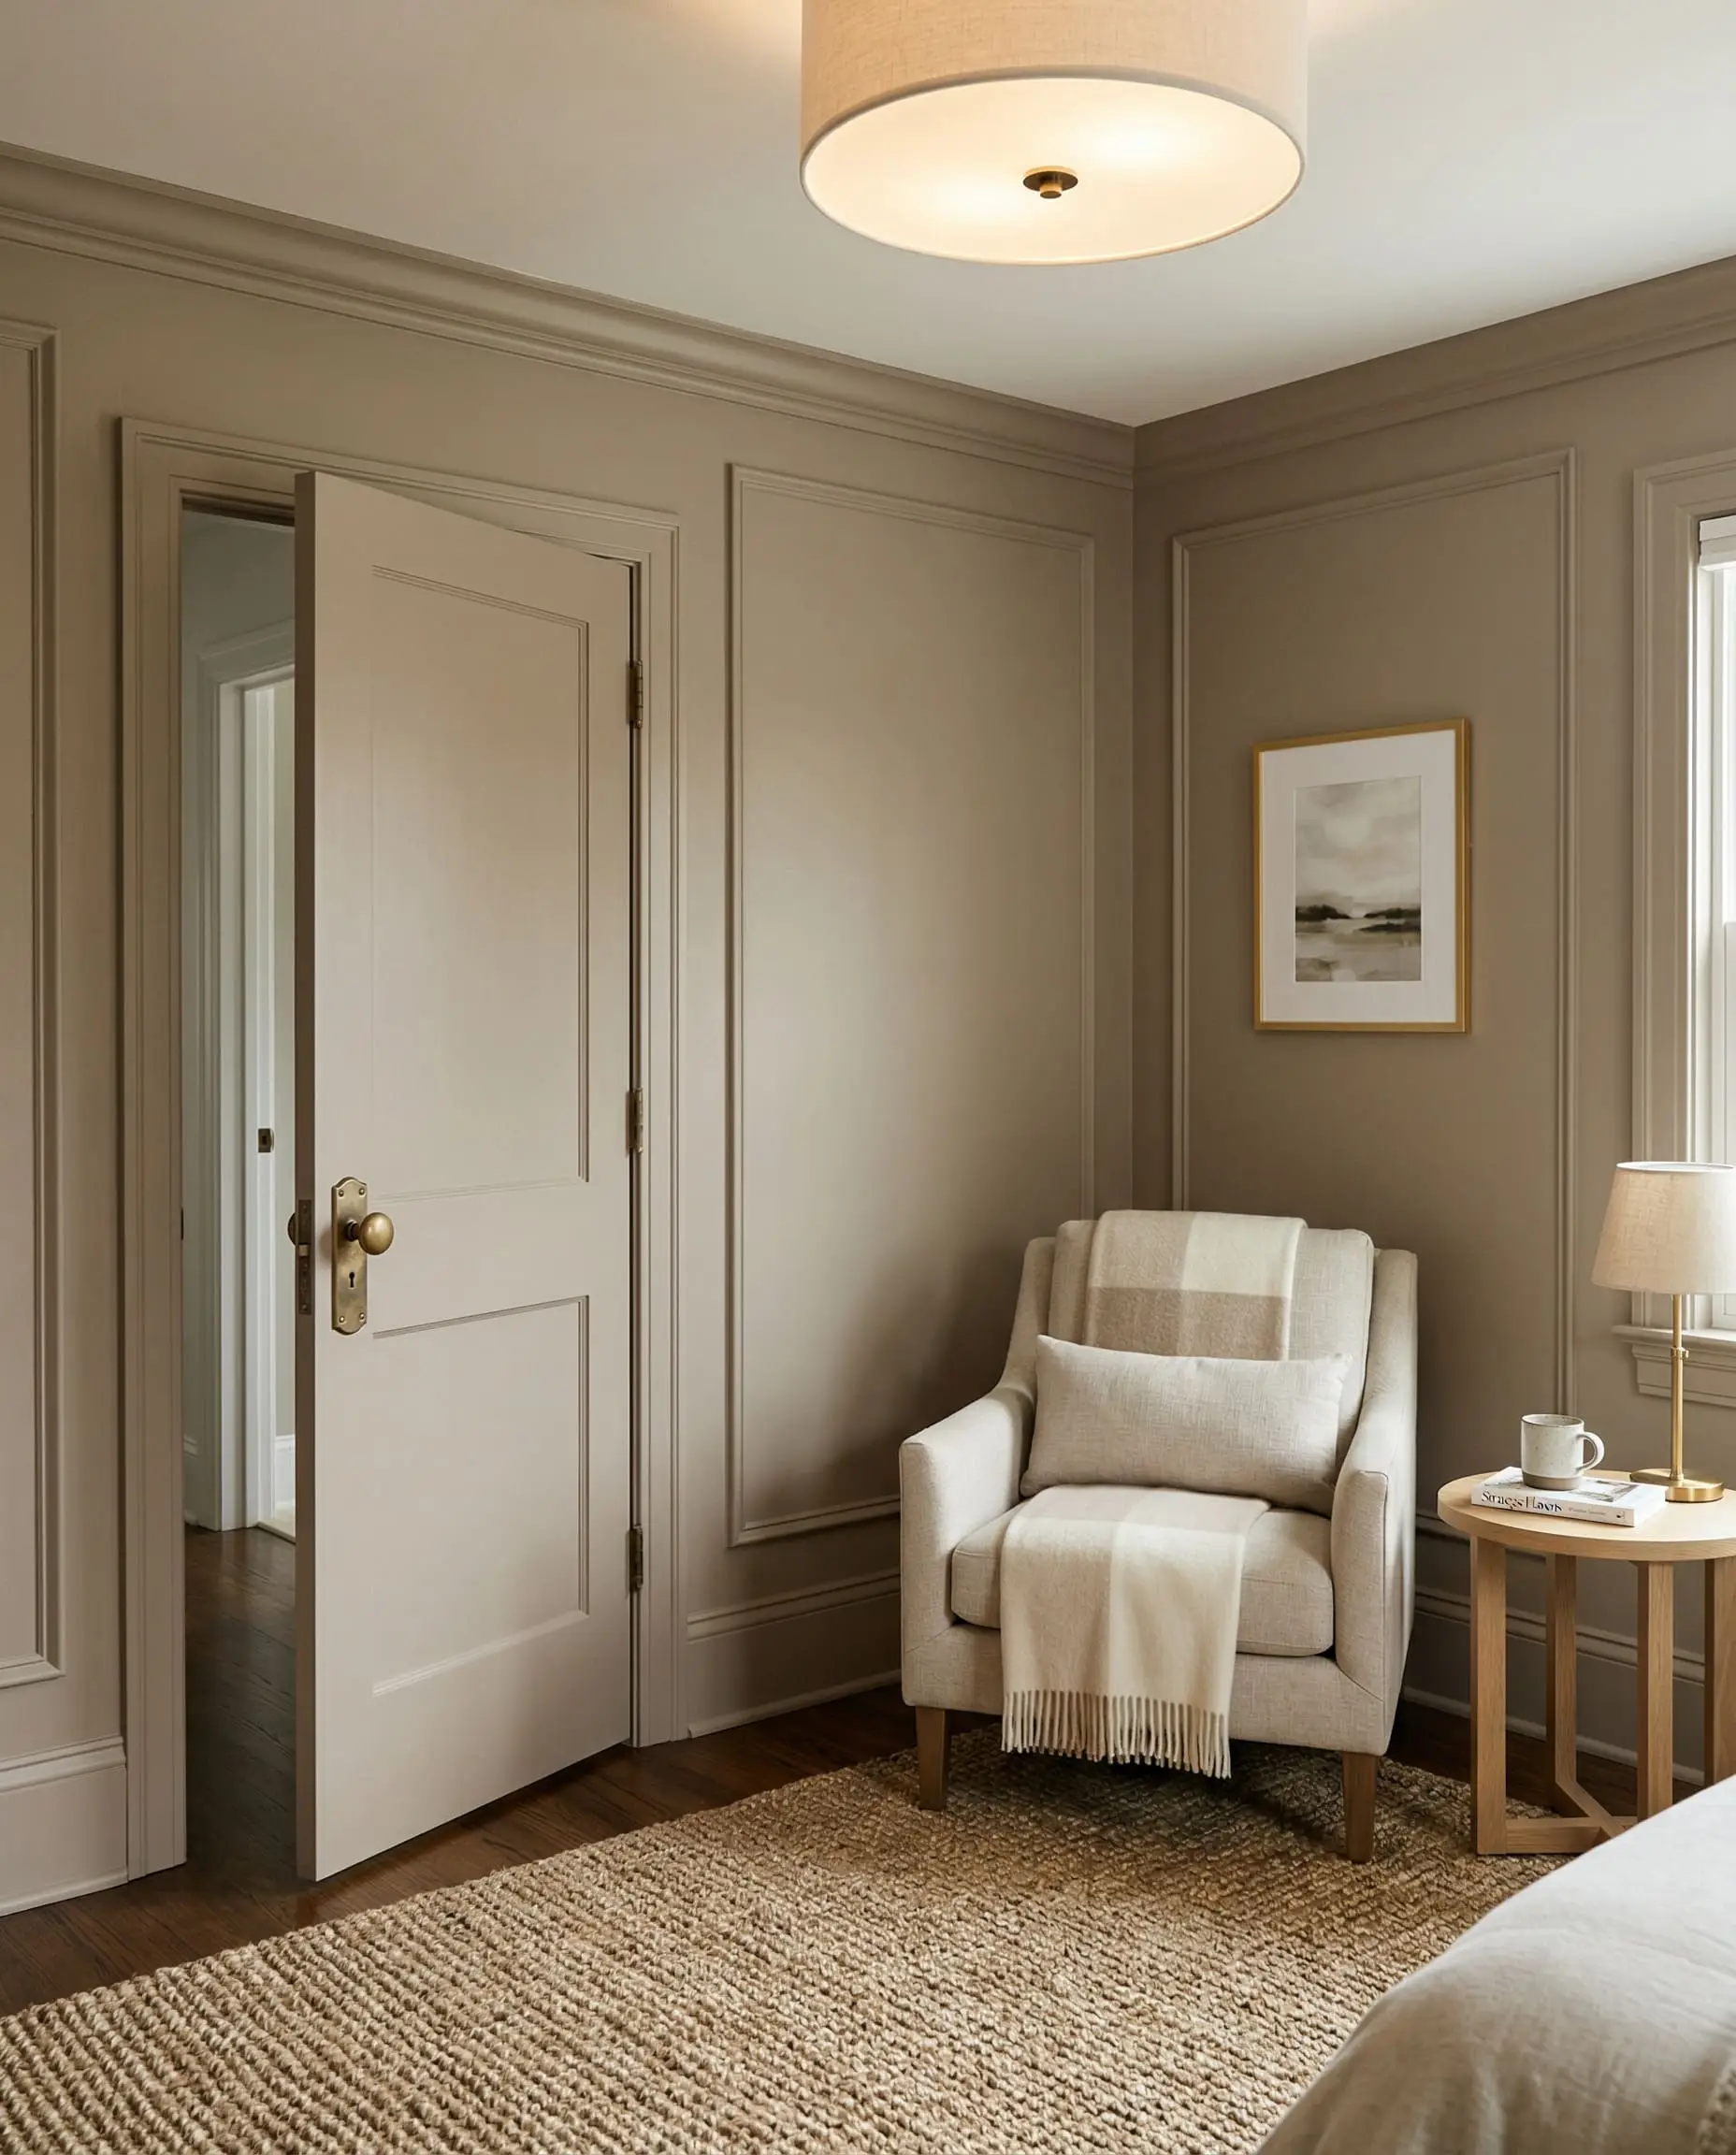
The mass-produced white box is a blank canvas, not a life sentence. Pick up a screwdriver, order your heavy-gauge hardware, and start hacking the architecture today.

The Hackrea Technical Desk handles the mathematics and material science of interior architecture. With a ruthless focus on lifecycle costs, structural integrity, and contractor-level reality checks, this desk cuts through manufacturer marketing to tell homeowners exactly how materials perform, what they actually cost, and the hidden pitfalls of installation.