You want the highly textured, organic modern aesthetic that is currently dominating your feed, but you are staring down the barrel of a strict lease and flat, sterile “builder-grade” landlord-white walls. We know the exact frustration of feeling trapped in a featureless box where any design risk threatens your move-out funds. Fortunately, you can absolutely achieve a renter-friendly faux limewash paint finish without sacrificing a single cent of your security deposit.
Never use authentic limewash in an apartment. Real limewash acts as a mineral stain that physically bonds to the drywall. When you eventually move out, you cannot simply paint over it; you will need to sand the walls and apply a highly specialized masonry primer, a mistake that will instantly vaporize your deposit.
The Renter’s Warning
The secret to beating the system is mastering the optical illusion of texture versus the reality of reversibility. By manipulating standard, affordable latex paint or utilizing highly realistic peel-and-stick wallpapers, you get the exact wabi-sabi aesthetic you crave. Here are 15 renter-friendly faux limewash paint hacks and reversible wallpaper ideas to transform your space right now.
The “Paint-Over” Methods: DIY Faux Limewash Paint Techniques
The foundation of faking plaster with standard interior latex paint relies entirely on sheen manipulation and transparency. If you want to create an optical illusion of depth that mimics an aged, organic texture, the surface must aggressively absorb light rather than reflect it.
To achieve this translucent, cloudy effect, you mix standard matte paint with a clear acrylic faux-finish glaze, allowing the base coat to peek through your brushstrokes.
You are strictly forbidden from using eggshell, satin, or semi-gloss finishes for these techniques. Even a hint of reflective sheen will instantly ruin the 3D illusion, leaving your walls looking like a poorly executed 1990s sponge-painting disaster. Stick exclusively to flat or matte finishes.
Pro-Tip
1. The Tone-on-Tone Cross-Hatch Glaze
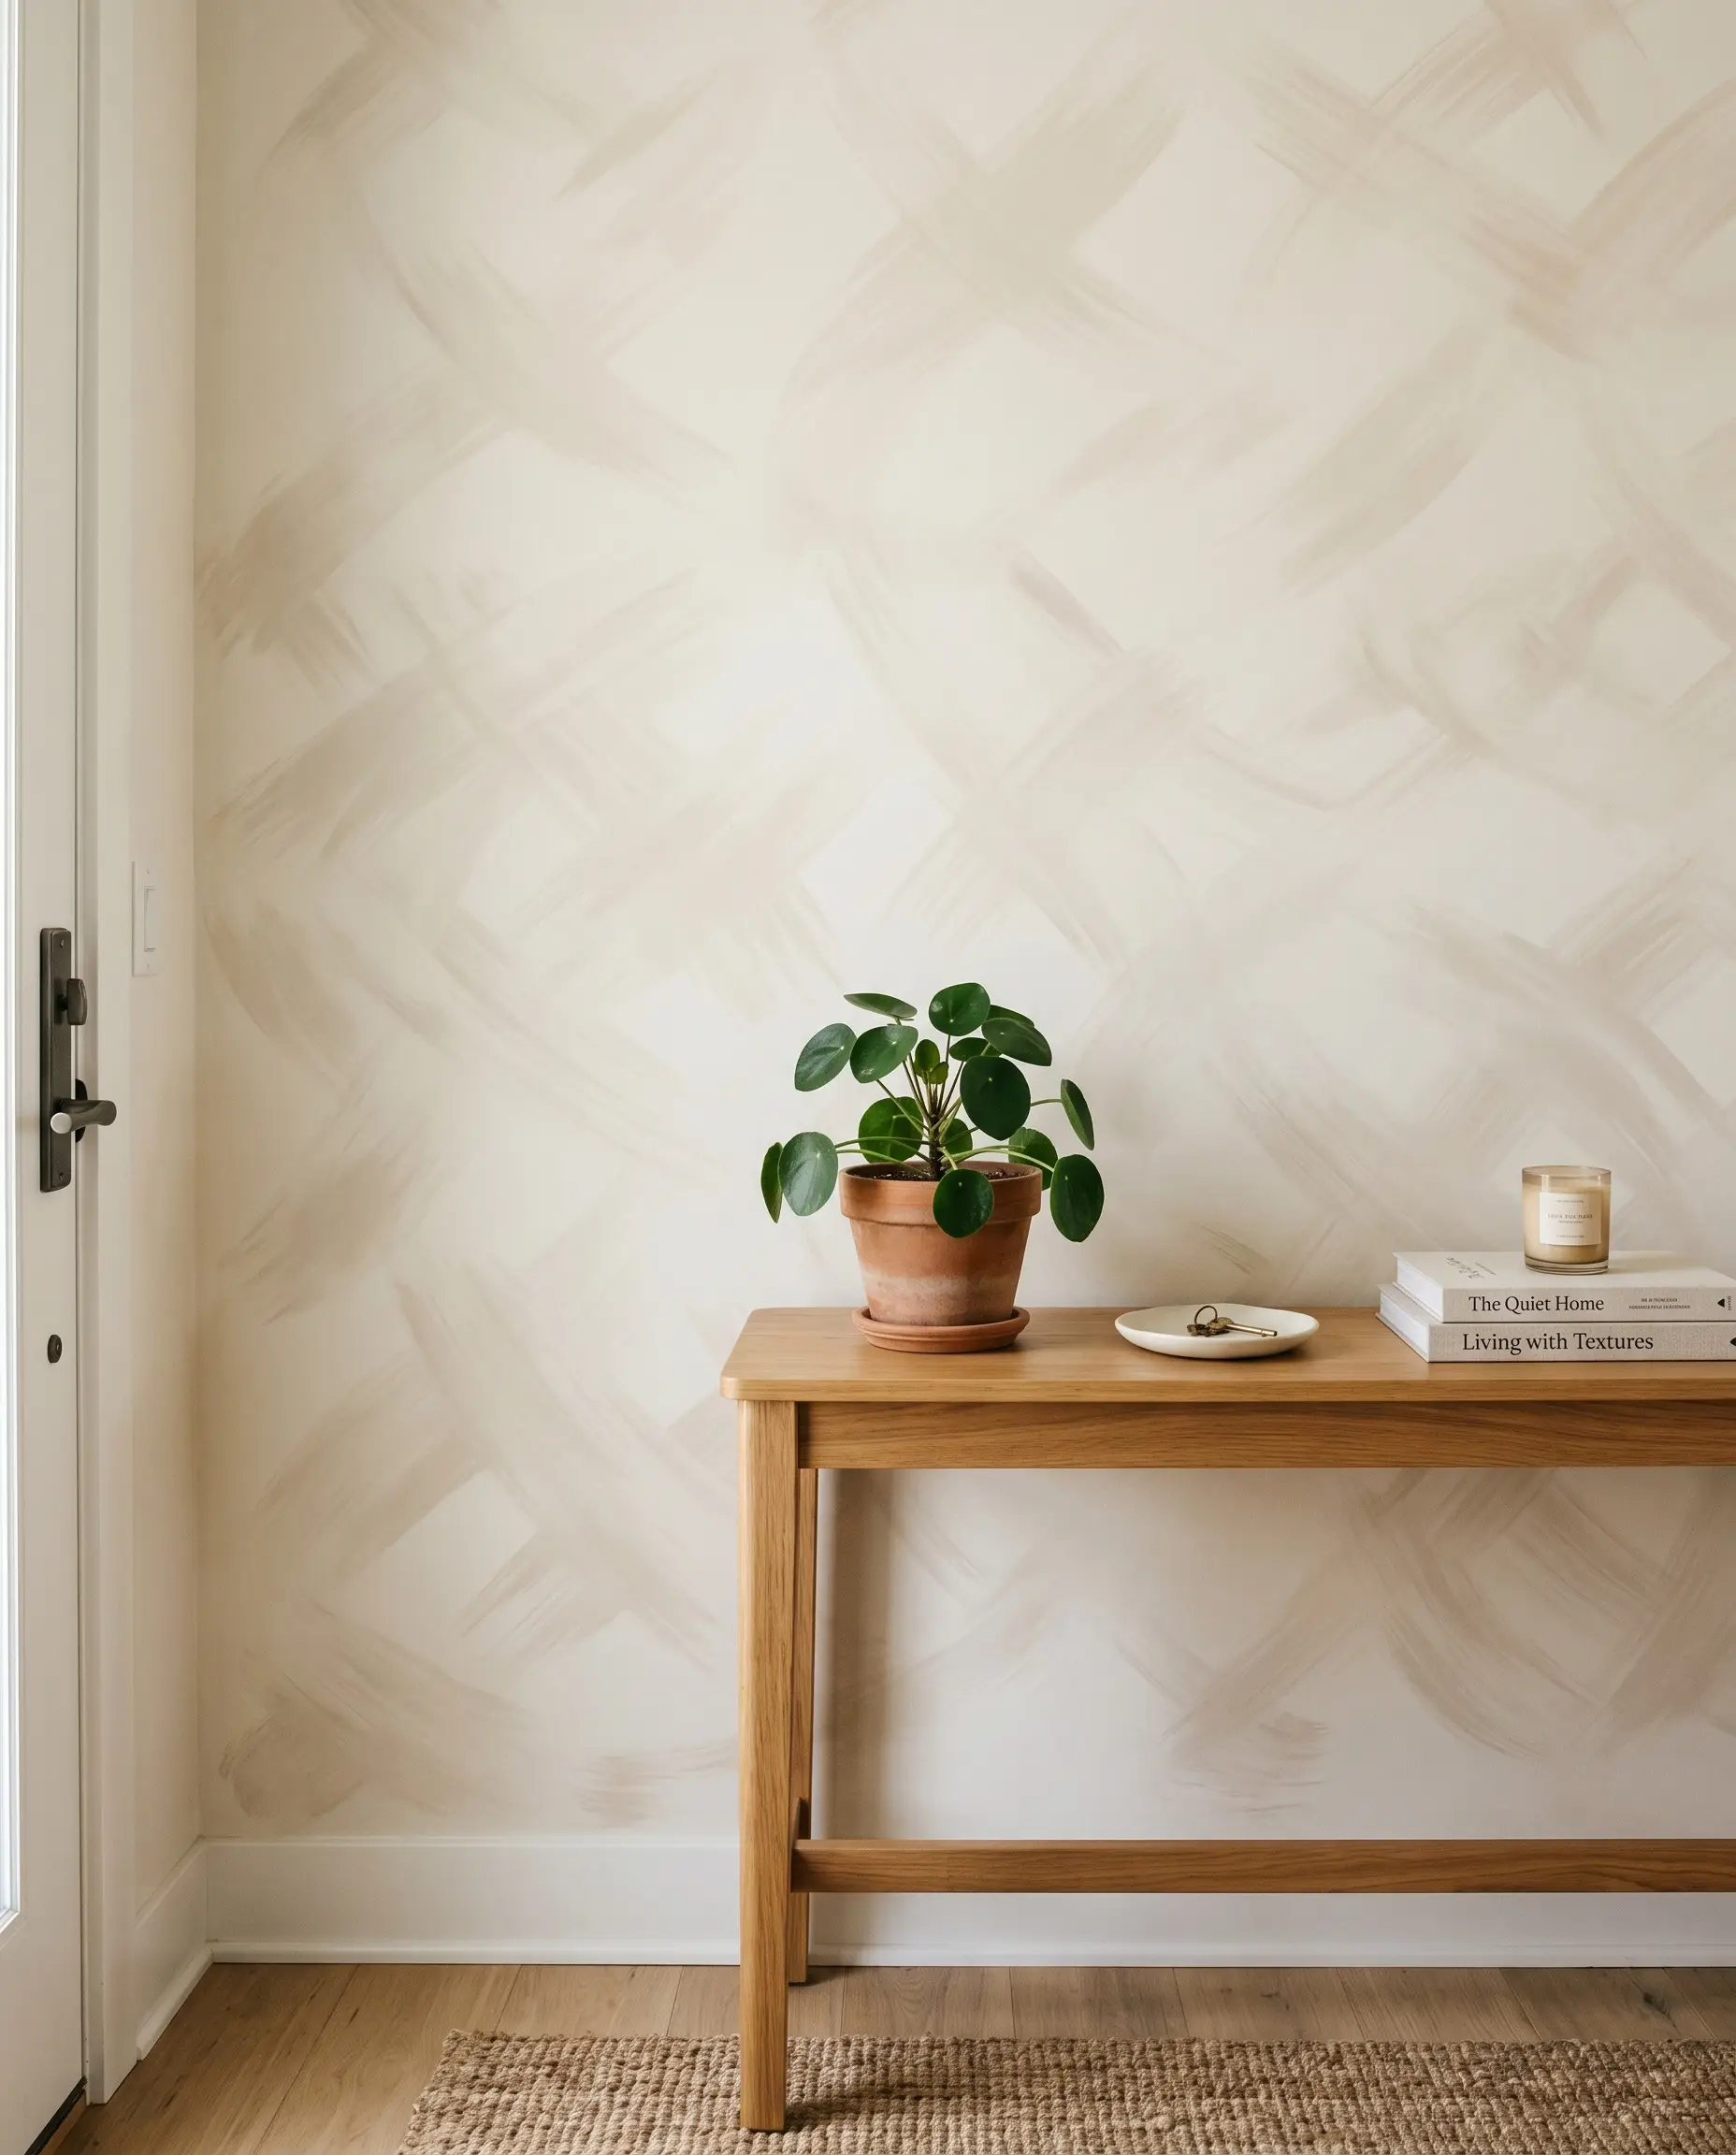
This is the foundational technique for mimicking the classic, sweeping brushstrokes of an authentic plaster wall. By layering a translucent glaze over a solid matte base coat using a wide block brush in overlapping “X” motions, you build a convincing, cloudy depth.
- Materials Needed: Wide masonry block brush, clear acrylic mixing glaze, paint tray, two matte paint colors.
- Material Match: Sherwin-Williams Alabaster (Base) mixed with Sherwin-Williams Accessible Beige (Glaze).
- Vibe: Warm Minimalism.
- Styling Pro-Tip: Keep your cross-hatch strokes loose and organic; perfect symmetry will destroy the illusion.
2. The Wet-Sponge “Clouding” Method
If harsh brush strokes feel too aggressive for your space, a large damp sea sponge delivers a softer, ethereal wabi-sabi application. Dabbing thinned latex paint in organic clusters and blending the edges with a dry rag perfectly replicates the natural mottling of aging walls.
- Materials Needed: Natural sea sponge, lint-free cotton rags, matte paint, water/glaze mix.
- Material Match: Benjamin Moore Swiss Coffee (Base) lightly clouded with Benjamin Moore Pale Oak.
- Vibe: Ethereal Japandi.
- Application Secret: Avoid stamping the sponge in a uniform grid; work in asymmetrical, diagonal clusters to prevent a polka-dot effect.
3. The Water-Thinned Matte Latex Hack
For the absolute tightest budgets, skipping the commercial glaze and simply diluting standard matte latex paint with water (a 1:1 ratio) creates an incredibly effective wash. Brushing this watery mixture directly over your existing apartment walls dries into a chalky, beautifully uneven finish.
Water-thinned paint is incredibly runny and messy. You must meticulously tape off your baseboards and cover the entire floor with drop cloths, or you risk staining the apartment floors.
The Renter’s Warning
- Materials Needed: Matte paint, water, mixing bucket, wide synthetic brush.
- Material Match: Sherwin-Williams Greek Villa (thinned wash over standard white walls).
- Vibe: Bare-bones Organic Modern.
- Cost Factor: Extremely low; requires only one quart of paint for an accent wall.
4. The Rag-Rolled Venetian Illusion
To capture a heavier, Mediterranean texture, twisting a clean cotton rag into a cylinder and rolling it through a darker glaze creates a striking, fractured look. The cloth leaves behind a veiny, old-world texture that completely disguises flat drywall.
- Materials Needed: Lint-free cotton rags, clear acrylic glaze, matte paint, paint tray.
- Material Match: Benjamin Moore White Dove (Base) with Benjamin Moore Revere Pewter (Glaze).
- Vibe: Mediterranean Villa.
- Technique Note: Change the direction of your rolling frequently so the “veins” intersect naturally rather than forming vertical stripes.
5. The “Color Wash” Over Standard White Walls
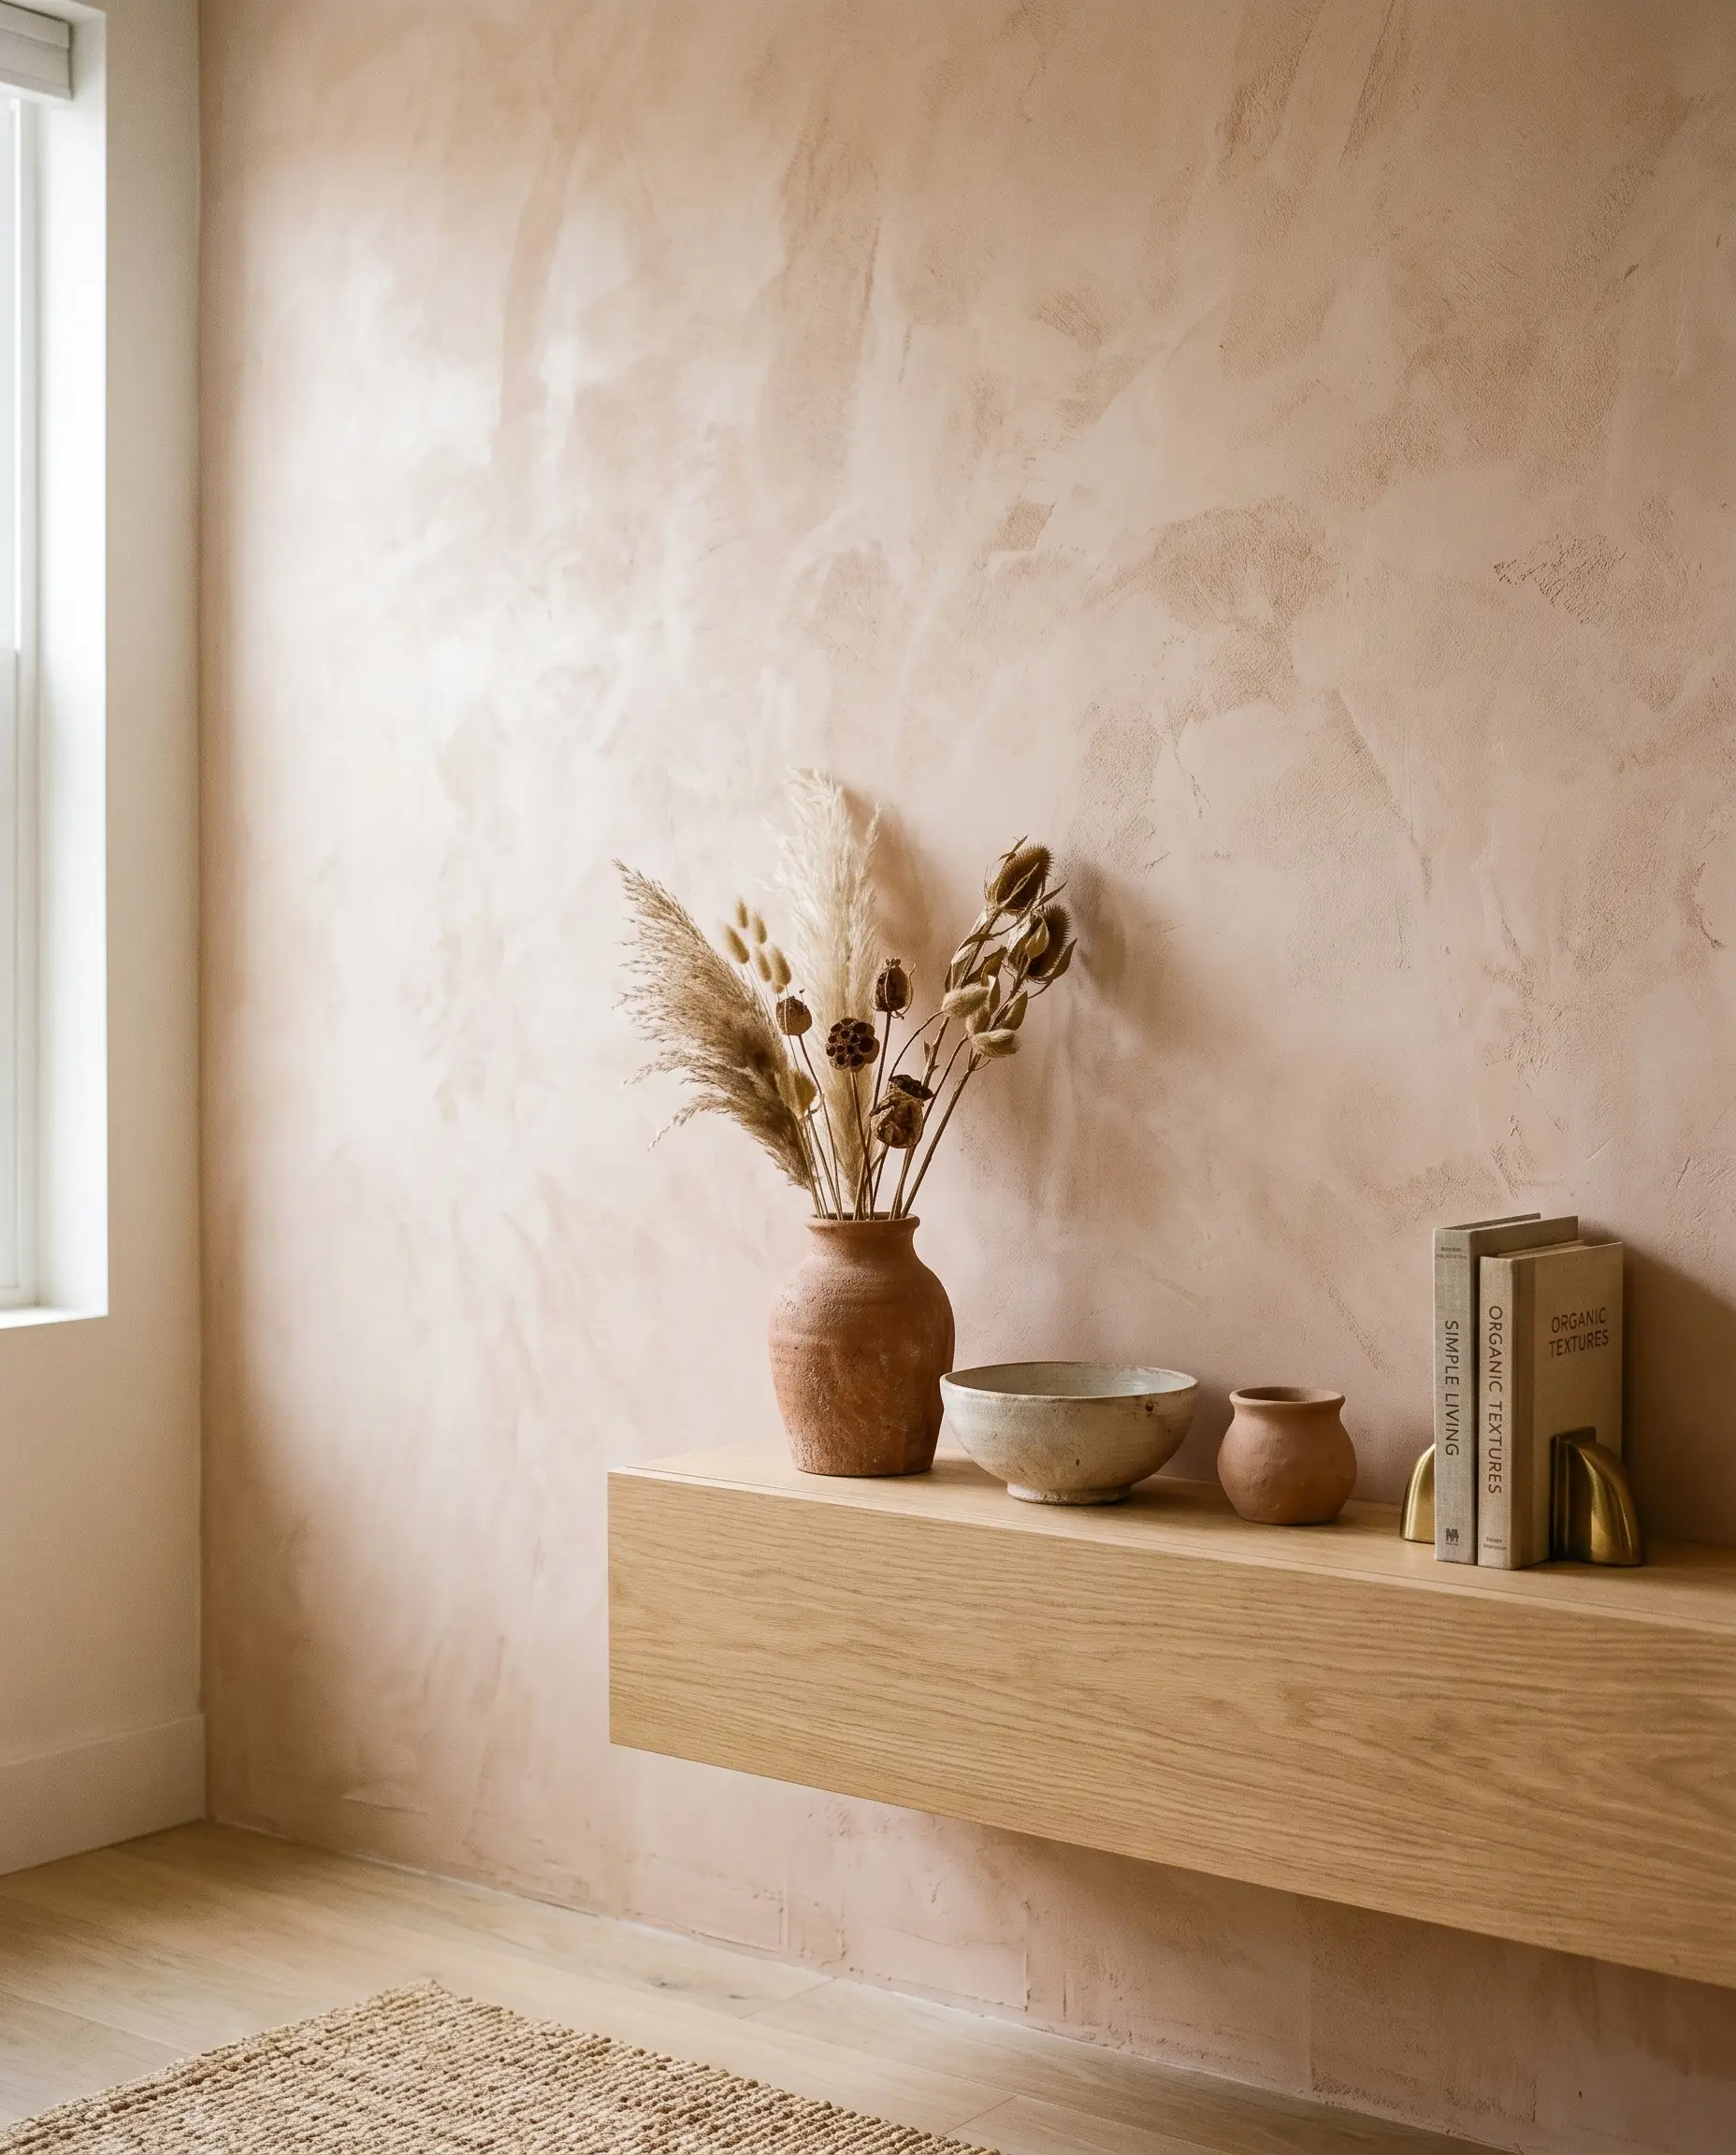
This lazy renter’s hack leverages the blank canvas you already have by using the existing landlord-white paint as your base coat. Applying a sheer, warm greige or terracotta wash directly over the apartment walls delivers maximum impact with minimal material investment.
- Materials Needed: Clear acrylic glaze, one quart of accent color, wide brush.
- Material Match: Farrow & Ball Setting Plaster (color-matched at a hardware store in standard matte) mixed into glaze.
- Vibe: Sun-baked earthy warmth.
- Time Commitment: Under three hours for a standard living room wall.
The Zero-Paint Route: Peel-and-Stick Faux Limewash Wallpaper
For renters facing incredibly strict leases—or those who simply refuse to deal with the labor of priming over a dark wall when they move out—high-quality peel-and-stick wallpaper is the ultimate loophole. Modern printing techniques have evolved drastically, flawlessly capturing the shadows and cloudy depth of real texture on a completely reversible, zero-mess vinyl surface.
| Feature | DIY Faux Paint Hacks | Peel-and-Stick Wallpaper |
|---|---|---|
| Cost | Under $50 | $100 – $300+ per wall |
| Installation Time | 1-2 Days (includes drying) | 2-4 Hours |
| Reversibility | Requires high-hide primer and repainting | 100% peel-off removal |
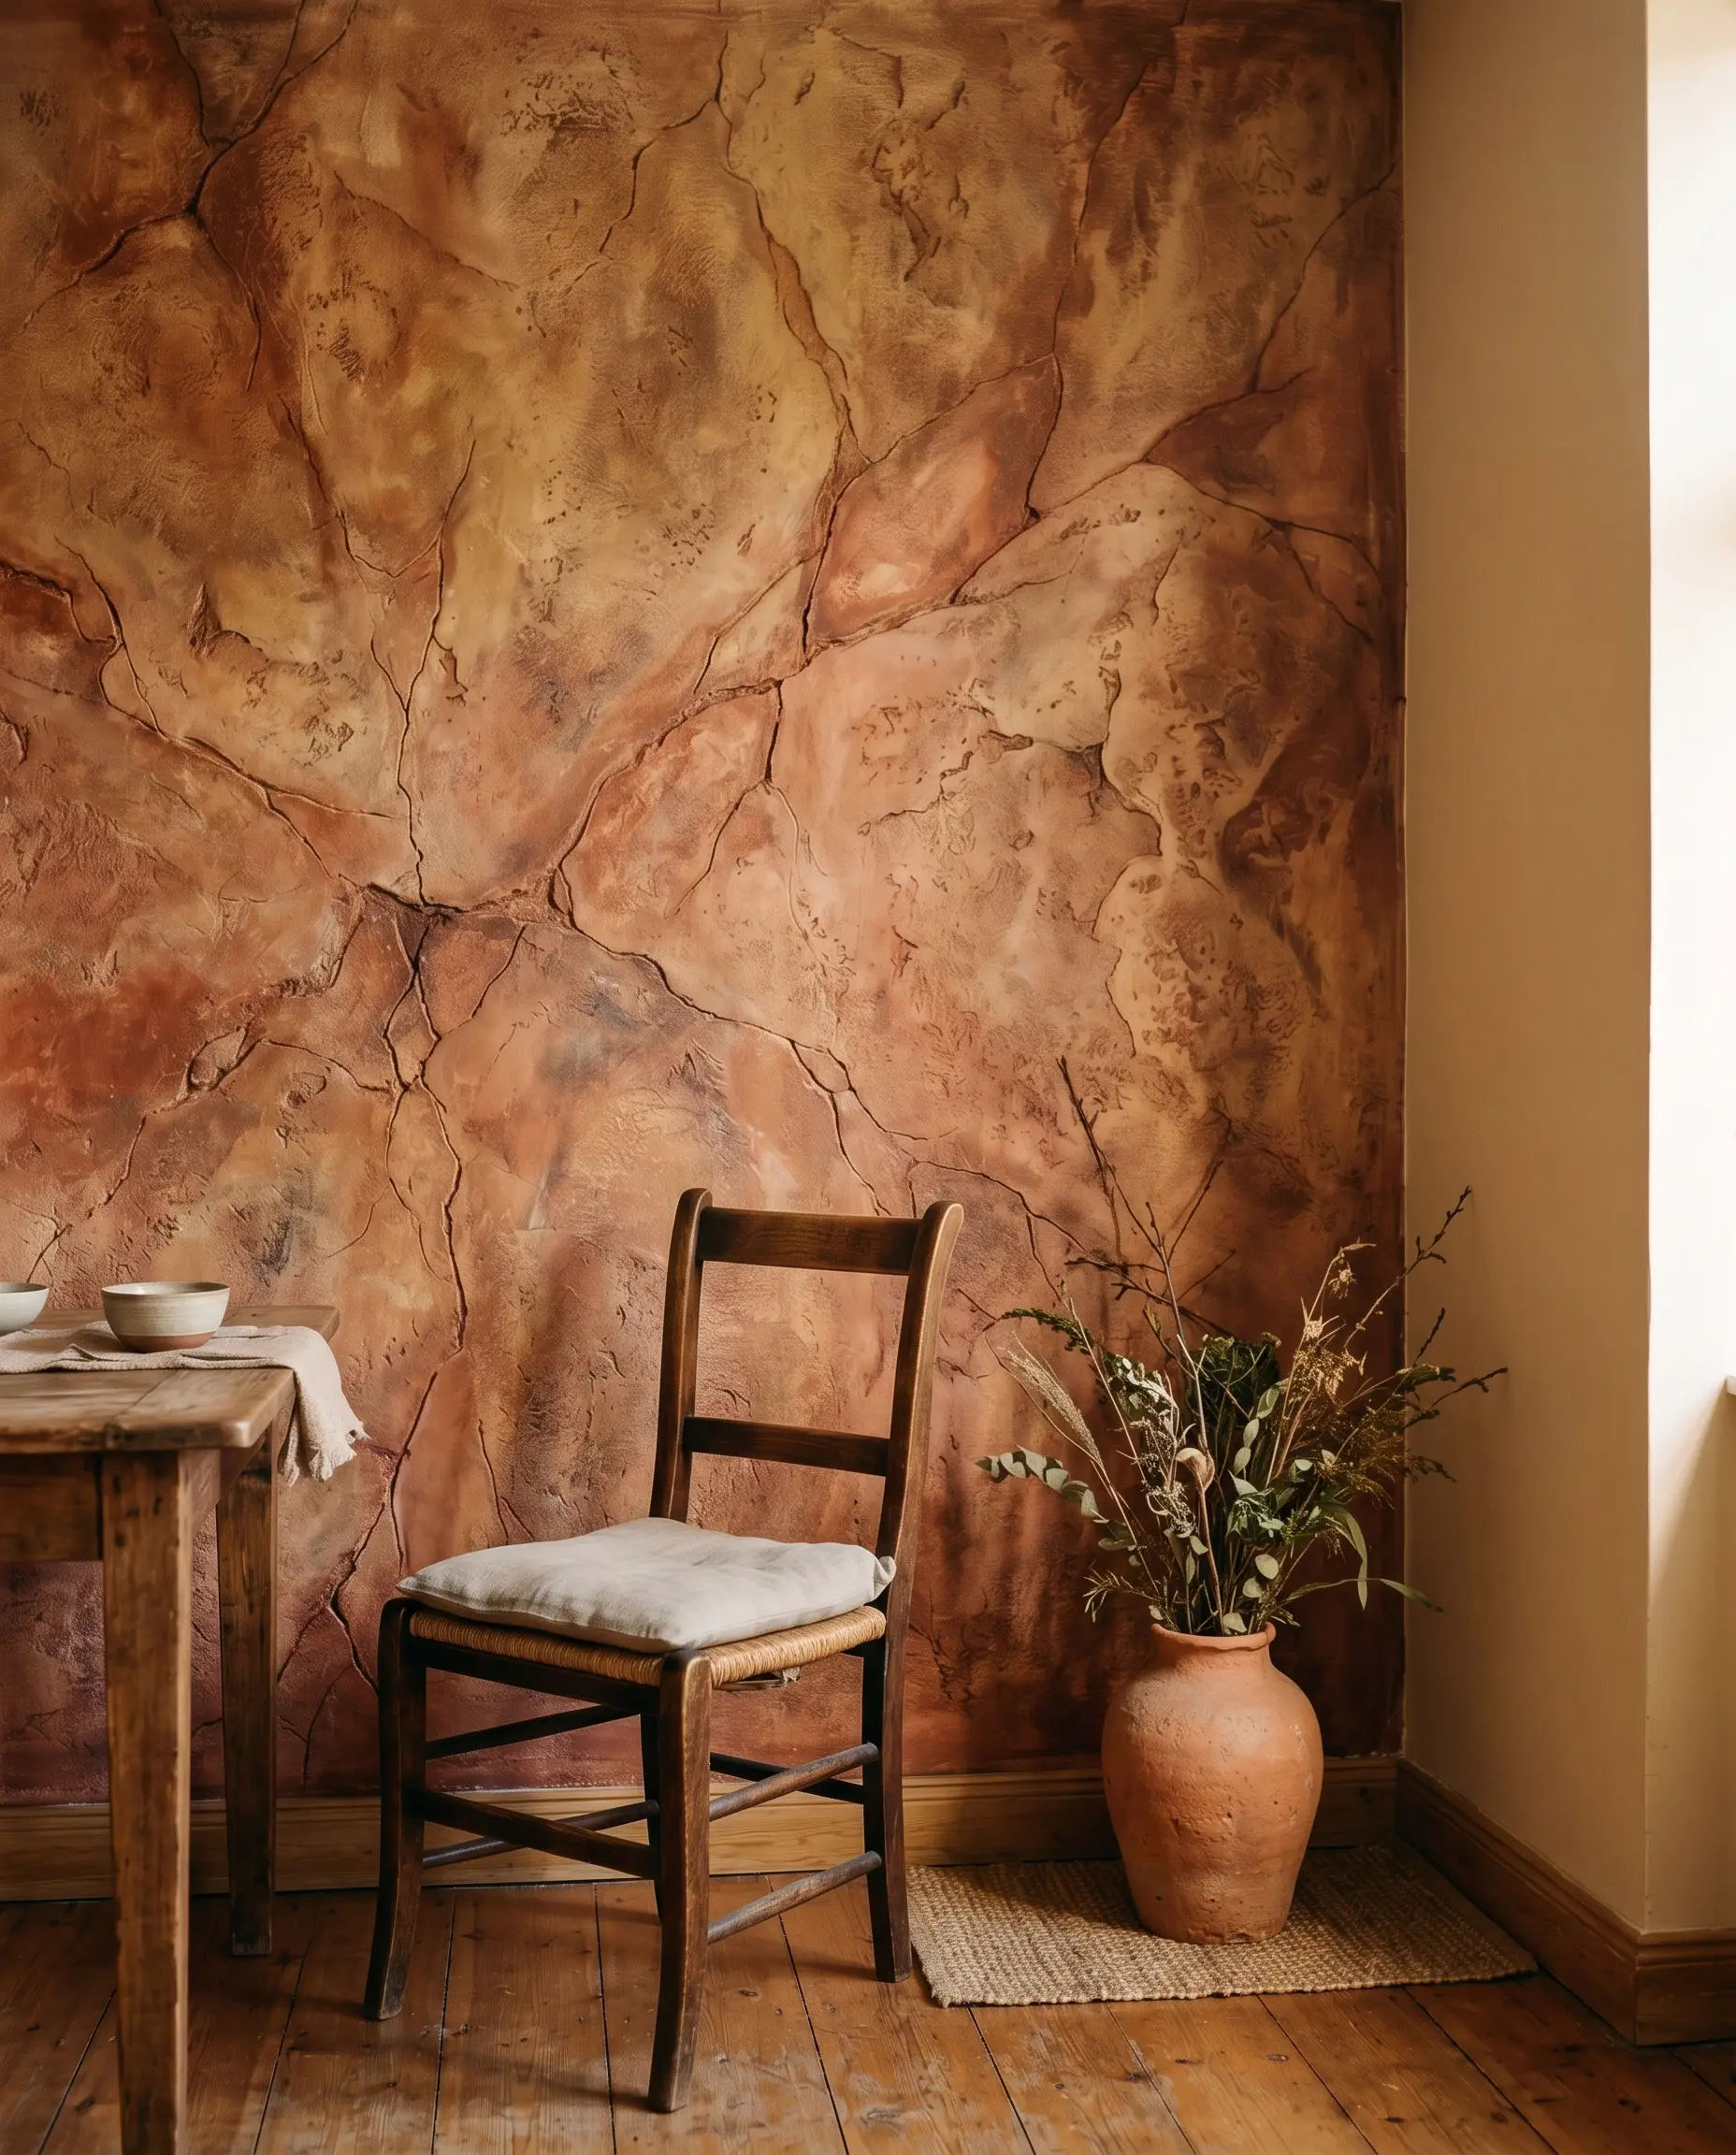
6. Earthy Terracotta Peel-and-Stick Murals
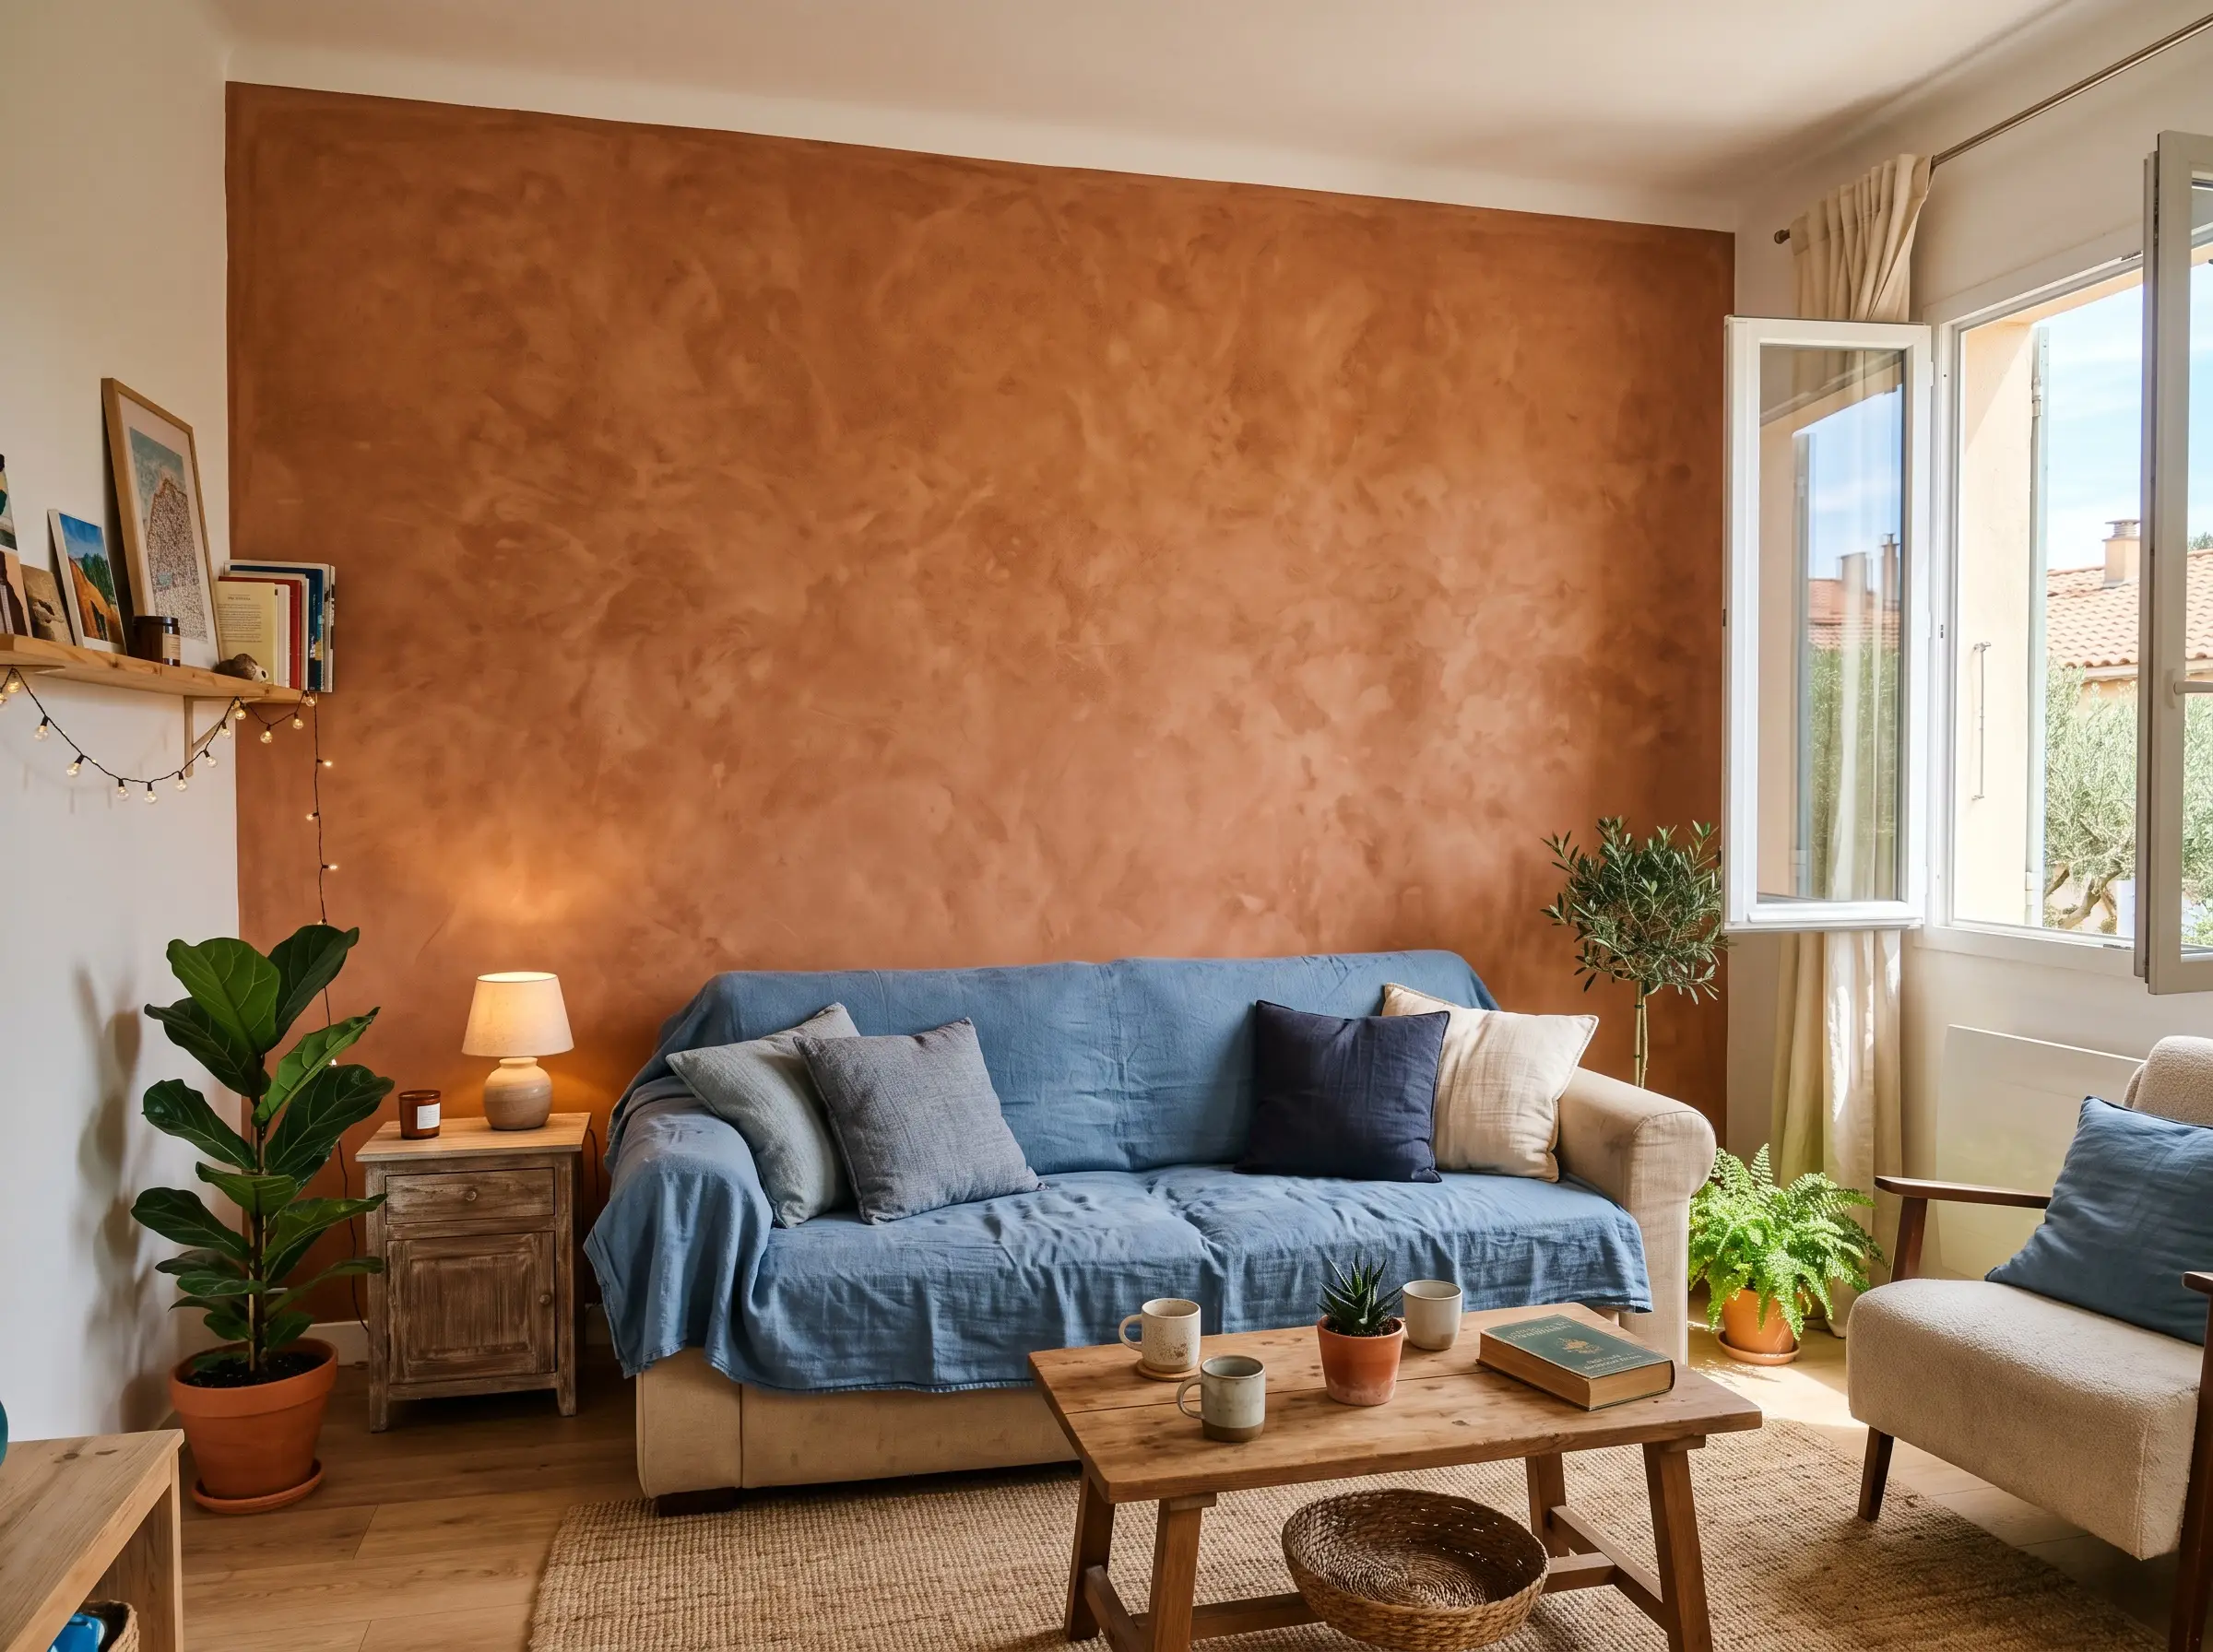
Terracotta and warm clay tones are dominating the organic design space, bringing intense warmth to otherwise sterile rooms. Selecting a high-quality vinyl mural with a large-scale, non-repeating mottled pattern is crucial to avoid the obvious, repetitive “wallpaper seam” look.
- Search Term Strategy: Look for “ombre terracotta faux texture removable mural.”
- Key Material: Heavyweight vinyl with a matte finish.
- Vibe: Warm Mediterranean.
- Styling Pro-Tip: Pair with olive trees and matte black hardware to ground the rich, rusty tones.
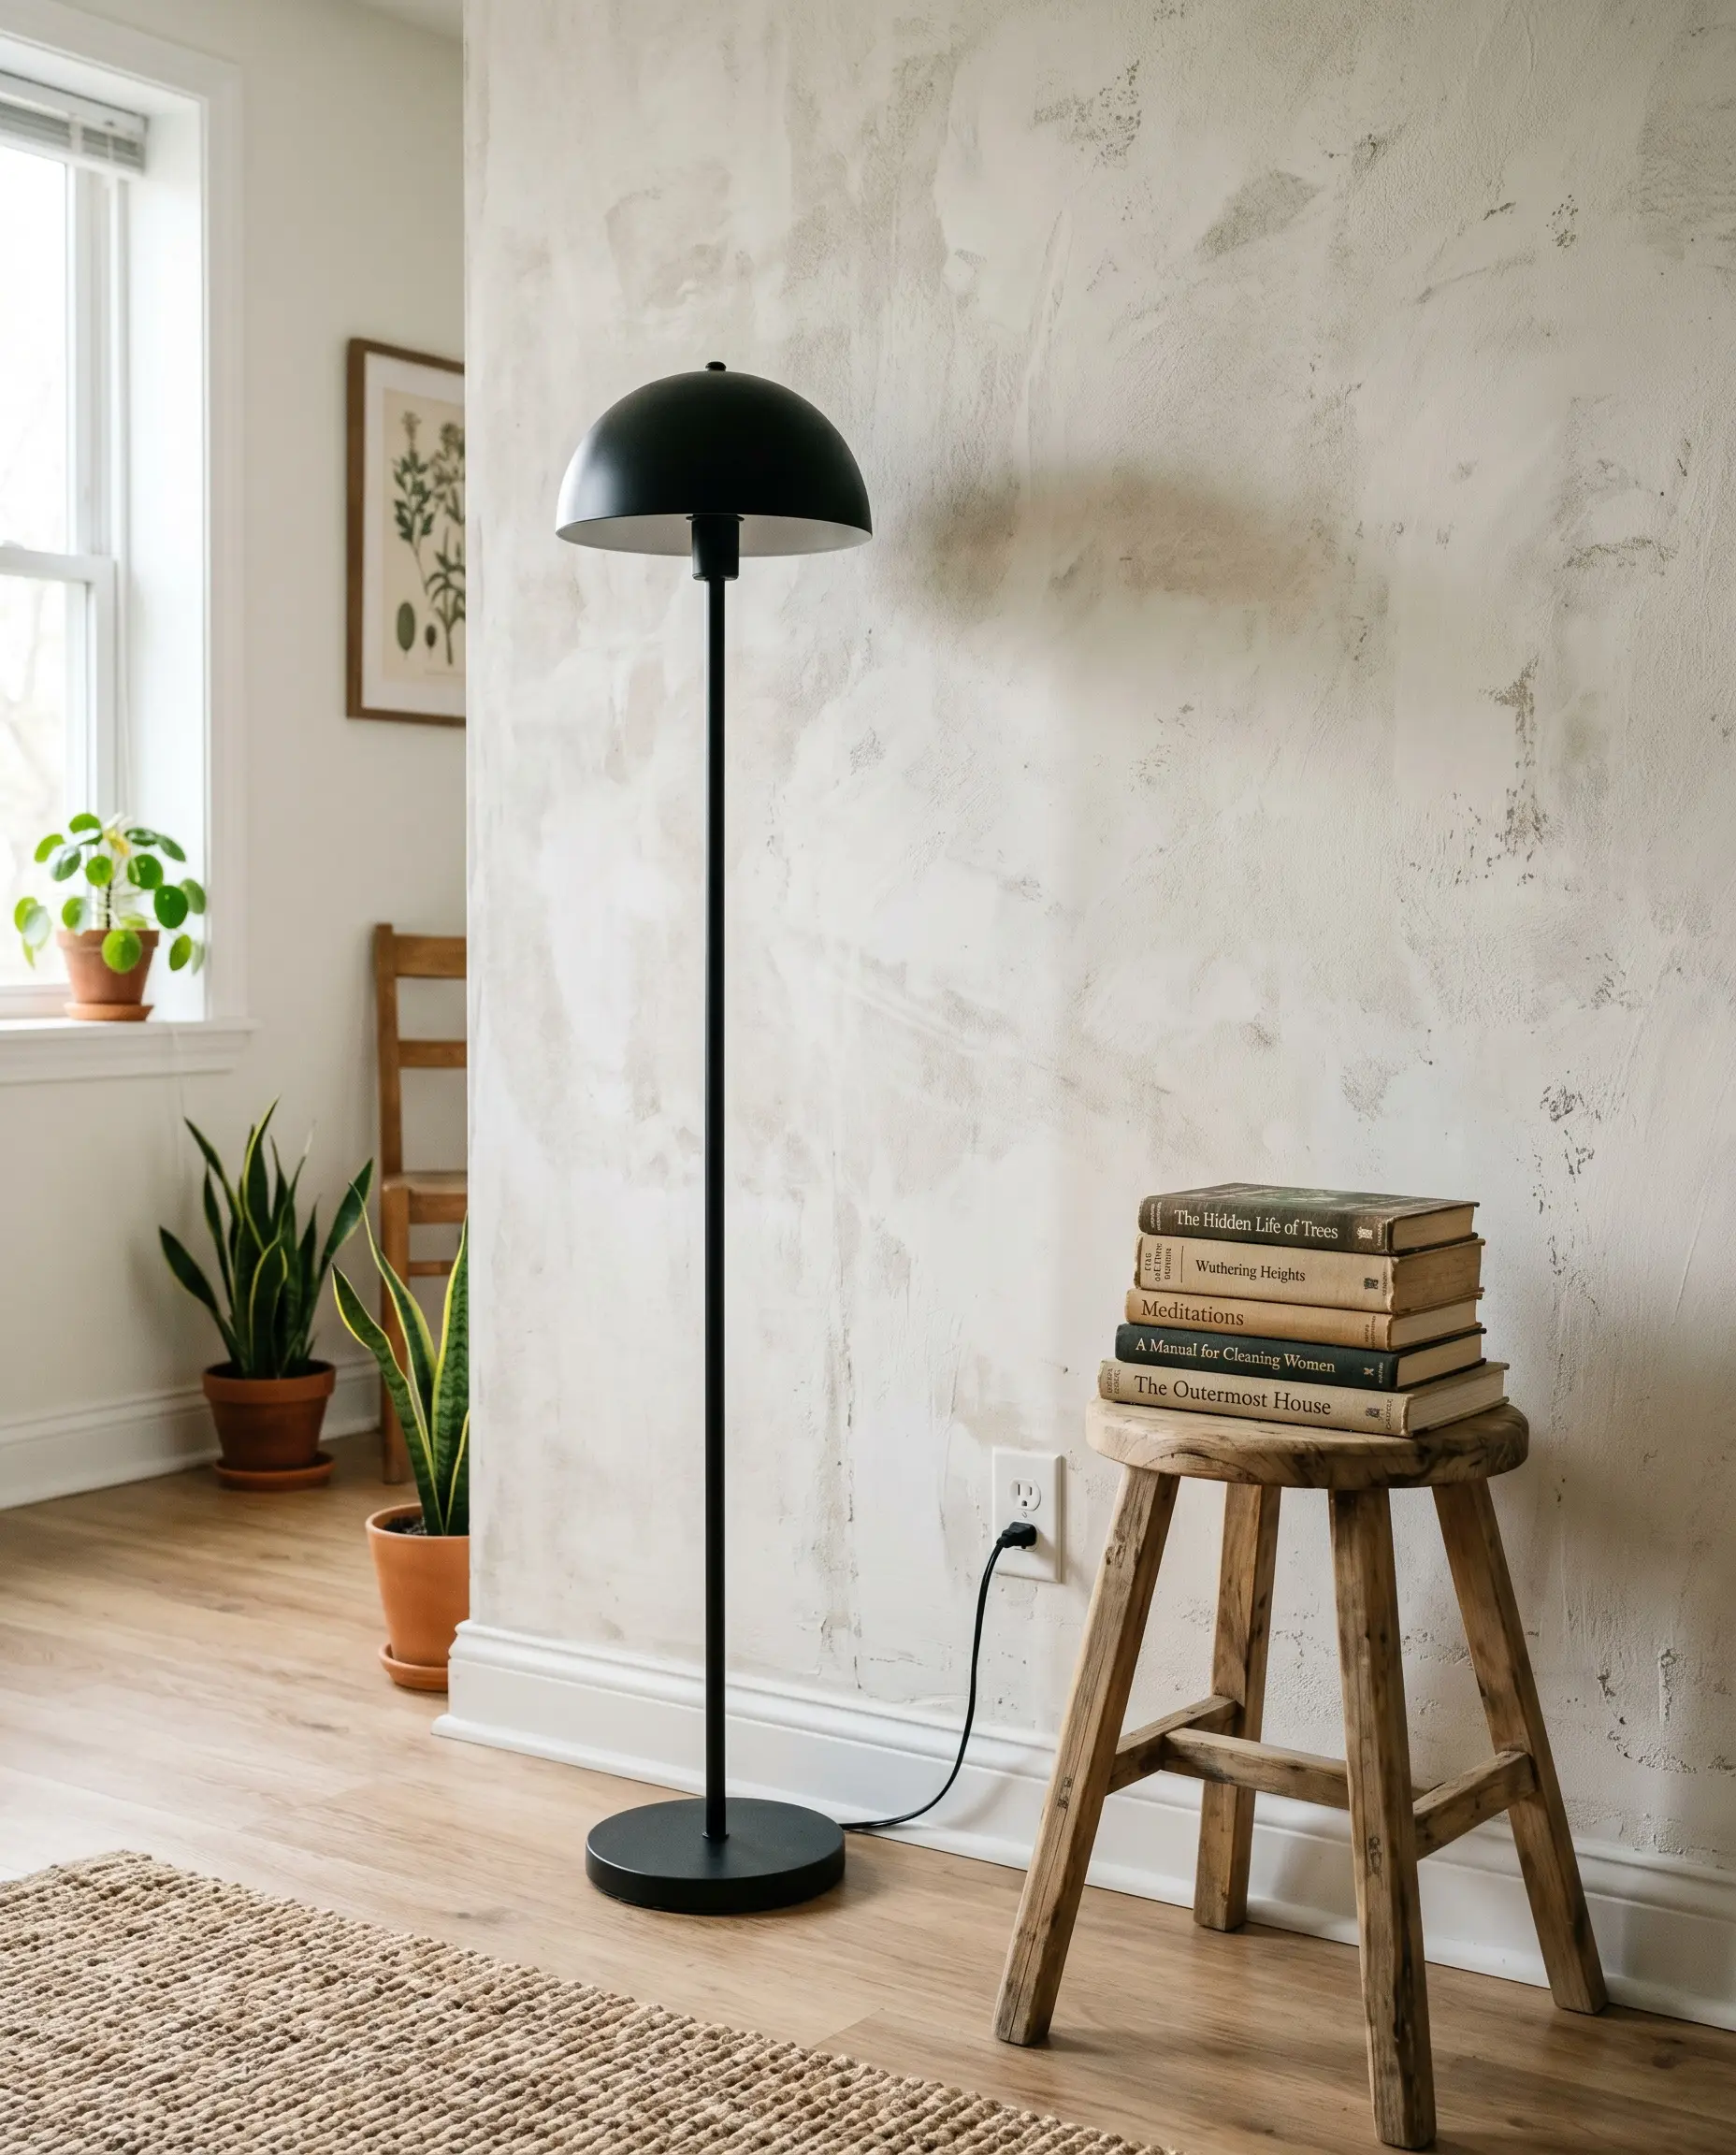
7. Cool-Toned Concrete & Plaster Contact Papers
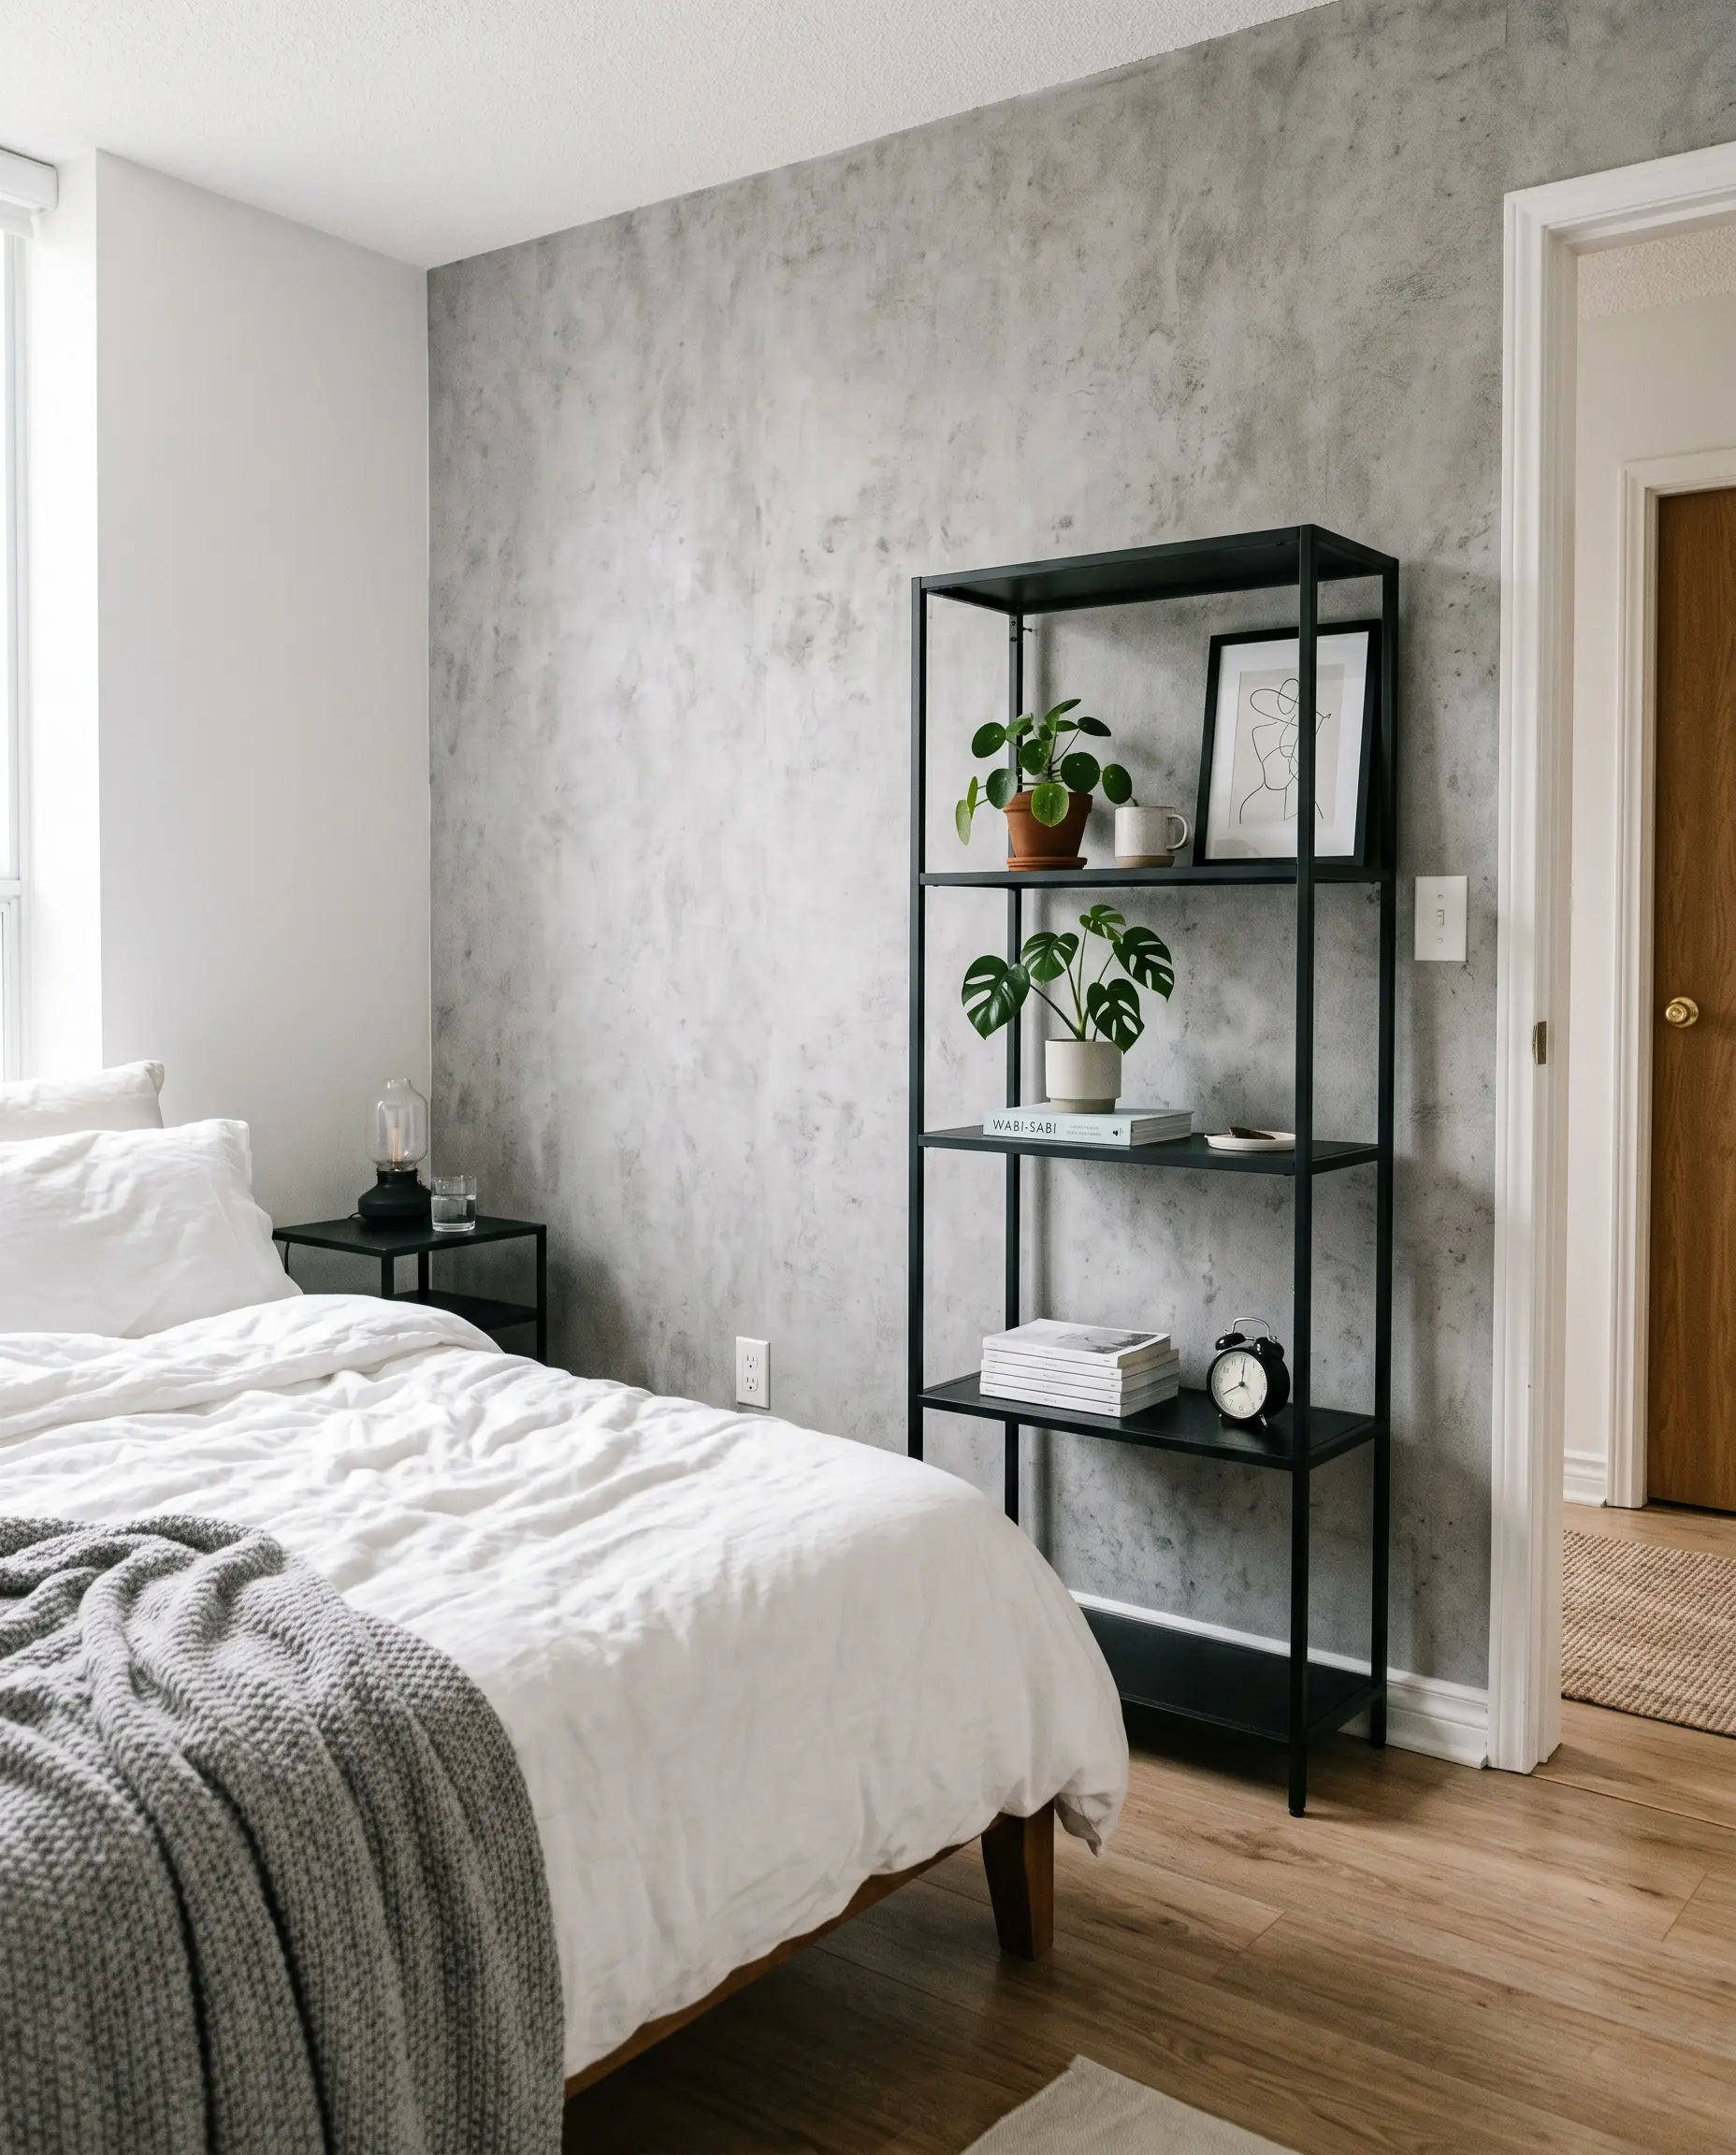
If your apartment leans toward a loft aesthetic, cool gray faux-plaster wallpapers mimic the brutalist beauty of raw concrete or cool Roman clay. These ashy, textured papers provide a dramatic, moody backdrop that instantly elevates basic rental architecture.
- Search Term Strategy: Look for “matte concrete peel and stick wallpaper.”
- Key Material: Embossed contact paper.
- Vibe: Soft Industrial / Minimalist.
- Styling Pro-Tip: Soften the harshness of the faux concrete with crisp white linens and warm walnut wood tones.
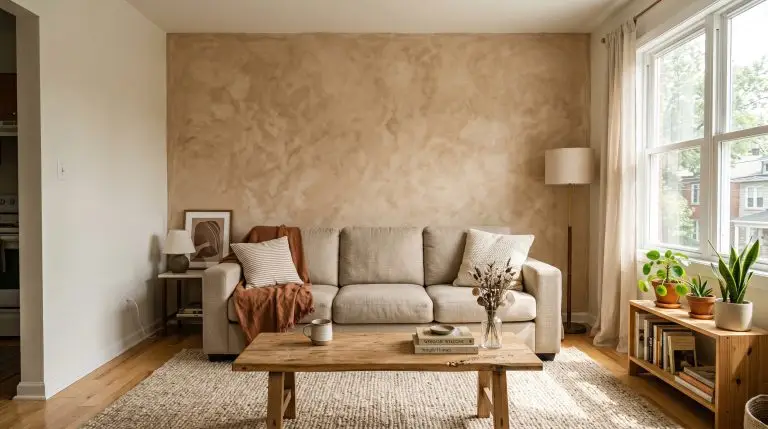
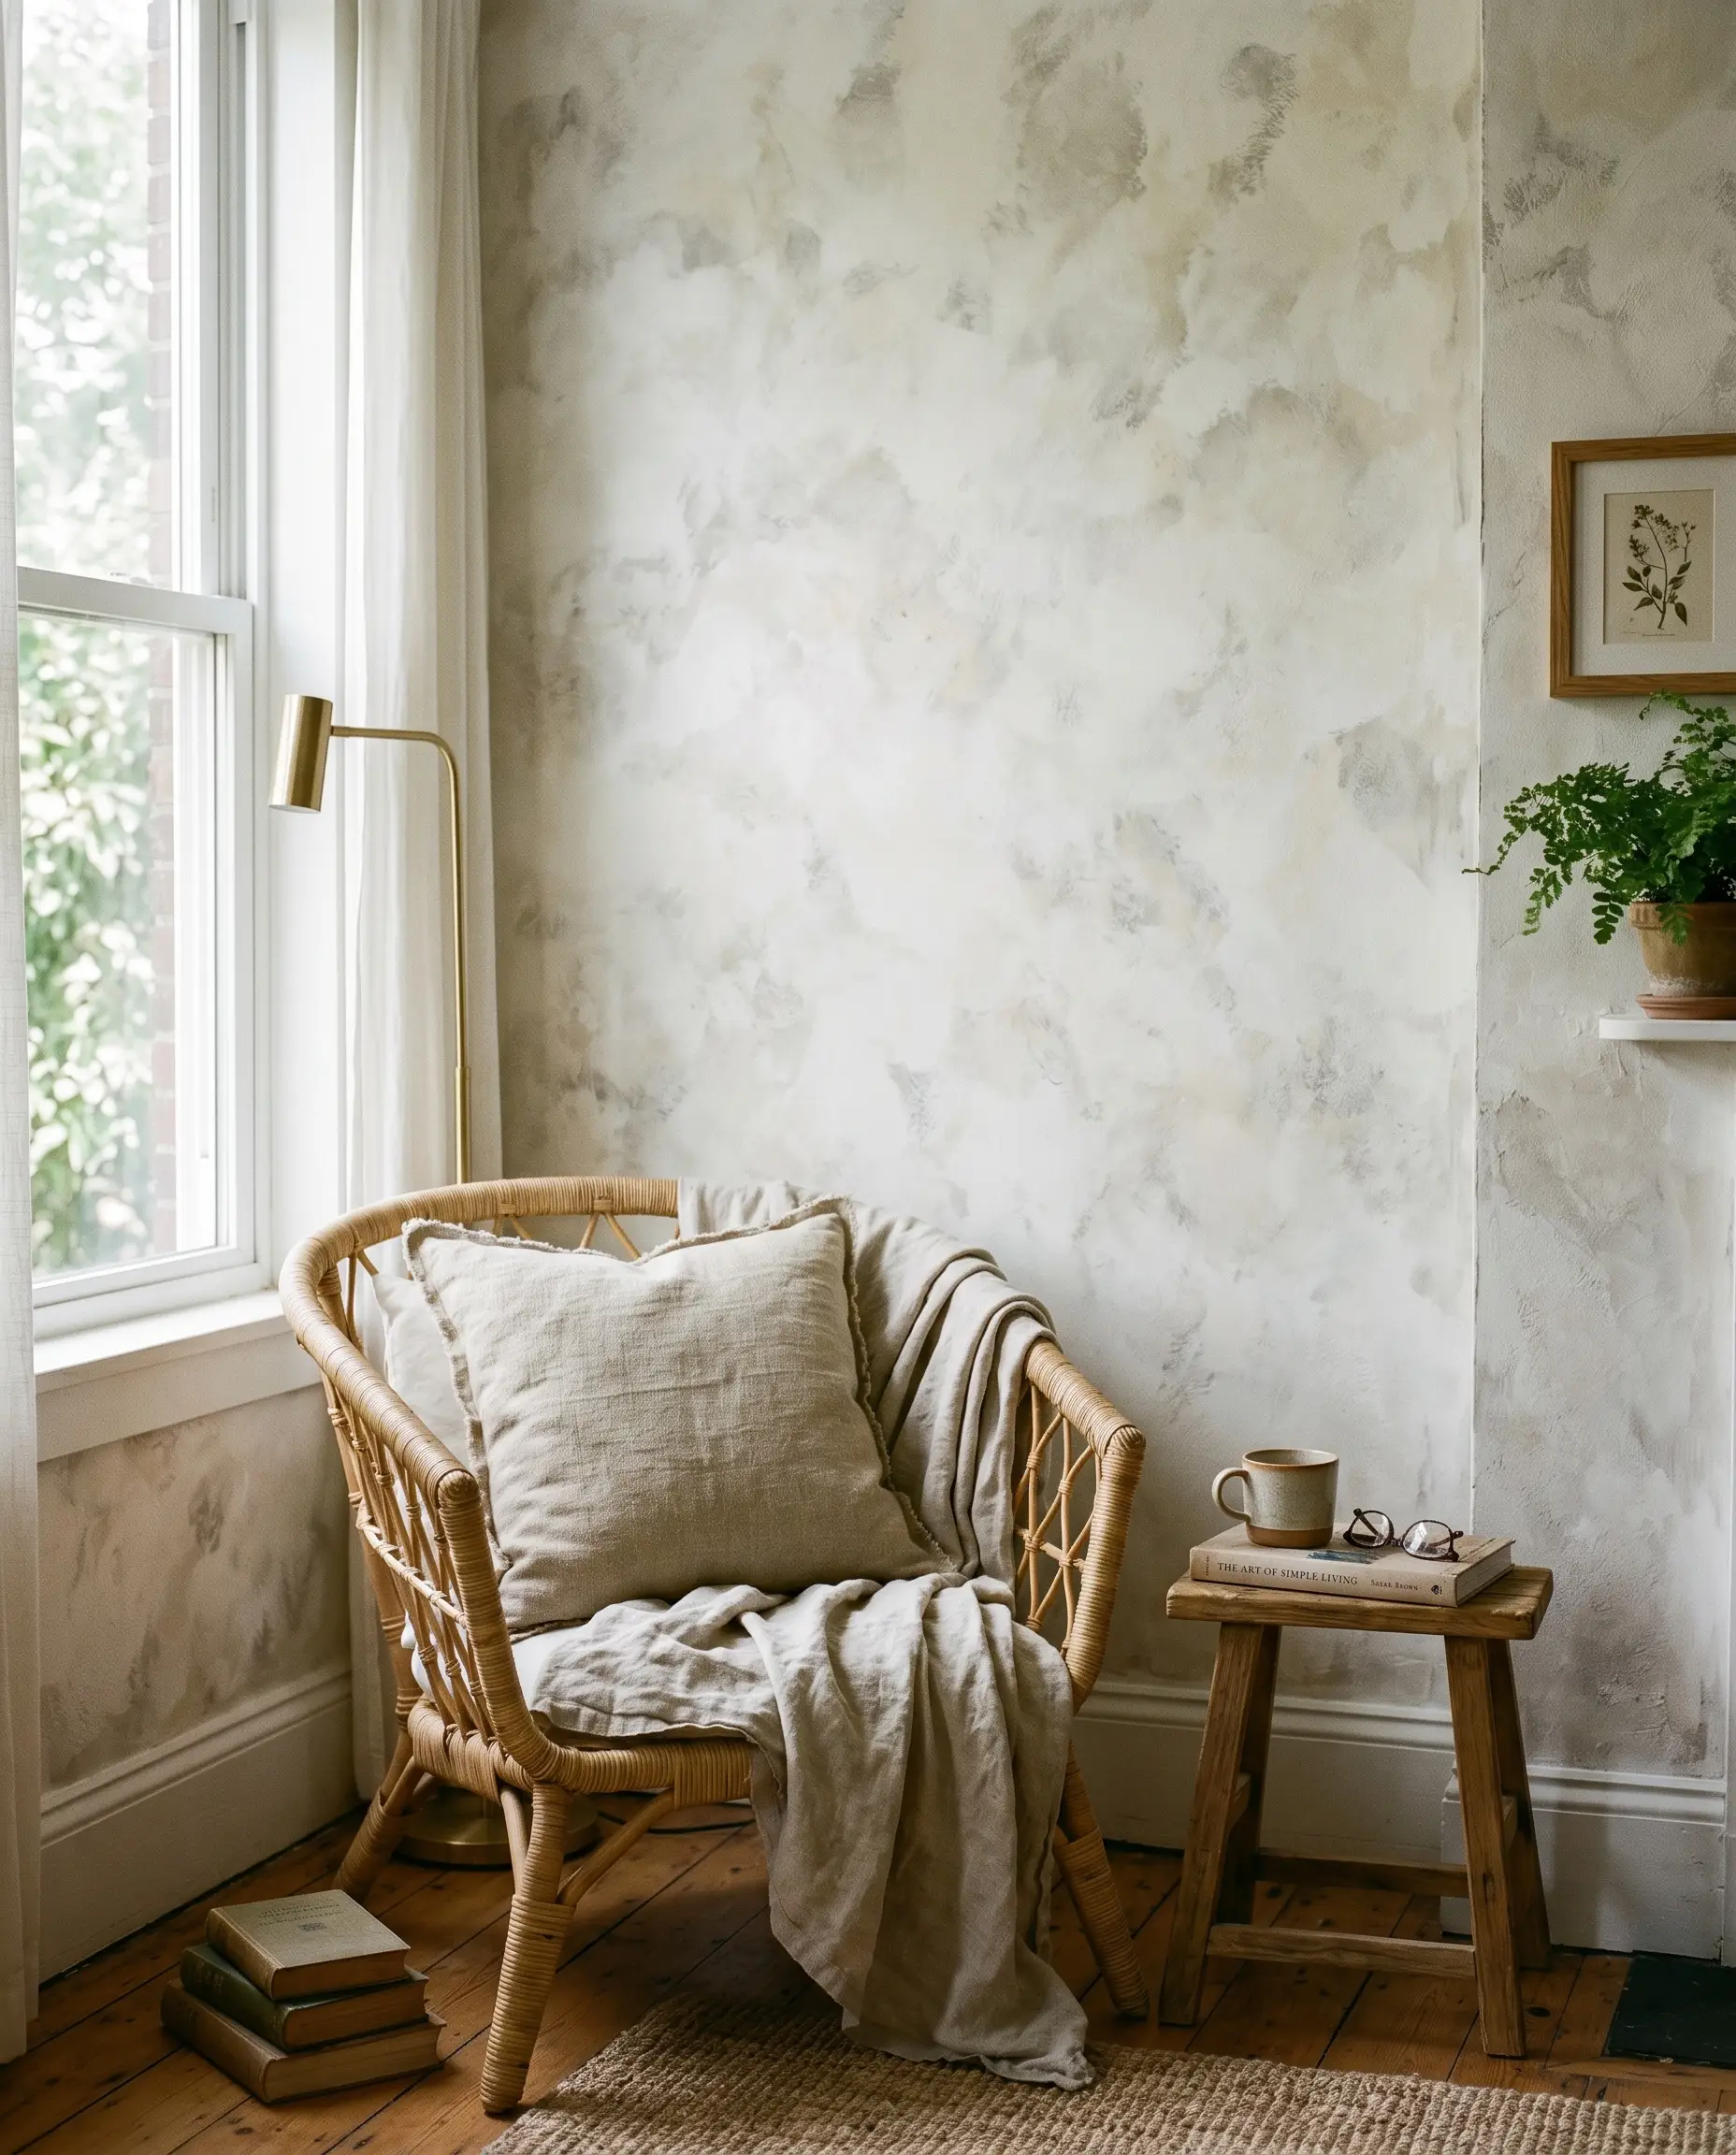
8. Warm Greige Wabi-Sabi Textured Vinyls
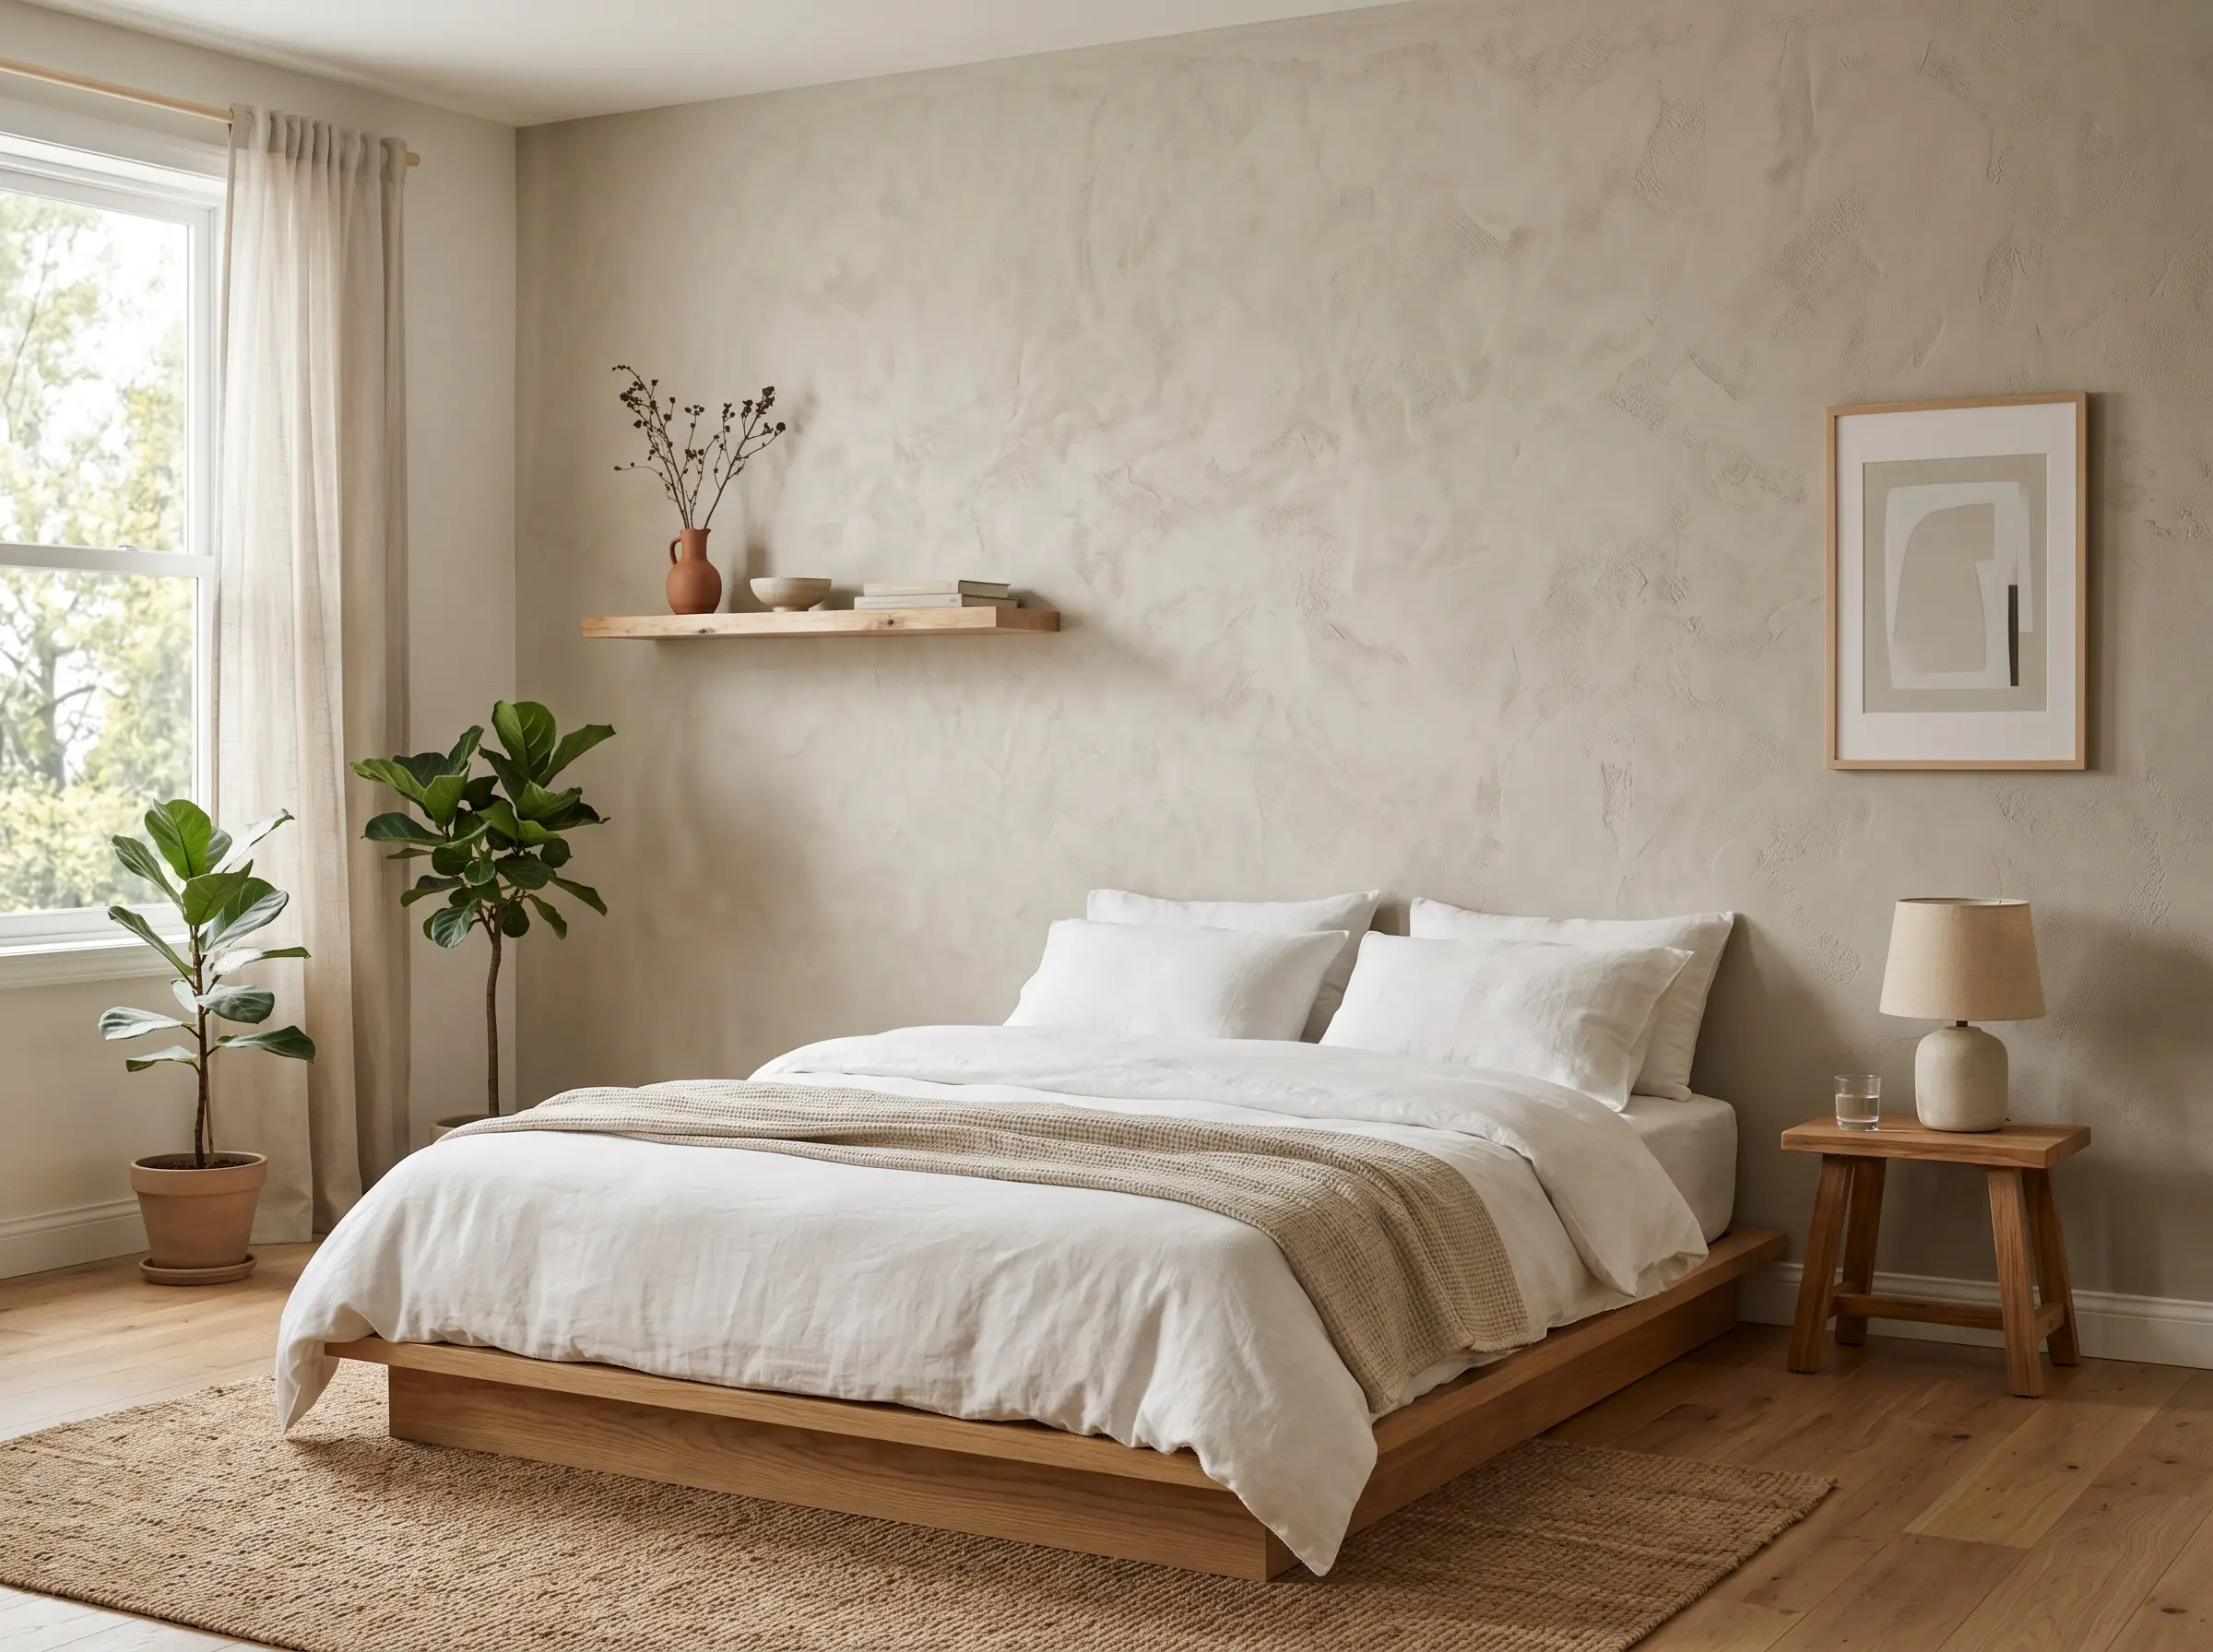
Greige faux limewash papers bring immediate, soothing warmth to a sterile, boxy bedroom. Opting for a product with a slight physical texture, like an embossed vinyl, drastically enhances the optical illusion while actively hiding the bumpy, ugly texture of standard apartment drywall.
- Search Term Strategy: Look for “textured greige faux plaster wallpaper.”
- Key Material: Thick, embossed peel-and-stick vinyl.
- Vibe: Japandi / Organic Modern.
- Application Secret: The thicker the vinyl, the better it hides the landlord’s terrible, heavy roller marks underneath.
9. Removable Faux-Suede Finish Wallpapers

To completely eliminate the shiny plastic glare that plagues cheap wallpapers, invest in a premium peel-and-stick option featuring a flocked or faux-suede finish. This tactile surface absorbs light exactly like real matte limewash, tricking both the eye and the hand.
- Search Term Strategy: Look for “flocked faux plaster removable wallpaper.”
- Key Material: Suede-finish or flocked vinyl.
- Vibe: Elevated Luxury.
- Styling Pro-Tip: Keep lighting soft and indirect to highlight the velvety, light-absorbing qualities of the material.
Strategic Placements for Maximum Impact (Minimal Effort)
Faking an organic texture across an entire living room can be exhausting, expensive, and overwhelming. Instead, utilizing strategic, localized placements creates a boutique-hotel focal point with a fraction of the labor, keeping the project perfectly scaled for a weekend DIY.
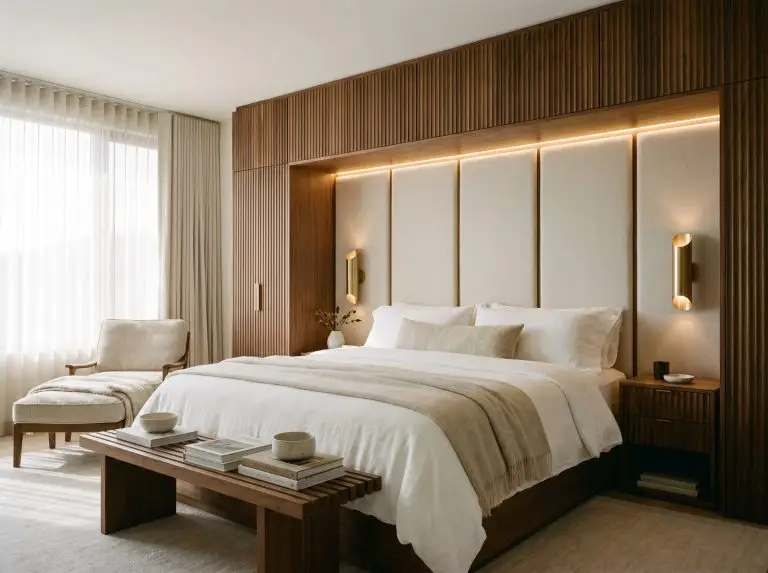
10. The Arched Bedhead Color Block
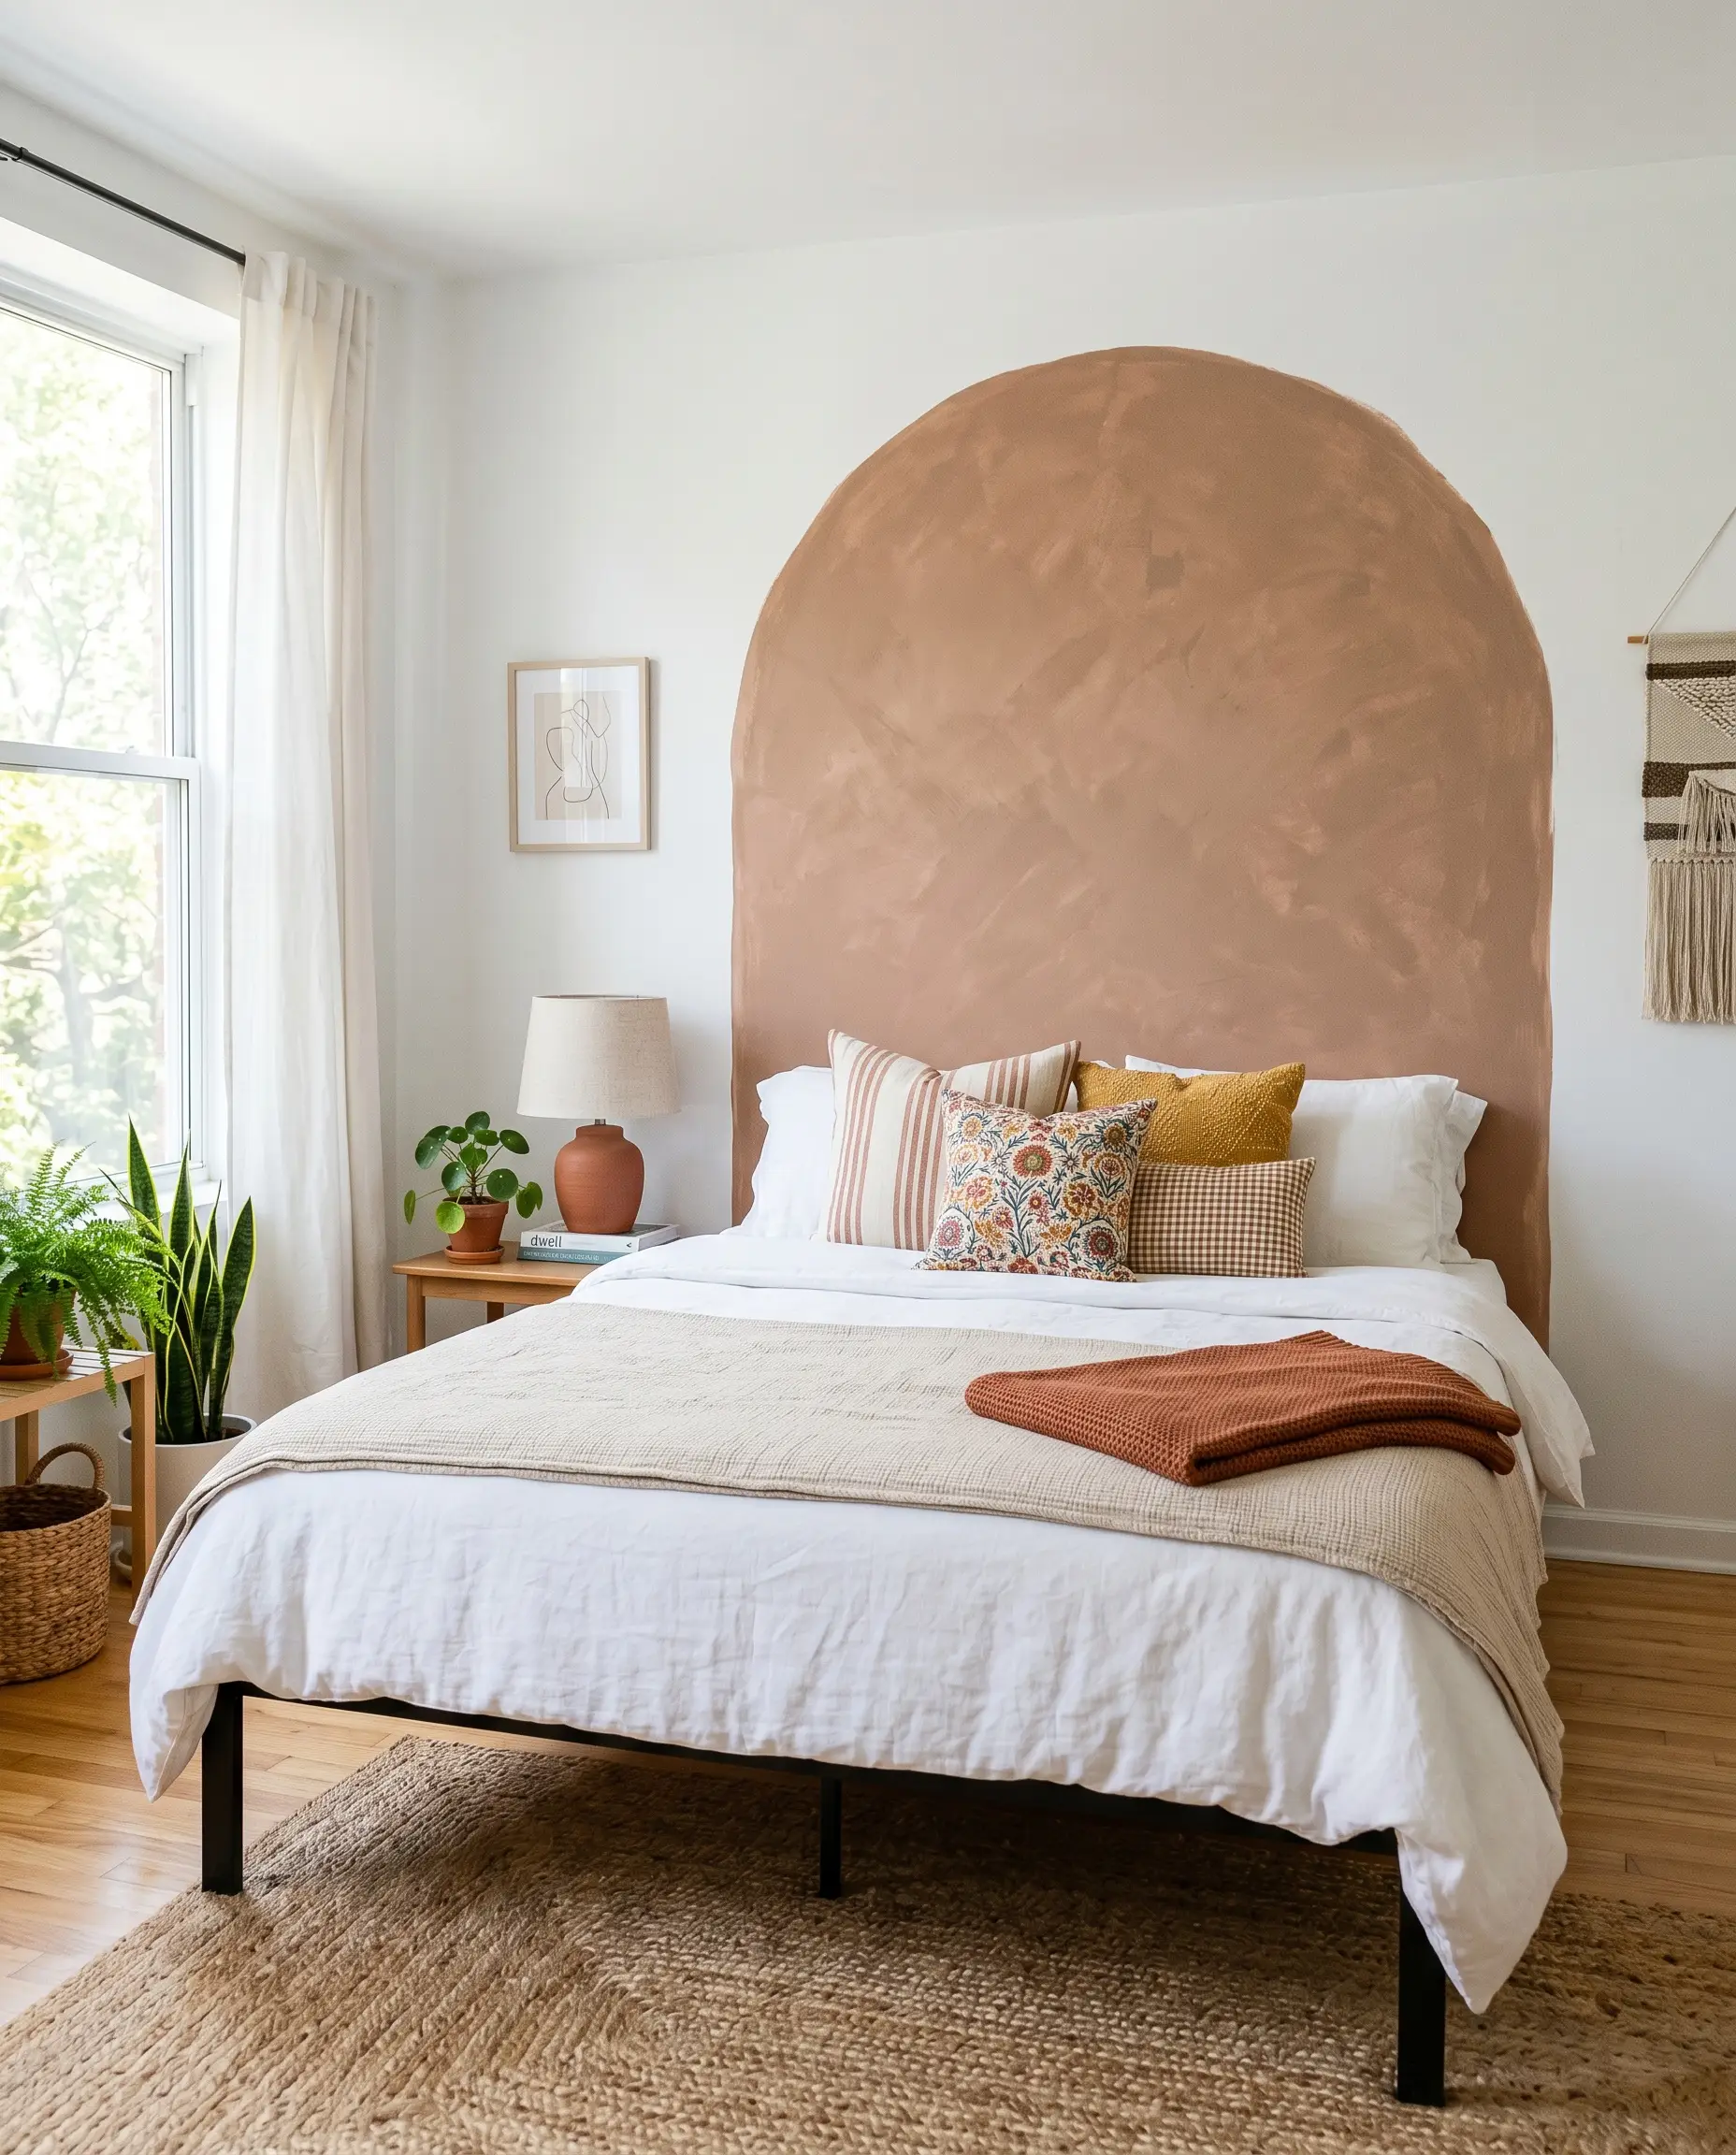
Painting or sticking a faux-limewash arch directly behind the bed acts as a striking visual headboard that anchors the room’s geometry. This ultra-trendy, localized application requires only a single quart of paint or one roll of wallpaper to completely transform the space.
- Project Scope: 2-3 hours.
- Material Match: Benjamin Moore Aegean Teal (thinned wash for the arch).
- Vibe: Playful Modernism.
- Styling Pro-Tip: Use a simple thumbtack, string, and pencil to draw a perfect, symmetrical arch before applying your faux texture.
11. The Moody Faux-Limewash Powder Room
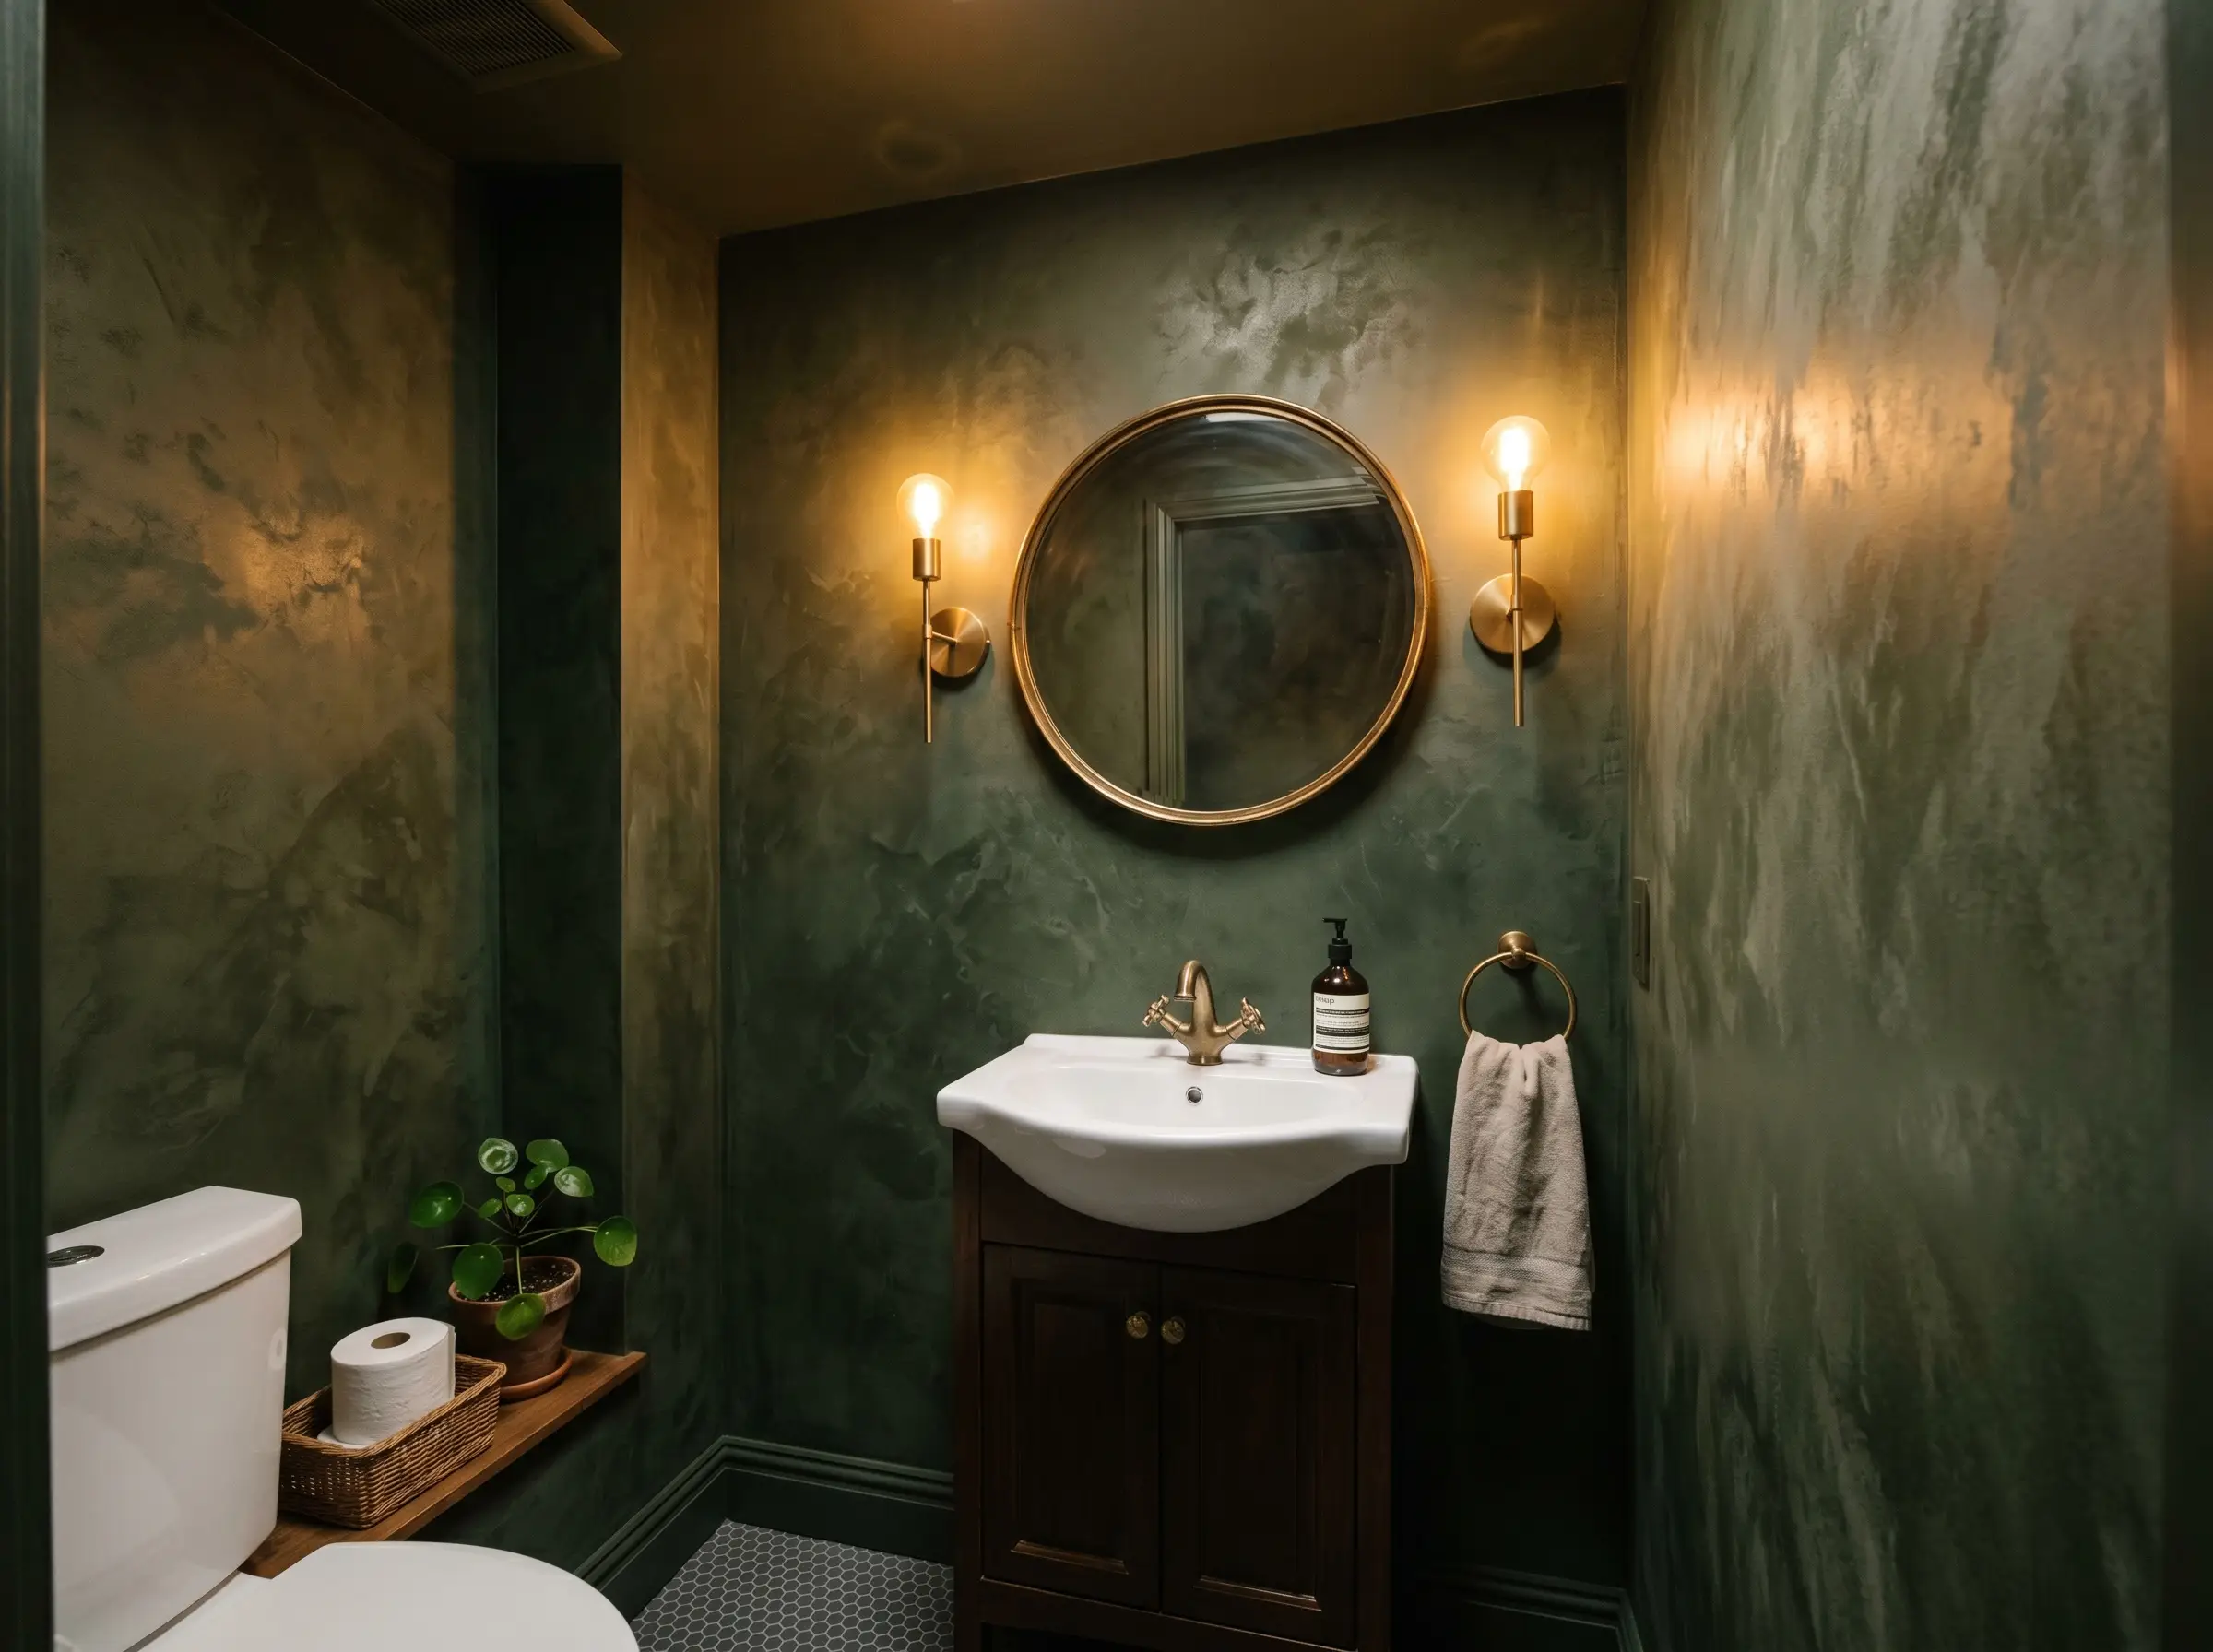
Rental bathrooms are notoriously boring, but applying a dark, moody faux-plaster finish to a tiny powder room elevates it into an immersive, jewel-box experience. The small square footage makes it incredibly easy to execute and fast to reverse before your lease ends.
- Project Scope: 1 weekend.
- Material Match: Sherwin-Williams Pewter Green (Base) with Sherwin-Williams Retreat (Glaze).
- Vibe: Immersive, moody luxury.
- Styling Pro-Tip: Swap out the standard apartment mirror for a vintage brass frame to amplify the high-end restaurant bathroom aesthetic.
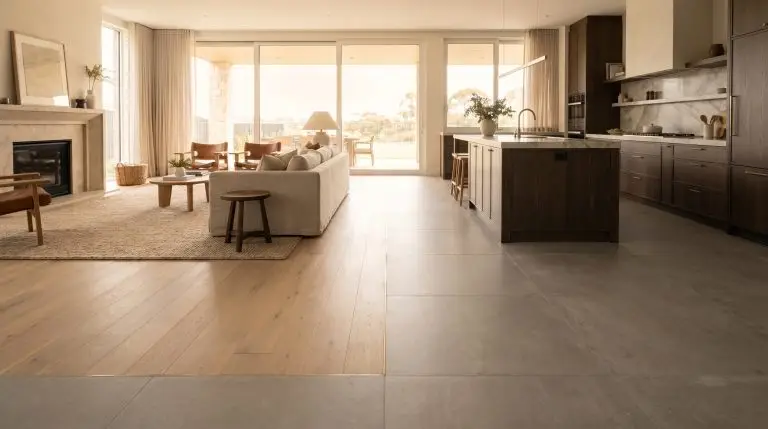
12. Transforming the TV Wall into a Plaster Focal Point
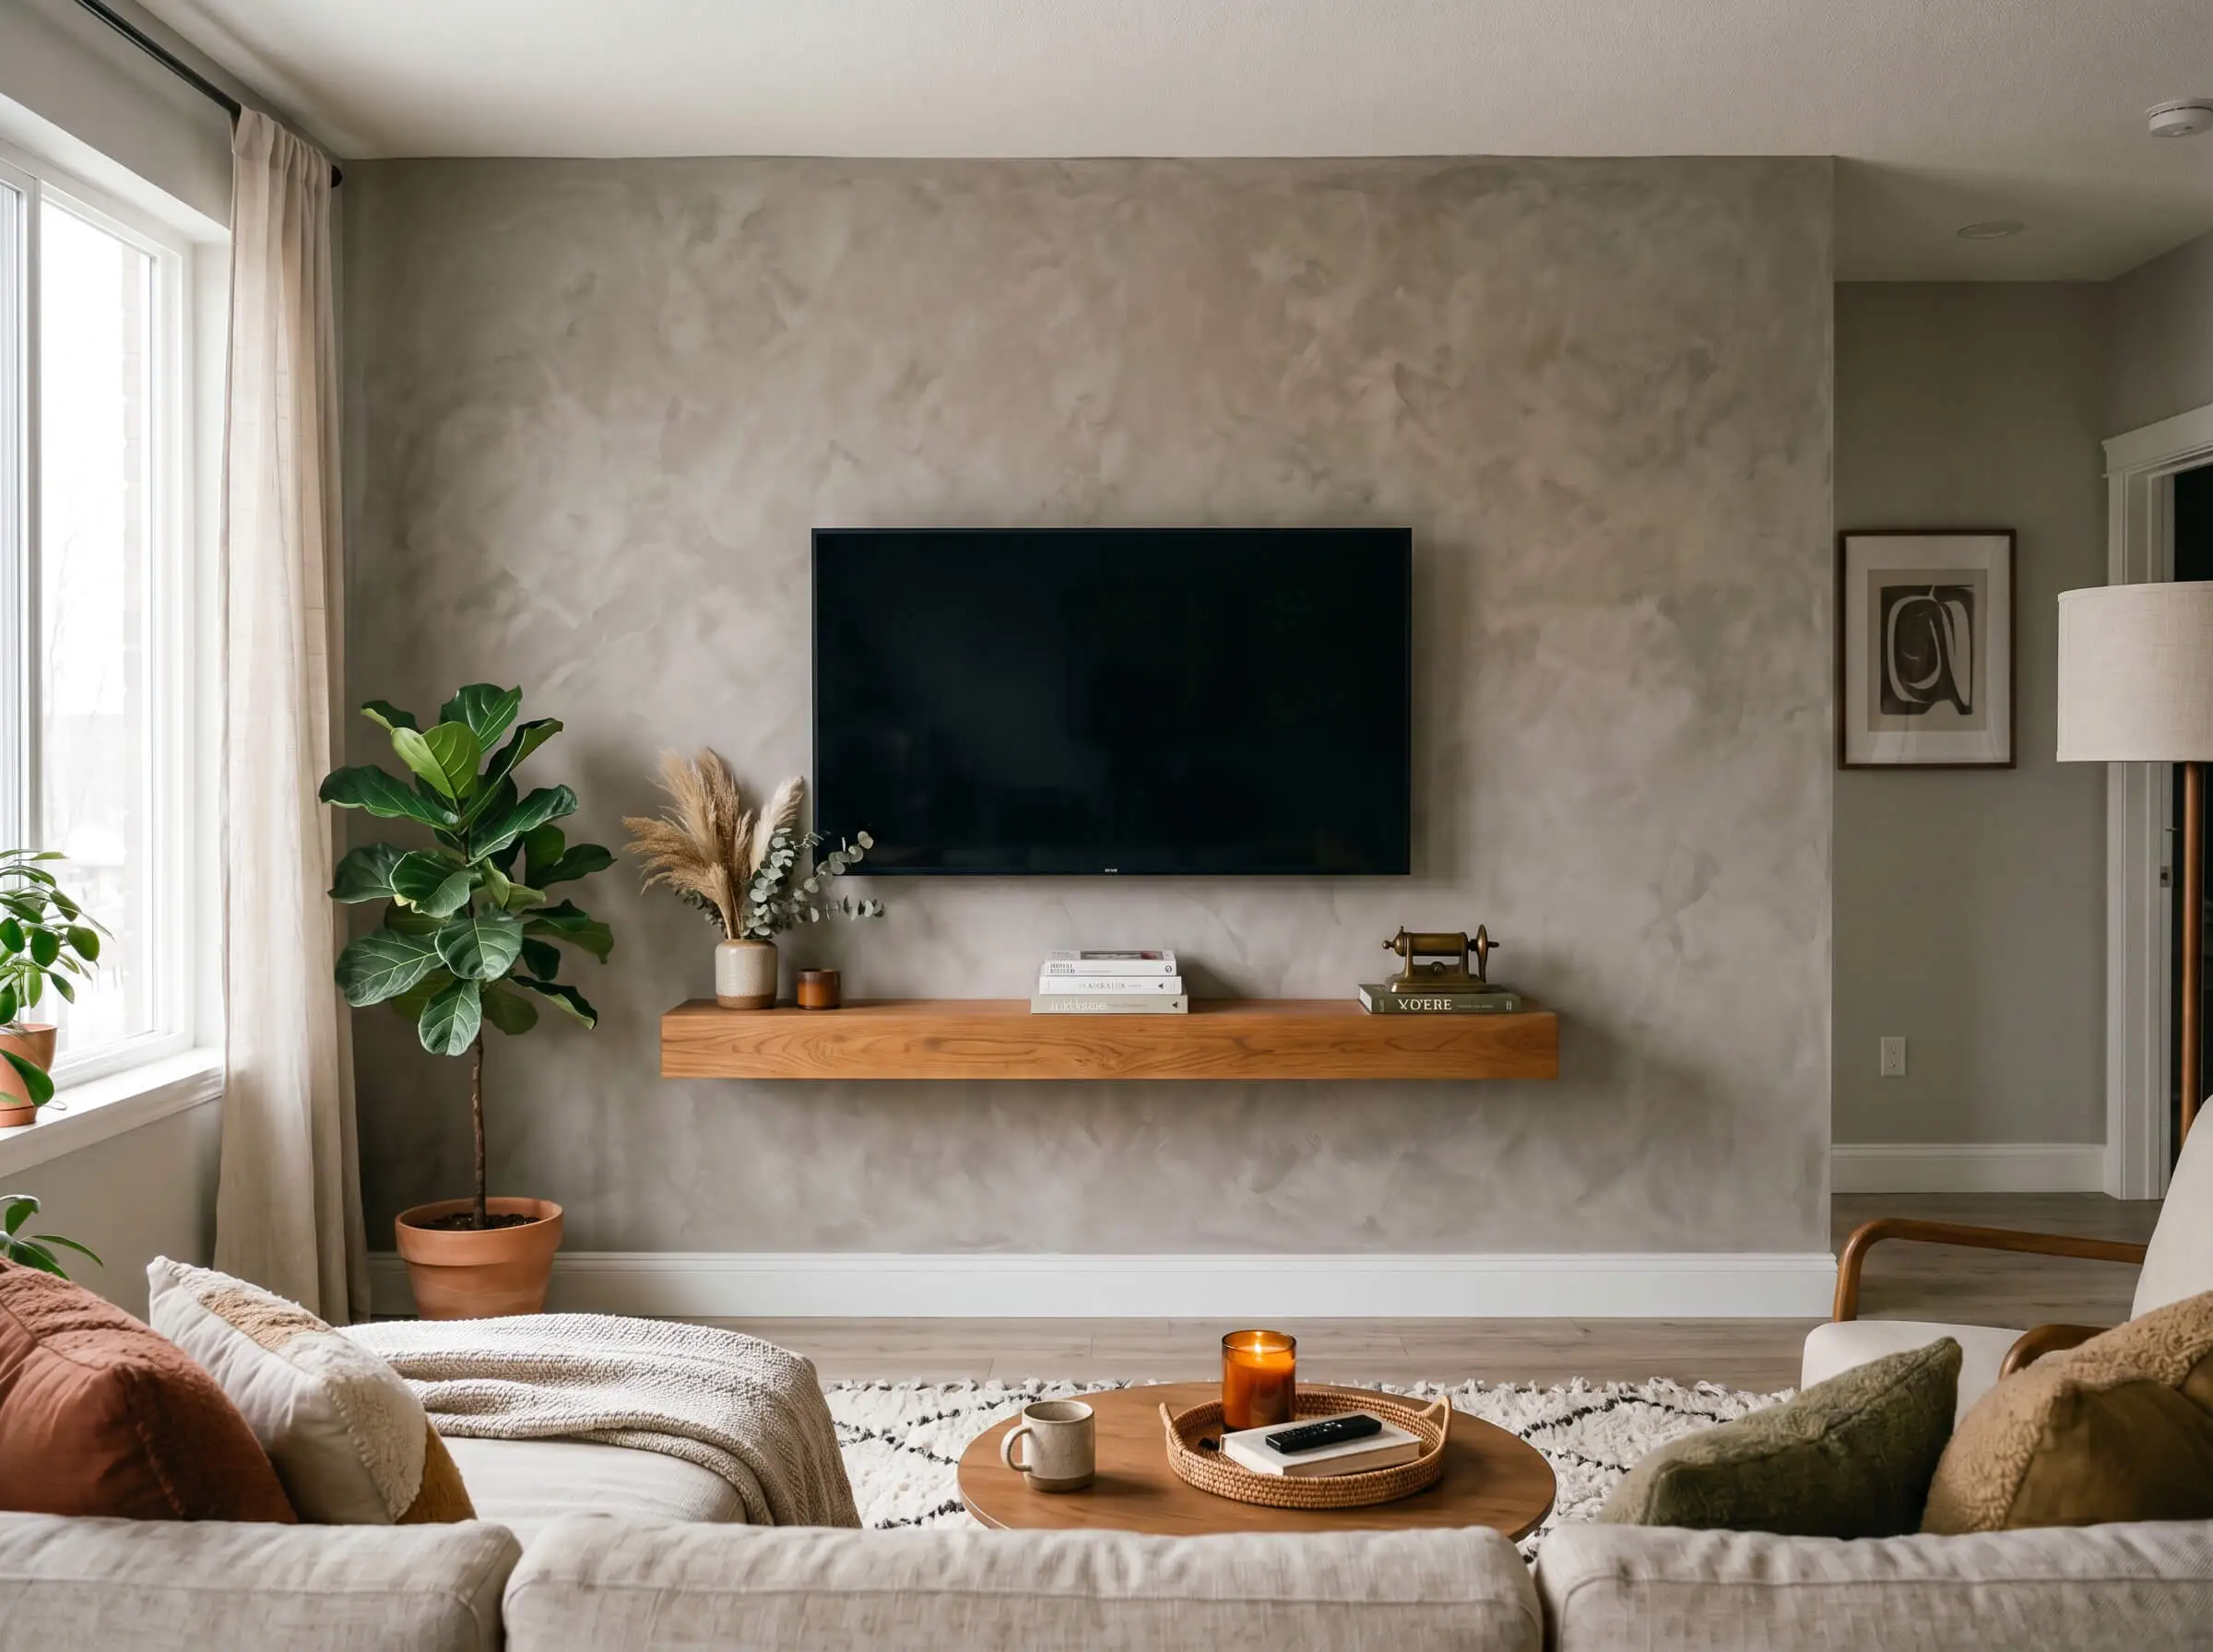
A heavy, black television screen floating on a stark white wall creates a harsh, uninviting contrast. Grounding the technology with an earthy, faux-limewash accent wall perfectly camouflages the screen and integrates it into a warm, wabi-sabi living space.
- Project Scope: 1 day.
- Material Match: Benjamin Moore Kendall Charcoal (Base) with Benjamin Moore Chelsea Gray (Glaze).
- Vibe: Grounded, earthy minimalism.
- Styling Pro-Tip: Mount a floating wooden shelf beneath the TV to bridge the gap between the organic wall texture and the modern electronics.
13. The Half-Wall (Wainscoting Height) Wash
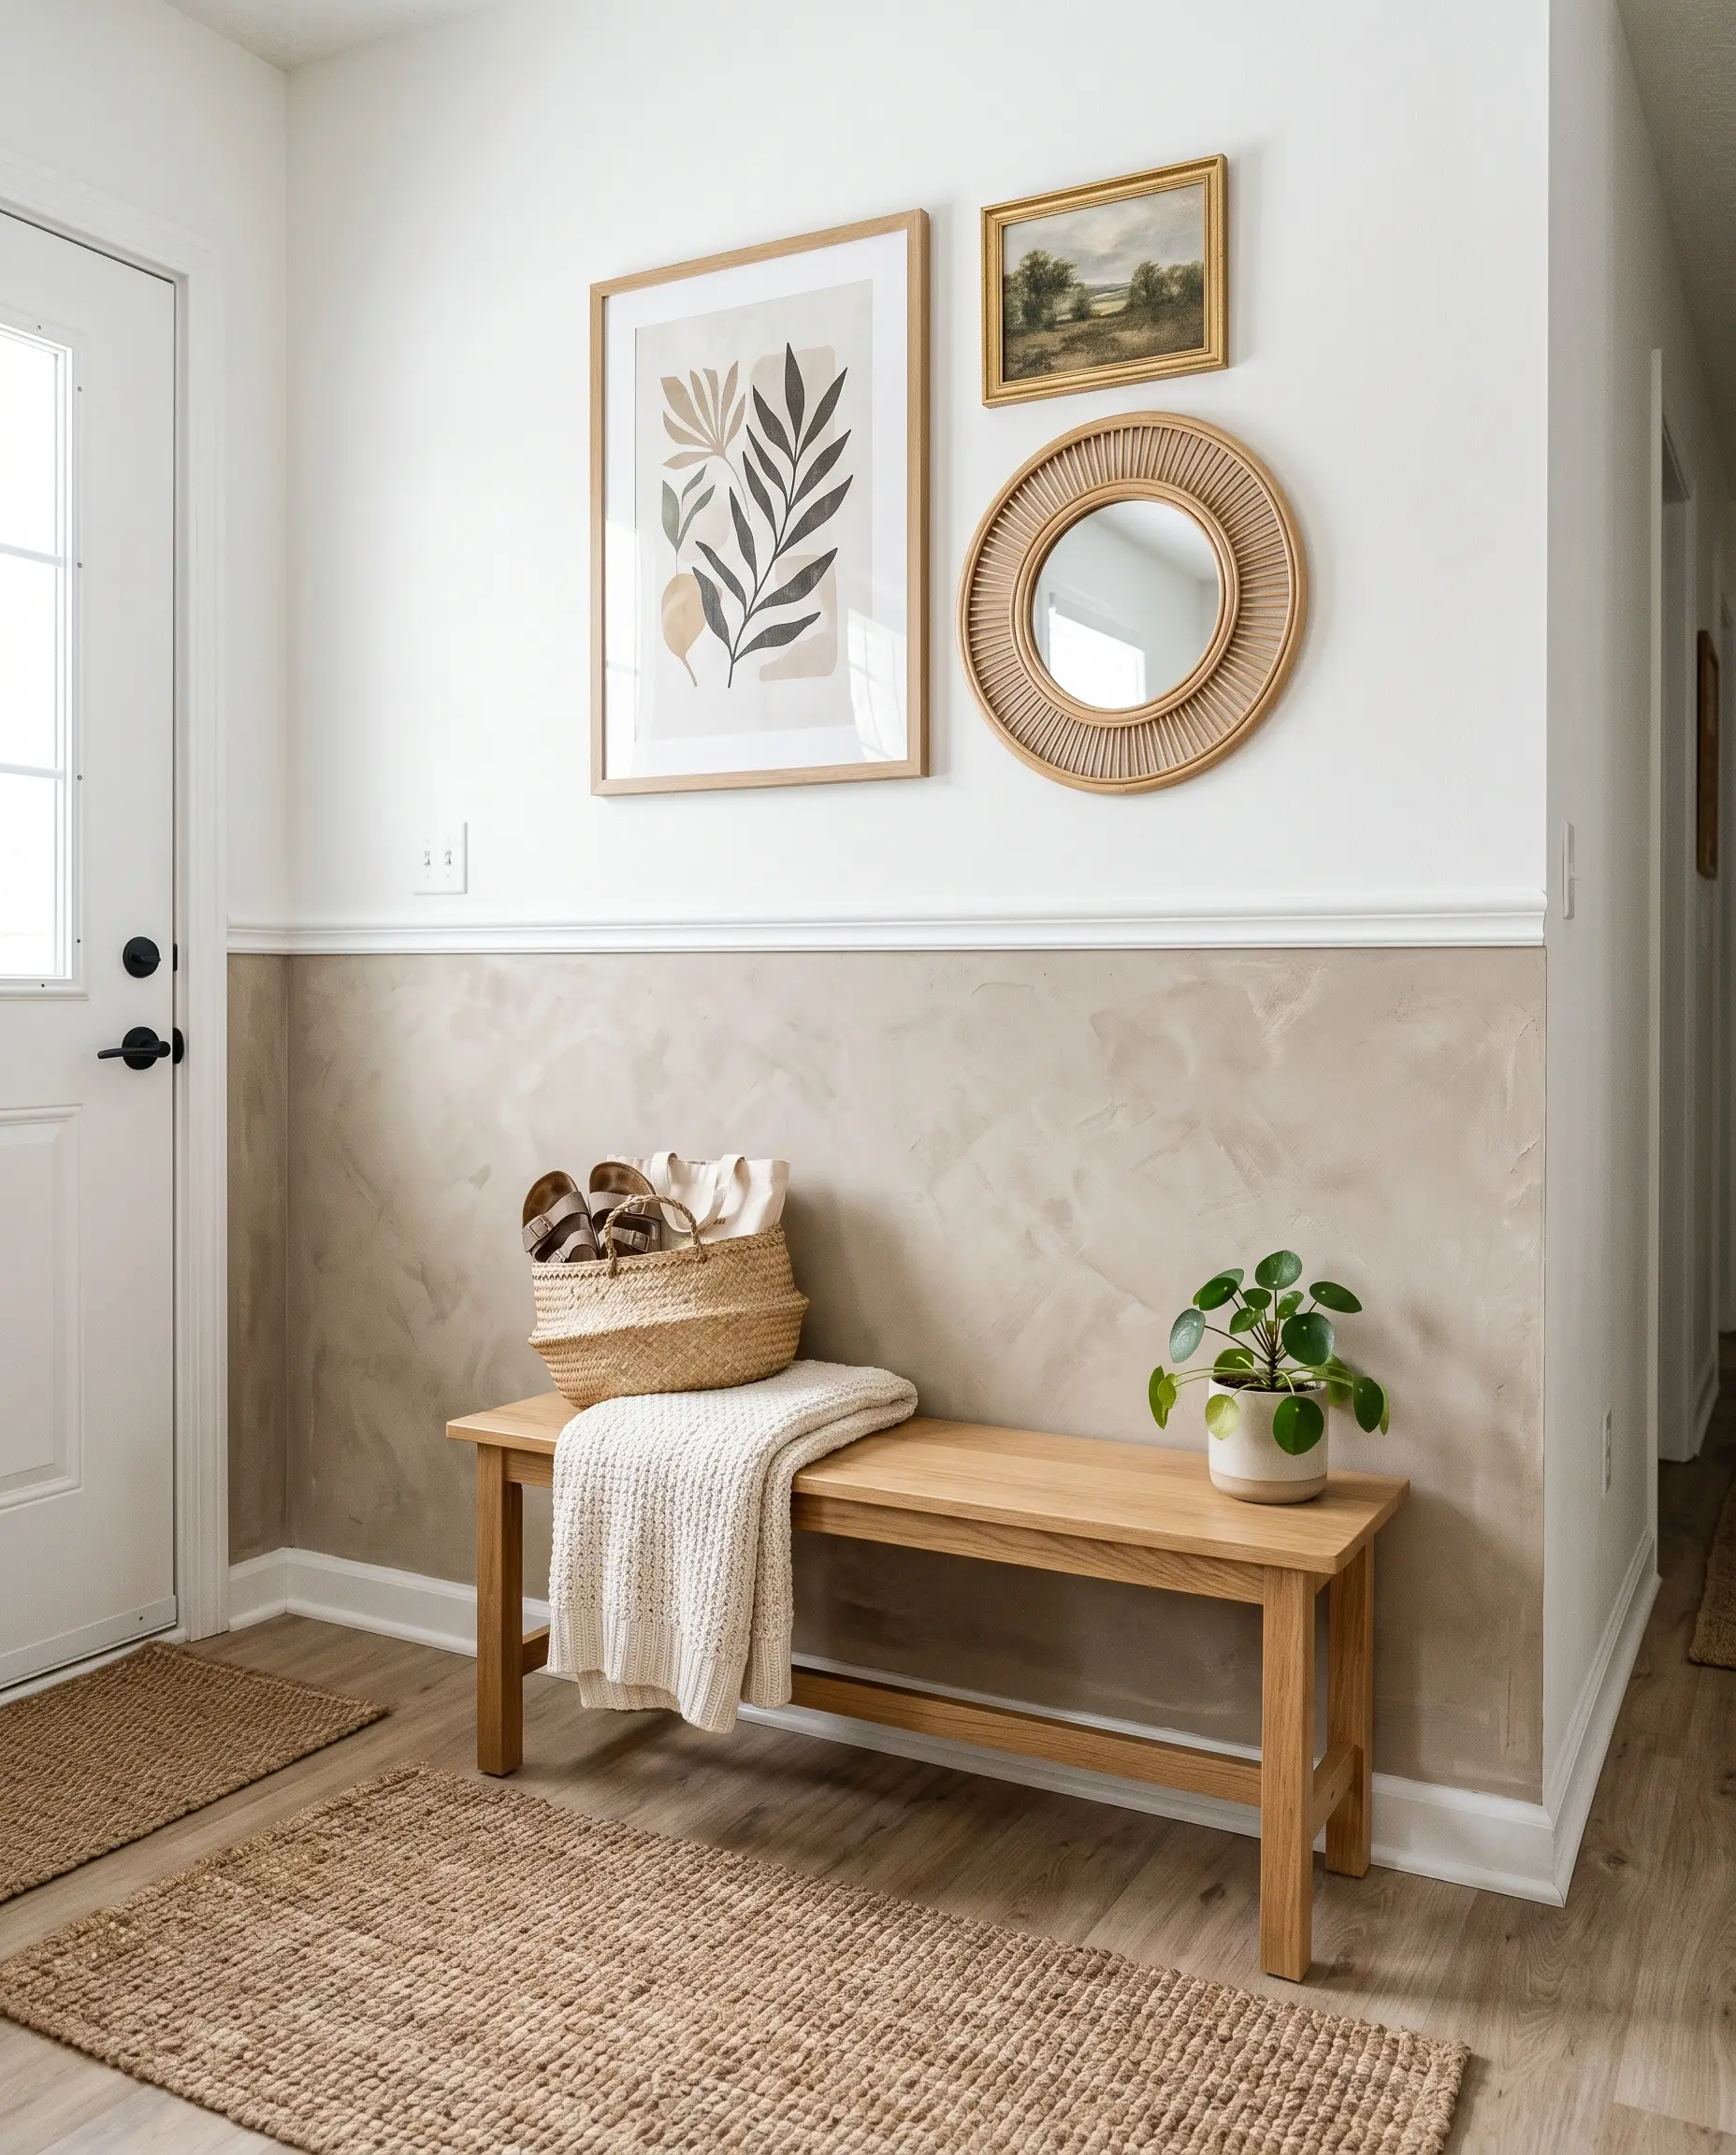
Applying your faux finish strictly to the bottom half of the wall and capping it with a piece of peel-and-stick molding mimics the architectural elegance of high-end plaster wainscoting. This classic hack adds ground-level texture while leaving the top half of the room standard white to keep the space bright and airy.
- Project Scope: 4-5 hours.
- Material Match: Farrow & Ball Pigeon (color-matched in matte) for the lower wash.
- Vibe: Transitional elegance.
- Styling Pro-Tip: Paint the peel-and-stick molding the exact same base color as your faux wash for a seamless, built-in look.
Selling the Illusion: Styling Your Faux Limewash Walls
A faux finish is only as convincing as the environment surrounding it. Flat, overhead apartment lighting will instantly expose the optical illusion, making your walls look like a cheap craft project rather than an architectural feature. You must leverage directional lighting and organic decor to fully sell the fake.
14. Grazing Light with Plug-In Sconces
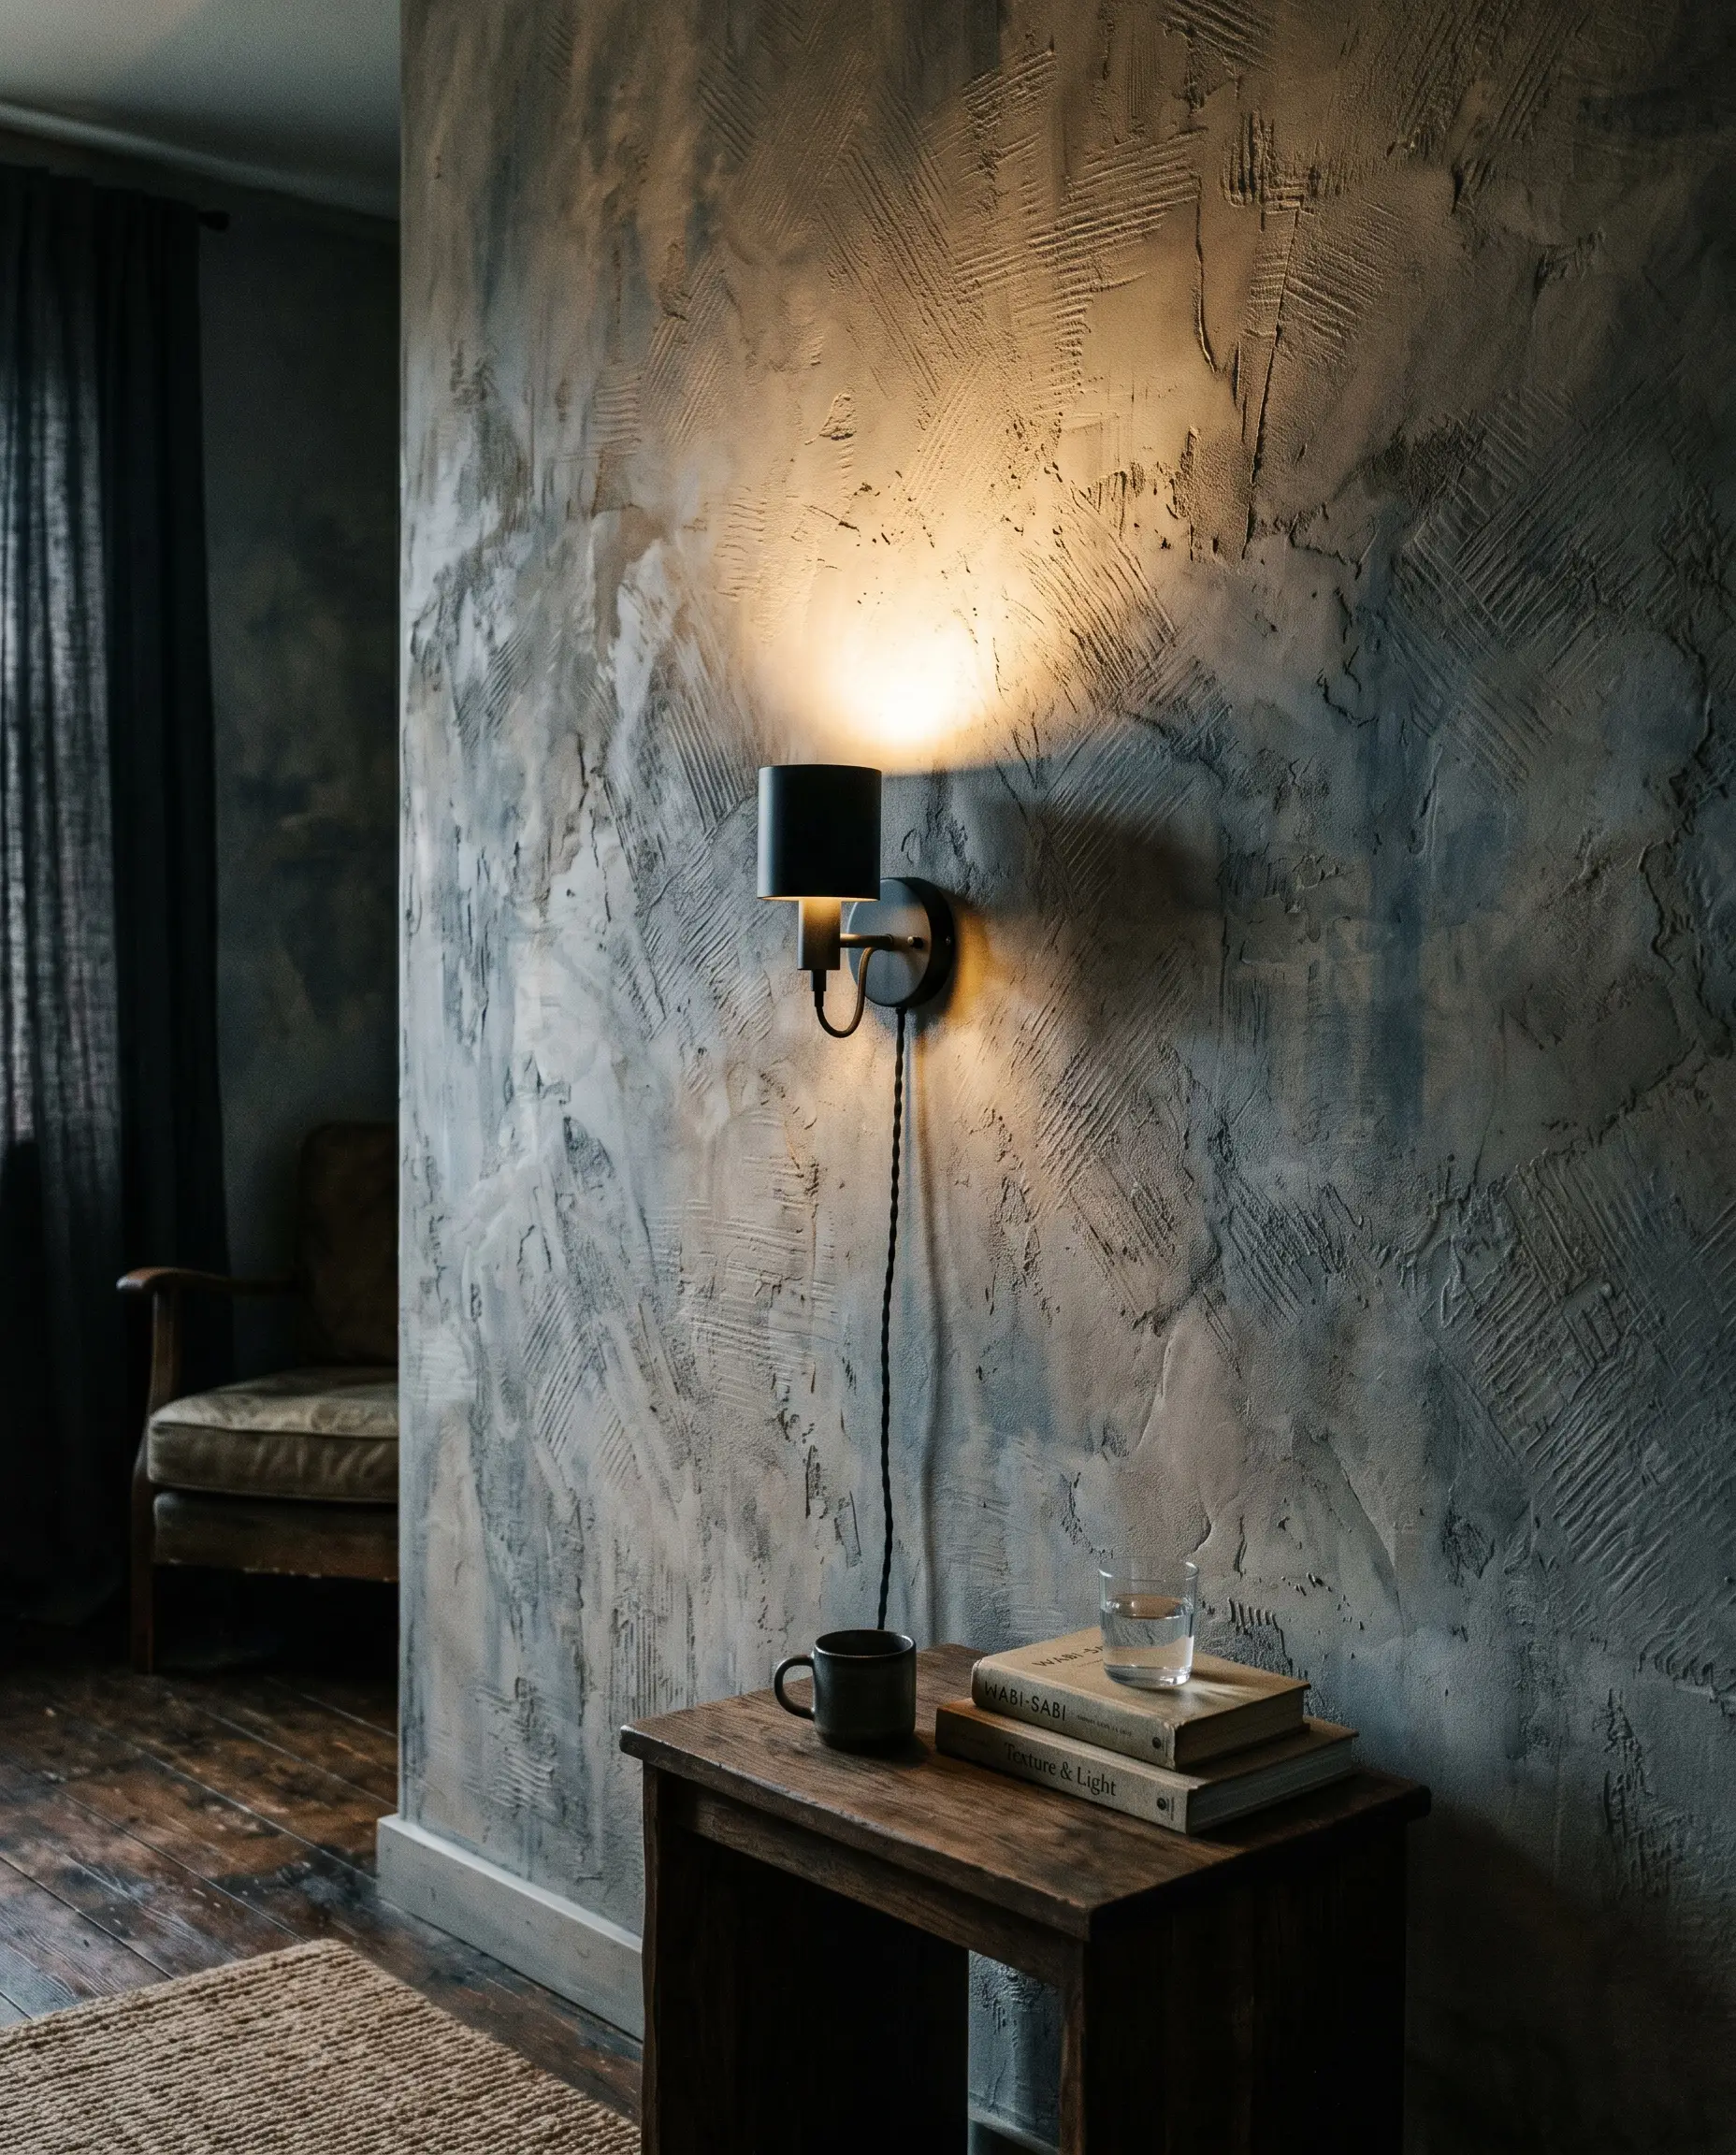
Real plaster is captivating because light physically catches its ridges and imperfections. To mimic this 3D depth, deploy a technique called wall grazing by positioning renter-friendly plug-in sconces close to the surface, casting aggressive shadows across your cross-hatched paint or wallpaper.
- Key Accessory: Brass or matte black plug-in wall sconces.
- Lighting Rule: Use warm bulbs (2700K) to enhance the earthy tones of the faux finish.
- Vibe: Boutique Hotel.
- Placement Pro-Tip: Position the light source no more than 6 to 12 inches from the wall to maximize the shadow-casting effect.
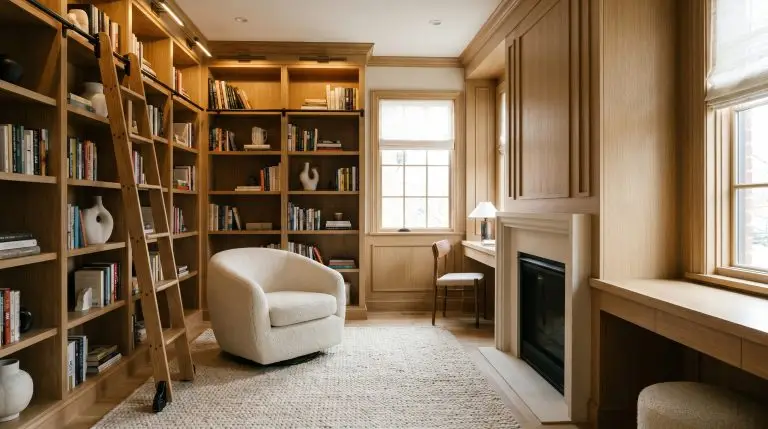
15. Pairing with Raw Wood and Boucle Textures
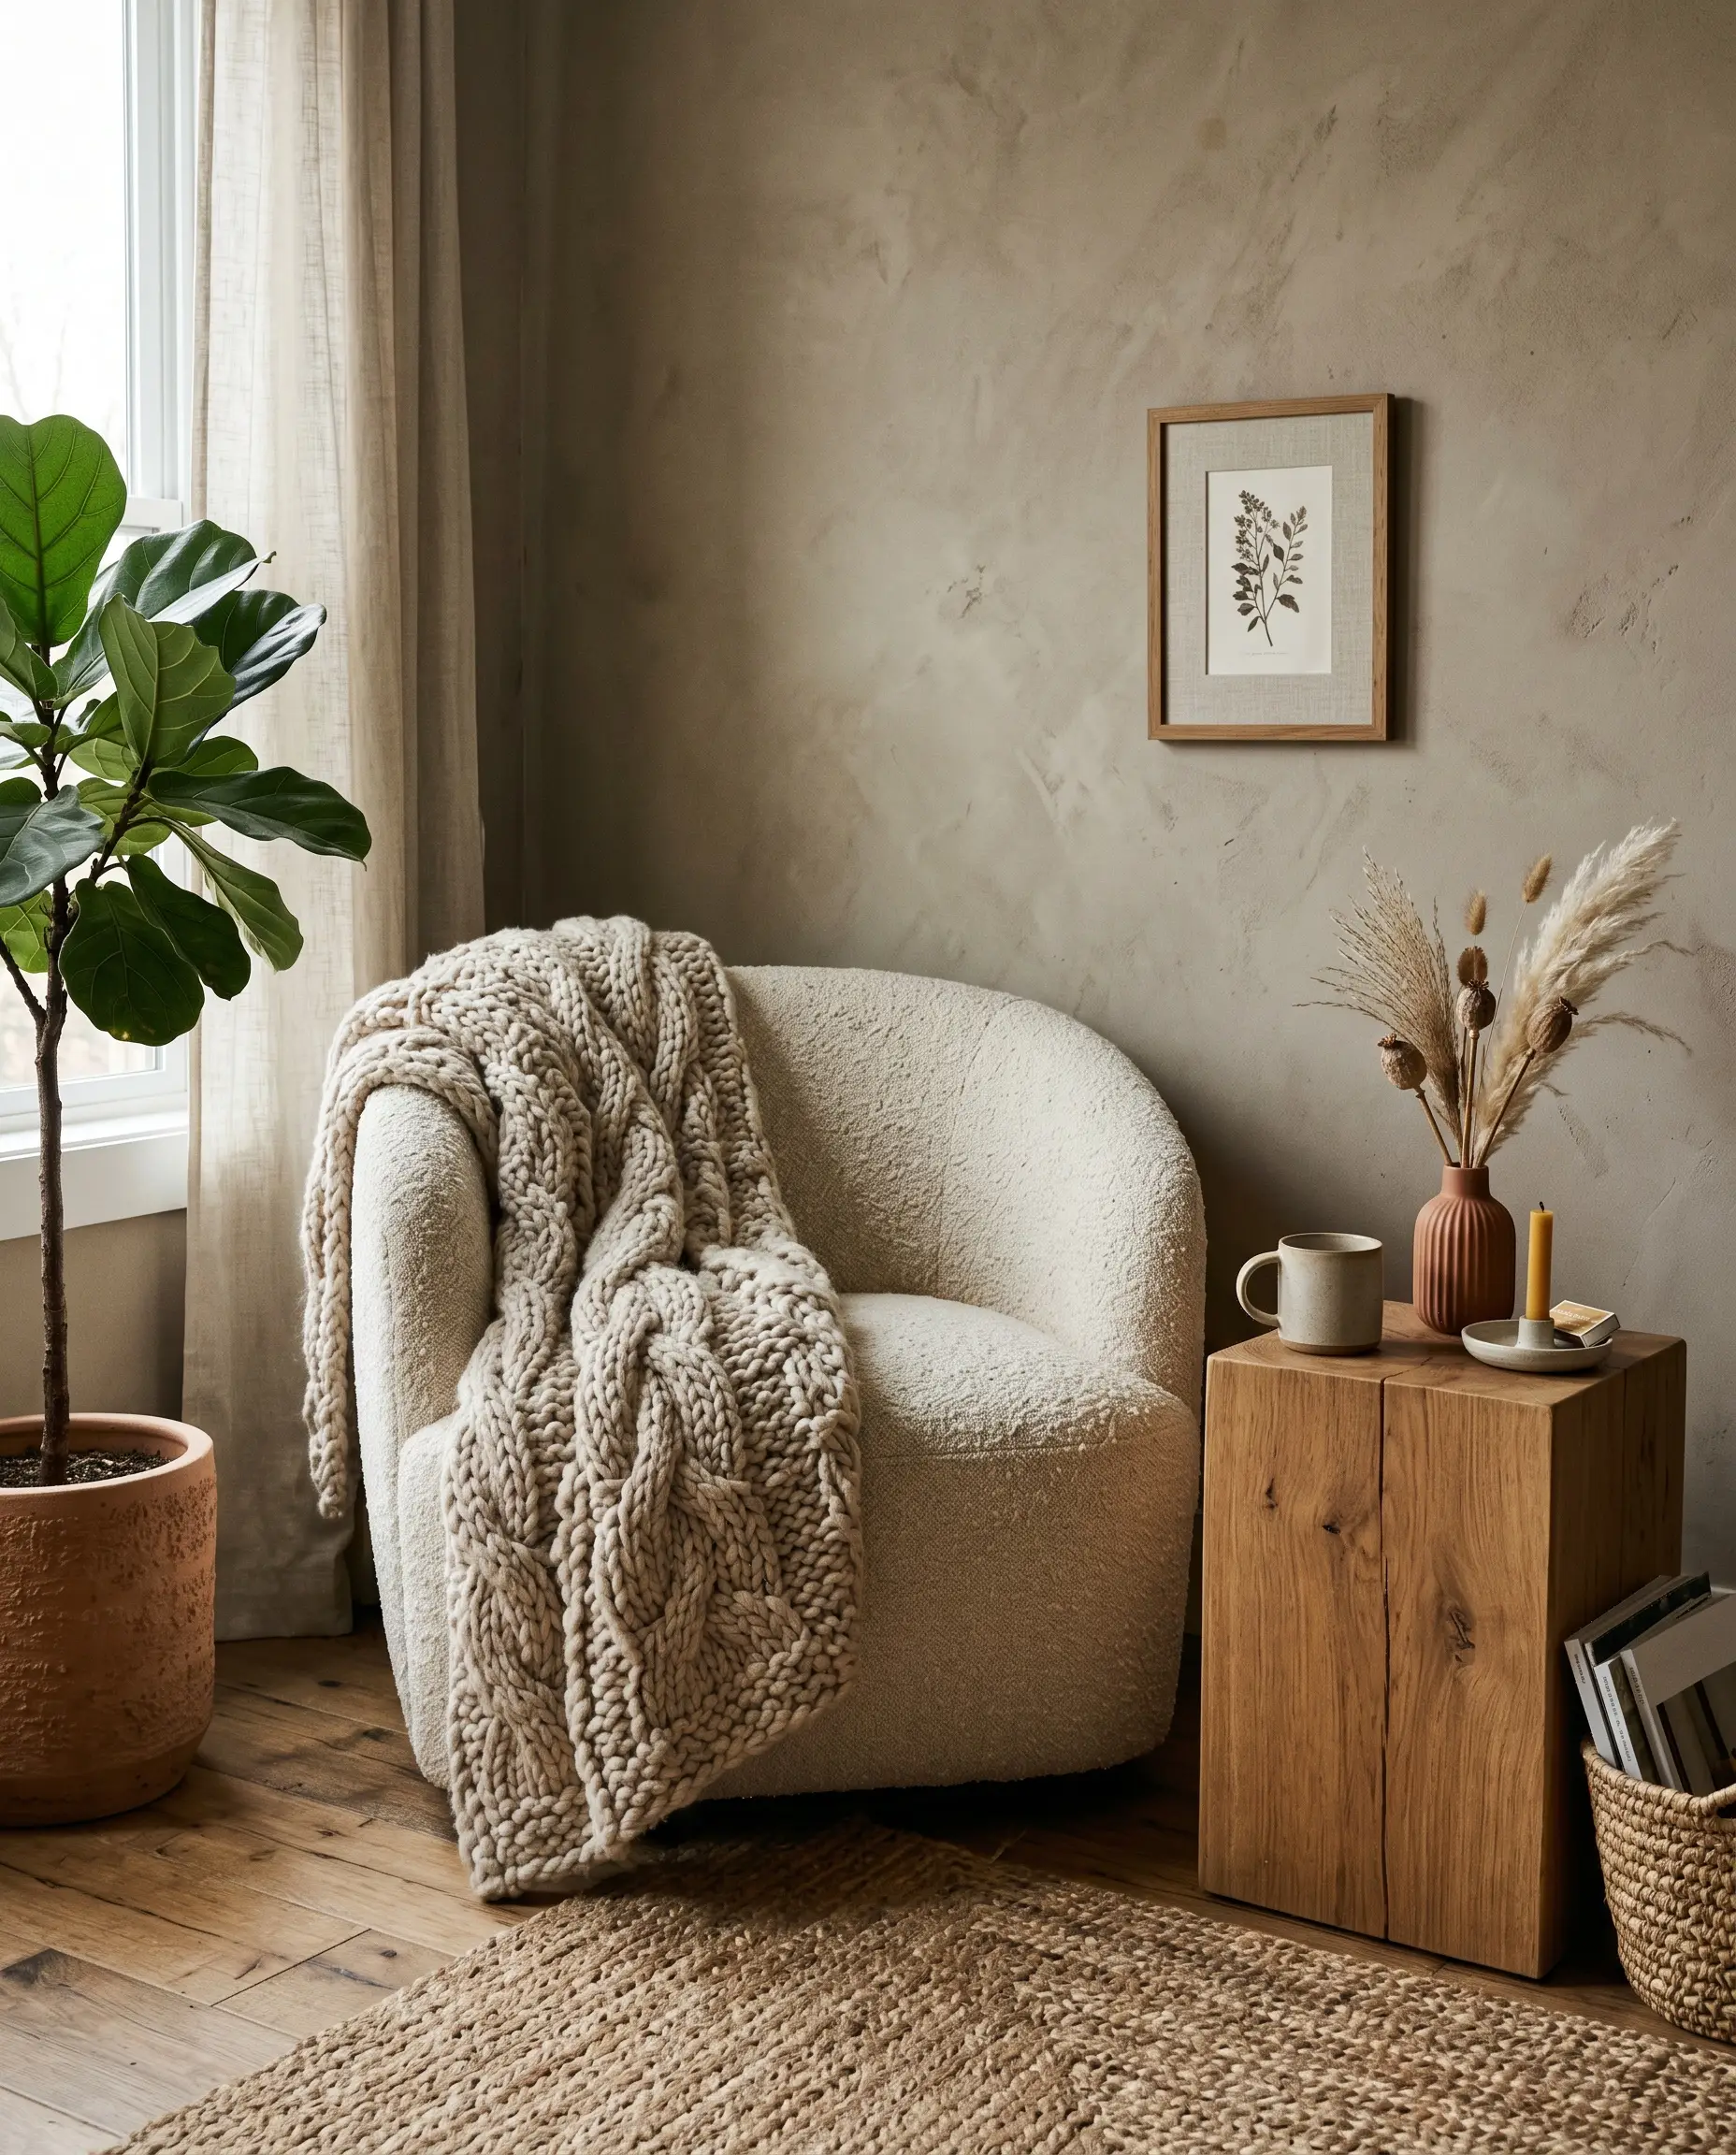
Surrounding your optical illusion with genuinely authentic, tactile materials tricks the brain into assuming the wall texture is also natural. Harmonizing the room with nubby fabrics and raw woods creates a cohesive, sensory-rich environment that distracts from the DIY execution.
- Key Material: Raw rift-sawn oak furniture.
- Key Material: Nubby boucle accent chairs.
- Key Material: Unglazed, matte ceramics.
- Styling Pro-Tip: Avoid high-gloss plastics, polished chrome, or mirrored furniture, as these sterile materials clash with the organic warmth of the walls.
The Reversal Protocol: Getting Your Security Deposit Back
The true test of a renter hack isn’t how good it looks while you live there, but how easily it disappears when you hand over the keys. You must execute a flawless exit strategy to ensure your landlord never knows you altered the space.
For peel-and-stick wallpaper, never rip it off dry. Always use a hairdryer on medium heat to gently soften the adhesive as you pull downwards at a 45-degree angle to prevent tearing the drywall paper.
Security Deposit Saver
To reverse the paint-over hacks, follow this exact protocol:
- Clean the Surface: Wipe down the faux-finished wall with a damp cloth to remove any dust or oils.
- Apply High-Hide Primer: Never try to paint “Landlord White” directly over a dark, mottled glaze—it will bleed through immediately. You must roll on one thick coat of a high-hide, stain-blocking primer (like Kilz 2) to completely neutralize the cloudy pattern.
- The Final Coat: Once the primer is dry, apply one to two coats of the apartment’s standard flat white paint.
Don’t let a strict lease force you into a boring, uninspiring box. With the right matte paints, a little glaze, and a solid reversal plan, you can upgrade your rental architecture fearlessly and get your entire deposit back.
The Hackrea Technical Desk handles the mathematics and material science of interior architecture. With a ruthless focus on lifecycle costs, structural integrity, and contractor-level reality checks, this desk cuts through manufacturer marketing to tell homeowners exactly how materials perform, what they actually cost, and the hidden pitfalls of installation.