How to Style a Rustic Wood Coffee Table Like a Designer
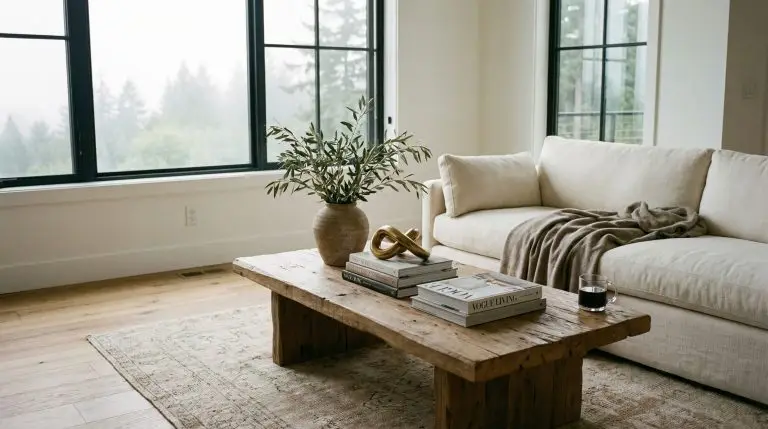
A rustic wood coffee table is the ultimate grounding piece for any living space. It brings incredible, soulful warmth to a room and instantly makes a sterile seating area feel lived-in and inviting.
However, styling these beautifully imperfect pieces requires a delicate balancing act of texture, scale, and spatial awareness. If you simply toss a few random items on top, the table can quickly feel cluttered or overly heavy. Today, we are sharing the exact designer formulas you need to transform your bare table into a magazine-worthy focal point.
To style a rustic wood coffee table like a designer, you must balance the heavy, textured wood with sleek, contrasting materials. Use the rule of three to create varied heights, anchor small items in a stone tray, and incorporate fresh botanicals to soften the table’s rugged edges.
The Secret to Rustic Styling: The Power of Material Contrast
The most common problem readers submit to our platform involves what we affectionately call the “lumberjack effect.” They purchase a stunning, heavy-timber coffee table, but once it is placed in their living room, the entire space suddenly feels like a dark mountain cabin rather than a curated, modern home.
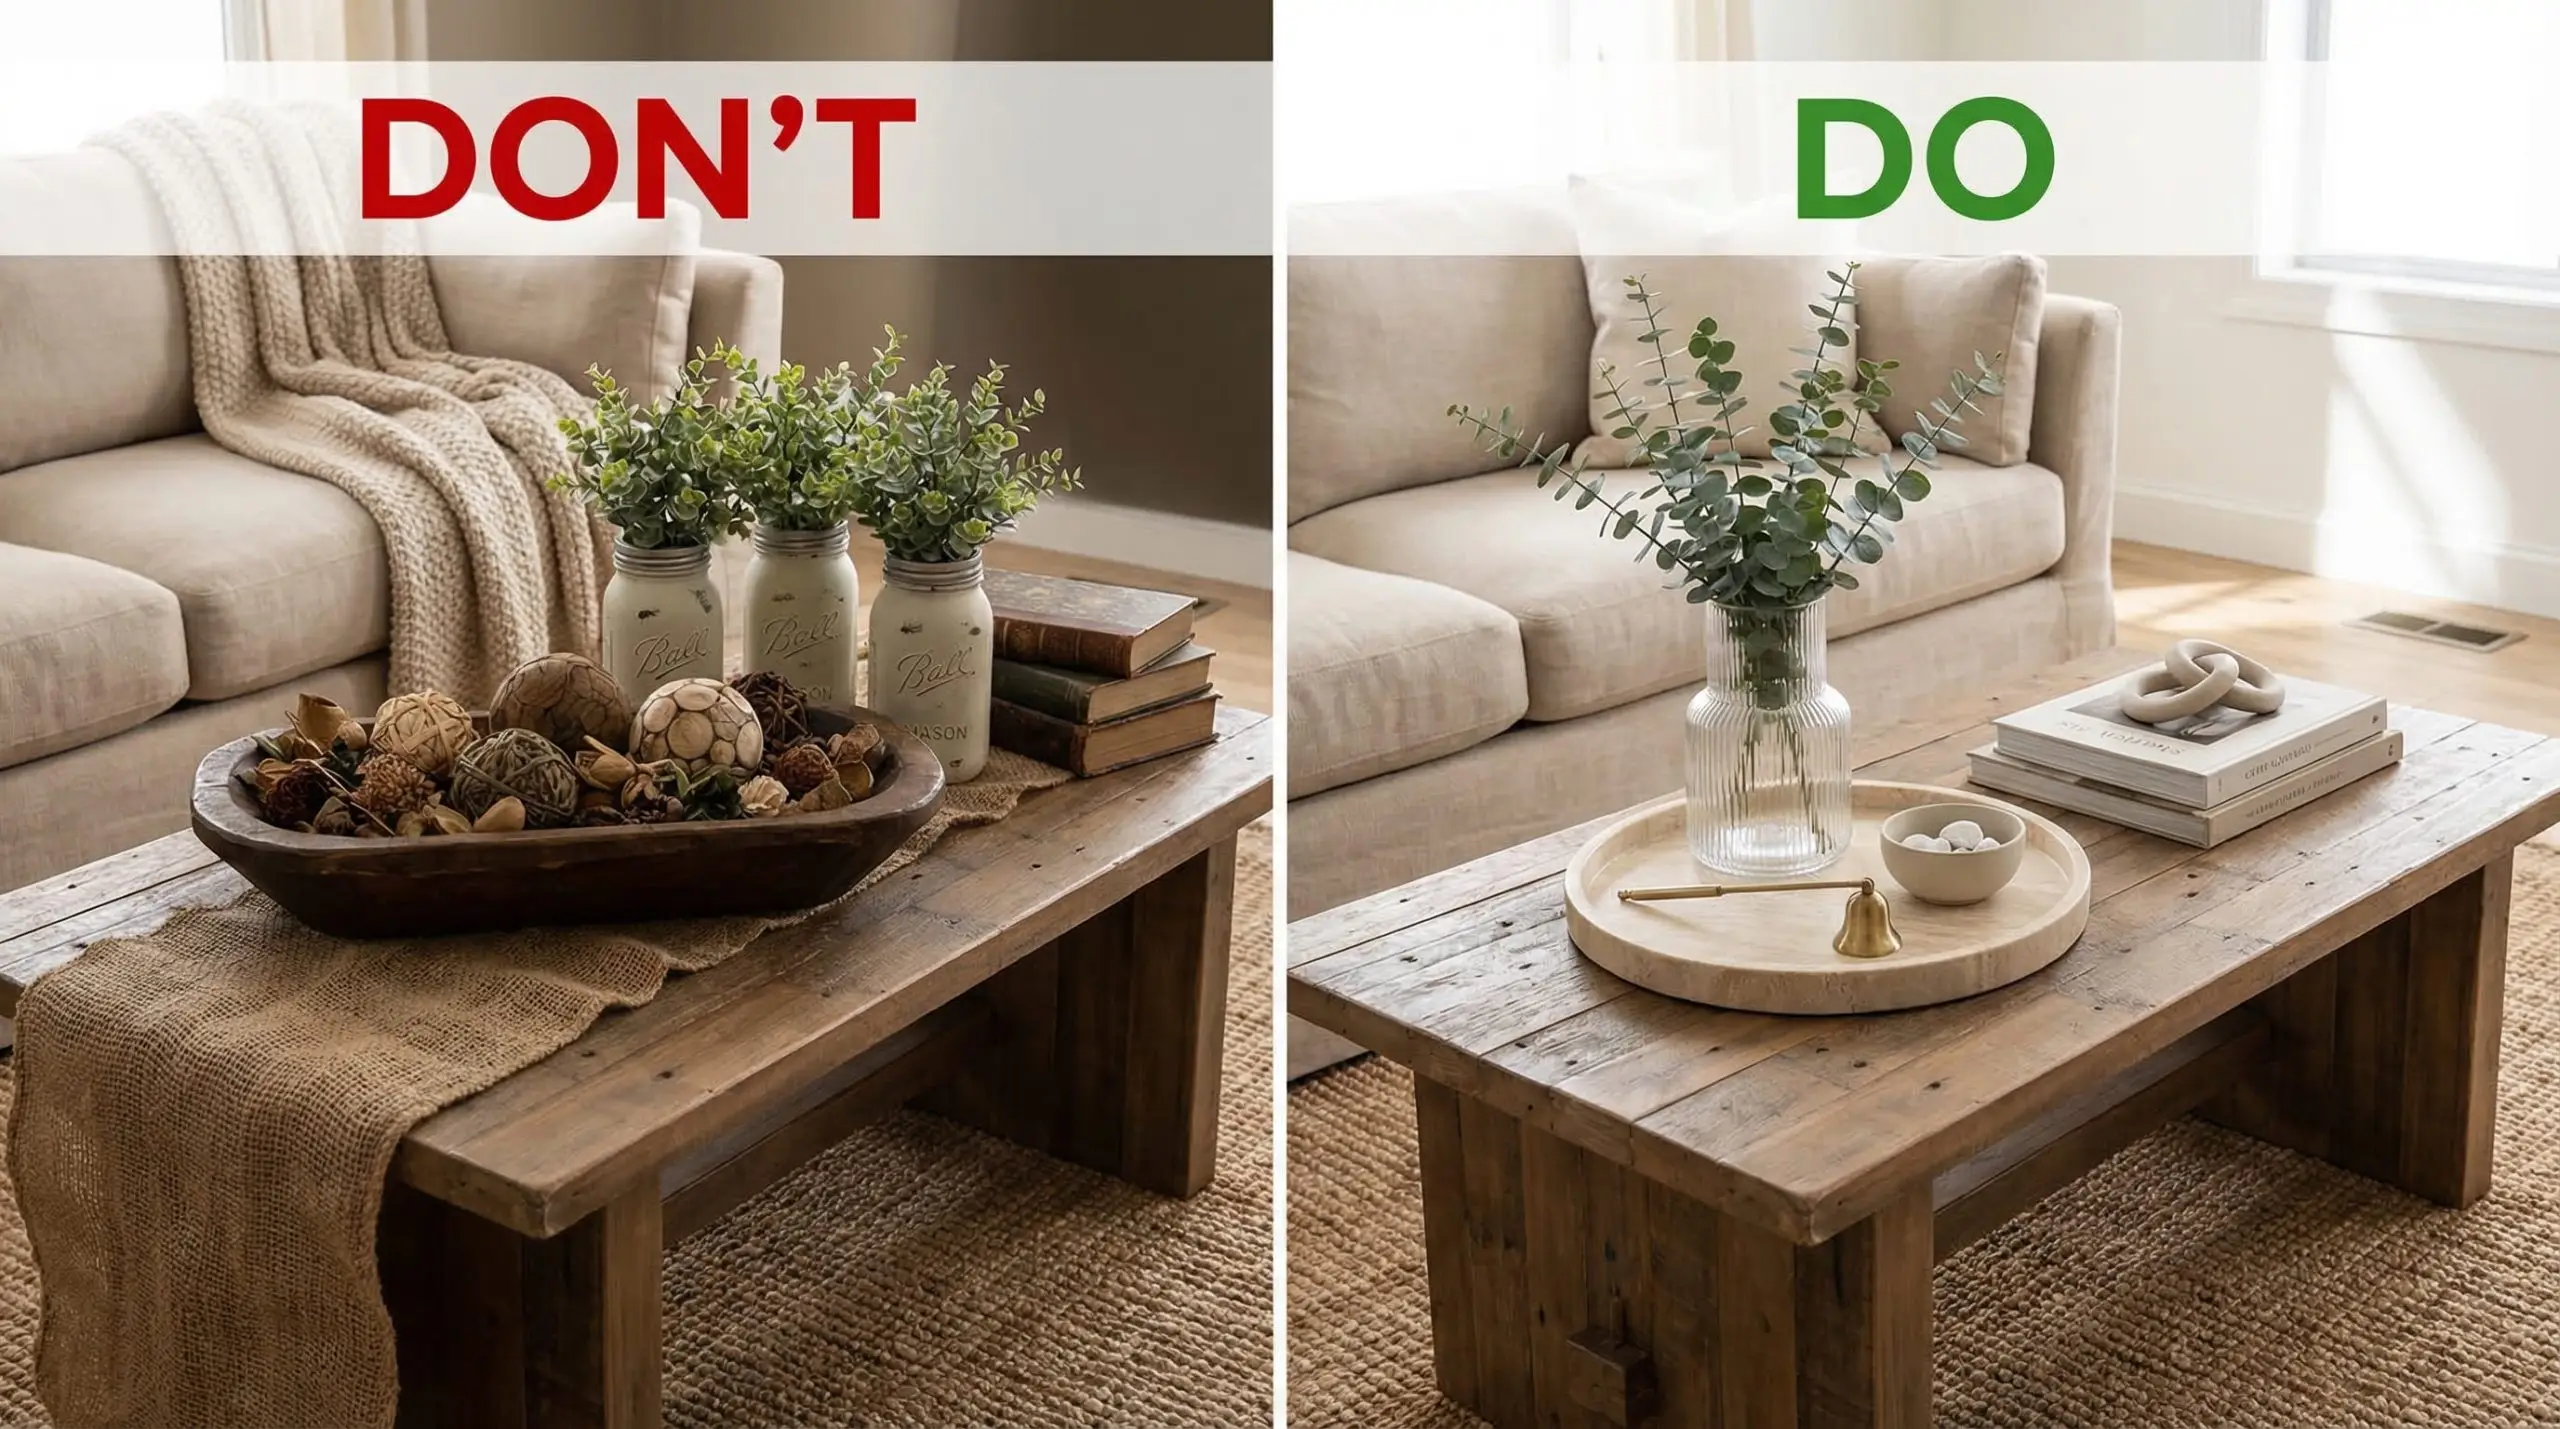
When a reader recently asked us how to fix their living room layout, the answer wasn’t to replace the table—it was to master the art of juxtaposition. Rustic wood inherently carries a massive amount of visual weight. To make it look intentional and elevated, you must introduce materials that aggressively contrast with its rough-hewn nature.
If you look at the portfolio of Amber Lewis from Amber Interiors, you will notice she is an absolute master of this balance. She consistently pairs heavily distressed, reclaimed woods with hyper-refined, California-cool accents to keep the room feeling light and transitional.
To achieve this designer look, you should actively integrate these contrasting materials:
Before you even place an object on your table, consider what is underneath it. If your home features timber flooring, choosing the right rug for hardwood floors is essential to provide a soft, plush buffer between the rustic table legs and the floorboards.
💡 Hackrea Styling Tip
4 Foolproof Coffee Table Styling Formulas
A collaborating interior designer recently told us that styling a coffee table without a spatial formula is like trying to bake a cake without a recipe. You might get lucky, but it usually ends up looking like a mess. To guarantee a magazine-quality finish, rely on these four foundational layouts.
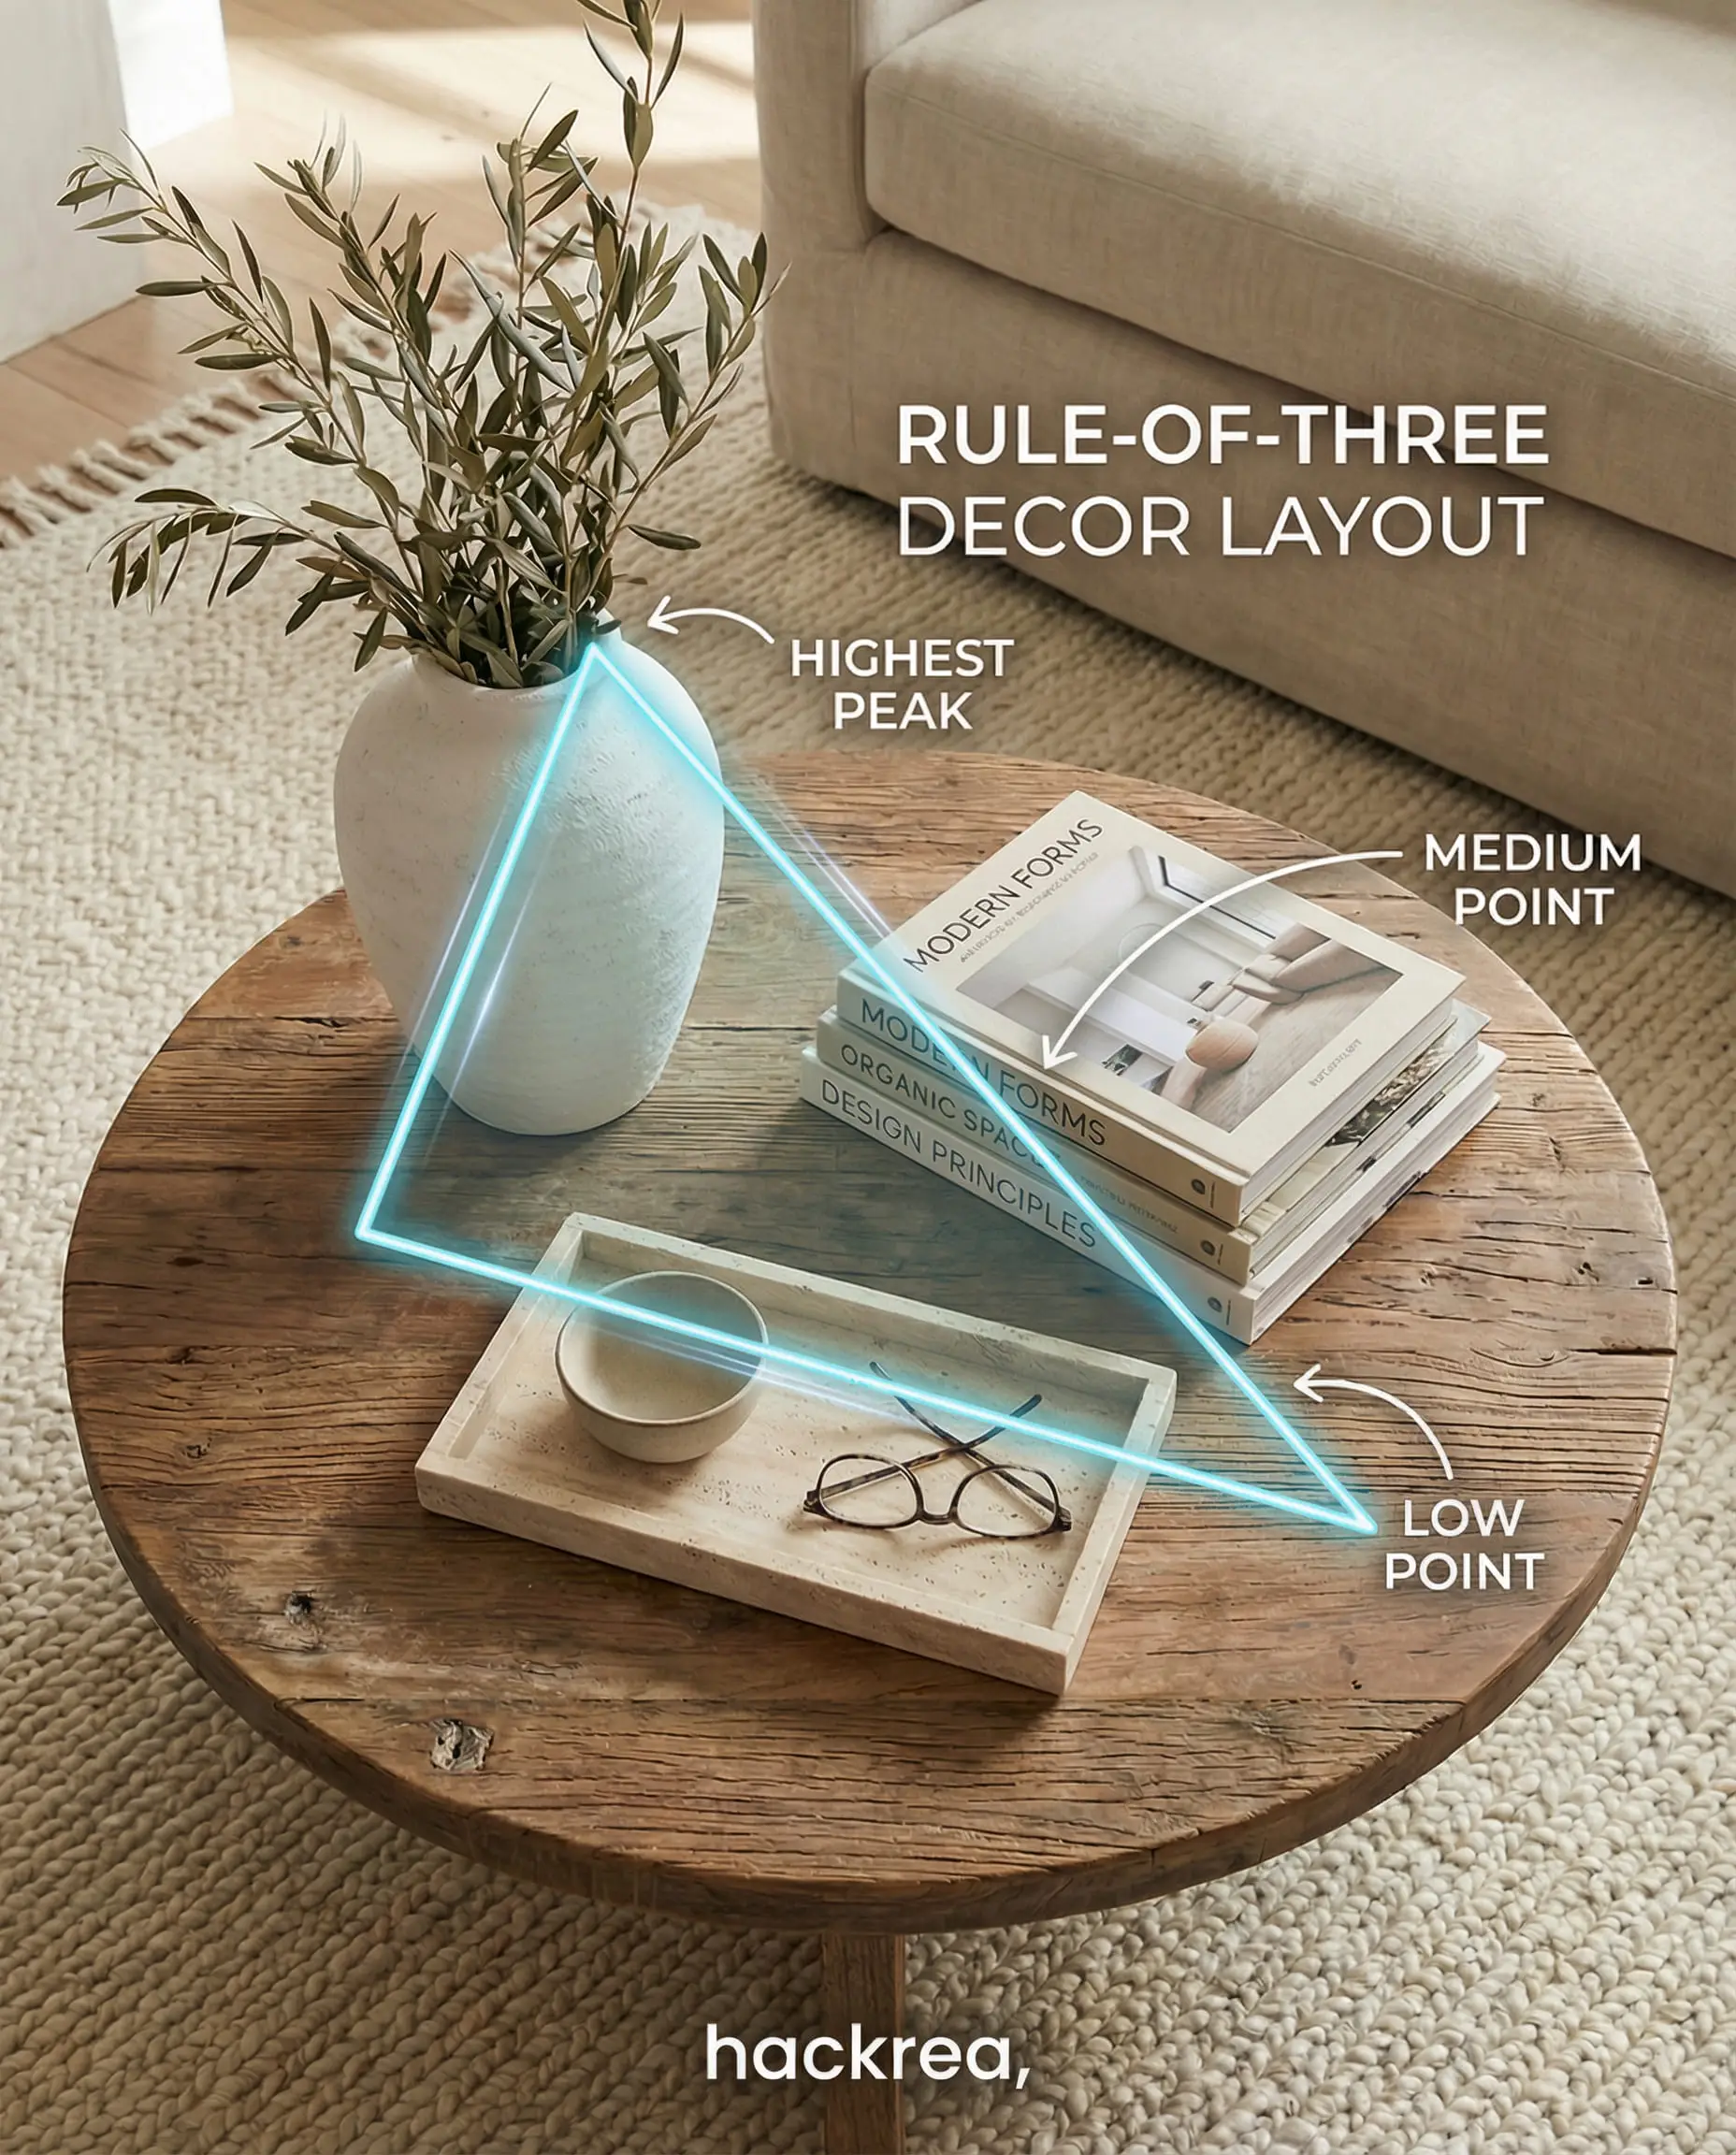
1. The Classic Triangle (Rule of Three)
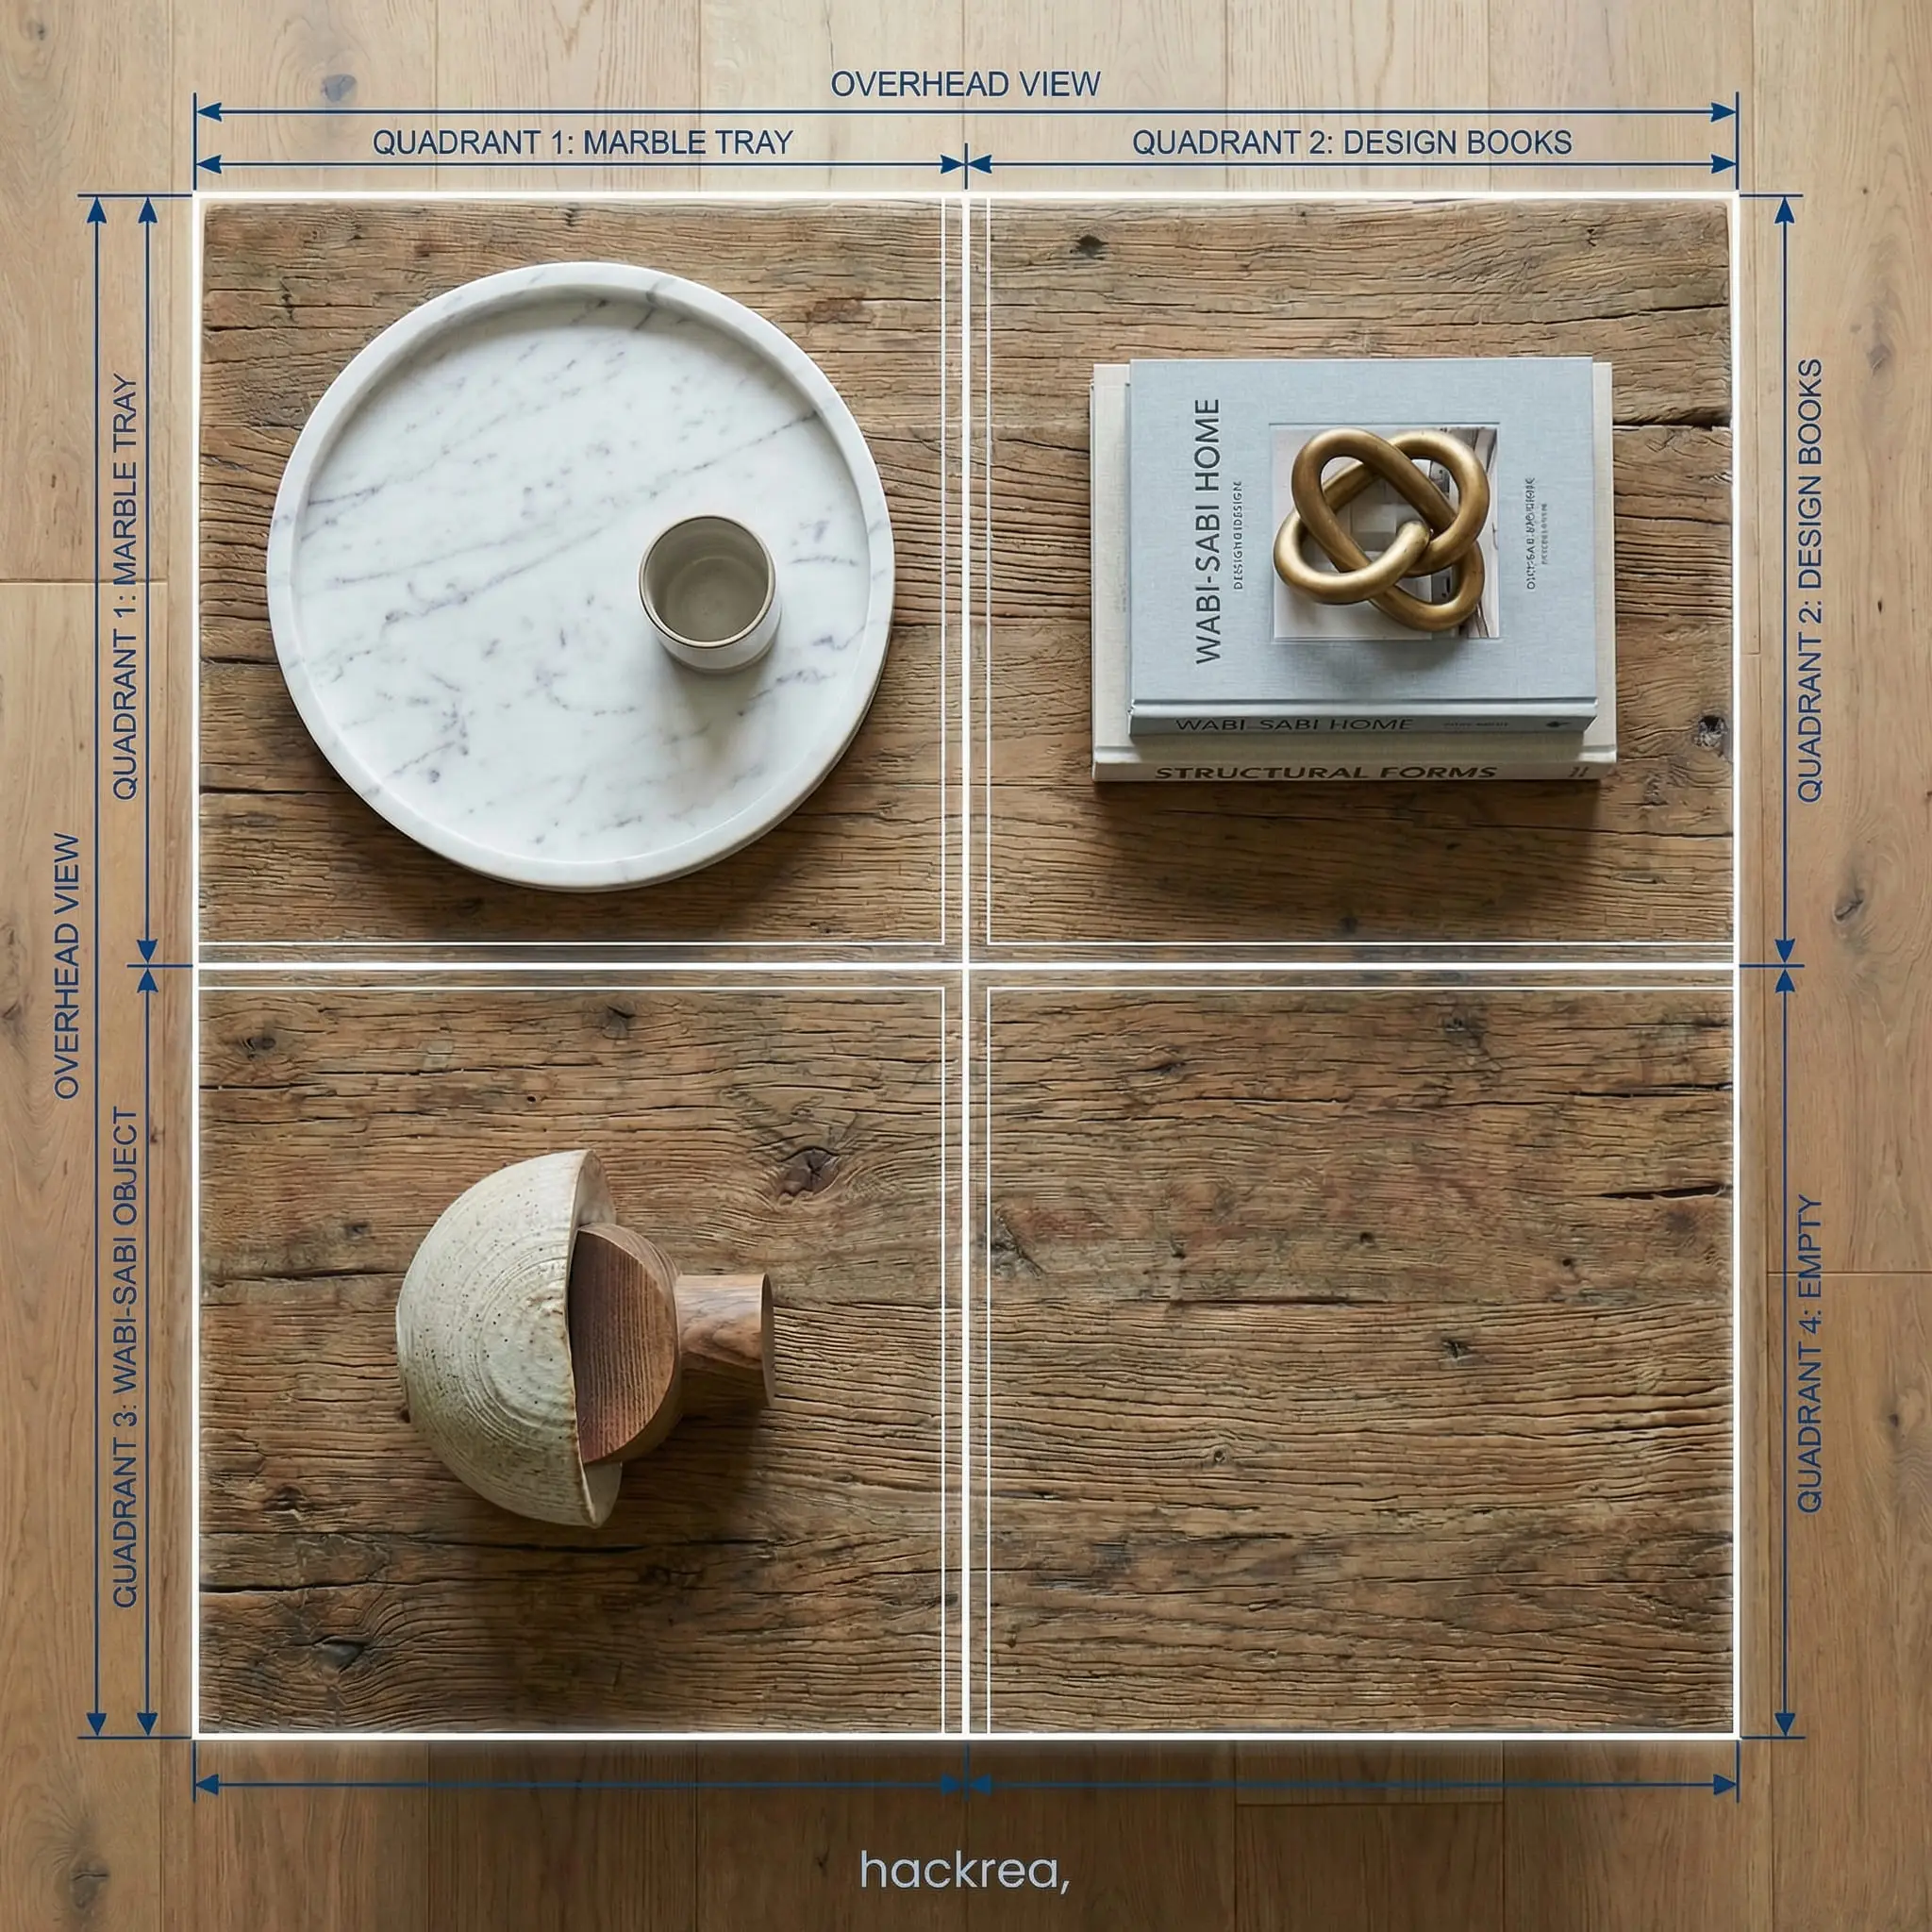
2. The Grid Method
3. The Tray Anchor
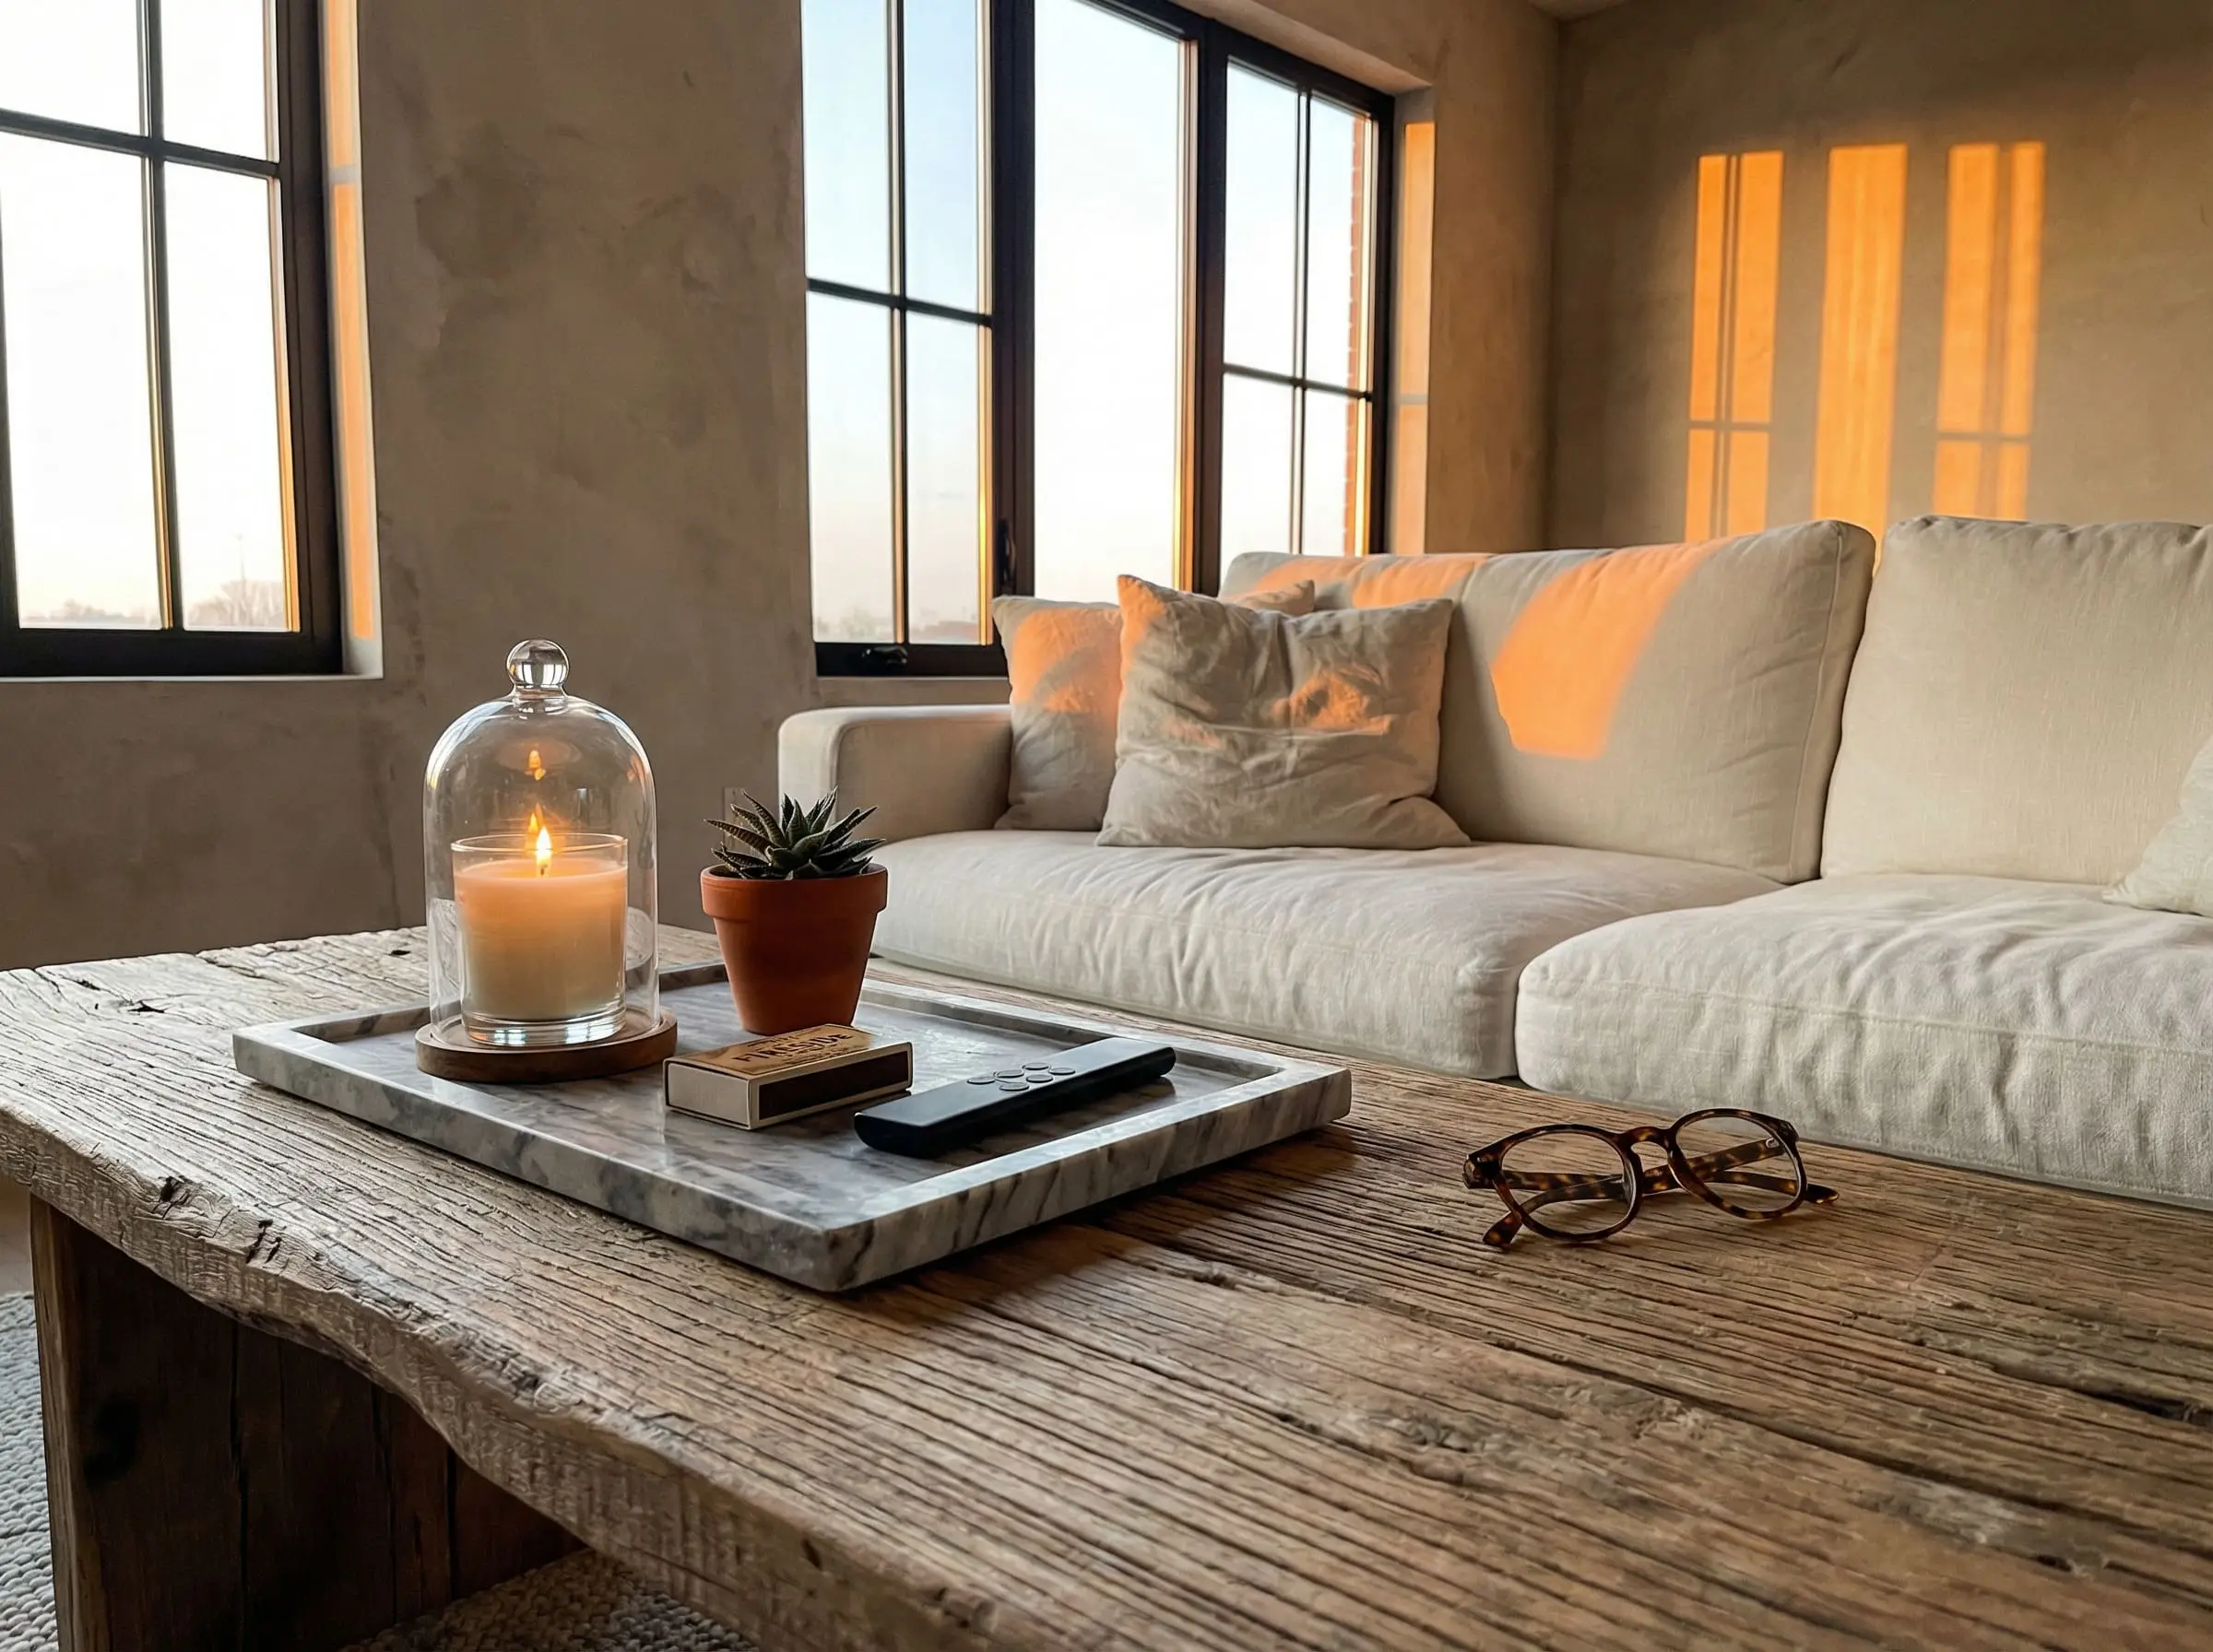
4. Organic Asymmetry
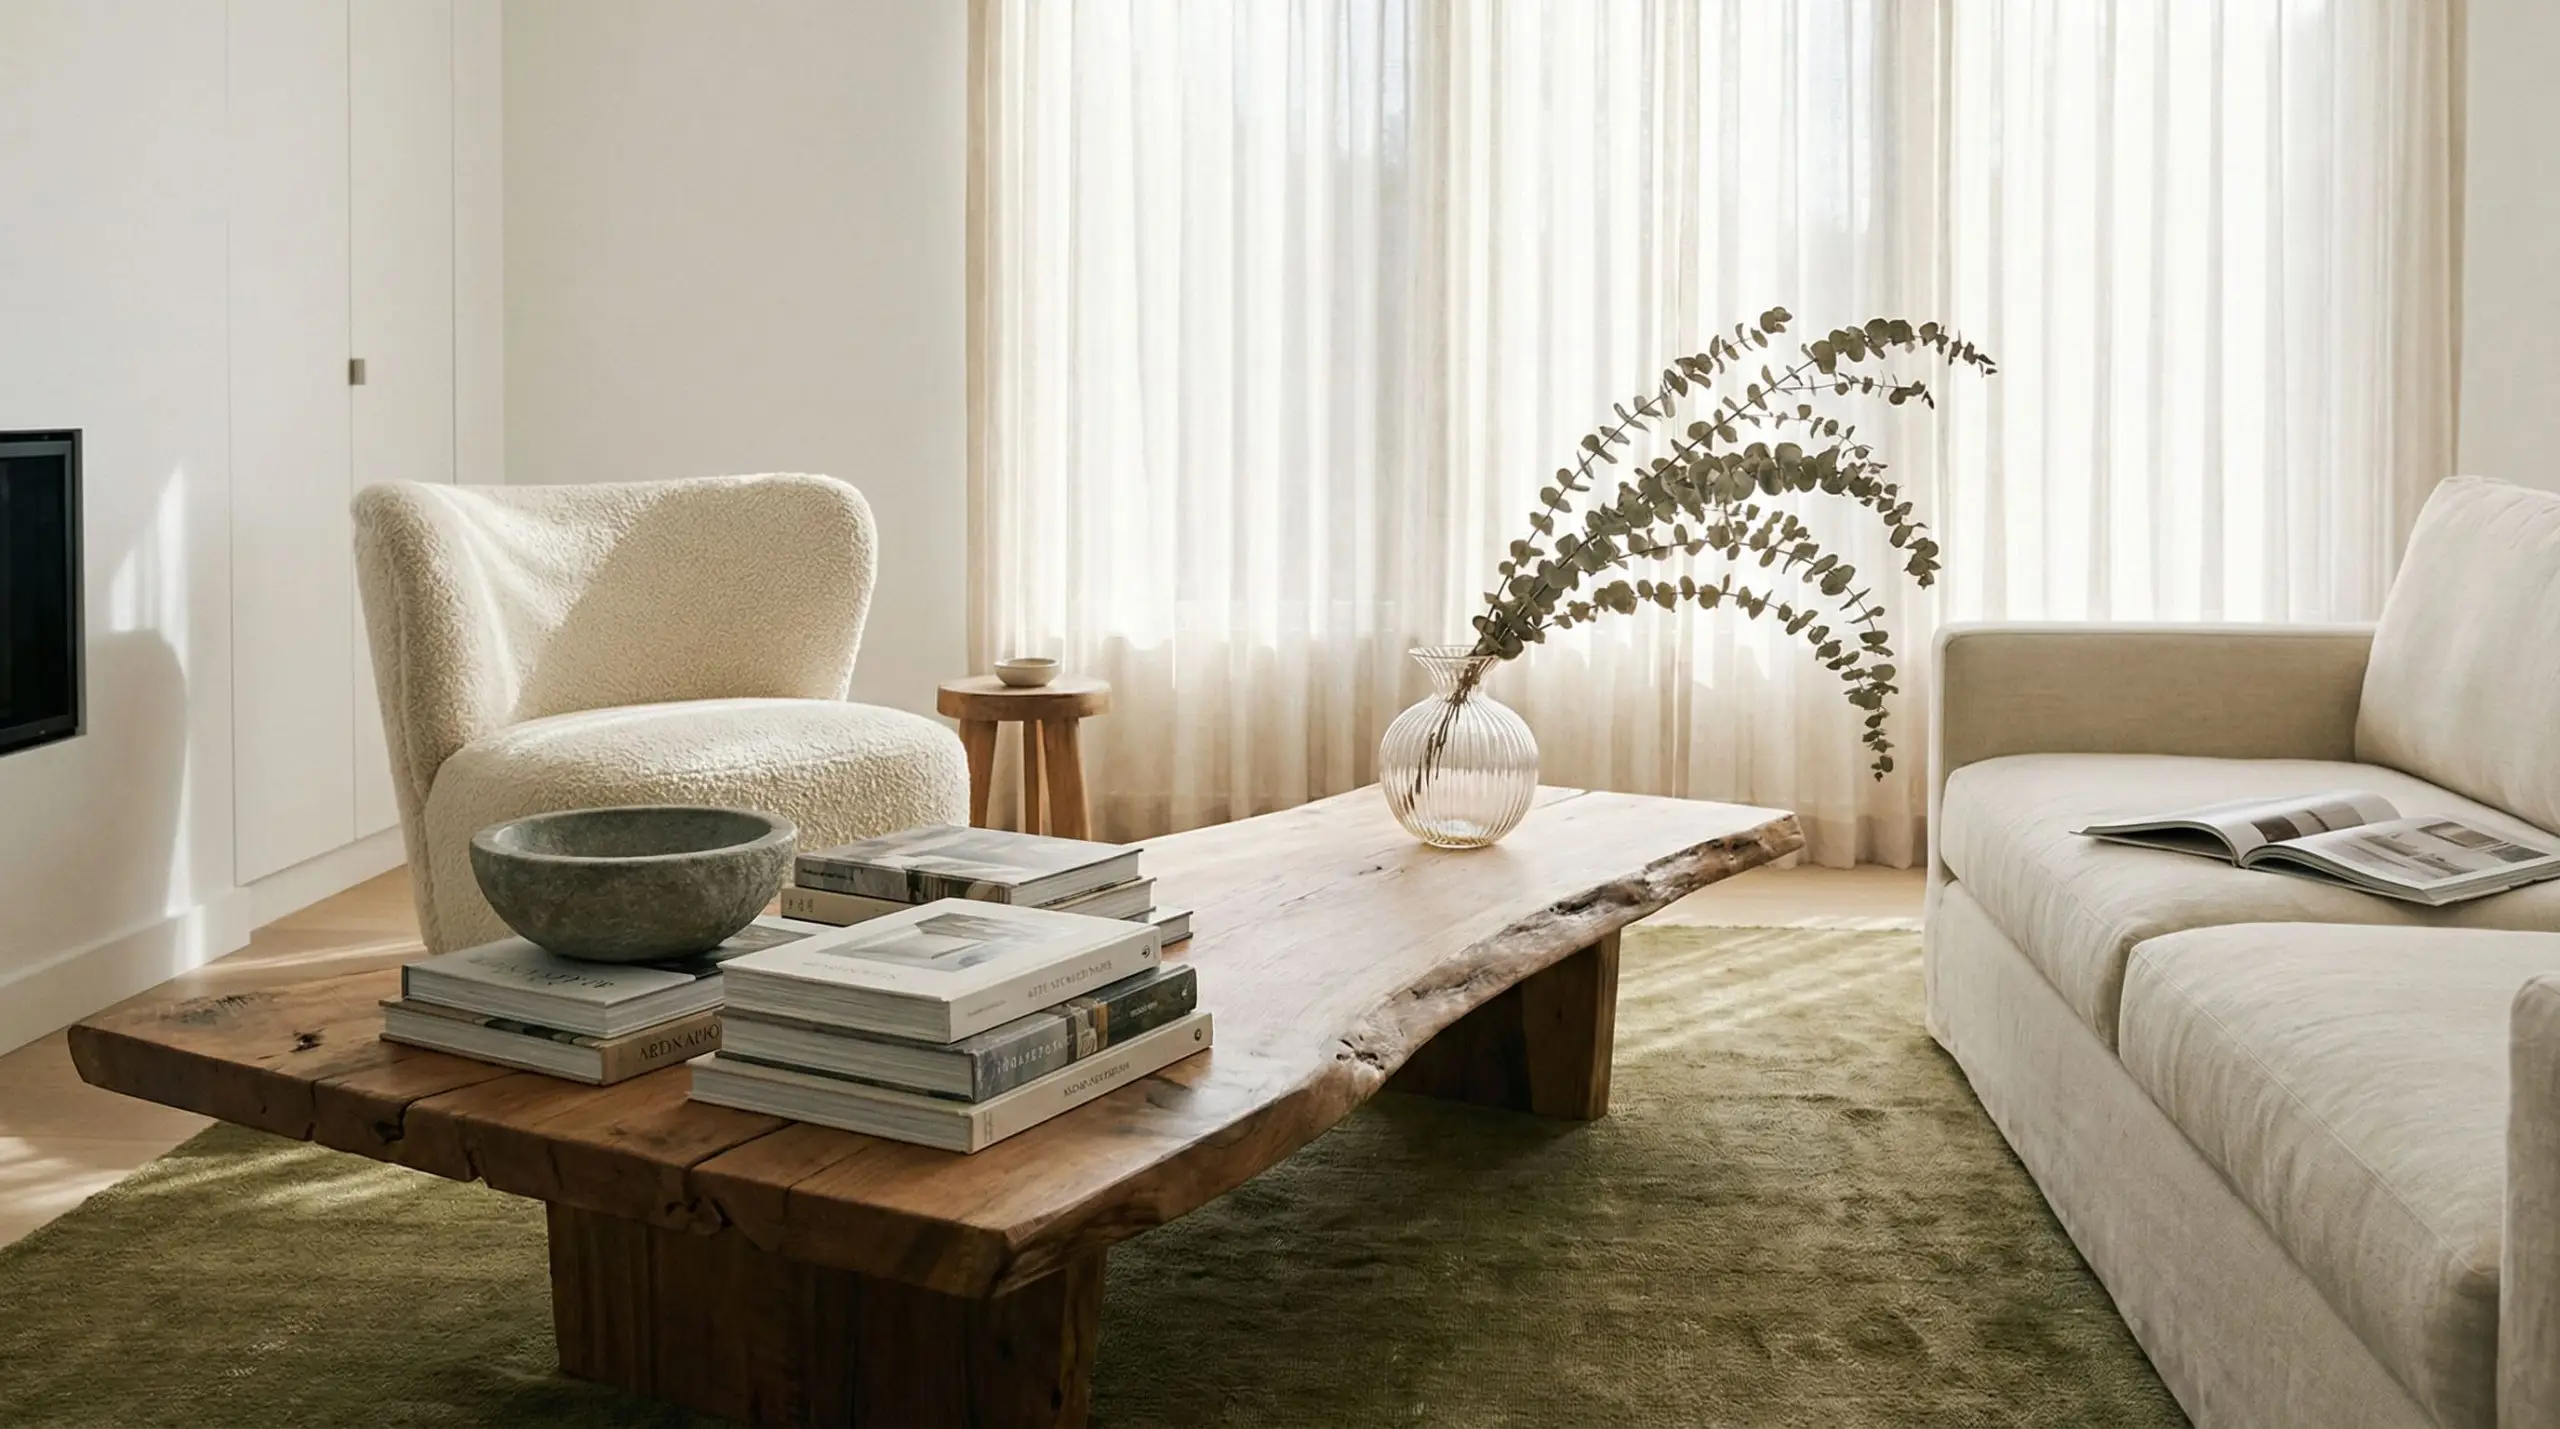
How Table Shape Dictates Your Decor Layout
Looking at the floor plan photos sent to our team, the biggest styling disconnect occurs when homeowners use a layout formula that conflicts with the physical shape of their table. A round table demands a completely different spatial approach than a sharp, rectangular bench.
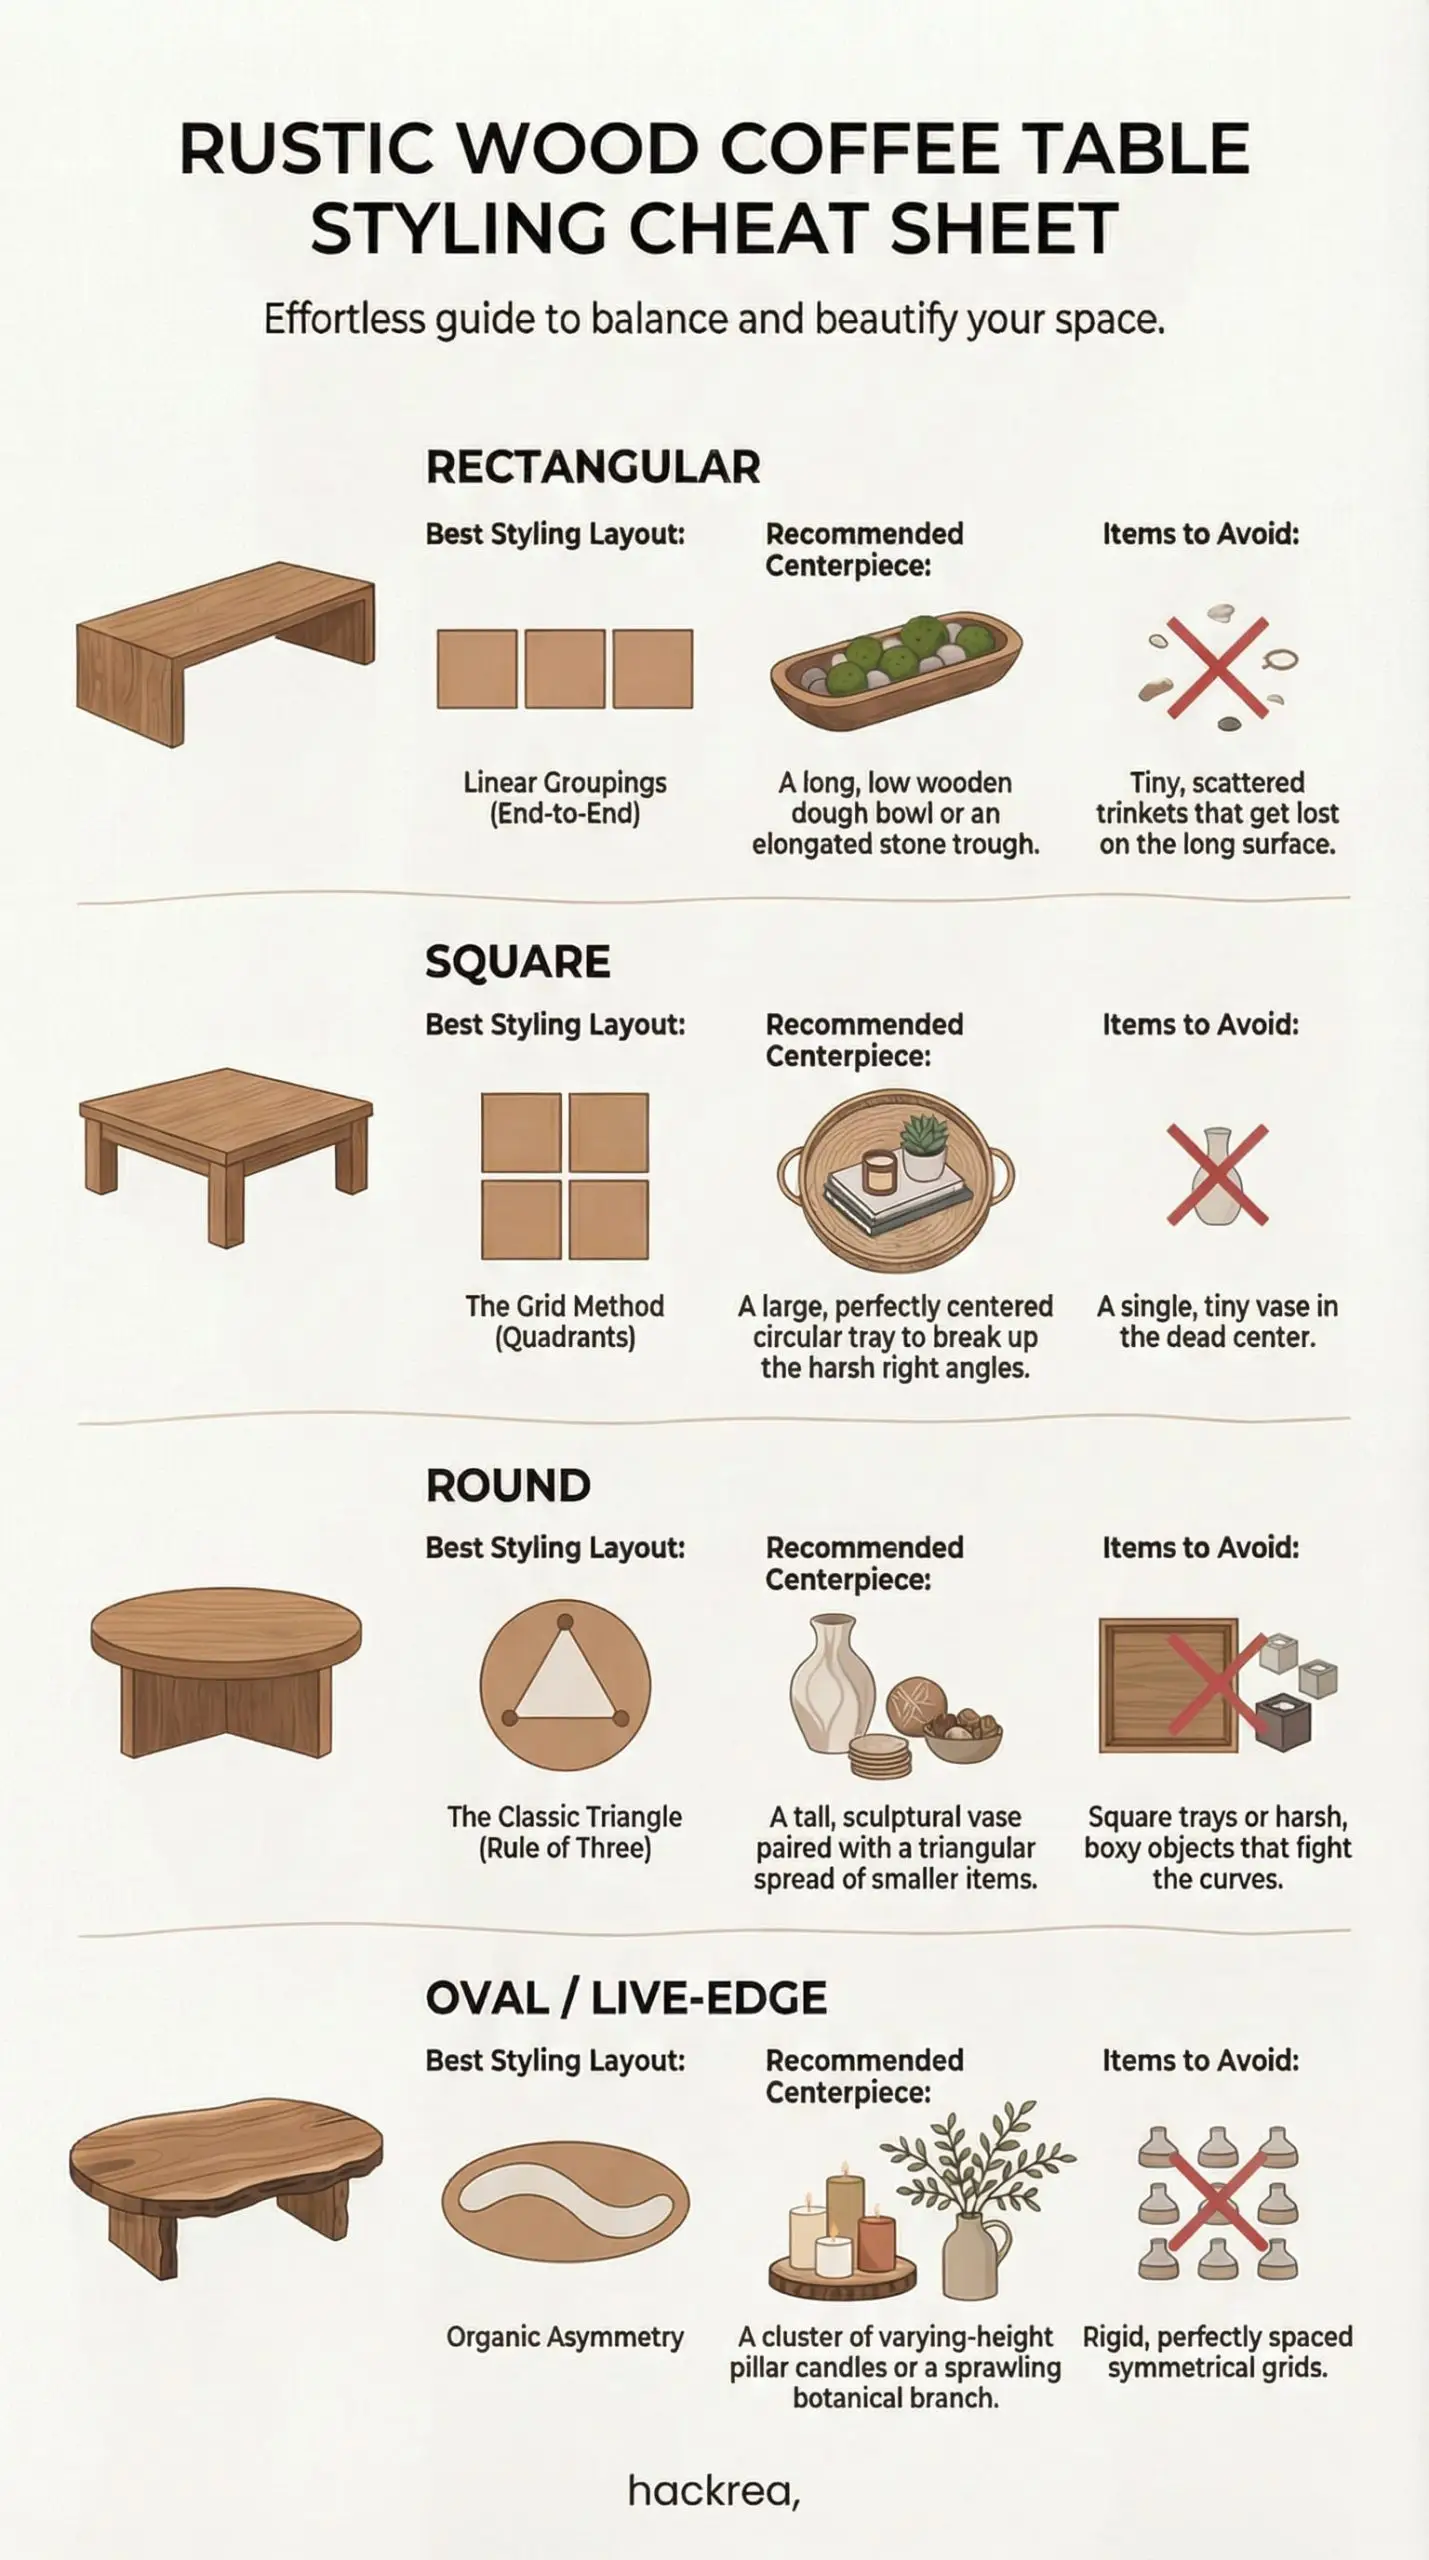
To help you map out your surface, we have created a definitive cheat sheet for matching your table’s geometry to the perfect decor arrangement.
| Table Shape | Best Styling Layout | Recommended Centerpiece | Items to Avoid |
|---|---|---|---|
| Rectangular | Linear Groupings (End-to-End) | A long, low wooden dough bowl or an elongated stone trough. | Tiny, scattered trinkets that get lost on the long surface. |
| Square | The Grid Method (Quadrants) | A large, perfectly centered circular tray to break up the harsh right angles. | A single, tiny vase in the dead center. |
| Round | The Classic Triangle (Rule of Three) | A tall, sculptural vase paired with a triangular spread of smaller items. | Square trays or harsh, boxy objects that fight the curves. |
| Oval / Live-Edge | Organic Asymmetry | A cluster of varying-height pillar candles or a sprawling botanical branch. | Rigid, perfectly spaced symmetrical grids. |
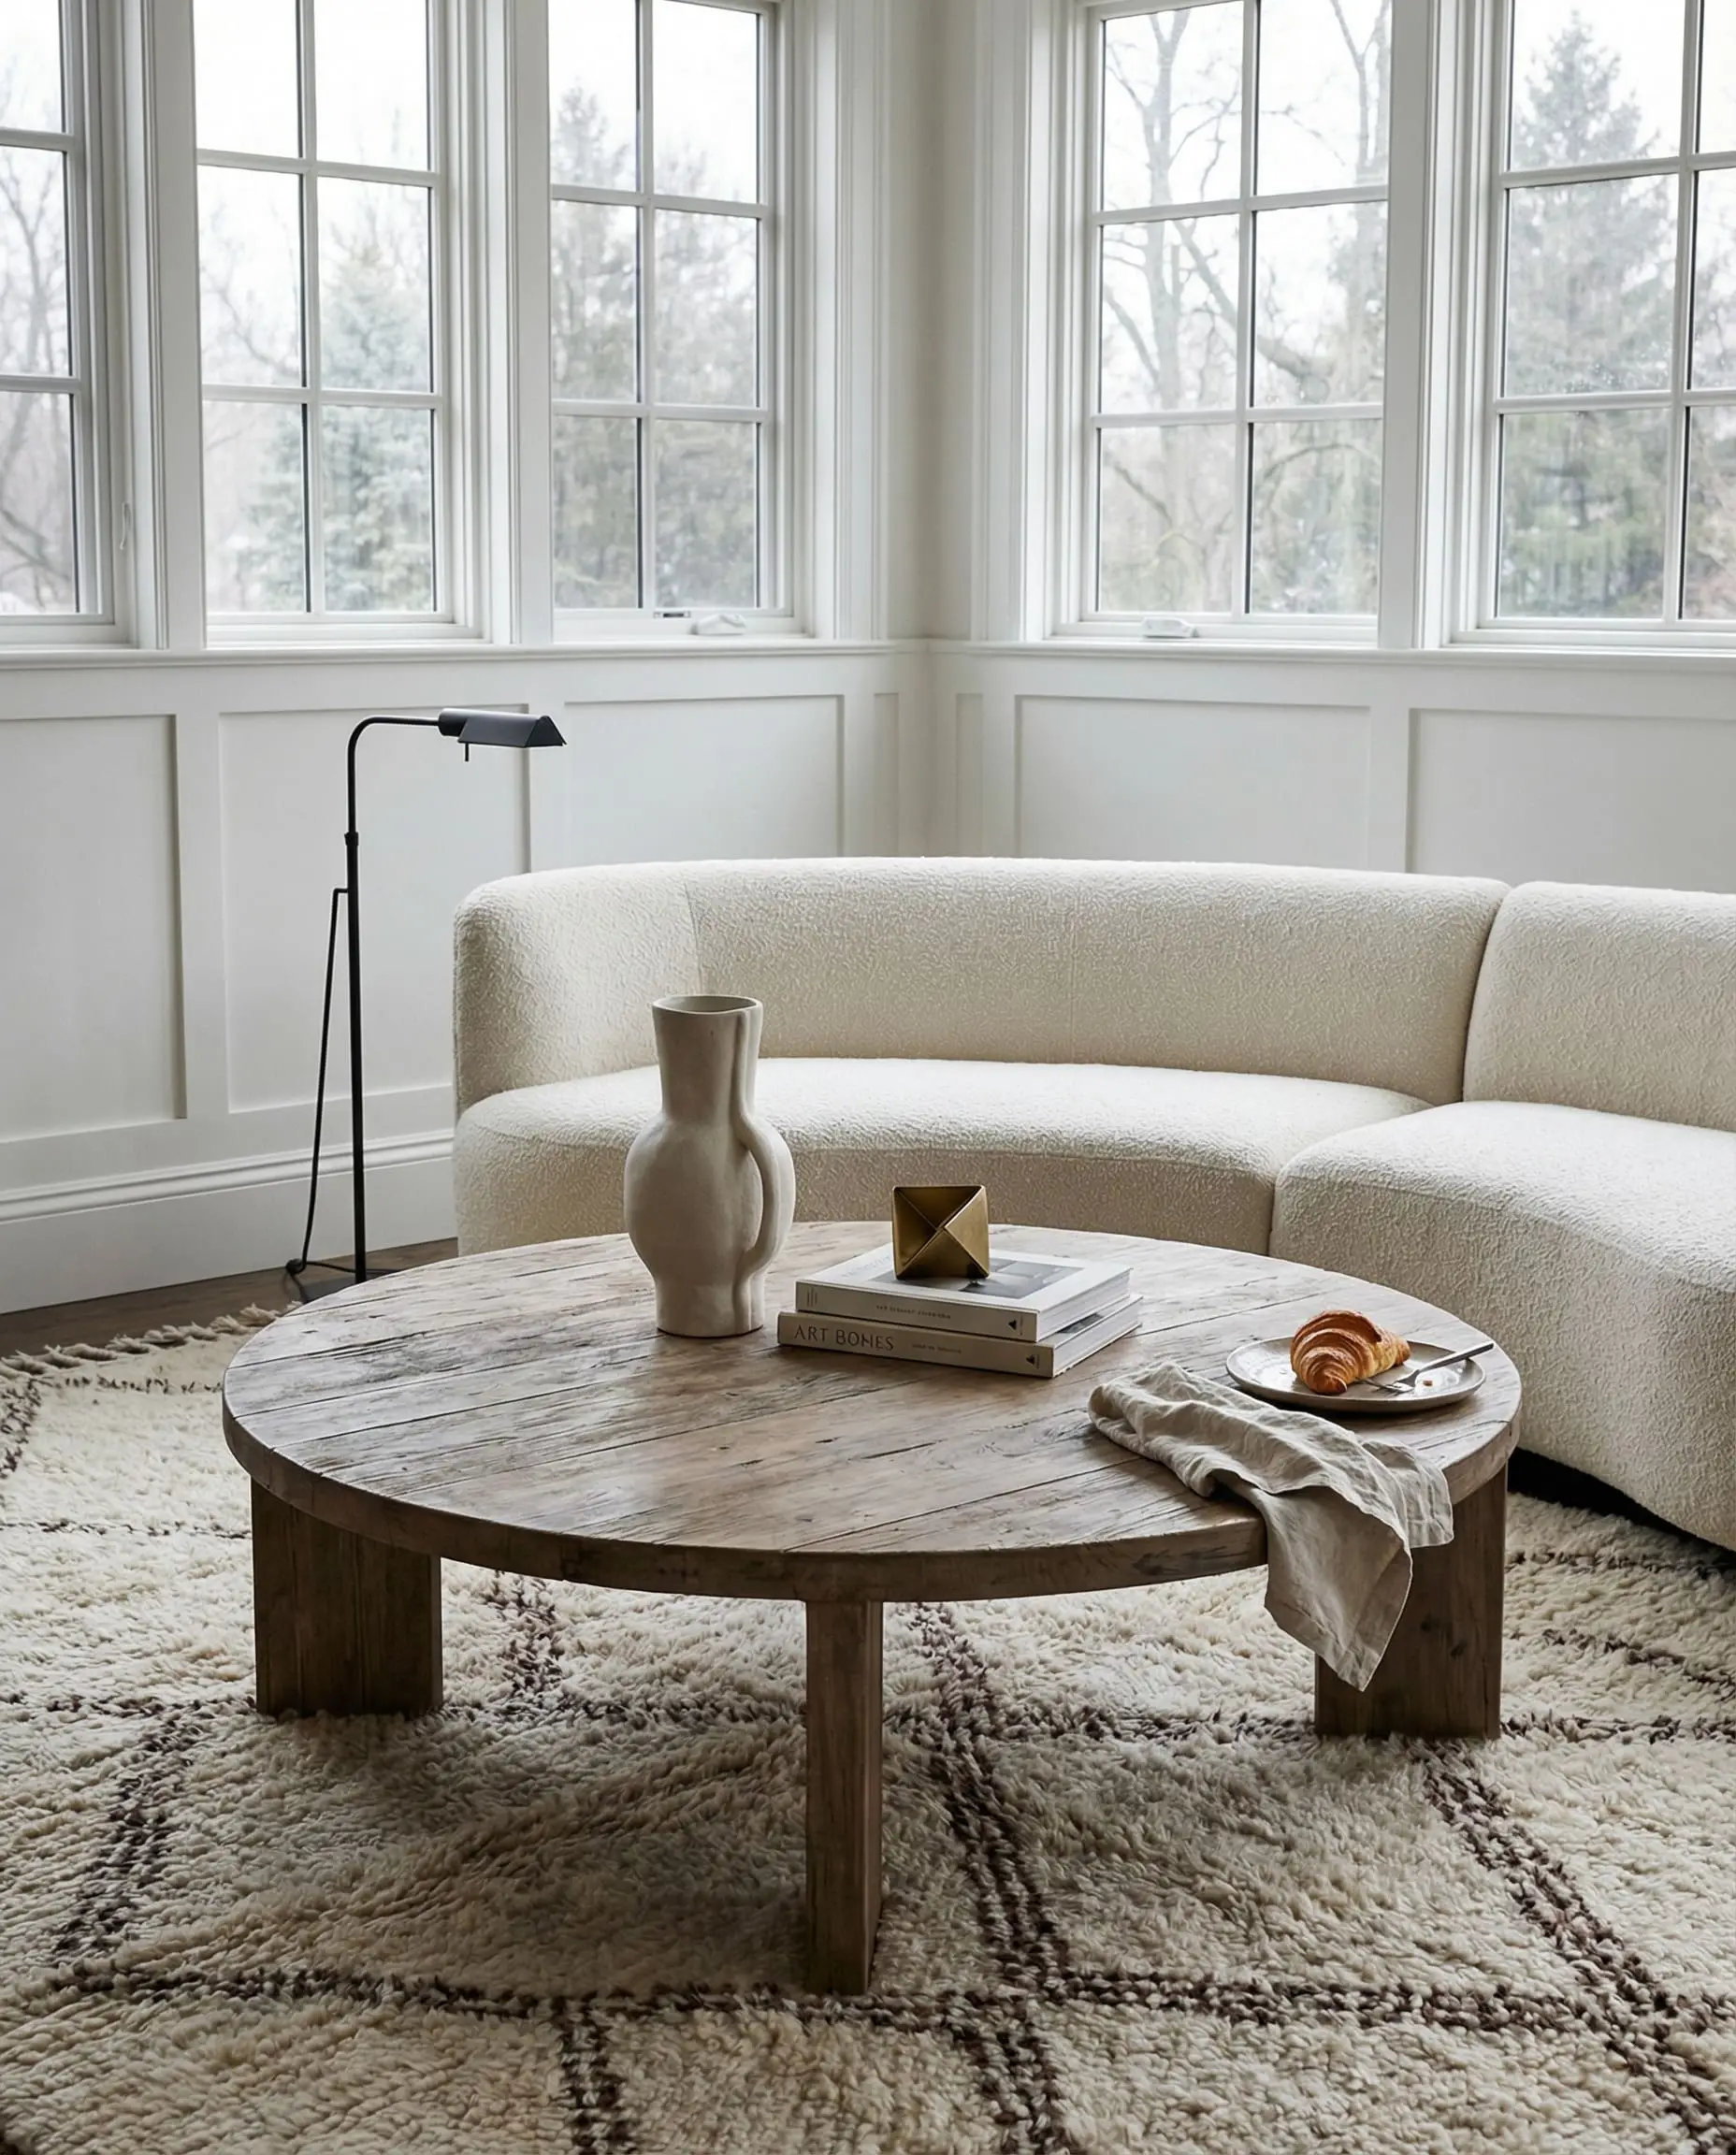
If you have a round rustic table, ensure your decor stays within the inner two-thirds of the surface area. Pushing items too close to the curved edge makes the table feel cluttered and risks items being knocked over.
🛋️ Hackrea Pro Tip
Step-by-Step: How to Build Your Arrangement
Our studio partners are seeing a massive shift toward highly intentional, slow-decorating processes. You cannot just dump a bag of accessories onto a table and expect it to look like a high-end editorial spread. Building a vignette requires a strict chronological layering process.
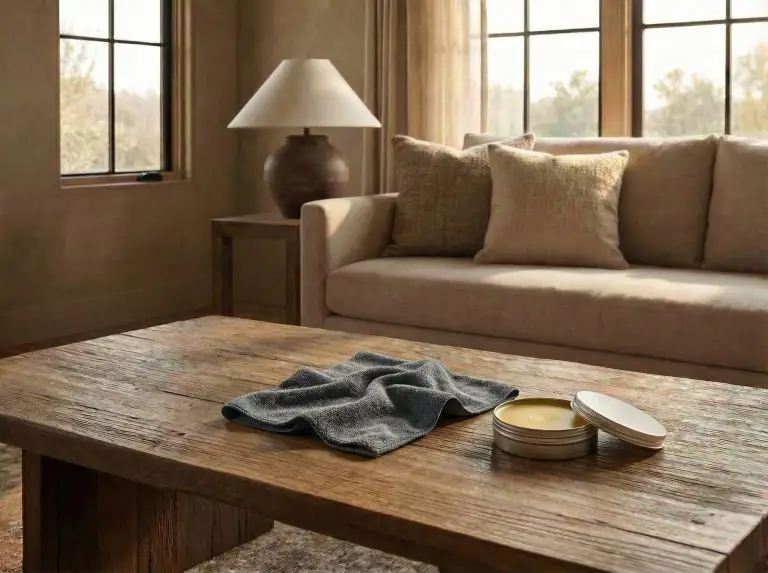
- Clear the canvas and condition the wood: Start by completely emptying the table. Wipe it down with a damp microfiber cloth, and apply a high-quality beeswax or natural wood conditioner. This instantly revives the rustic grain, giving you a rich, hydrated base to work on.
- Lay the foundation: Establish your primary anchors. This is where you place your large marble tray or your heaviest stack of design books. These foundational pieces should take up no more than one-third of the table’s total surface area.
- Add the tallest element: Introduce your vertical height to draw the eye upward. Place a tall ceramic jug or a ribbed glass vase on the table, ensuring it reaches at least 14 to 18 inches in height. Fill it with seasonal branches.
- Layer in the mid-level: Bridge the gap between your flat books and your tall vase. This is the perfect time to introduce sculptural objects, a chunky marble knot, or a medium-height cloche candle.
- Fill the gaps: Finally, add your micro-details. Place a vintage brass matchbook cover on top of your book stack, scatter a string of recycled glass beads over a bowl, and set out your functional coasters.
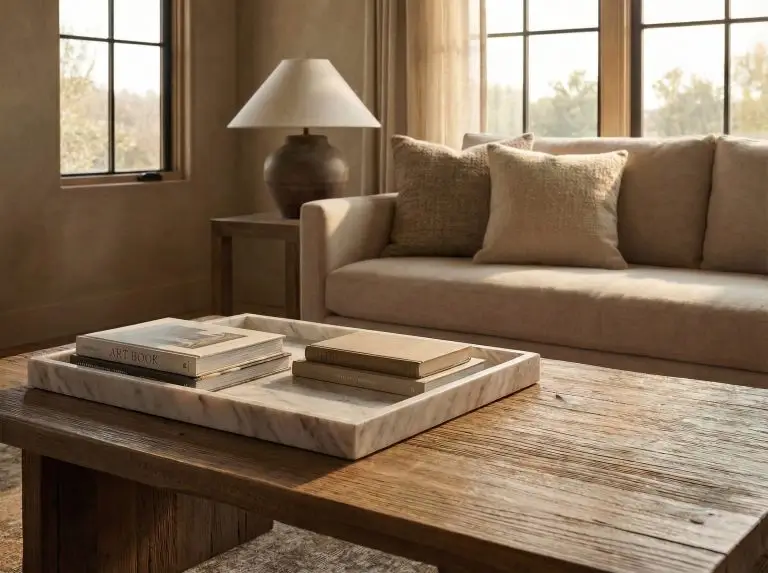
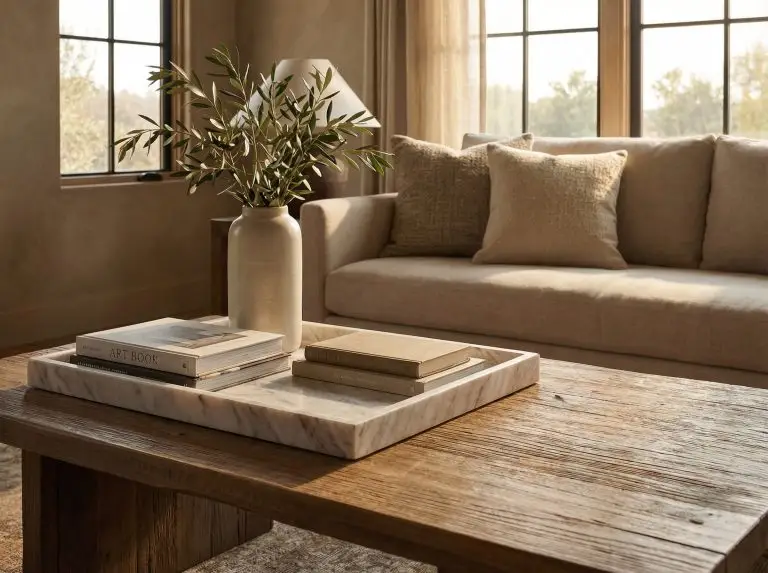
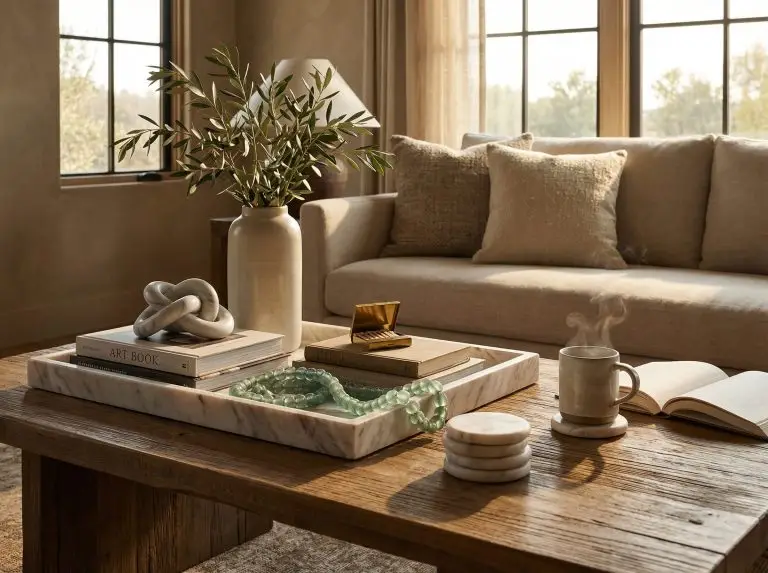
Always step back five to eight feet from the table after completing step three. Check your sightlines from the sofa to ensure your tallest element isn’t blocking the television or the face of the person sitting across from you.
🌿 Hackrea Styling Tip
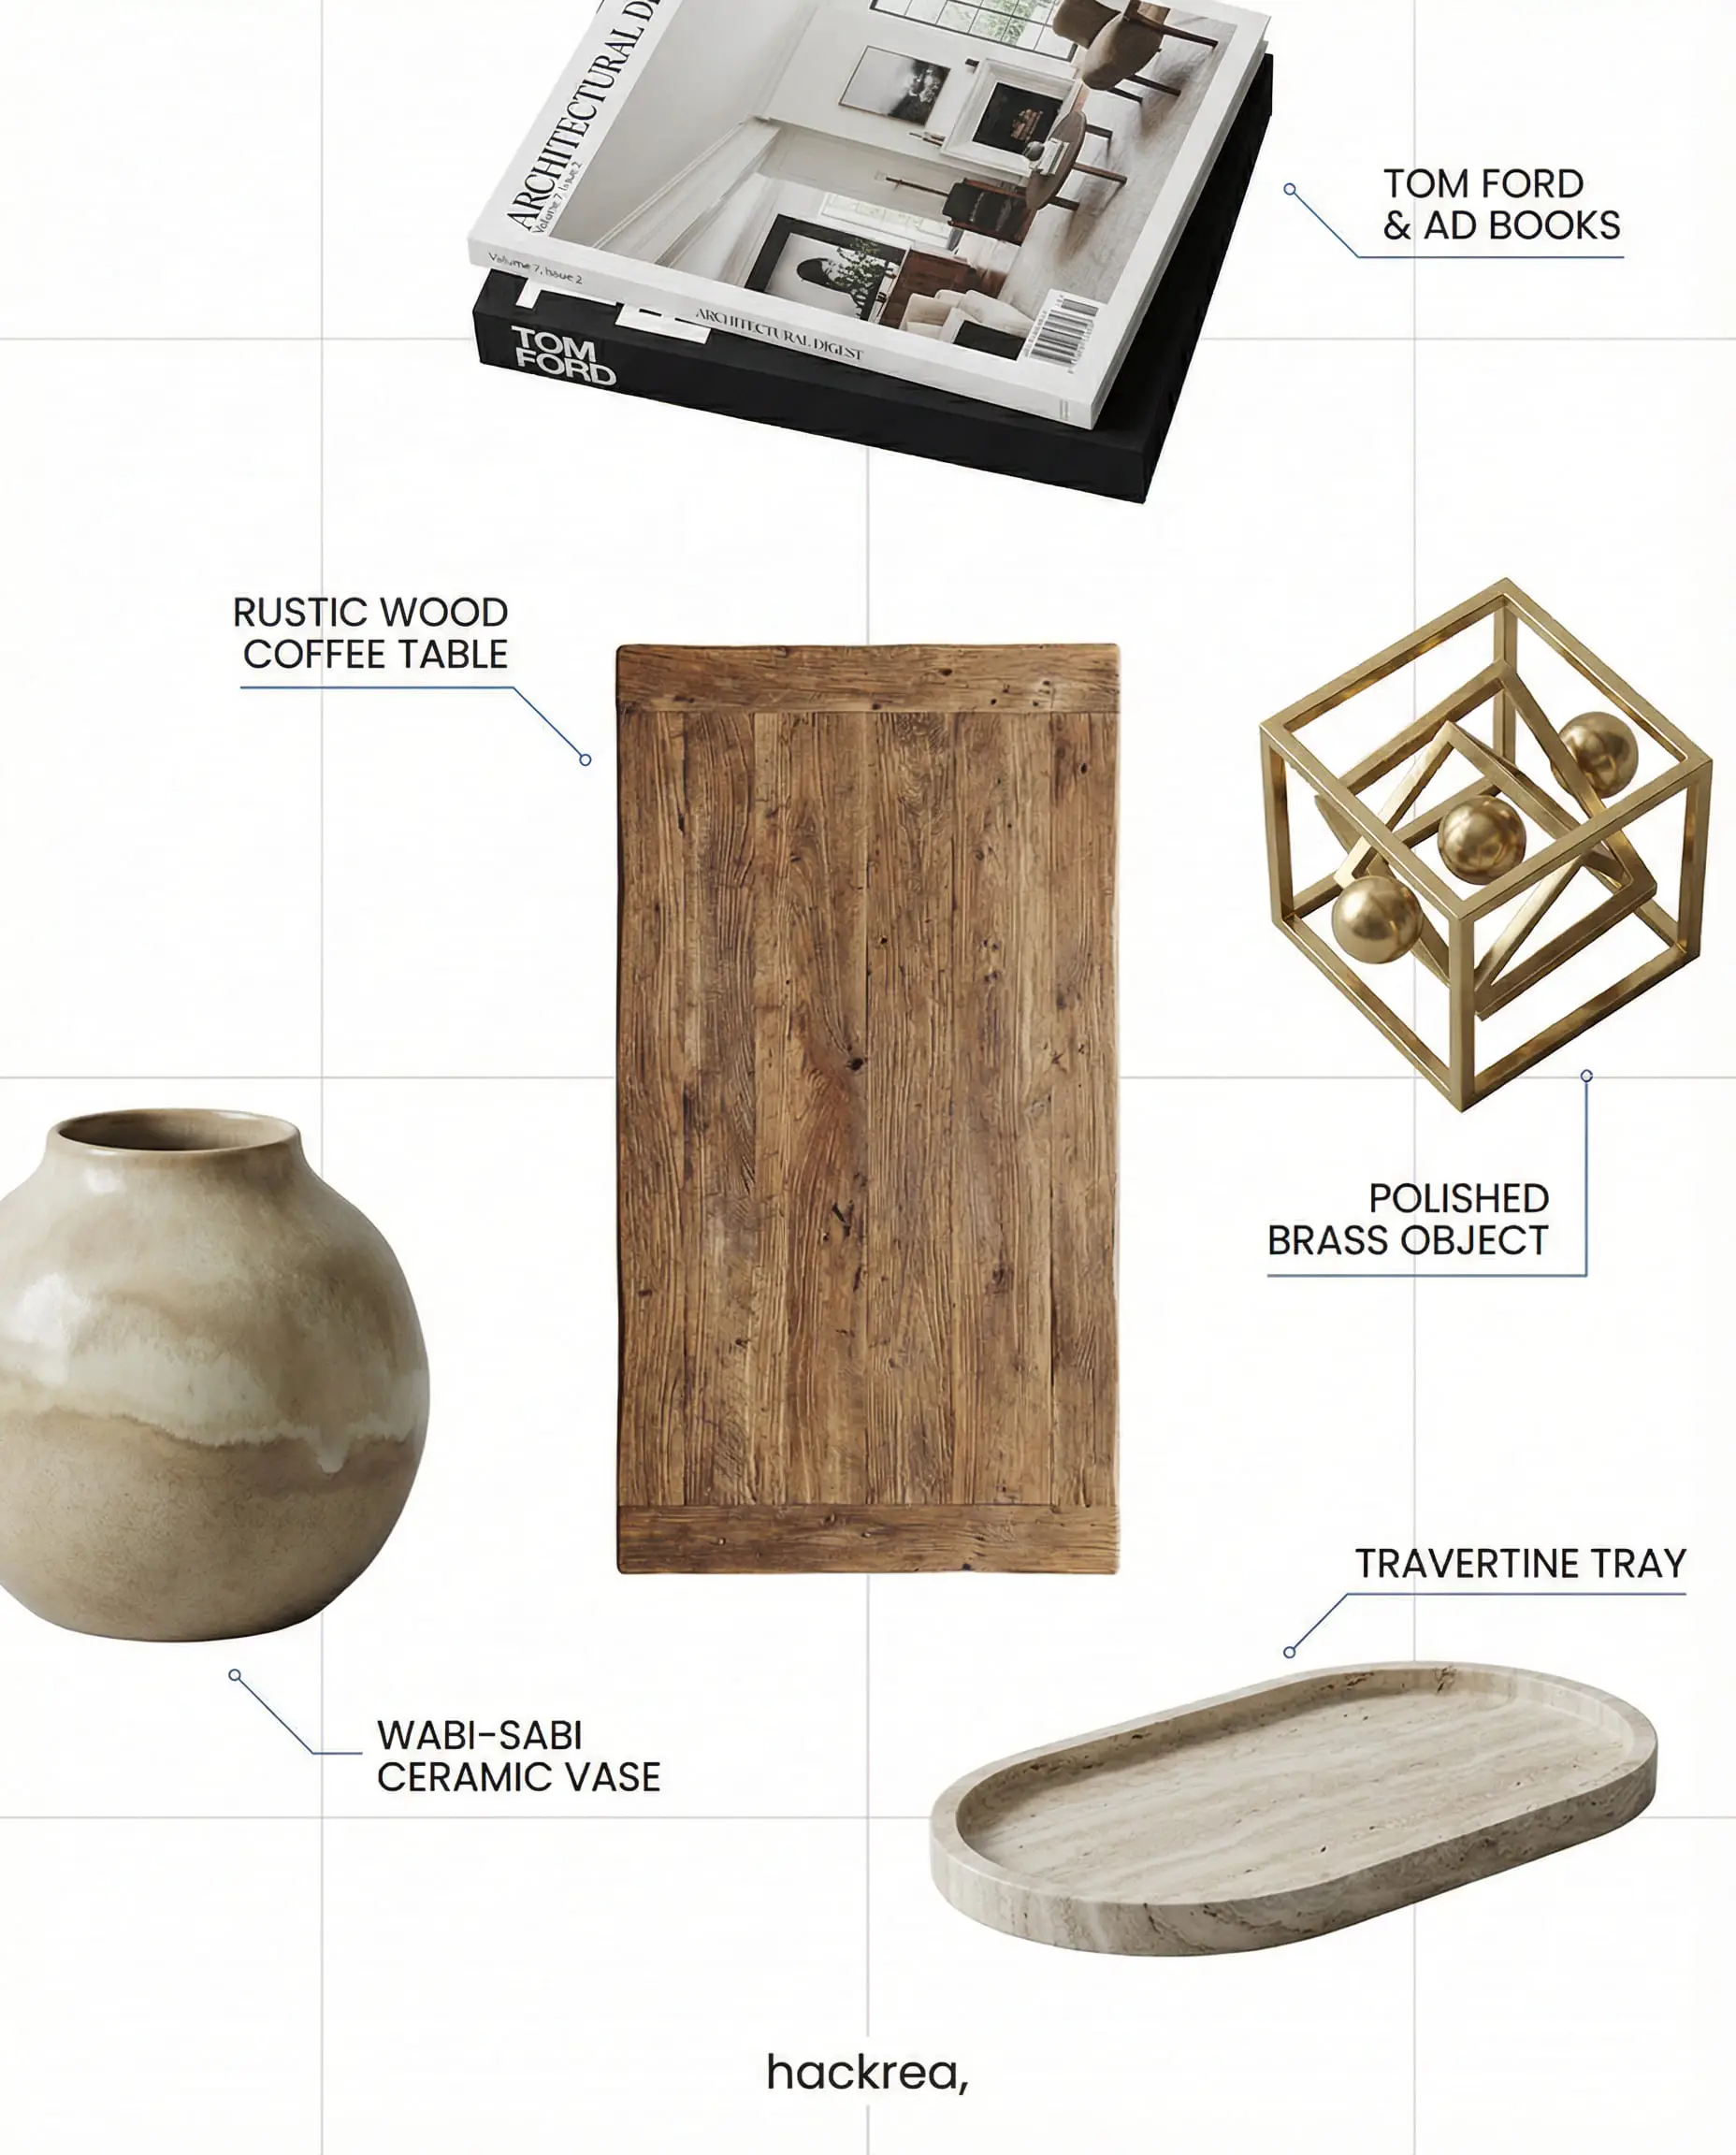
Essential Decor Elements (Shop the Designer Look)
To execute a flawless rustic-modern aesthetic, you need a highly specific arsenal of accessories. Do not rely on generic, mass-produced filler. Instead, curate a collection of pieces that offer distinct textures, historical weight, and organic movement.
Common Coffee Table Styling Mistakes (Do’s and Don’ts)
Even with the best decor elements at your disposal, poor execution can ruin the aesthetic of your living room. Avoid these common spatial and visual pitfalls.
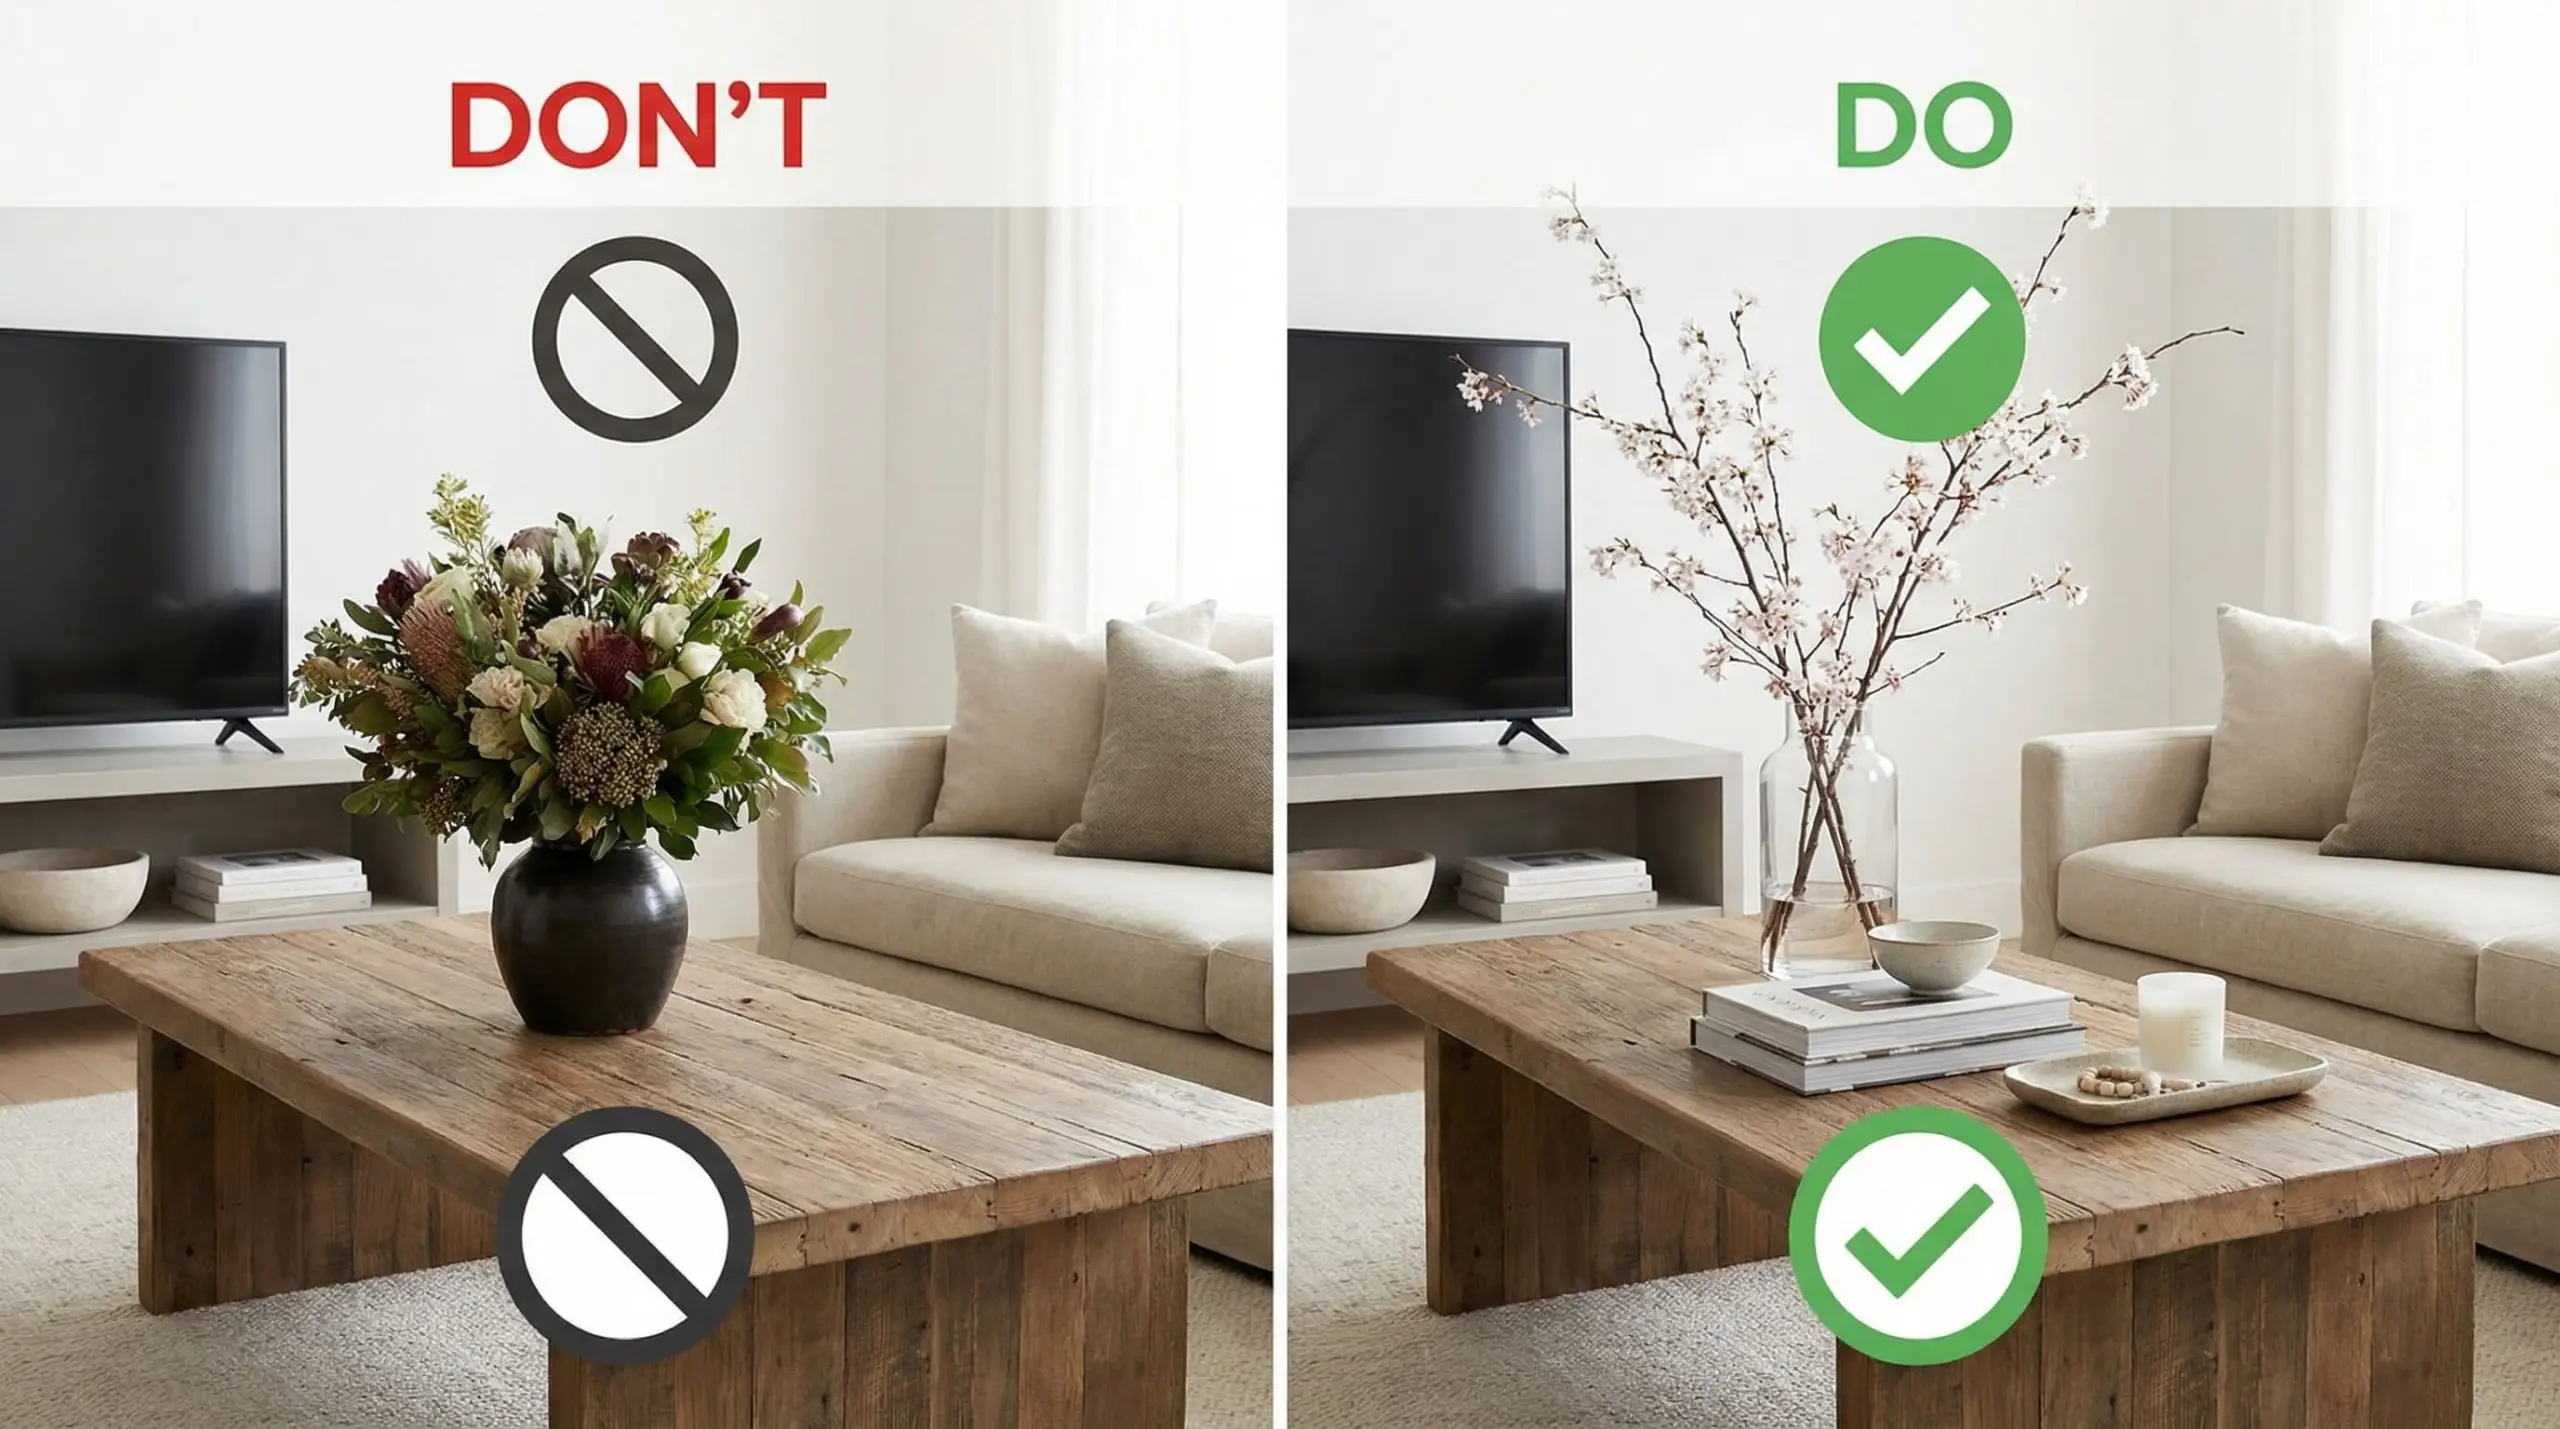
Frequently Asked Questions
A: Rustic wood is notoriously porous. To protect it without ruining the textured aesthetic, apply a clear, matte-finish polyurethane sealant. For daily use, always provide stylish, high-contrast coasters made of tumbled marble or thick saddle leather to catch condensation.
A: Yes, but only if the wood tones contrast significantly. For example, placing a pale, bleached-oak tray on a dark, espresso-stained rustic table works beautifully. However, if the tones are too similar, they will visually bleed together. When in doubt, always use metal or stone trays on a wood table.
Final Thoughts
Styling a rustic wood coffee table is an exercise in restraint, balance, and intentional contrast. We would love to see how you bring these formulas to life in your own home—tag us in your photos!
For more inspiration on blending natural textures with elevated design, explore our guide to organic modern living room ideas. And if you are struggling to harmonize your new rustic centerpiece with your existing cabinetry or flooring, brush up on how to mix wood tones in a living room to ensure your undertones aren’t clashing.

The Hackrea Style Desk treats interior decoration as an exact visual science. Rather than focusing on demolition or floor plans, this desk masters the art of color theory, undertone matching, material pairings, and spatial proportion. From balancing the visual weight of mixed metals to finding the perfect bridging tone between disparate wood species, this desk provides the rigorous aesthetic rules needed to achieve high-end, editorial-quality harmony in any space.