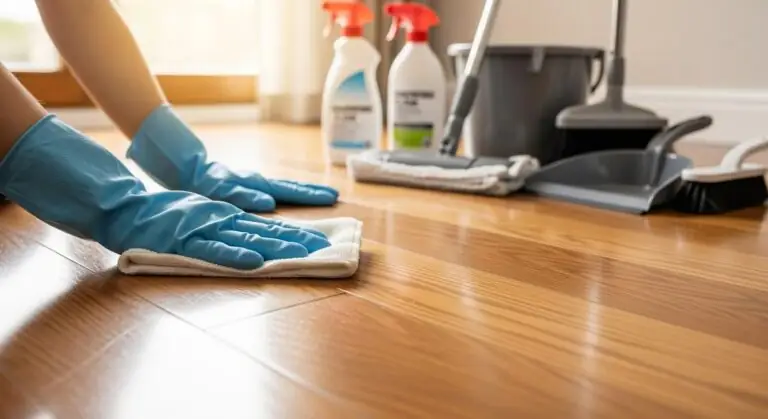
Hardwood floors are like the stage of your home. They hold every performance, from the morning shuffle to the midnight snack run, and they look their best when cared for with the proper routine. The problem is that life rarely tiptoes. A spilled cup of coffee, a restless pet, or furniture sliding across the room can quietly wear down the finish.
What makes the difference isn’t luck but attention. Small choices, such as selecting safe cleaning products for wood or protecting high-traffic areas, can help protect hardwood floors from scratches and fading. With a bit of consistency, the same surface that carried yesterday’s chaos can still shine tomorrow.
If you want your floors to age like fine wine instead of sour milk, stick around. The smartest floor maintenance habits are easier than you think, and your wood floors are ready for the spotlight.
7 Tips to Preserve Hardwood Floors and Their Finish
1. Sweep or Dust Daily With the Right Tools
Dust might look harmless, but on hardwood it behaves like grit under sandpaper. Every step across it presses tiny scratches into the finish. A soft-bristle broom or a microfiber mop is far better than a stiff brush.
Homes with children or pets see this even faster. Corners fill with crumbs, hair, and dirt that wear the surface down. In fact, Atlanta Maids in Sandy Springs draws attention to microfiber systems for day-to-day cleaning since the fibers hold onto fine debris instead of scattering it across the floor. That single choice helps preserve the smooth look of the wood.
Vacuuming is useful too, but only on a hardwood-safe setting with the beater bar turned off. Combined with daily sweeping, these habits slow down wear and keep the floor finish brighter for longer.
2. Clean Spills Immediately to Prevent Staining
It doesn’t take long for a small spill to cause trouble on hardwood. A few drops of juice, a splash of water, or a knocked-over wine glass can slip between boards and leave marks that no amount of polishing will hide. The longer the moisture lingers, the more damage it causes to both the finish and the wood beneath.
Simply press a soft cloth onto the spill so it soaks up the liquid in one spot rather than pushing it across the floor. When the mess is sticky, use a cloth barely dampened with a hardwood-safe cleaner, then dry the area completely.
Acting in the moment keeps the surface smooth and helps preserve the natural look of the wood. Quick attention now prevents the kind of permanent stains that lead to costly repairs later.
3. Use Protective Pads Under Furniture
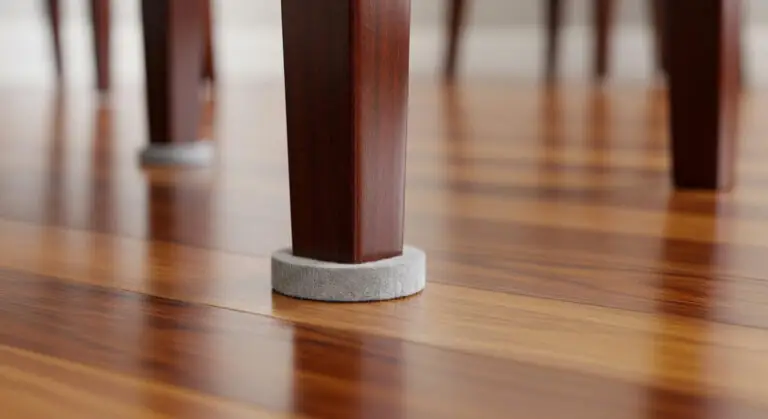
Few things betray a hardwood floor faster than the scrape of a chair leg. The sound is sharp, the mark is instant, and once the finish is scratched, there is no quick fix. Felt pads act like quiet bodyguards, slipping under chair legs and table bases to cushion every move.
The trick is remembering they do not last forever. Pads wear thin, pick up grit, and turn from protectors into hidden scratchers. Swapping them out every few months keeps the barrier fresh. For heavier pieces, rugs under couches or dining sets spread the weight and save the surface from dents.
Dragging furniture is the one move no pad can defend against. Lifting, even with a little effort, prevents the kind of deep gouges that make floors look tired long before their time.
4. Limit Moisture and Humidity Exposure
Wood and water have never been good friends. Even the toughest finish cannot stop moisture from finding its way into seams, where it quietly causes swelling or dark stains. A glass of water forgotten on the floor or shoes tracking in melted snow can undo years of careful maintenance.
Keeping indoor humidity between 35 and 55 % gives wood a stable environment. Anything higher risks swelling, and anything lower can lead to cracks. A small humidifier in winter or a dehumidifier in summer often makes all the difference. At entryways, mats catch the rain and snow before they reach the planks.
When it comes to cleaning, skip the bucket of water. A slightly damp microfiber mop freshens the surface without soaking it. Quick wipes after spills and smart humidity control keep hardwood floors smooth, strong, and free from the warping that ruins their natural look.
5. Choose the Right Cleaners for Wood Surfaces
Not all cleaners belong on hardwood. Vinegar, ammonia, and abrasive solutions strip away the finish, while oil soaps often leave behind a film that dulls the surface and makes floors feel sticky. Over time, these mistakes take away the very shine you are trying to protect.
A better choice is a cleaner designed for wood floors. Spray it lightly onto a cloth or mop rather than applying it straight to the boards. This prevents puddling in the seams and keeps moisture under control.
Manufacturers often suggest products that work best with their flooring. Following those recommendations helps preserve the finish and avoids residue that attracts dirt. Choosing the right cleaner is less about adding shine and more about keeping the natural look of hardwood intact.
6. Refresh High-Traffic Areas Regularly
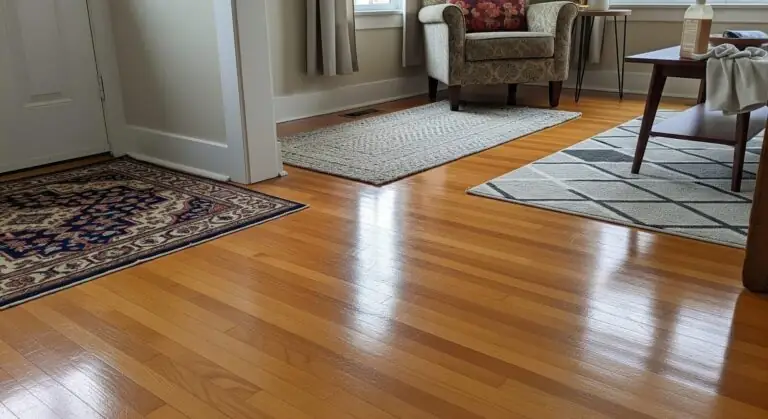
Watch a hardwood floor closely and you’ll see a pattern. The boards near the sofa still shine, but the hallway looks dull, and the entryway has lost its glow. These aren’t random flaws. They’re the footprints of daily life.
Covering those paths with rugs or runners keeps grit and moisture from grinding into the finish. When the sheen starts fading, a hardwood polish made for touch-ups can brighten the spots without coating the whole room. It’s a quick fix that buys time before bigger repairs are needed.
For areas that see nonstop traffic, even polish won’t always be enough. A light buffing every few years smooths scratches and restores balance between busy zones and quieter corners. Focus on these hot spots, and the whole floor looks healthier, not patchy.
7. Control Sunlight to Prevent Fading and Discoloration
Hardwood doesn’t shout when it’s under stress, but sunlight leaves quiet marks. A patch by the window fades faster than the rest, while the outline of an old rug can stay visible long after it’s been moved. Over time, these changes create a floor that appears uneven, despite all the boards being the same age.
Curtains, blinds, or UV window films soften the rays before they reach the planks. Sheer curtains protect without darkening a space, and films are a good option in rooms where heavy drapes aren’t practical. Rotating rugs or moving furniture occasionally helps the wood age at the same pace across the room.
Sunlight adds warmth to a home, but it can also strip away the rich tones of wood. With a few easy adjustments, the finish stays protected, the color remains consistent, and the floor keeps its character year after year.
Conclusion
Hardwood floors don’t age overnight. They collect the moments of a household. The path to the kitchen, the patch of sunlight in the living room, the scrape of a chair pulled out too quickly. They carry it all. The beauty is that with a little care, those marks never turn into scars.
Daily habits and a few smart choices keep the boards rich in color and smooth underfoot. When you treat the floor as part of the story rather than just a surface, it stays with you for decades, quietly shining through every chapter of home life.