Full bathroom renovation expenses can go through the roof. Truth is, knowing how to refresh your bathroom doesn’t have to mean gutting the whole room.
Swap out accessories, resurface walls, replace a few fixtures—that kind of cosmetic work is not too pricey. Compare that to a partial renovation, let alone a full gut-and-rebuild. Worth figuring out which category your bathroom falls into before you spend a cent.
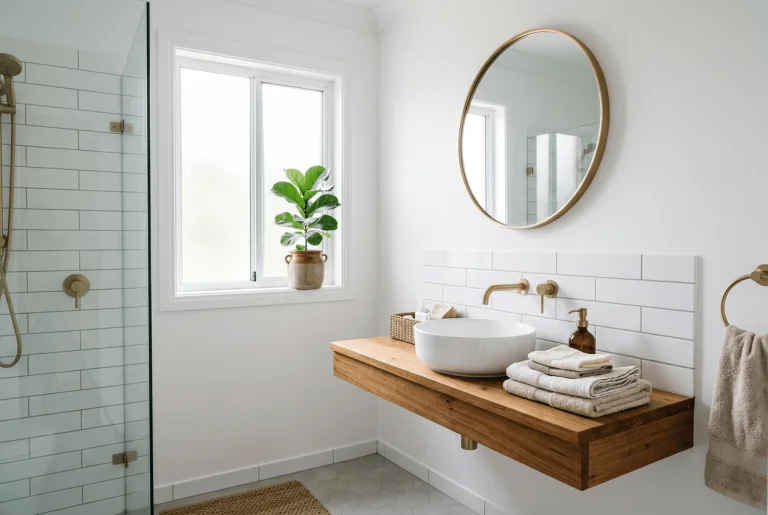
Homes from the 1990s and 2000s were typically fitted with the most forgettable bathrooms imaginable—white ceramic tiles, chrome fittings, basic vanities, tapware straight off the shelf. Oddly enough, those dull spaces are exactly where a few targeted upgrades hit hardest. Solid bones, a layout that works—what these bathrooms lack is a cosmetic lift, full stop, not a structural gut-job.
Getting the right updates in the right order, then, makes all the difference. Plenty of quick fixes cost next to nothing yet barely move the needle visually—while a handful of pricier changes punch well above their weight. Done properly, a cosmetic refresh has a real shot at returning more than the spend when the property sells.
Quick Wins: Low-Cost Updates With Big Visual Impact
Now that the scope is clearer, let’s get into the specific small upgrades that deliver the most bang for the least outlay.
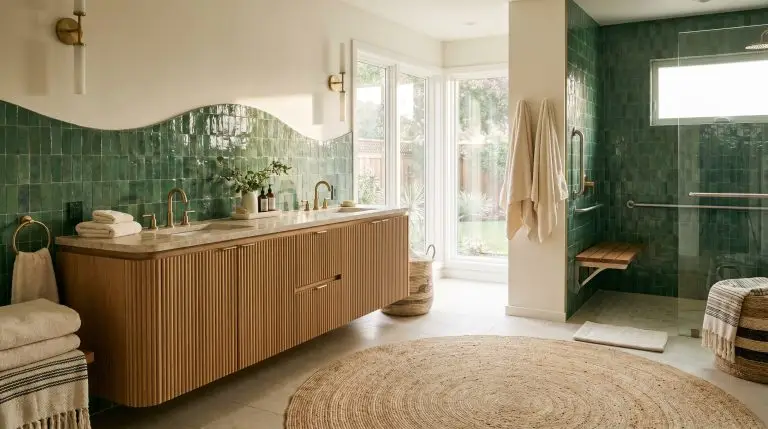
Bathroom accessories are the jewellery of the room—small, but they set the whole tone. Ditch the mismatched towel rail, worn toilet roll holder, and faded robe hook—swap them for a coordinated set in one finish (brushed nickel, matte black, gunmetal) and the room reads completely differently, depending on brand. Fienza and Aquaperla both use 304 stainless steel in their sets—a grade that holds up to humidity without corroding. Material grade genuinely matters—cheap accessories in a poorly ventilated bathroom can show rust inside twelve months.
One mistake comes up again and again, though. Mixed finishes. Chrome towel rail, brushed nickel toilet roll holder, matte black mirror frame—that combination makes the whole room look unfinished and cheap. Choose a single finish and commit to it, full stop.
Grout’s another place where a small spend pays off big. A grout pen can have discoloured grout lines looking fresh in a single afternoon. Heavier staining might call for a full re-grout—hard work as a DIY task, but perfectly manageable across a small area. Cabinet handles are just as easy to swap out, and it’s a half-hour job.
You can apply wallpapers, paints, etc. on walls and see how they look in various interiors.
Walls, Tiles, and Resurfacing When Money Is Tight
Accessories sorted, walls and surfaces are the next frontier—and there are several ways to tackle them without the cost of a full retile.
For a small bathroom, moisture-resistant paint is the cheapest route in. Make sure it’s rated for wet areas—standard wall paint peels within months in a bathroom environment. Outside the shower zone, paint is fine—step inside it, though, and the rules shift completely.
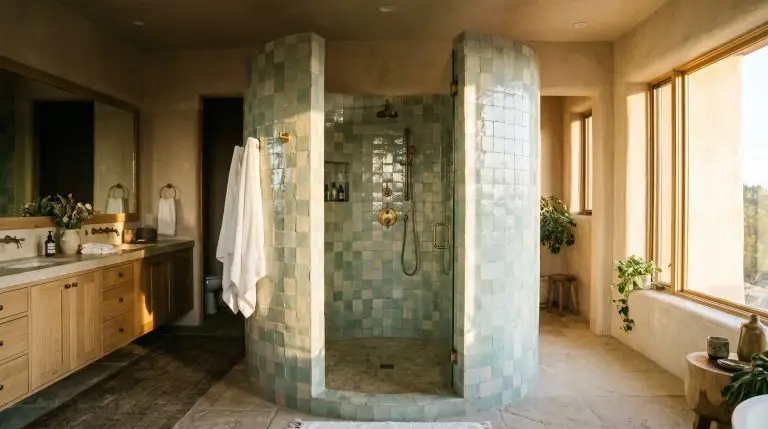
Touch the shower enclosure and you’re immediately in the territory of waterproofing requirements, as set out in. Shower-area walls need waterproofing to a minimum height of 1,800 mm above the floor substrate—no exceptions. In most areas, that work belongs to a licensed waterproofer—it’s not a DIY job.
Peel-and-stick tile overlays are worth a look—provided the existing glazed tiles are clean, flat, and properly prepped. The trade-off, honestly, is durability—these are a short-term solution, not a long-term fix.
Professional bath and tile resurfacing won’t cost you much, with longevity of five to eight years if you look after it. If you’re prepping a home for sale rather than a full reno, that price point makes a lot of sense.
Fixtures and Fittings: How to Upgrade Without Blowing Out the Budget
If your surfaces look great but your fixtures feel dated, targeted upgrades can deliver the finishing touch. A showerhead is a straightforward DIY swap. Look for a minimum 3-star WELS rating to reduce water consumption — though keep in mind that tapware is a different story when it comes to who can legally do the work.
Tapware installation requires a licensed plumber in all states and territories—this is a legal installation requirement, not optional. Ensure any tapware you purchase carries WaterMark certification before buying. If your tapware uses a trim kit over an existing mixer body, you may only need to replace the cosmetic components rather than the in-wall plumbing. A straightforward tapware and vanity connection should take a licensed plumber two to four hours.
Choosing the Right Vanity to Anchor Your New Look
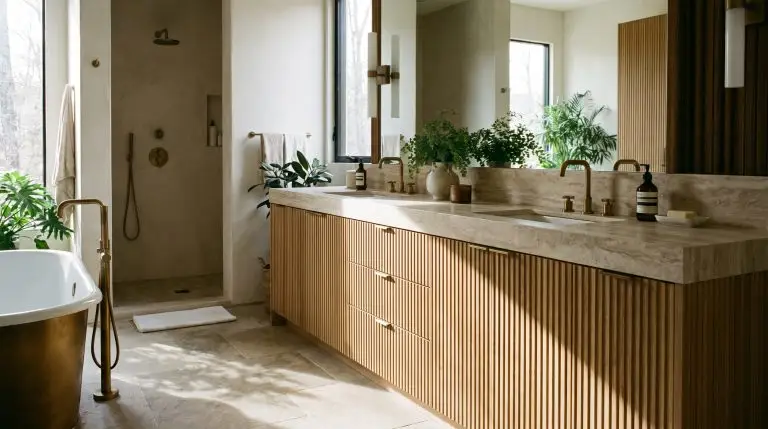
In any refreshed bathroom, the vanity is what draws the eye first. When you’re browsing low cost bathroom vanities, remember that cabinet material and basin type are two entirely separate decisions.
For moisture resistance, PVC cabinets are hard to beat. Let water pool around the base of an MDF cabinet and it’ll swell and warp. Timber vanities have real visual appeal, though they need re-sealing every few years and aren’t a great fit for bathrooms with poor ventilation.
For basin type, above-counter basins suit a contemporary look and are straightforward to fit to a benchtop. Undermount basins offer a sleek finish and are easy to clean around. Integrated basins form a single surface with the benchtop, making them the easiest to wipe down.
Vanities typically come in three standard widths: 600 mm, 750 mm, and 900 mm. Get your rough-in positions measured before you buy anything. Worth knowing: most vanities are listed without a basin mixer or basin waste, so budget for those separately.
When You Need to Call a Professional
A licensed plumber must handle all tapware installation—and that goes for any basin, toilet, or bathtub connection to the plumbing as well. LED mirror or heated towel rail? Hardwiring either one is a licensed electrician’s job. Wet area waterproofing requires a licensed waterproofer in most areas—end of story. None of this is optional—these are legal requirements, plain and simple. Know where DIY ends and licensed trades begin—get that line right and your refresh stays affordable and above board.