How to Measure Windows for Blinds: DIY Guide with Inside vs. Outside Mount Tips
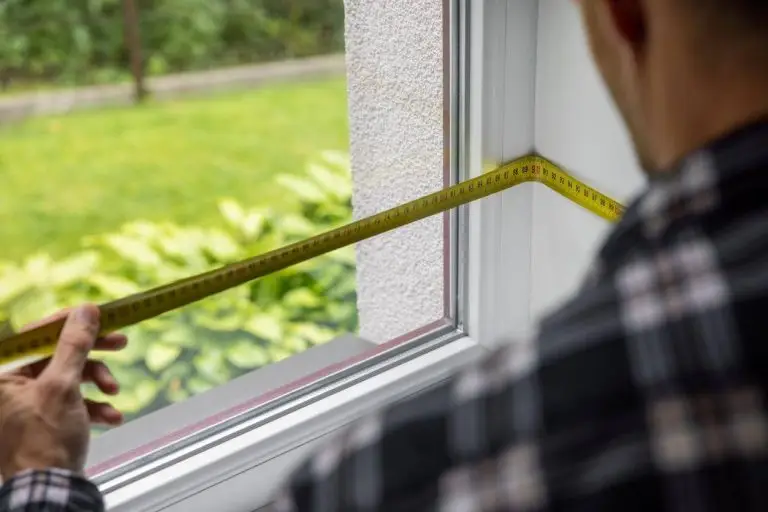
Knowing how to measure windows for blinds starts with a steel tape and a clear plan. Record the width at the top, middle, and bottom of each opening, then capture the height at the left, centre, and right. Use the smallest figure for recessed fits and the largest for surface fits. Check depth, squareness, and any hardware that could obstruct the headrail.
Few home projects look simpler than sizing a window, yet professional fitters see the same costly errors repeated every season. A reading off by even three millimetres can leave a roller shade scraping the casing, a Venetian gapping at the edges, or a sleek panel sitting visibly crooked against the trim. The reality is that precision matters more than product choice, because the most refined fabric in the world will disappoint if the sizing is wrong.
In practice, a careful five-minute survey saves hours of returns and reinstallation. Treat the process like trades work, methodical and documented, and the finished result will speak for itself.
Setting the Foundation for a Reliable Survey
Solid sizing begins long before the tape touches the casing. Every reveal needs to be assessed as a structural object, not a decorative one, because each opening has subtle quirks that affect how a covering hangs. The measurement standards rely on steel tapes, three-point readings, and squareness checks to identify these variables before a product is ordered. Seasoned fitters start by gathering the right kit and confirming the type of fit the wall geometry allows.
The Tools That Make a Difference
A reliable read depends on equipment that does not stretch, flex, or guess. Stock the following before climbing onto a step stool:
- A steel measuring tape rated to at least 5 metres, never a cloth or fibreglass one.
- A carpenter’s level of 600 mm or longer to test horizontal trueness.
- A pencil and printed log sheet organized by room and opening number.
- A square or speed square for diagnosing out-of-plumb casings.
Documenting each reading in millimetres rather than fractions reduces conversion errors when ordering both Canadian stock products and Shade It Calgary custom blinds.
Reading the Opening in Three Dimensions
Width is captured at the top, middle, and bottom of the recess, while height is taken at the left, centre, and right of the same area. Depth, often overlooked, decides whether the headrail will clear the glass and any sash hardware. Most modern roller and Roman systems need between 50 mm and 75 mm of clear interior space, so verify this in three spots and use the shallowest figure.
Accounting for Hardware and Obstructions
Crank handles, casement operators, alarm sensors, and tilt latches all eat into the usable depth. Note their exact positions on the log sheet so the supplier can specify spacer blocks or extension brackets where needed. The result is a quote that matches reality rather than an idealized drawing, which is what separates a clean install from a callback.
You can apply wallpapers, paints, etc. on walls and see how they look in various interiors.

Picking Between Recessed and Surface Fits
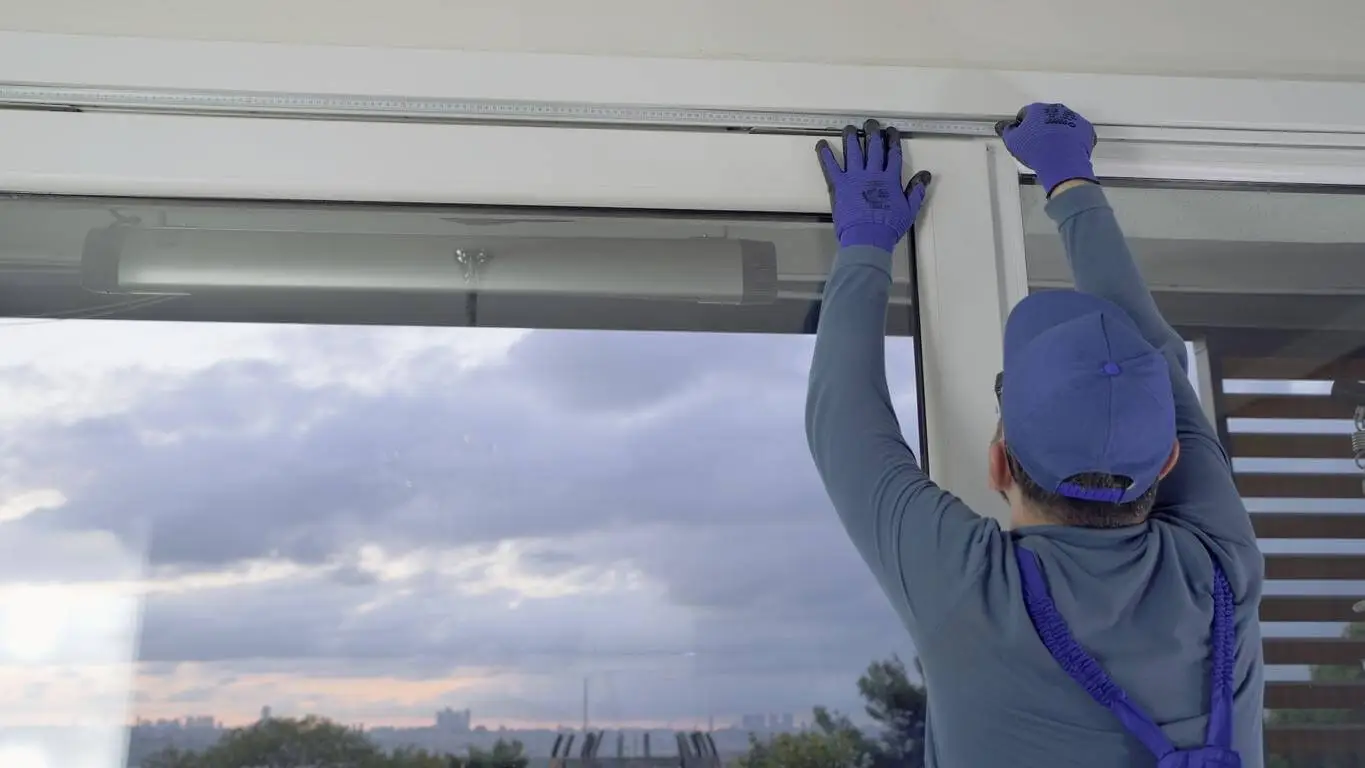
The decision between inside mount vs outside mount blinds hinges on depth, squareness, and the visual outcome the homeowner wants. Each path follows a different deduction rule, so picking the wrong route at the sizing stage forces an awkward compromise at the install stage.
When Each Approach Performs Best
The trade-off comes down to a handful of physical factors. Use the table below as a quick reference during the survey.
| Factor | Recessed Fit | Surface Fit |
| Minimum recess depth | 50 to 75 mm | Not required |
| Casing condition needed | Square and true | Tolerates uneven openings |
| Light gap at edges | 6 to 10 mm typical | Near zero with overlap |
| Visual style | Built in, trim visible | Covers casing, larger look |
| Best products | Roller, cellular, faux wood | Vertical, blackout roller, Roman |
When measuring for roller shades on a recessed fit, deduct 10 mm from the smallest width reading to allow bracket clearance. Surface fits should gain at least 75 mm in width and 100 mm in drop for proper light control.
Bay Windows and Specialty Openings
Angled openings demand a different protocol. To know how to measure bay window for blinds correctly, treat every facet as an independent unit, then record the interior angles between them using a digital protractor or bevel gauge. Centre panels usually accept a standard recessed fit, while flanking sections often need a surface mount to clear the mitred trim.
The takeaway is structural rather than stylistic. A confident choice between the two fitting styles turns a frustrating purchase into a balanced installation that respects the architecture.
Locking In a Tailored Finish for Every Room
The closing stage separates a workable order from a flawless one. A short audit of the recorded figures, paired with a few professional habits, protects the investment before any product is cut to size.
The Pre-Order Verification Routine
Before submitting any sizing sheet, walk through this sequence:
- Re-measure every opening once more, ideally on a different day with fresh eyes.
- Confirm the smallest width and the appropriate height value for the chosen fit.
- Photograph each opening with a tape stretched across it for visual reference.
- Label the readings by room, orientation, and intended product type.
Tip: Place a small sticker inside each casing marked with a reference code. It removes confusion on installation day, especially in multi-storey homes.
Climate and Material Considerations
Wood, vinyl, and aluminum casings each expand differently under thermal load. In drier prairie conditions, timber can shrink slightly through winter, which is why fitters in the Calgary area routinely add a 3 mm tolerance on recessed fits. Faux wood and cellular shades cope well with these swings, while real timber slats prefer steadier humidity. Matching material to climate is as important as the sizing itself.
Knowing When to Call a Specialist
DIY work succeeds beautifully on standard rectangular openings. Arched tops, corner assemblies, and motorized systems benefit from a trained eye, since they involve template work and electrical clearances that exceed what a tape can capture. The price of a professional survey is often lower than the cost of a single replacement panel.
Key Takeaways for Precise Window Sizing
Accurate sizing is the quiet backbone of every clean install. A steel tape, three readings across each axis, and a careful eye for depth and squareness eliminate the most common errors before they reach the workshop.
Recessed fits reward true openings, while surface fits forgive irregular trim and improve light control. Anyone willing to apply trades-level discipline to how to measure windows for blinds will land a tailored finish that feels designed rather than purchased.