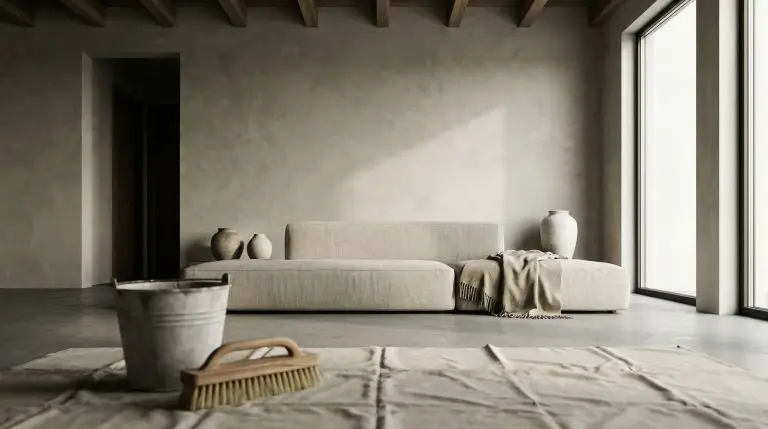
The surge in organic, wabi-sabi interiors has brought textured walls back to the forefront of architectural design. You have seen the velvet-like, mottled finishes in high-end portfolios, and now you want to know exactly how to apply limewash paint in your own home. But let us get one thing straight immediately.
Limewash is not standard modern paint.
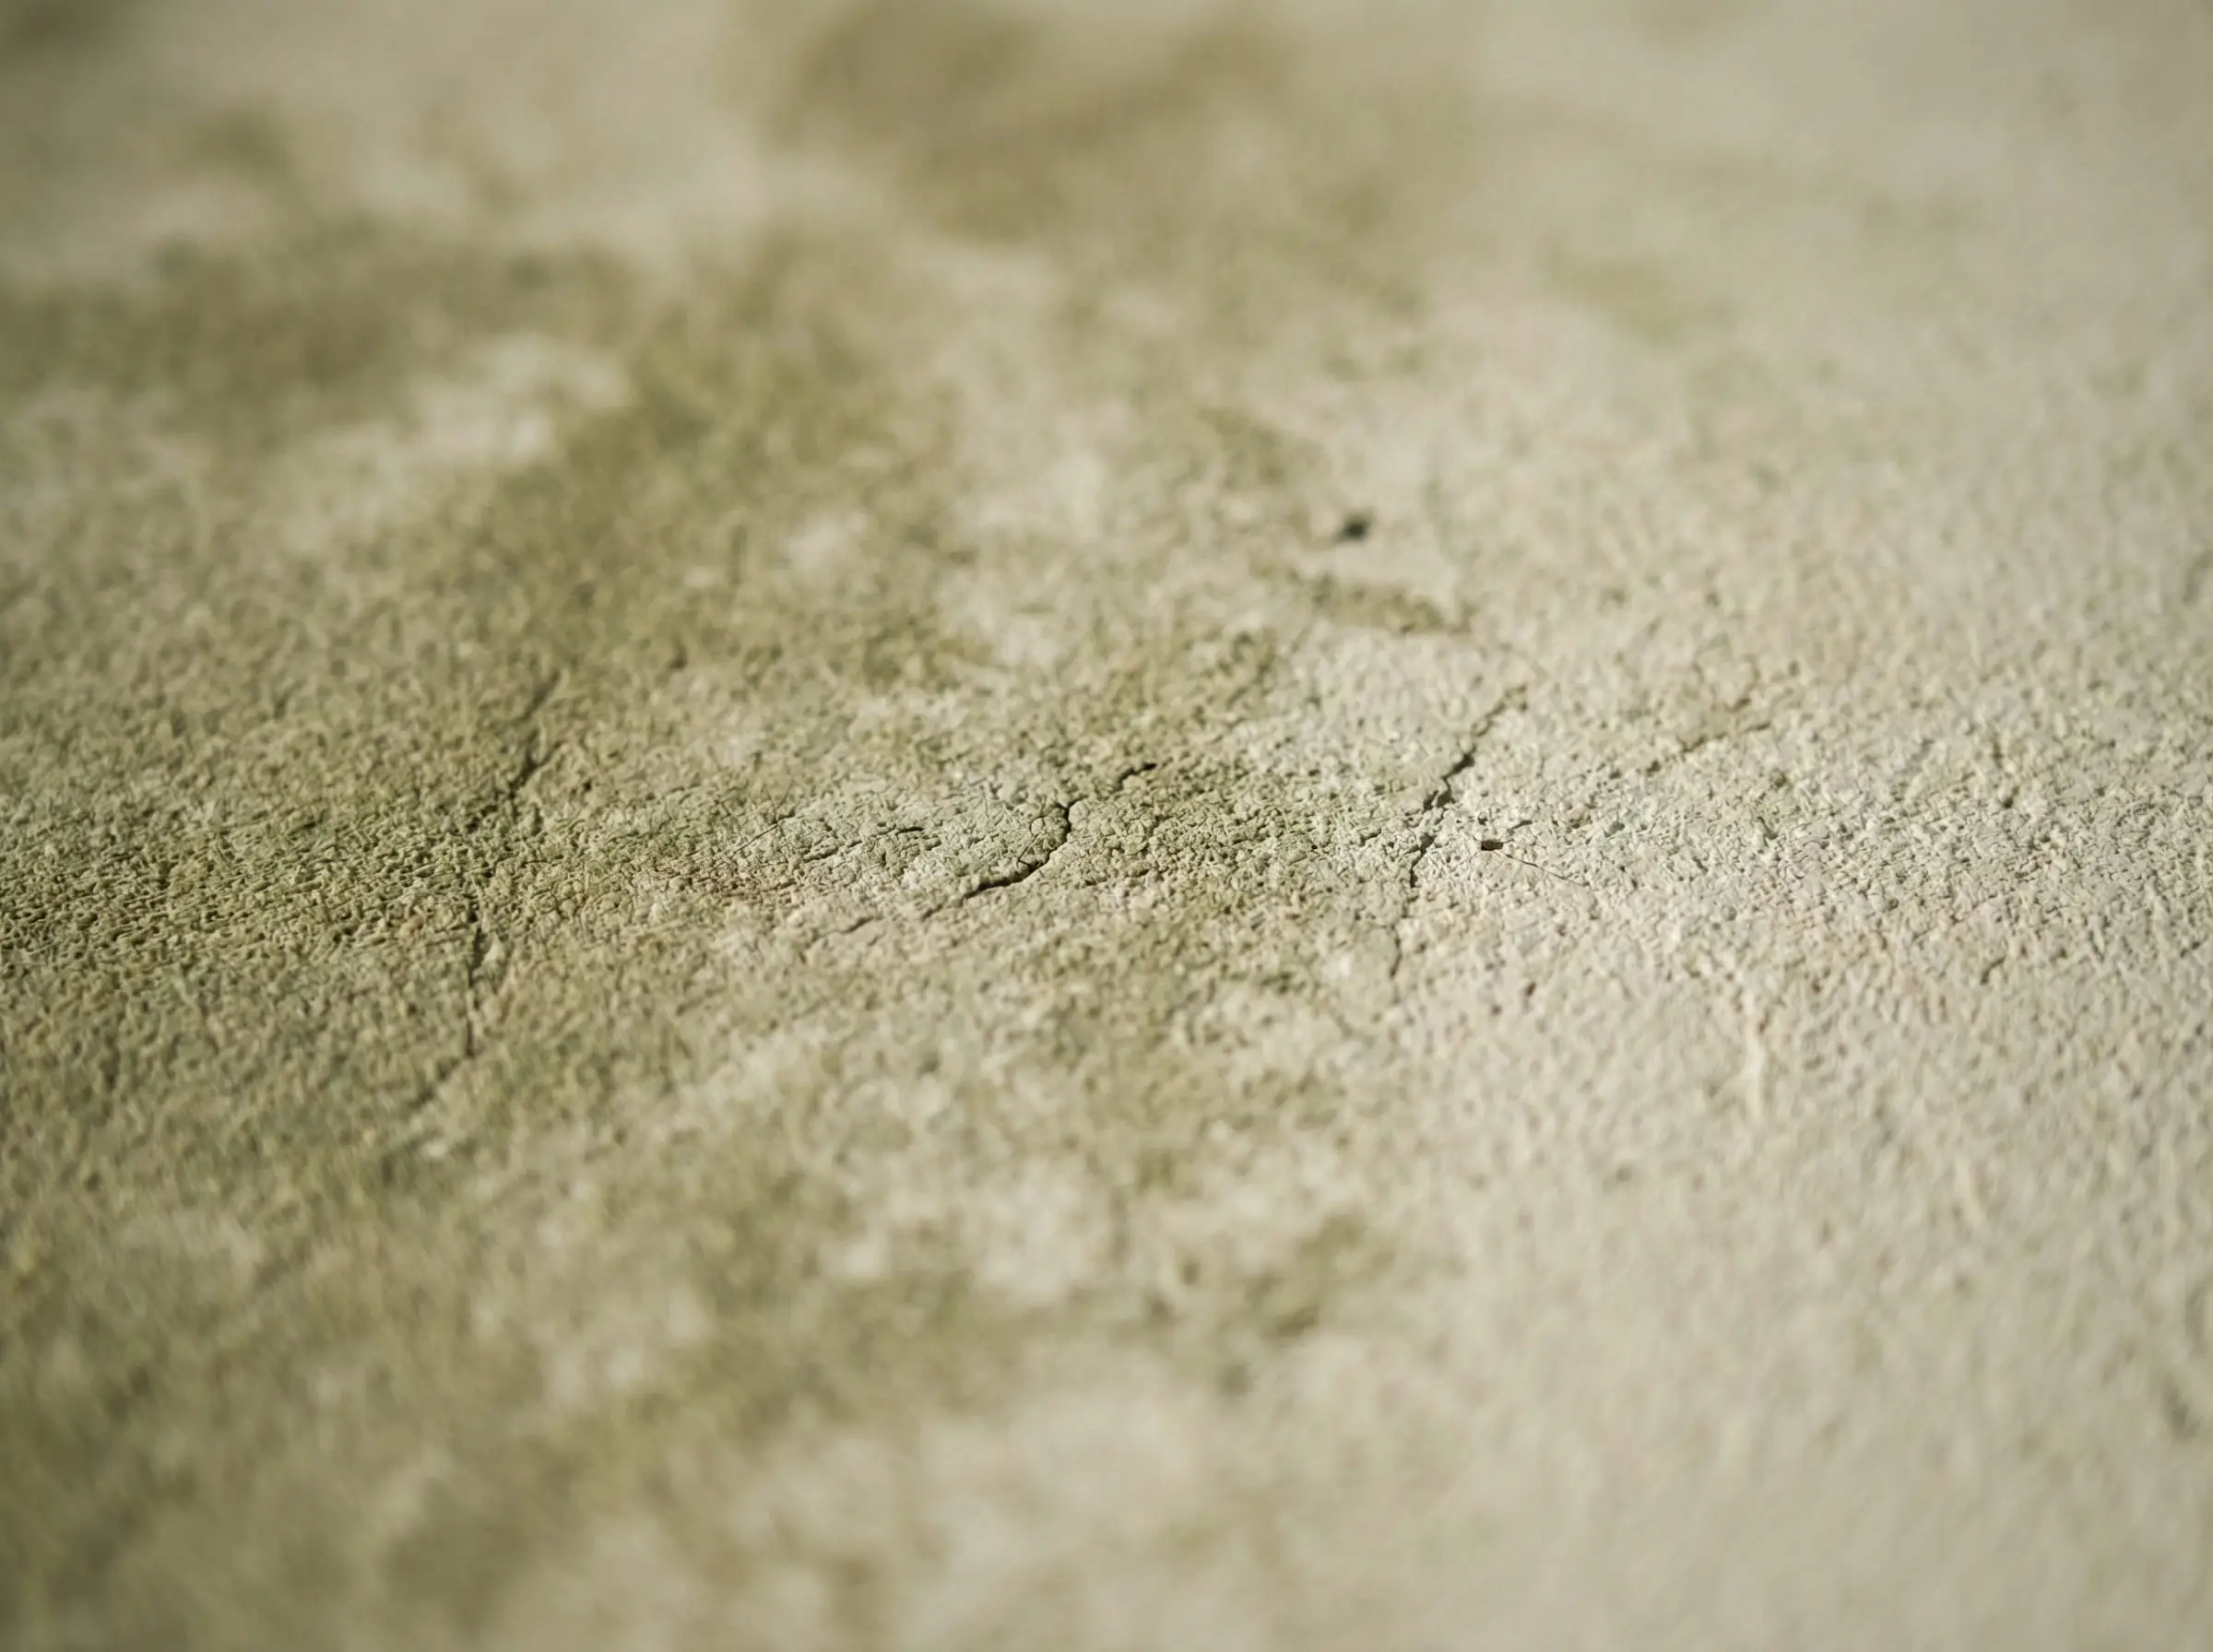
It is a living, breathing application of crushed limestone. When you brush it on, you are executing an ancient craft. Most homeowners and even seasoned DIYers are terrified of ruining this finish. That fear is entirely justified. If you treat this material like standard latex, you will end up with a streaky, chalky disaster.
However, the Master Artisan Method eliminates the guesswork.
While the technique dates back centuries, applying it to modern drywall requires strict, non-negotiable chemical preparation. You cannot skip steps. You cannot rush the cure. Over the years, the most common layout problem submitted to our community forum regarding our Interior Finishes & Textures pillar is a botched limewash job caused by standard roller habits.
We are going to break down the exact chemistry, the required tools, and the precise brush strokes needed to achieve that flawless, historic patina. You will learn how to control the material rather than letting it control you.
The ultimate rule of limewash is patience. You must trust the chemical process, especially when the wall looks like a disaster halfway through the drying phase.
Hackrea Pro-Tip
What You Must Know Before You Begin (The Chemistry of Limewash)
To master the finish, you must first understand the material science. Standard acrylic paint is essentially liquid plastic. Limewash is entirely different.
It is formulated from raw calcium hydroxide and natural pigments.
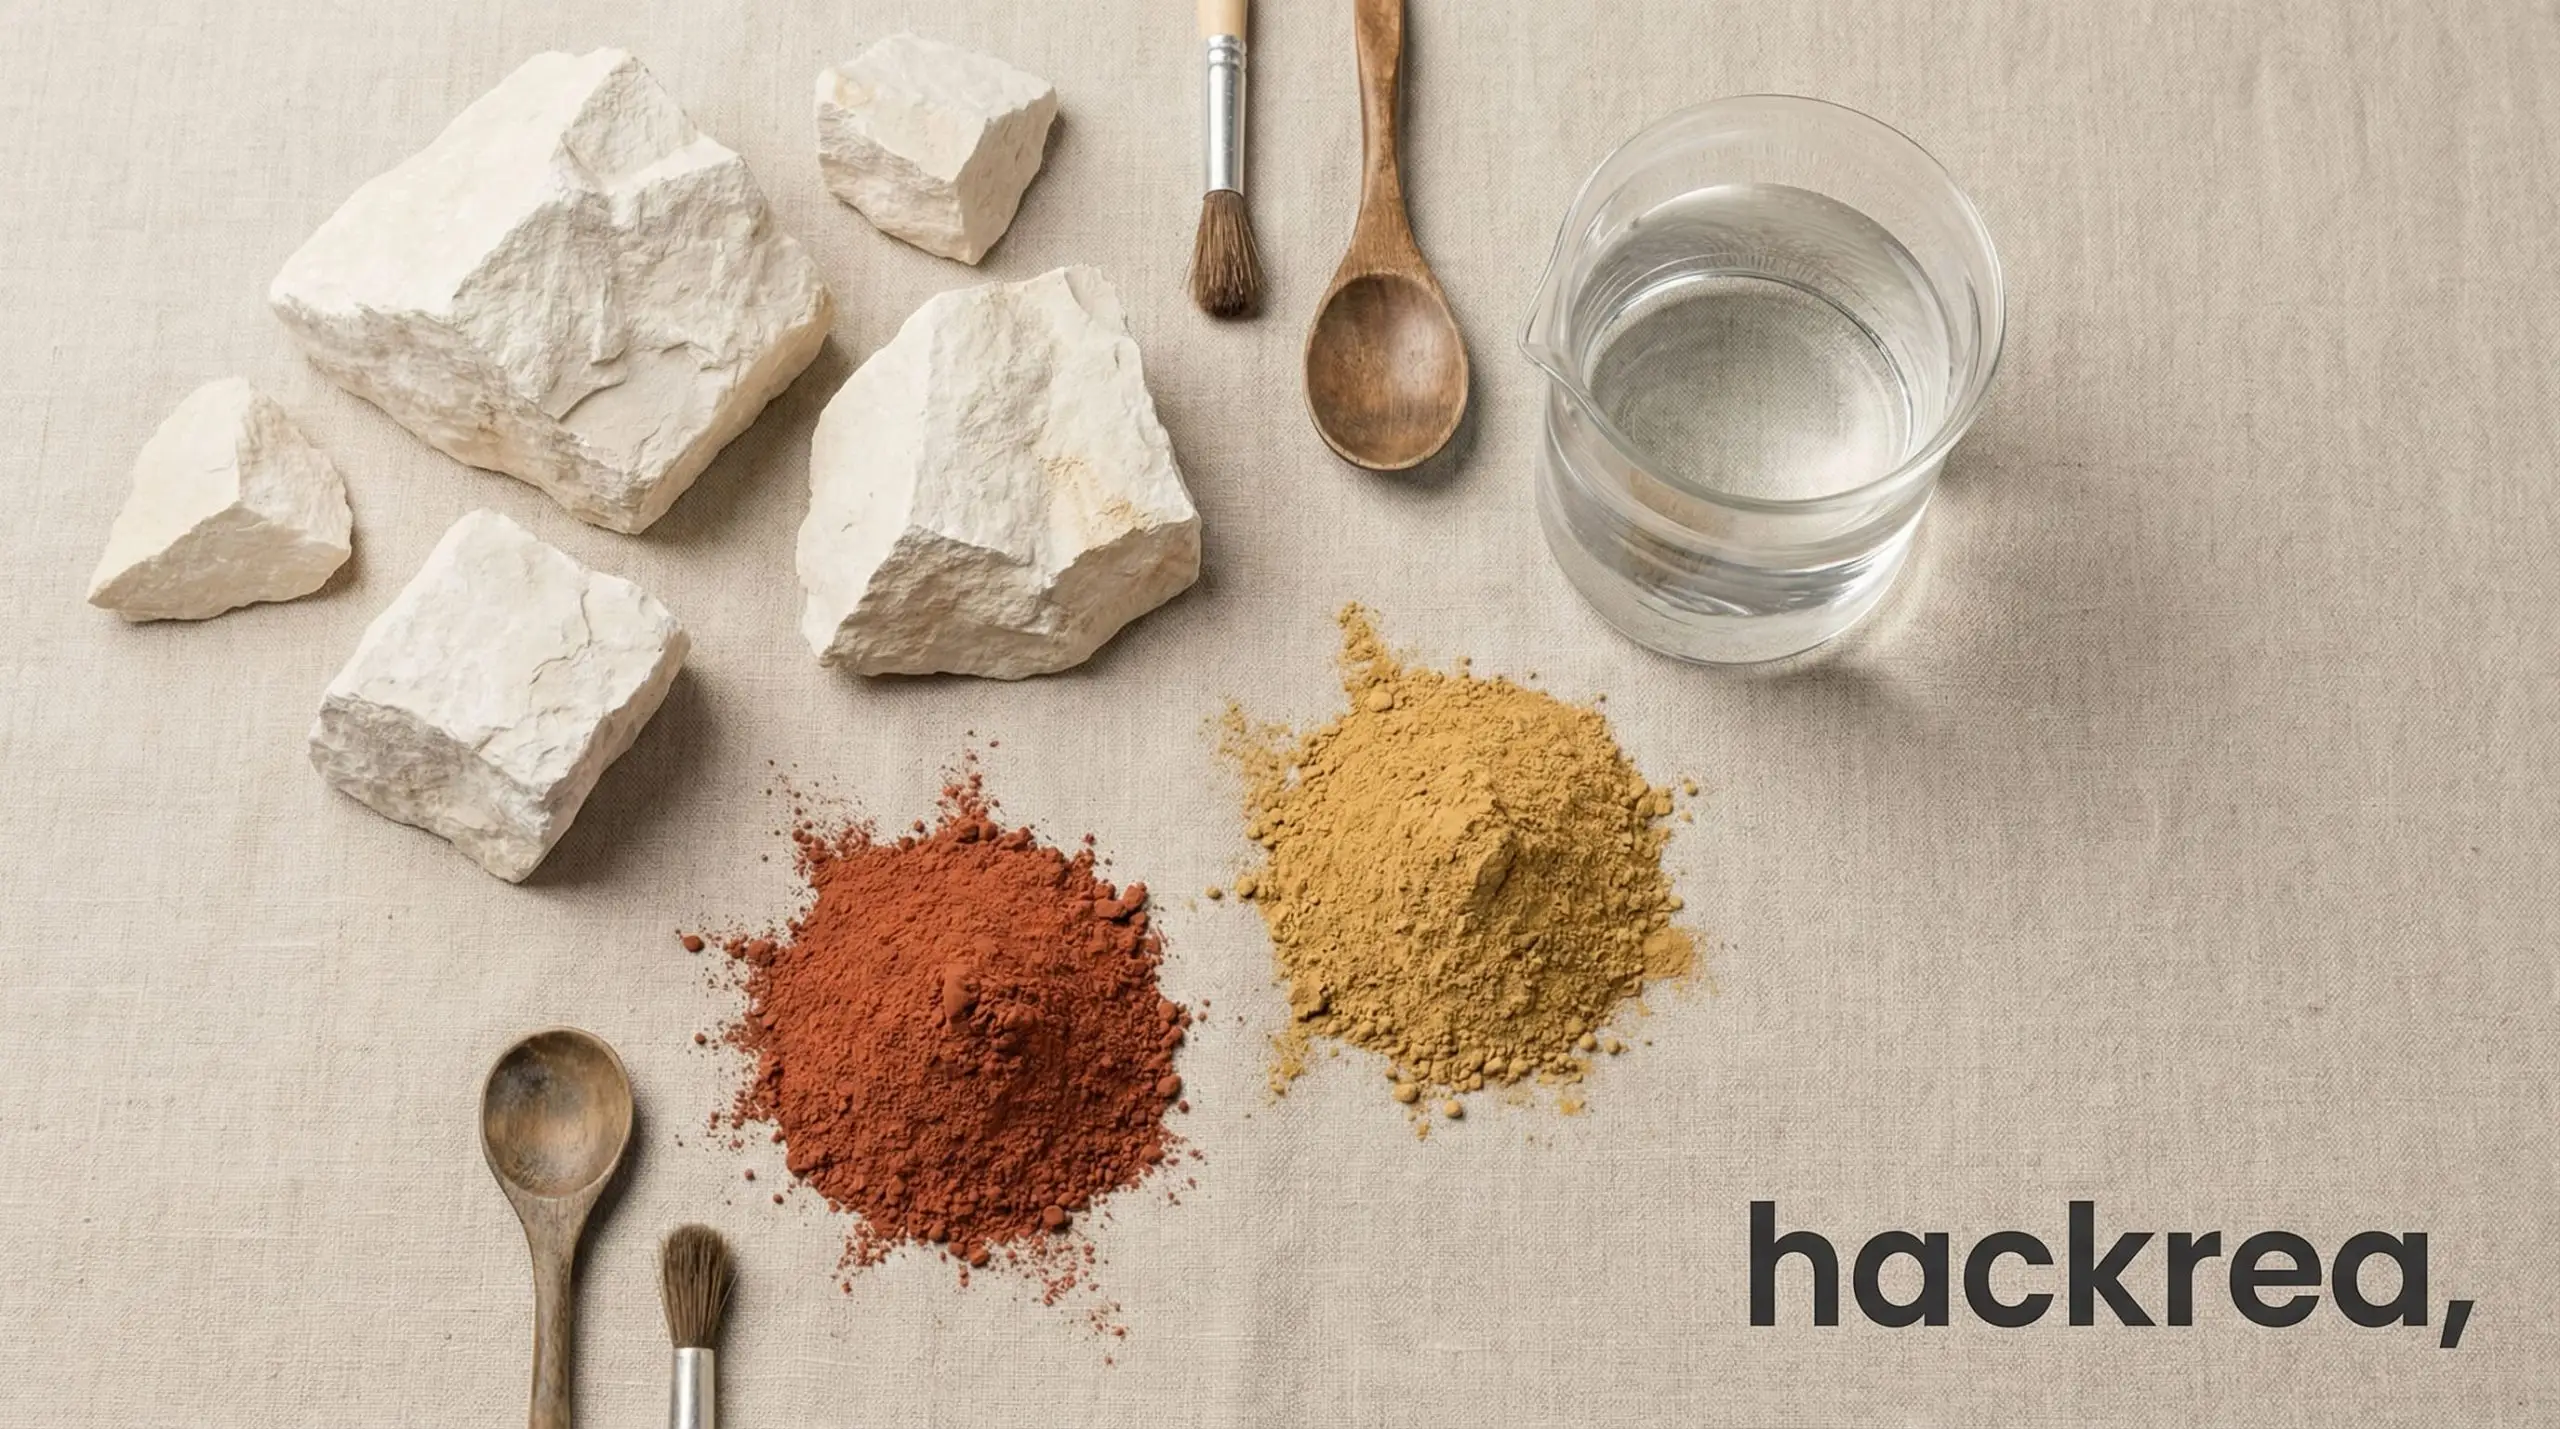
Because of this composition, limewash does not dry; it cures. This high-alkaline chemical reaction means the finish is naturally breathable and highly mold-resistant. However, because calcium hydroxide is highly caustic when wet, you must wear heavy-duty nitrile gloves and safety glasses during application. A collaborating architectural salvage expert recently told us that chemical burns are the most common, yet easily avoidable, injury for first-time applicators.
Here is the precise mechanical breakdown of how the two materials behave on your wall:
You are not painting a wall. You are installing a micro-layer of stone.
The Essential Limewash Tool Kit & Materials
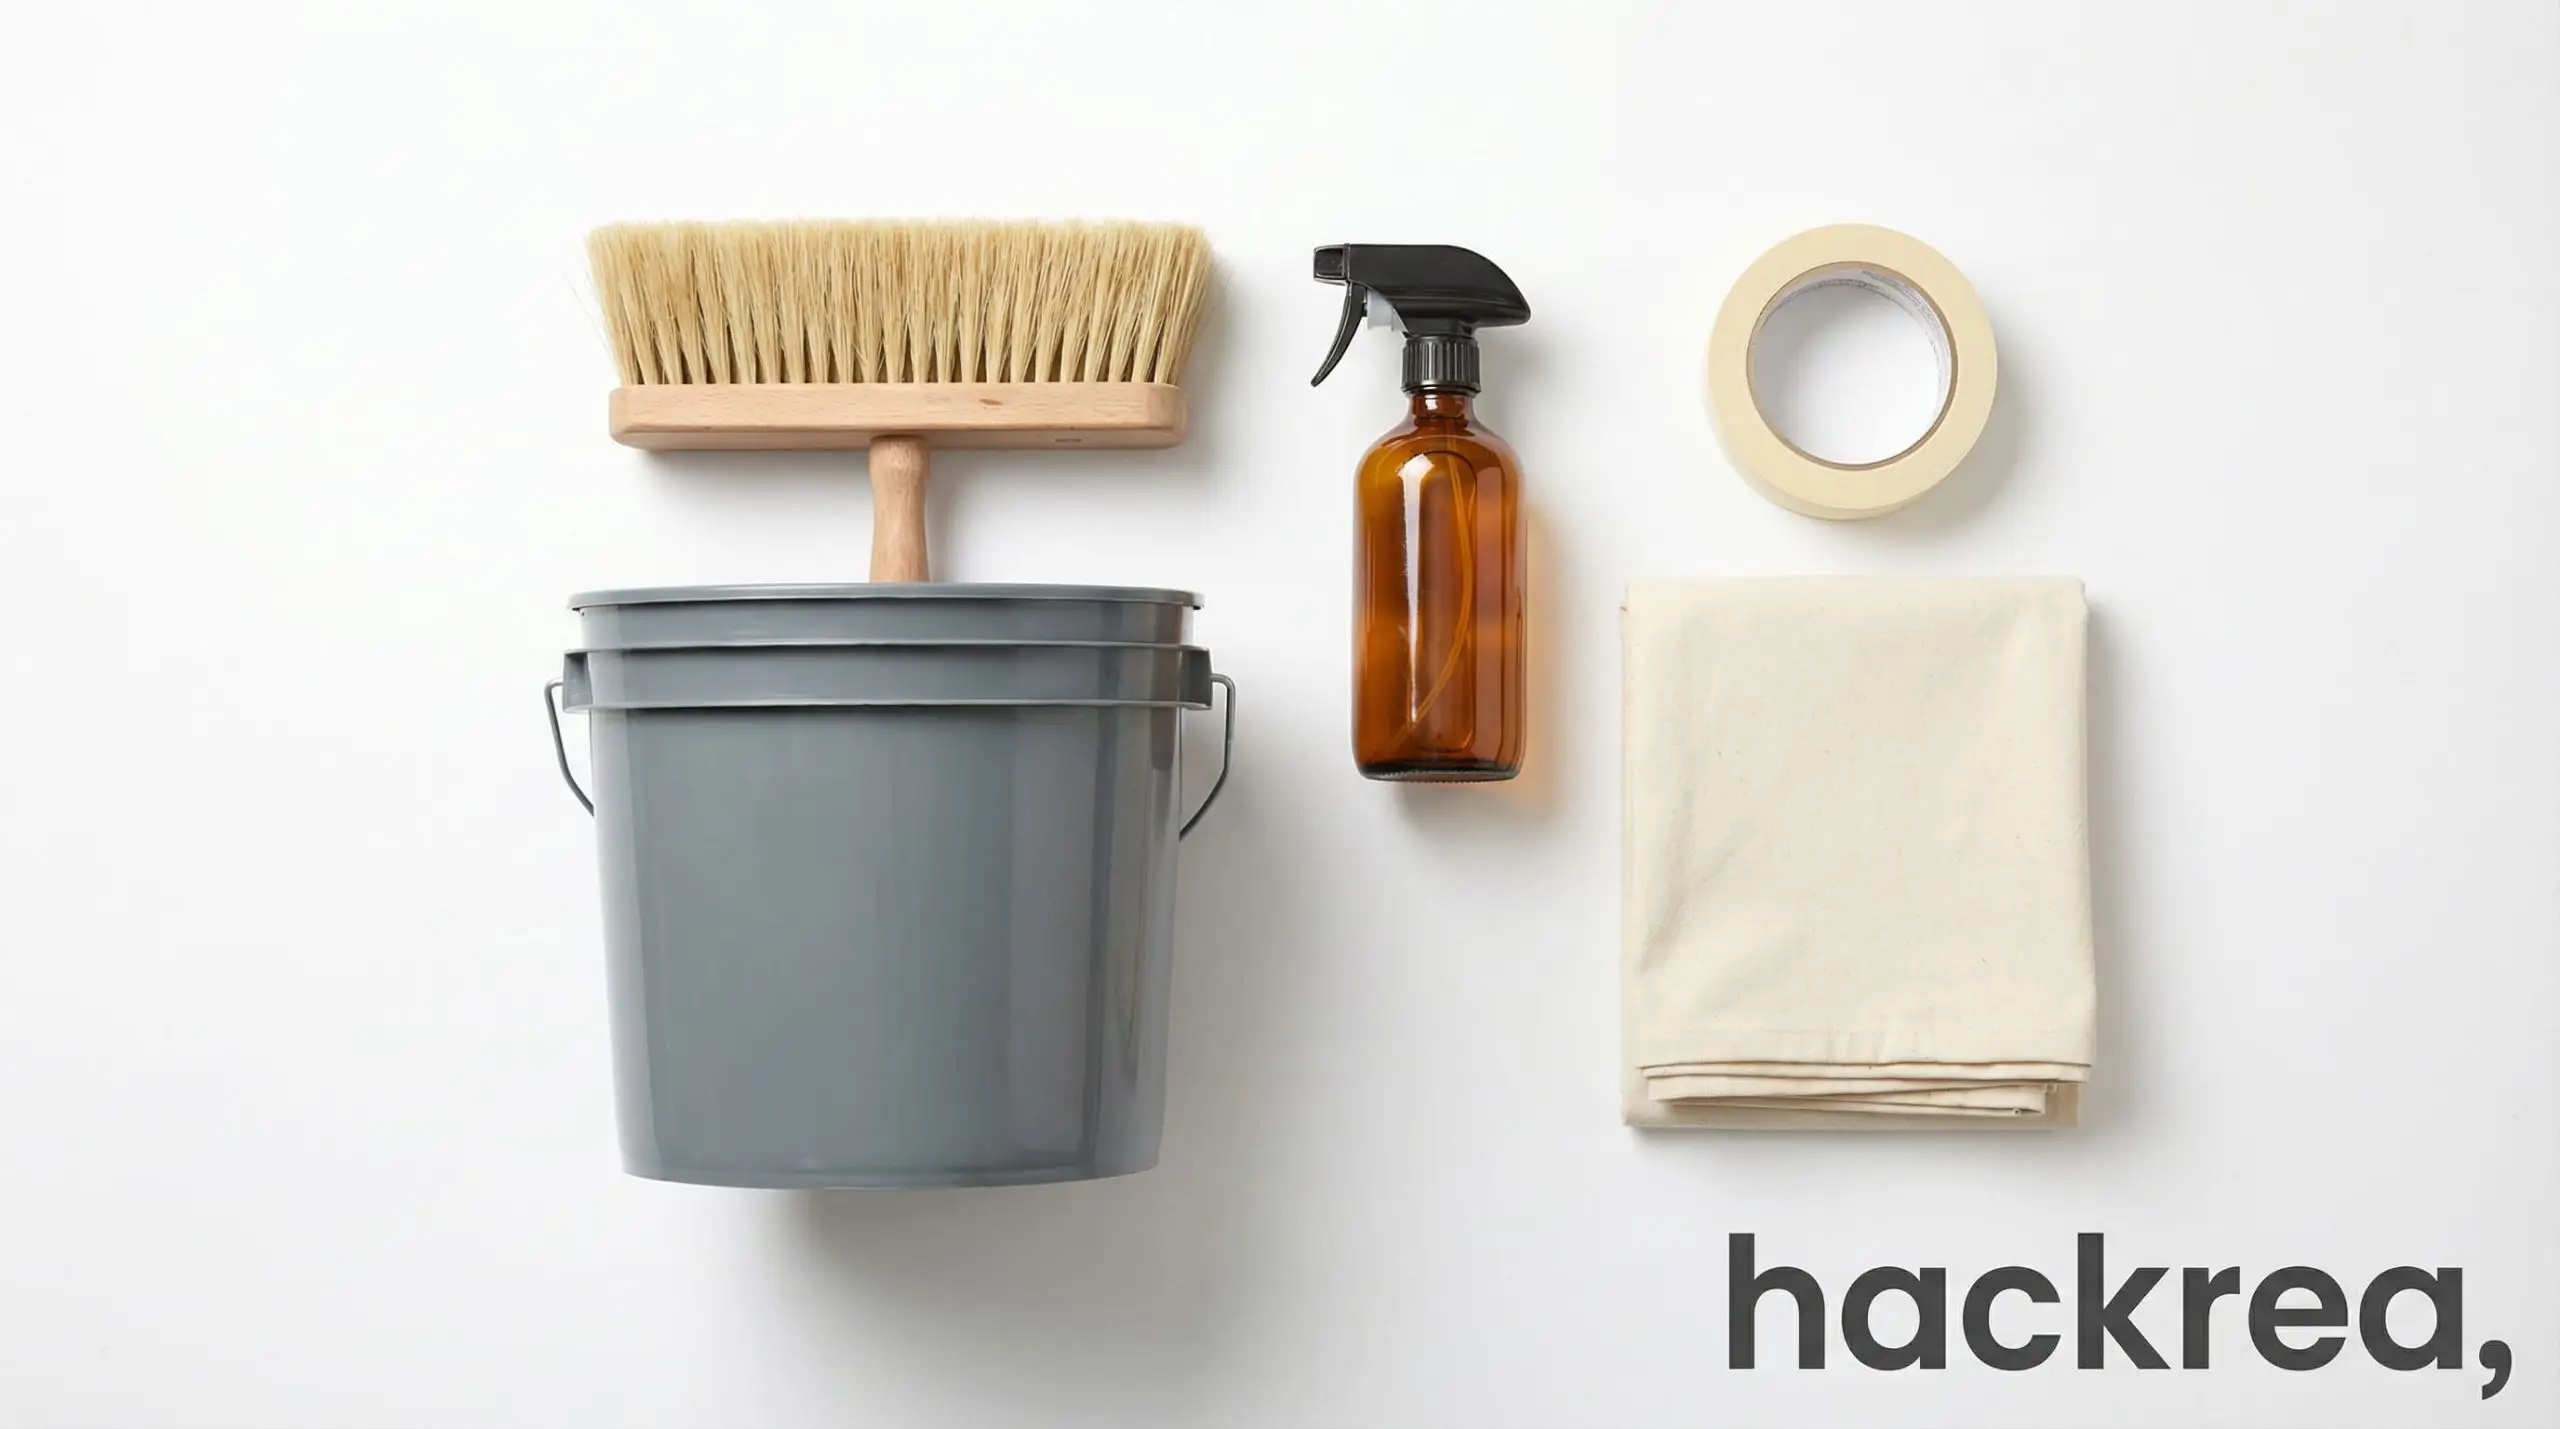
Purchasing premium boutique paint only accounts for 20% of the battle. The physical tools you use will completely dictate the final texture and structural integrity of the finish. If you use the wrong applicator, the chemistry will fail.
Your standard roller has no place here.
Let us examine the exact hardware required for the job.
Why a Standard Primer Will Destroy Your Finish
⚠️ Hackrea Warning: Never skip the primer transition.
Most modern residential homes feature drywall coated in standard acrylic paint. This is a slick, closed surface. Limewash requires a porous Substrate so it can sink in and achieve a physical bond. If you apply limewash directly over an acrylic wall, it will slide off, flake, and cure into a streaky, unstable mess.
You absolutely must bridge the gap using a Mineral Primer.
This specialized acrylic-to-mineral bonding prep coat provides the necessary micro-texture for the calcium hydroxide to grip. Industry-leading brands like Romabio and Bauwerk Colour manufacture specific micro-aggregate primers formulated exclusively for this chemical transition. Do not attempt to save money by using a standard stain-blocking latex primer. It will destroy your finish. When testing swatches in our Hackrea paint visualizer, the physical failures of skipping this step were immediately apparent.
| Primer Type | The Structural Pros | The Structural Cons |
|---|---|---|
| Mineral Primer | Creates a porous Substrate, ensures calcification bond, prevents flaking. | Higher upfront cost, requires specific drying times. |
| Standard Latex Primer | Cheap, readily available at any hardware store. | Creates a plastic barrier, completely rejects limewash, guarantees failure. |
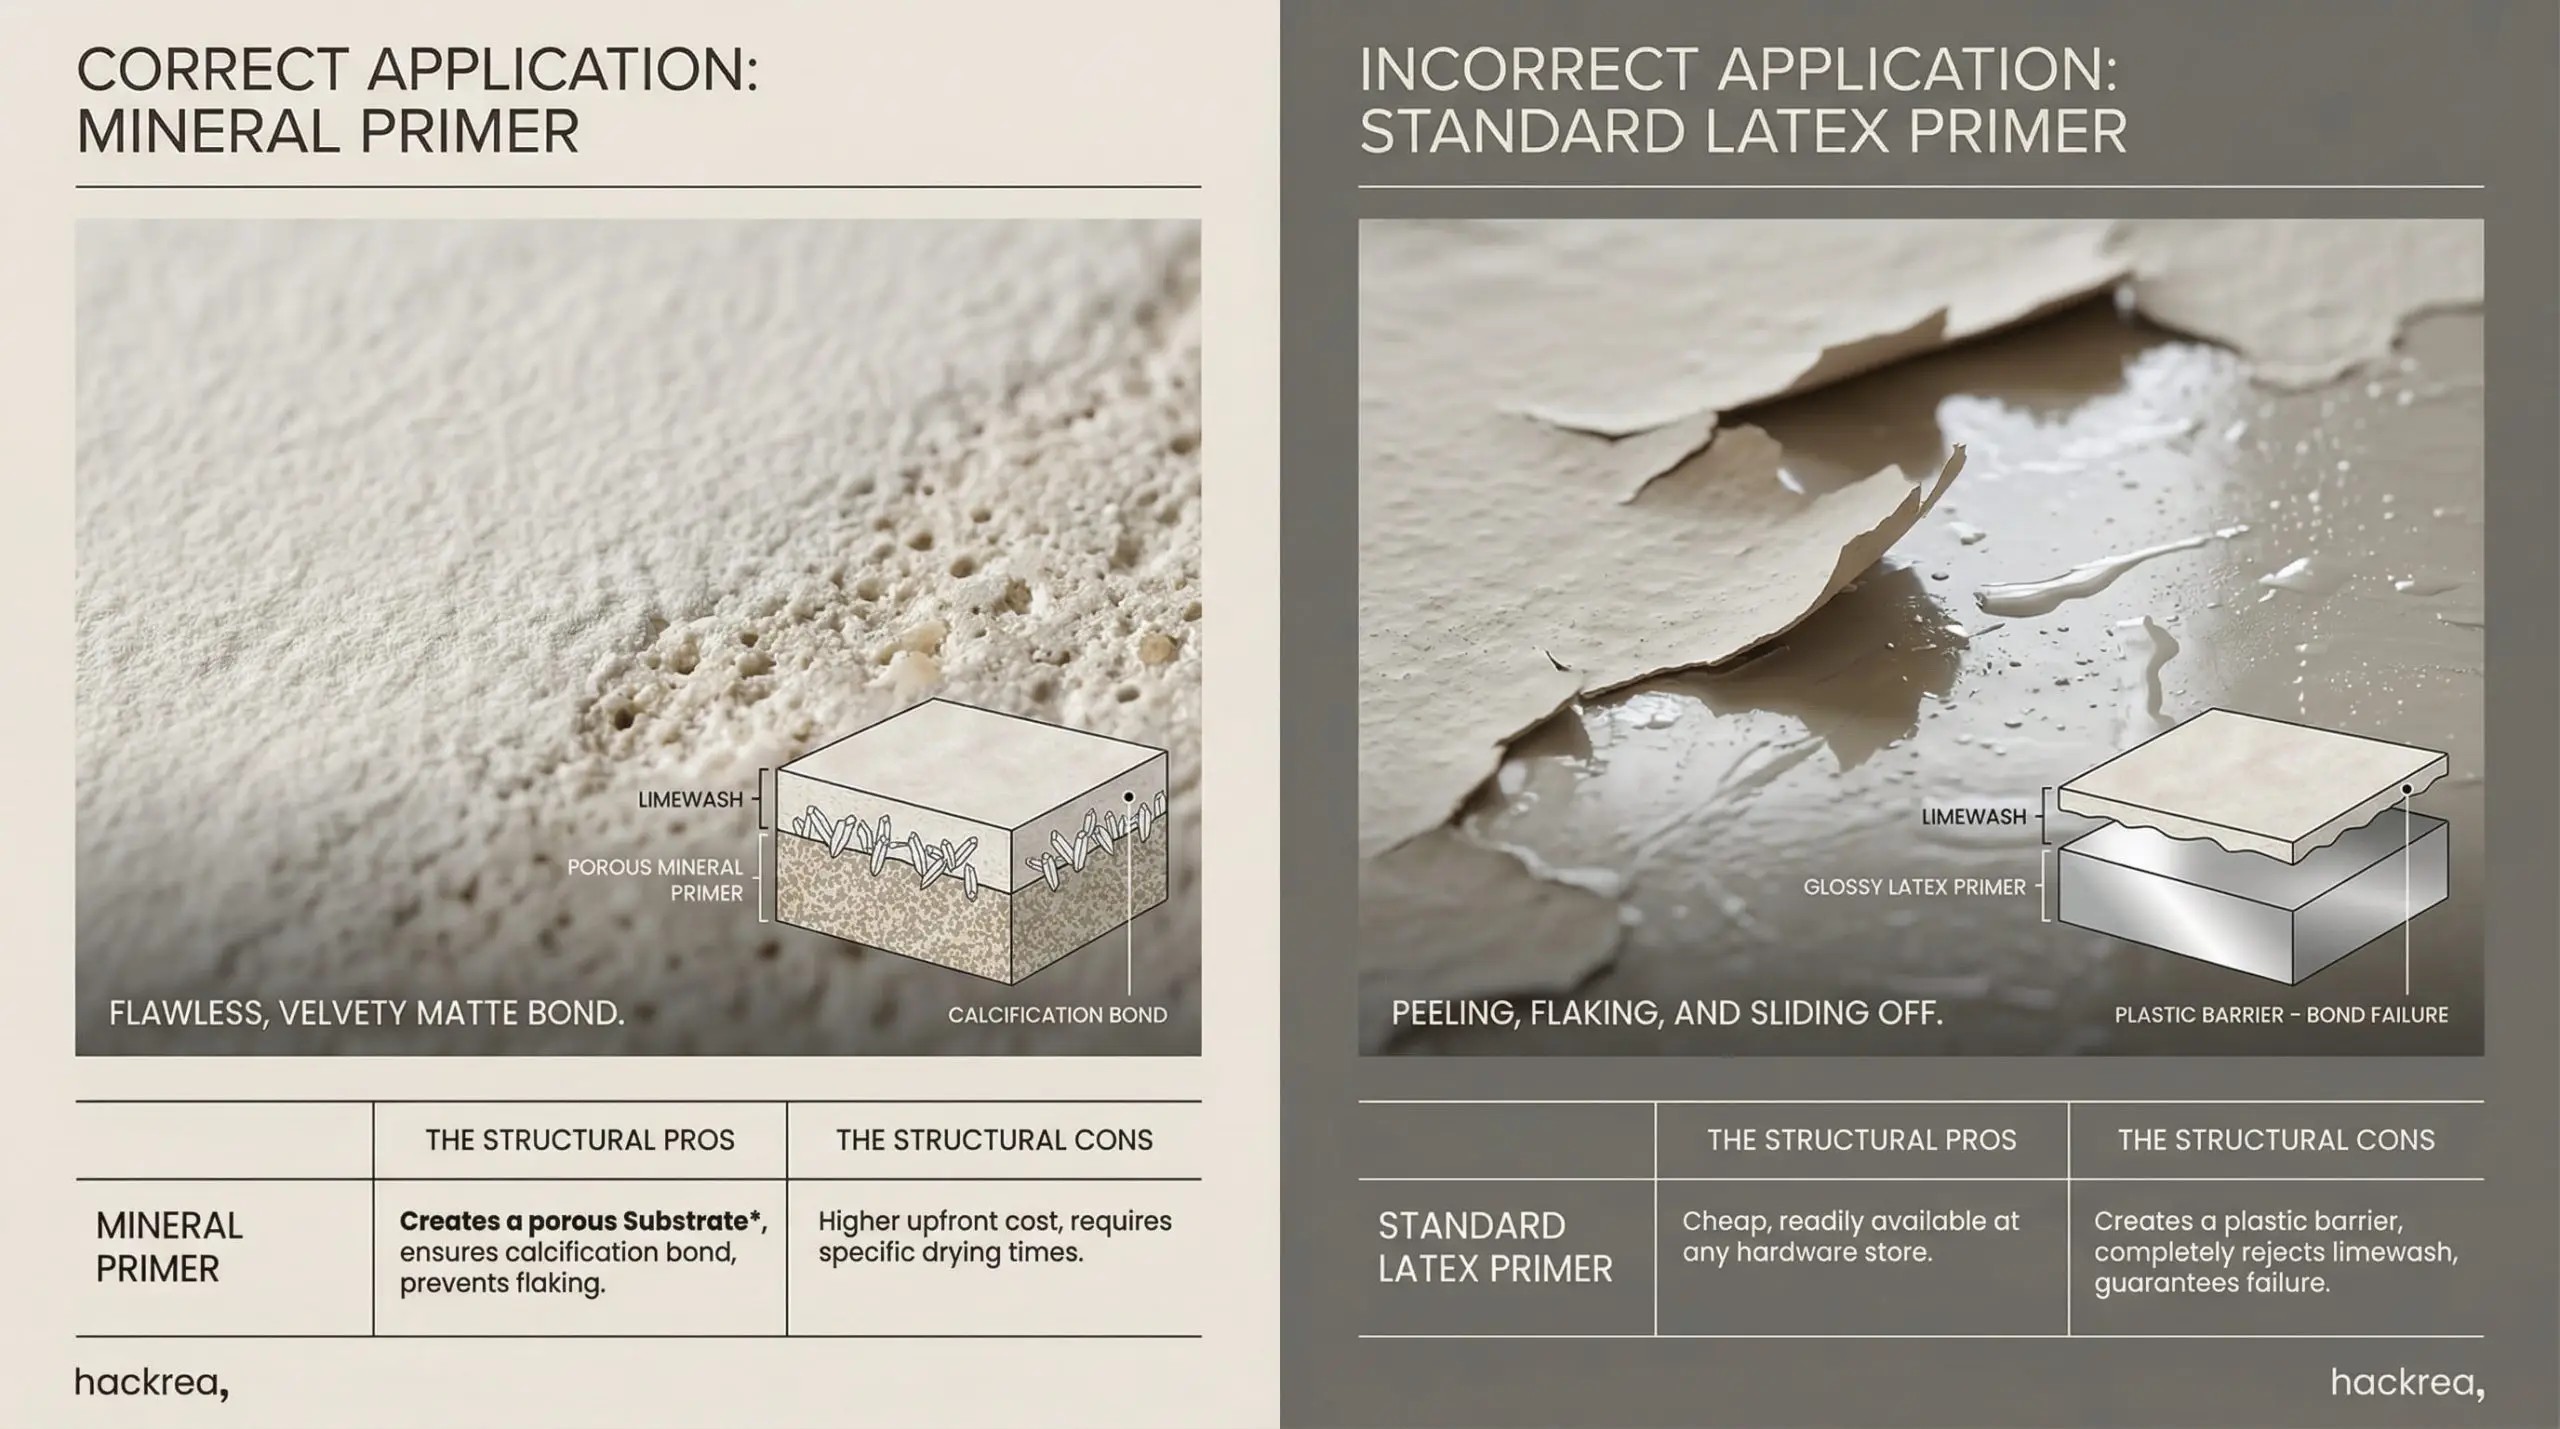
Do it right the first time.
The Block Brush (Spalter) vs. Regular Paint Brushes
You cannot execute this technique with a standard synthetic nylon brush. Synthetic bristles are designed to lay down plastic resins smoothly.
You require a natural bristle masonry brush, commonly known in the trade as a spalter brush or block brush.
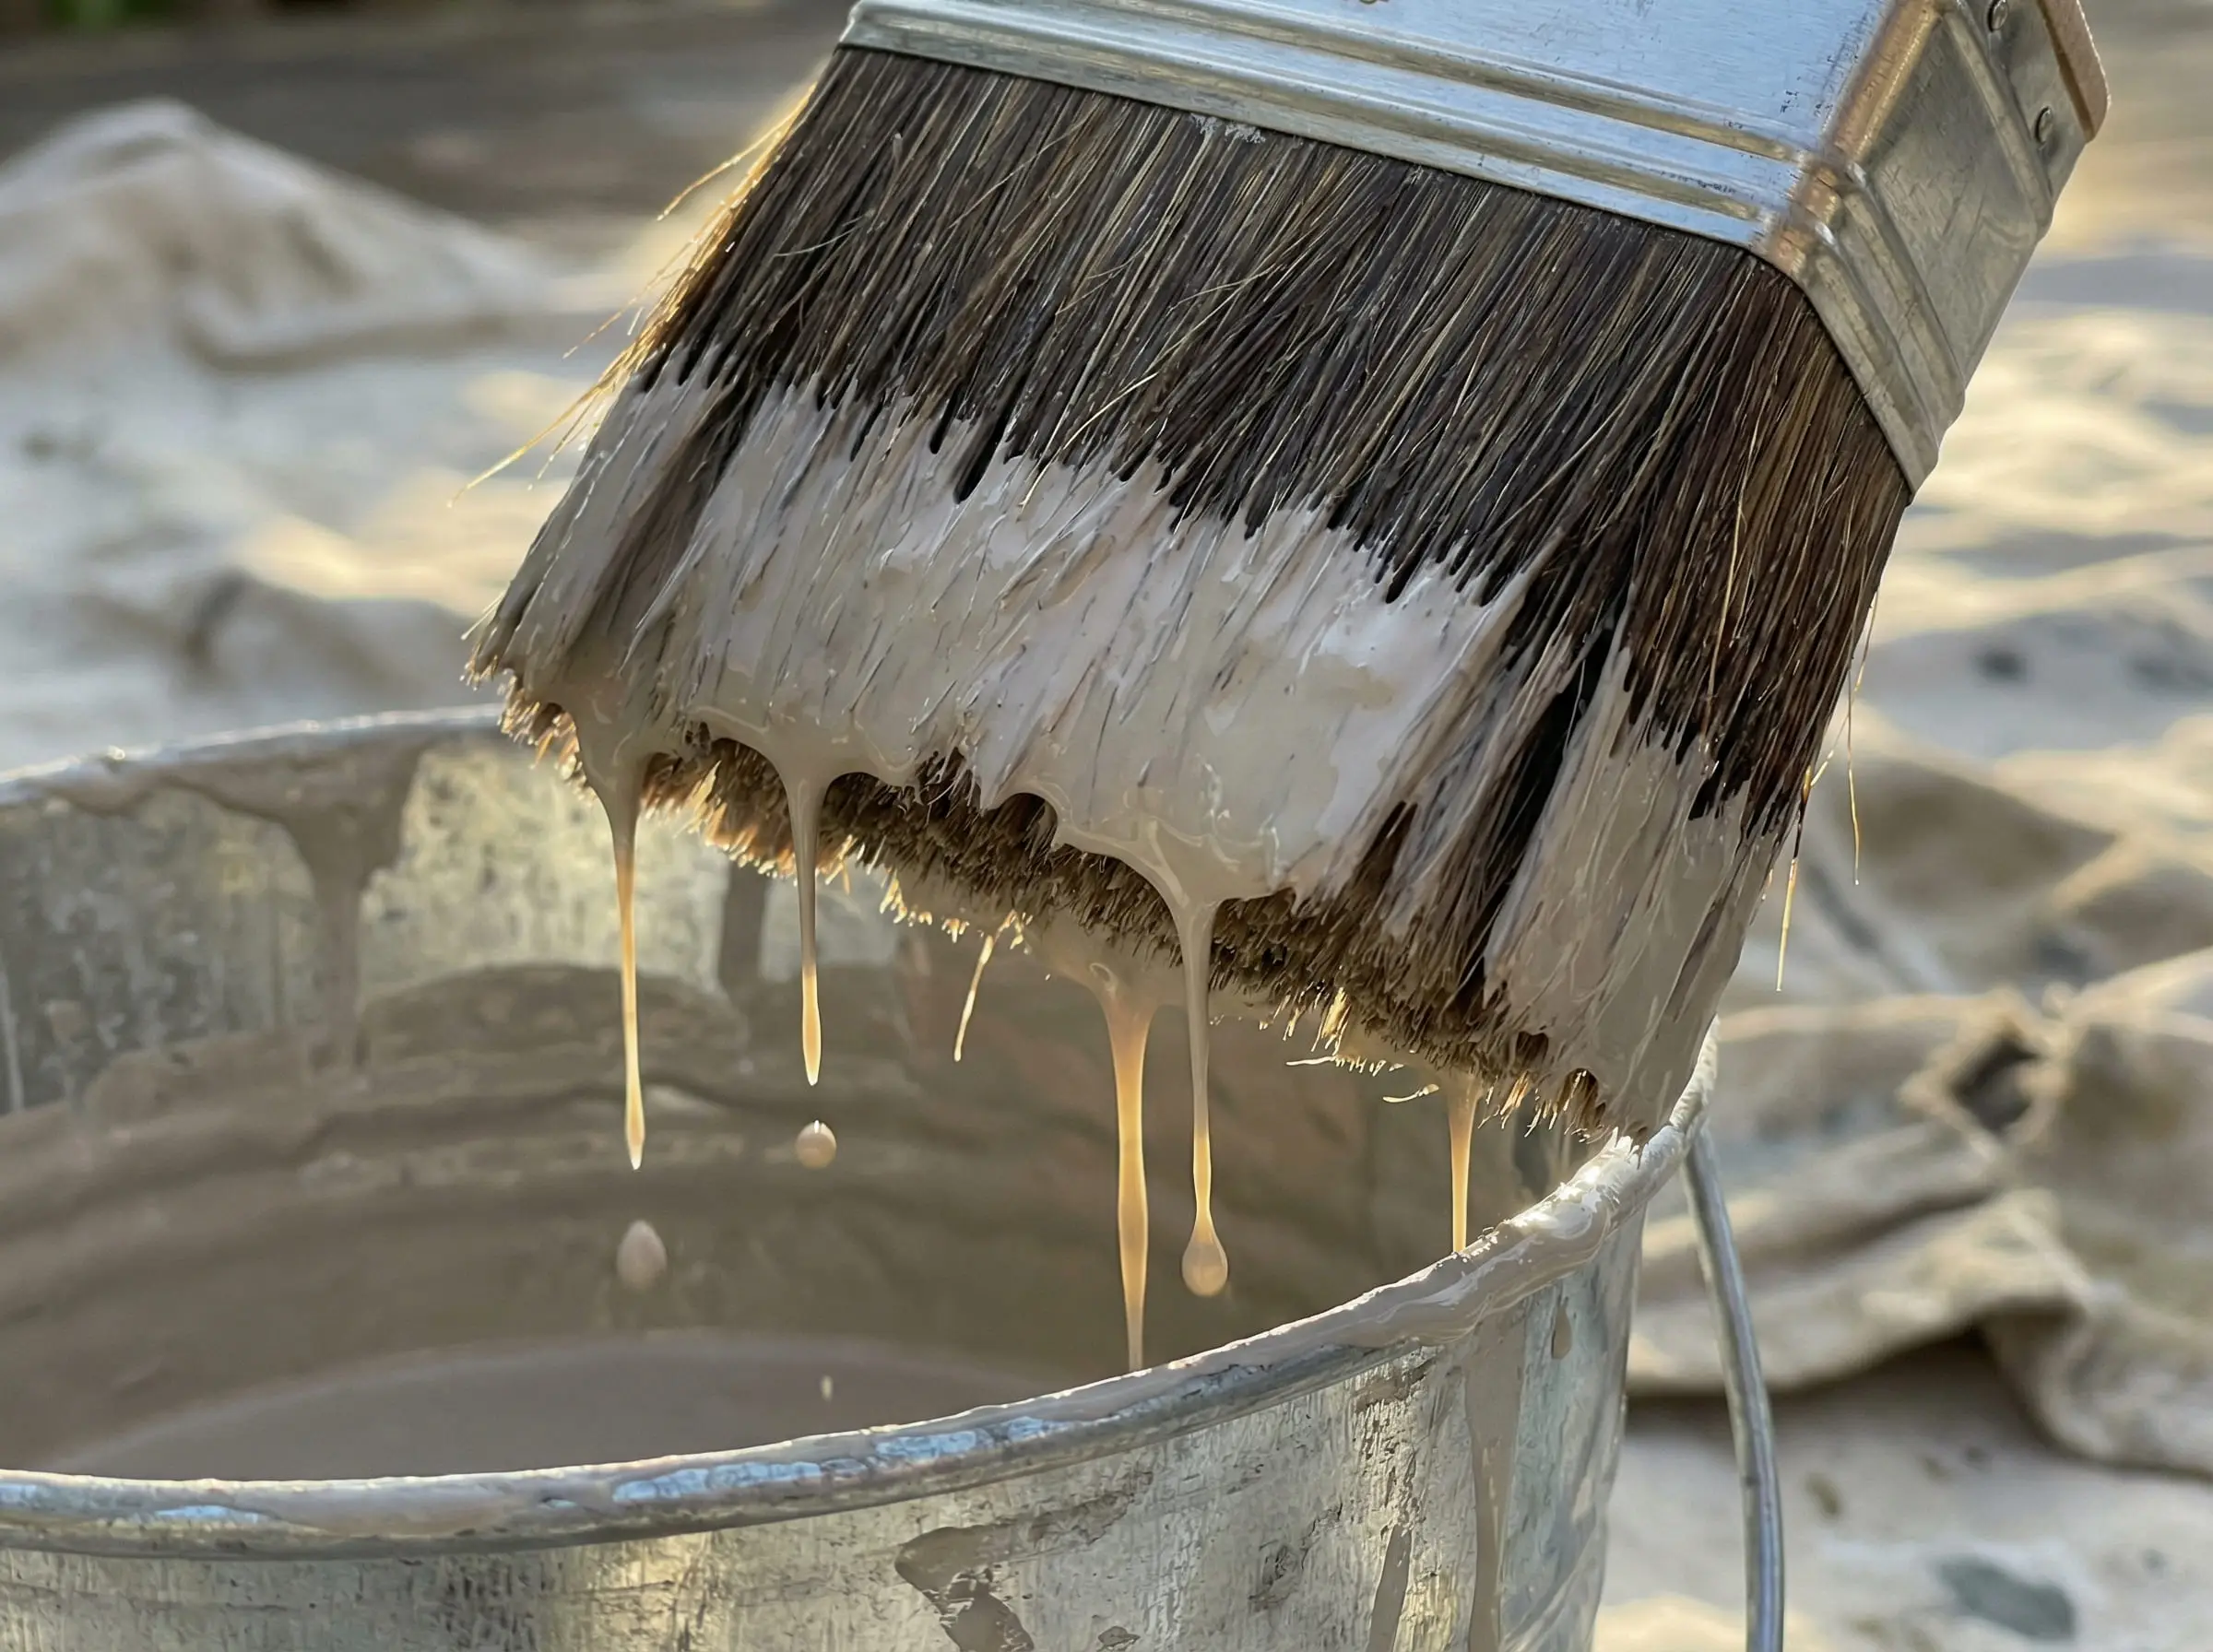
These specialized tools are typically 4 to 6 inches wide. The densely packed natural animal bristles are highly absorbent, holding massive amounts of water and heavy mineral paint. The wide, rectangular block architecture of the brush is the exact mechanical mechanism that creates the iconic cloudy, wabi-sabi texture on the wall. A narrow brush will simply create harsh, unblendable streaks.
Required Tools Checklist:
Phase 1: Wall Preparation & Priming (The Make-or-Break Step)
The physical preparation of your space dictates the final quality of the application. Limewash is highly unforgiving of poor drywall conditions. It will magnify every dent, scratch, and poorly sanded joint.
Execute the following sequence meticulously:
- Patch and Sand: Fill all nail holes and gouges with a high-quality spackle. Sand the entire wall perfectly flat. Wipe away all residual dust with a damp microfiber cloth.
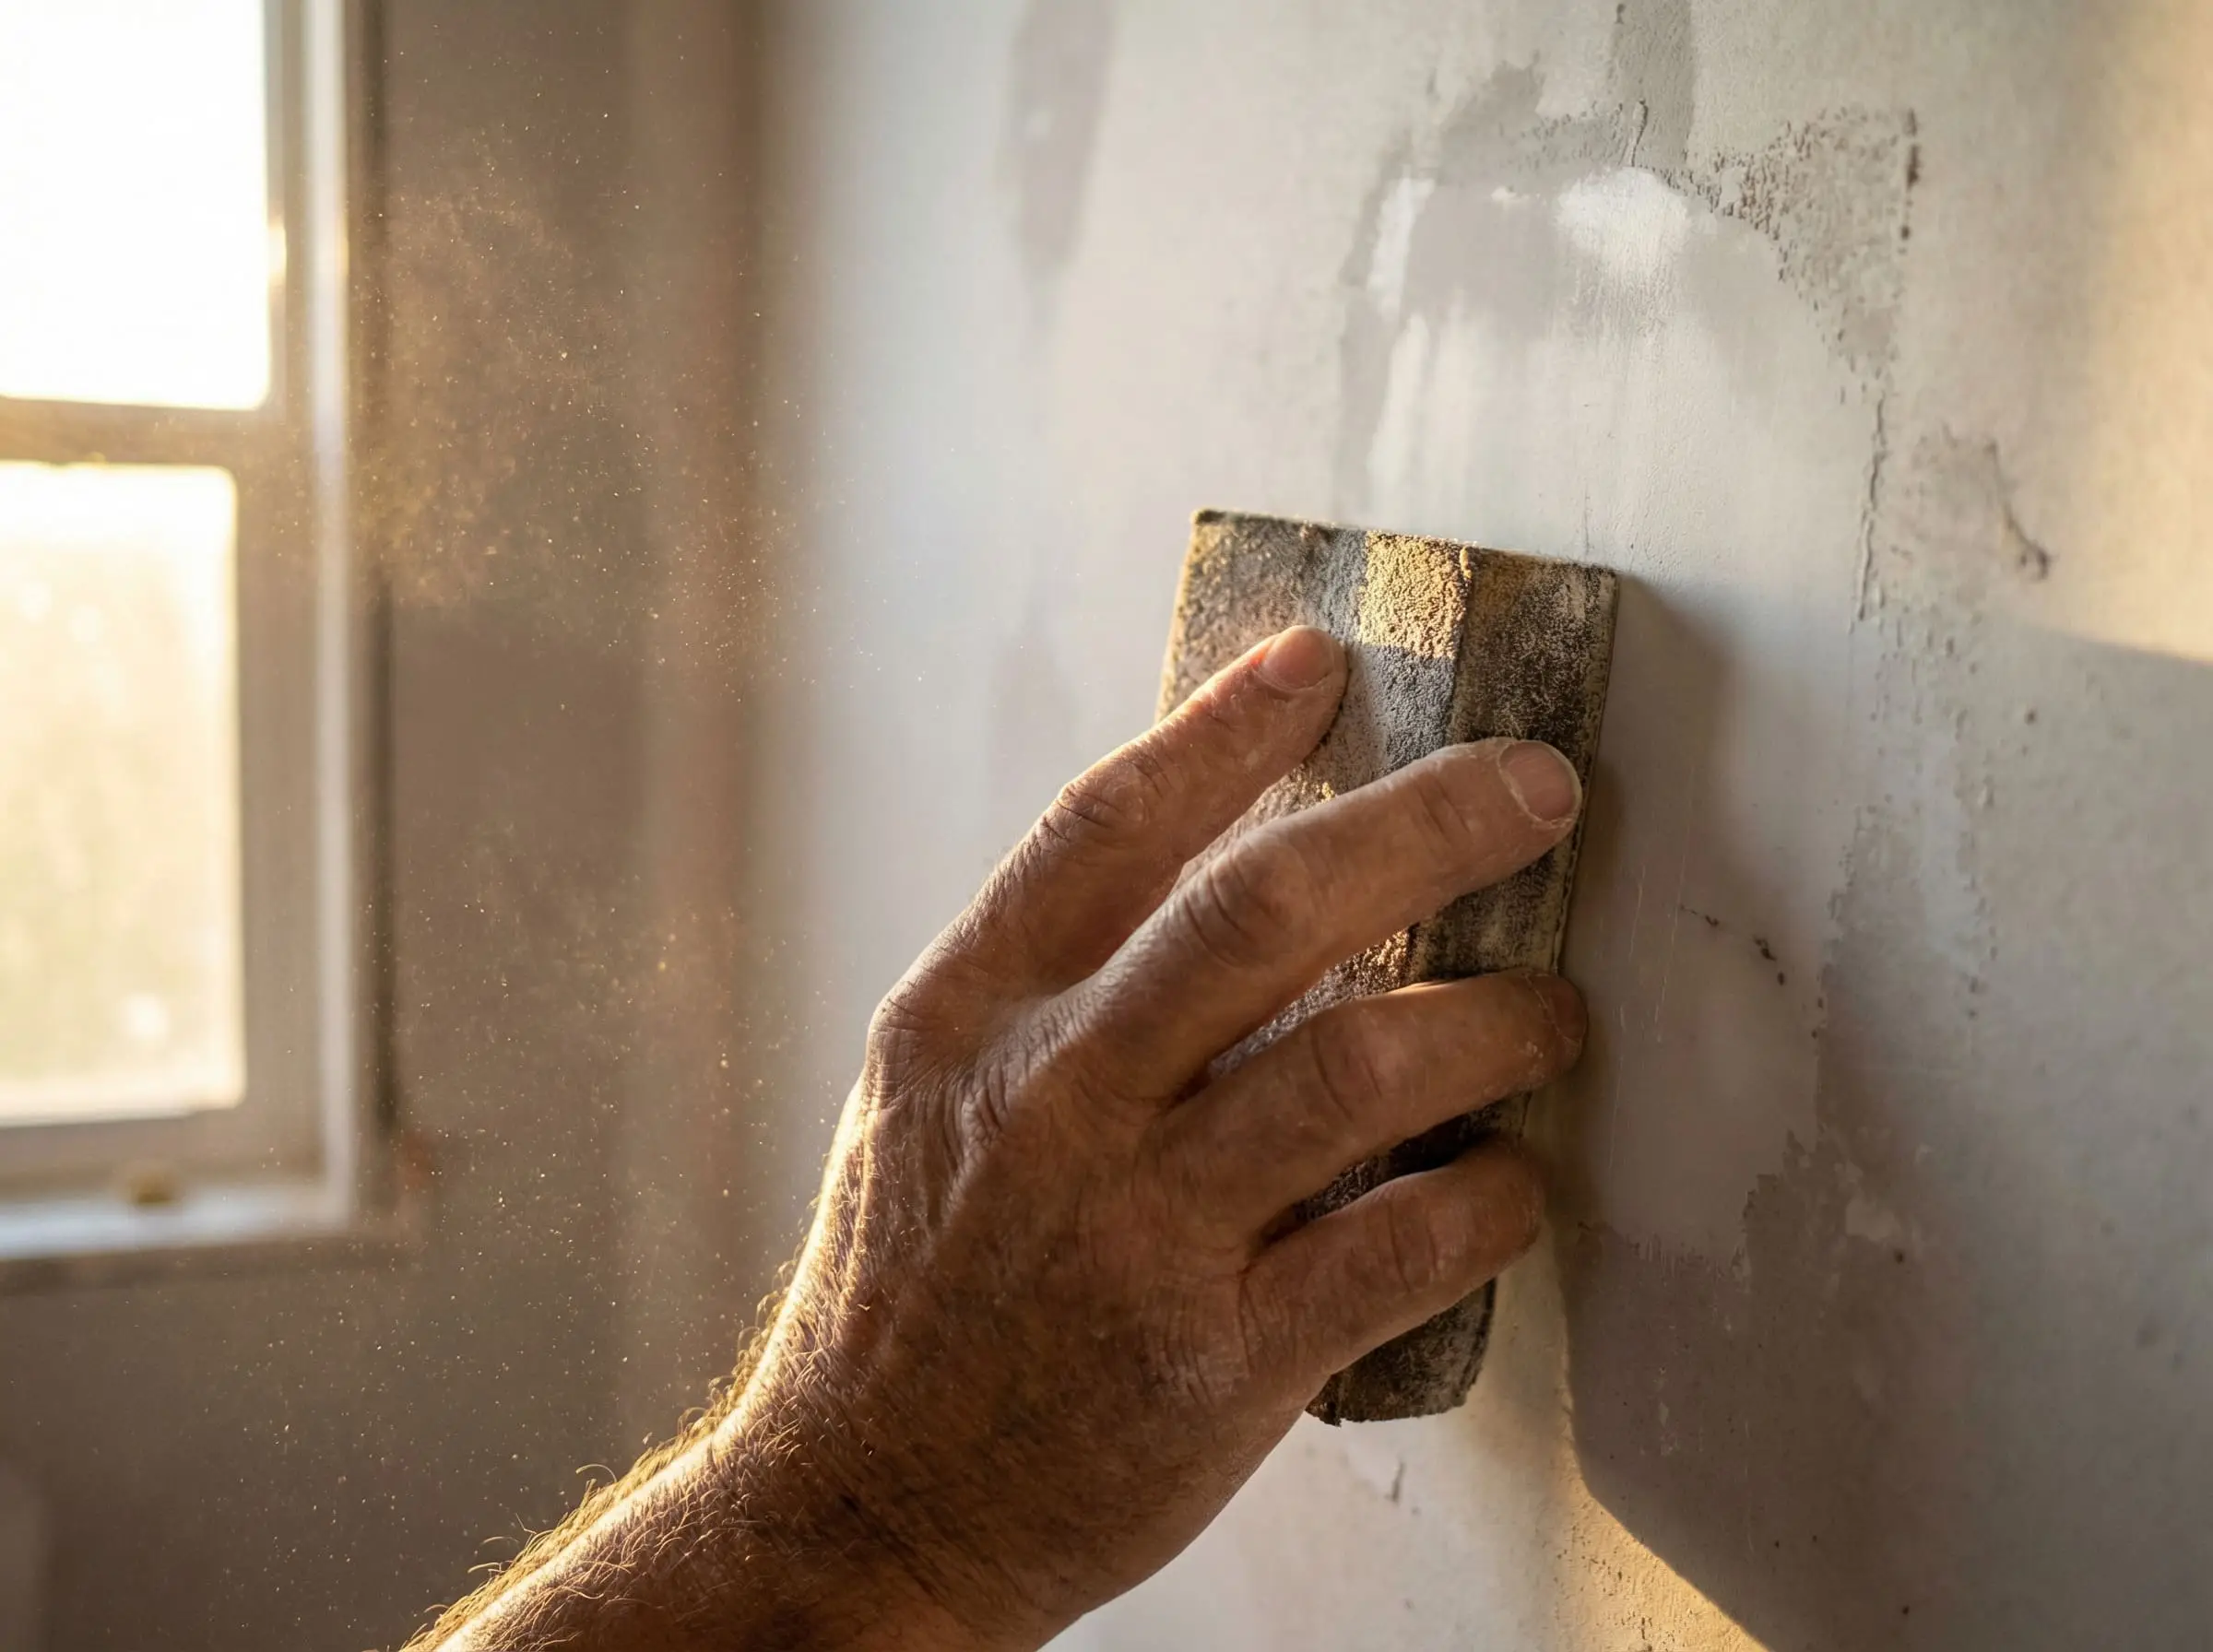
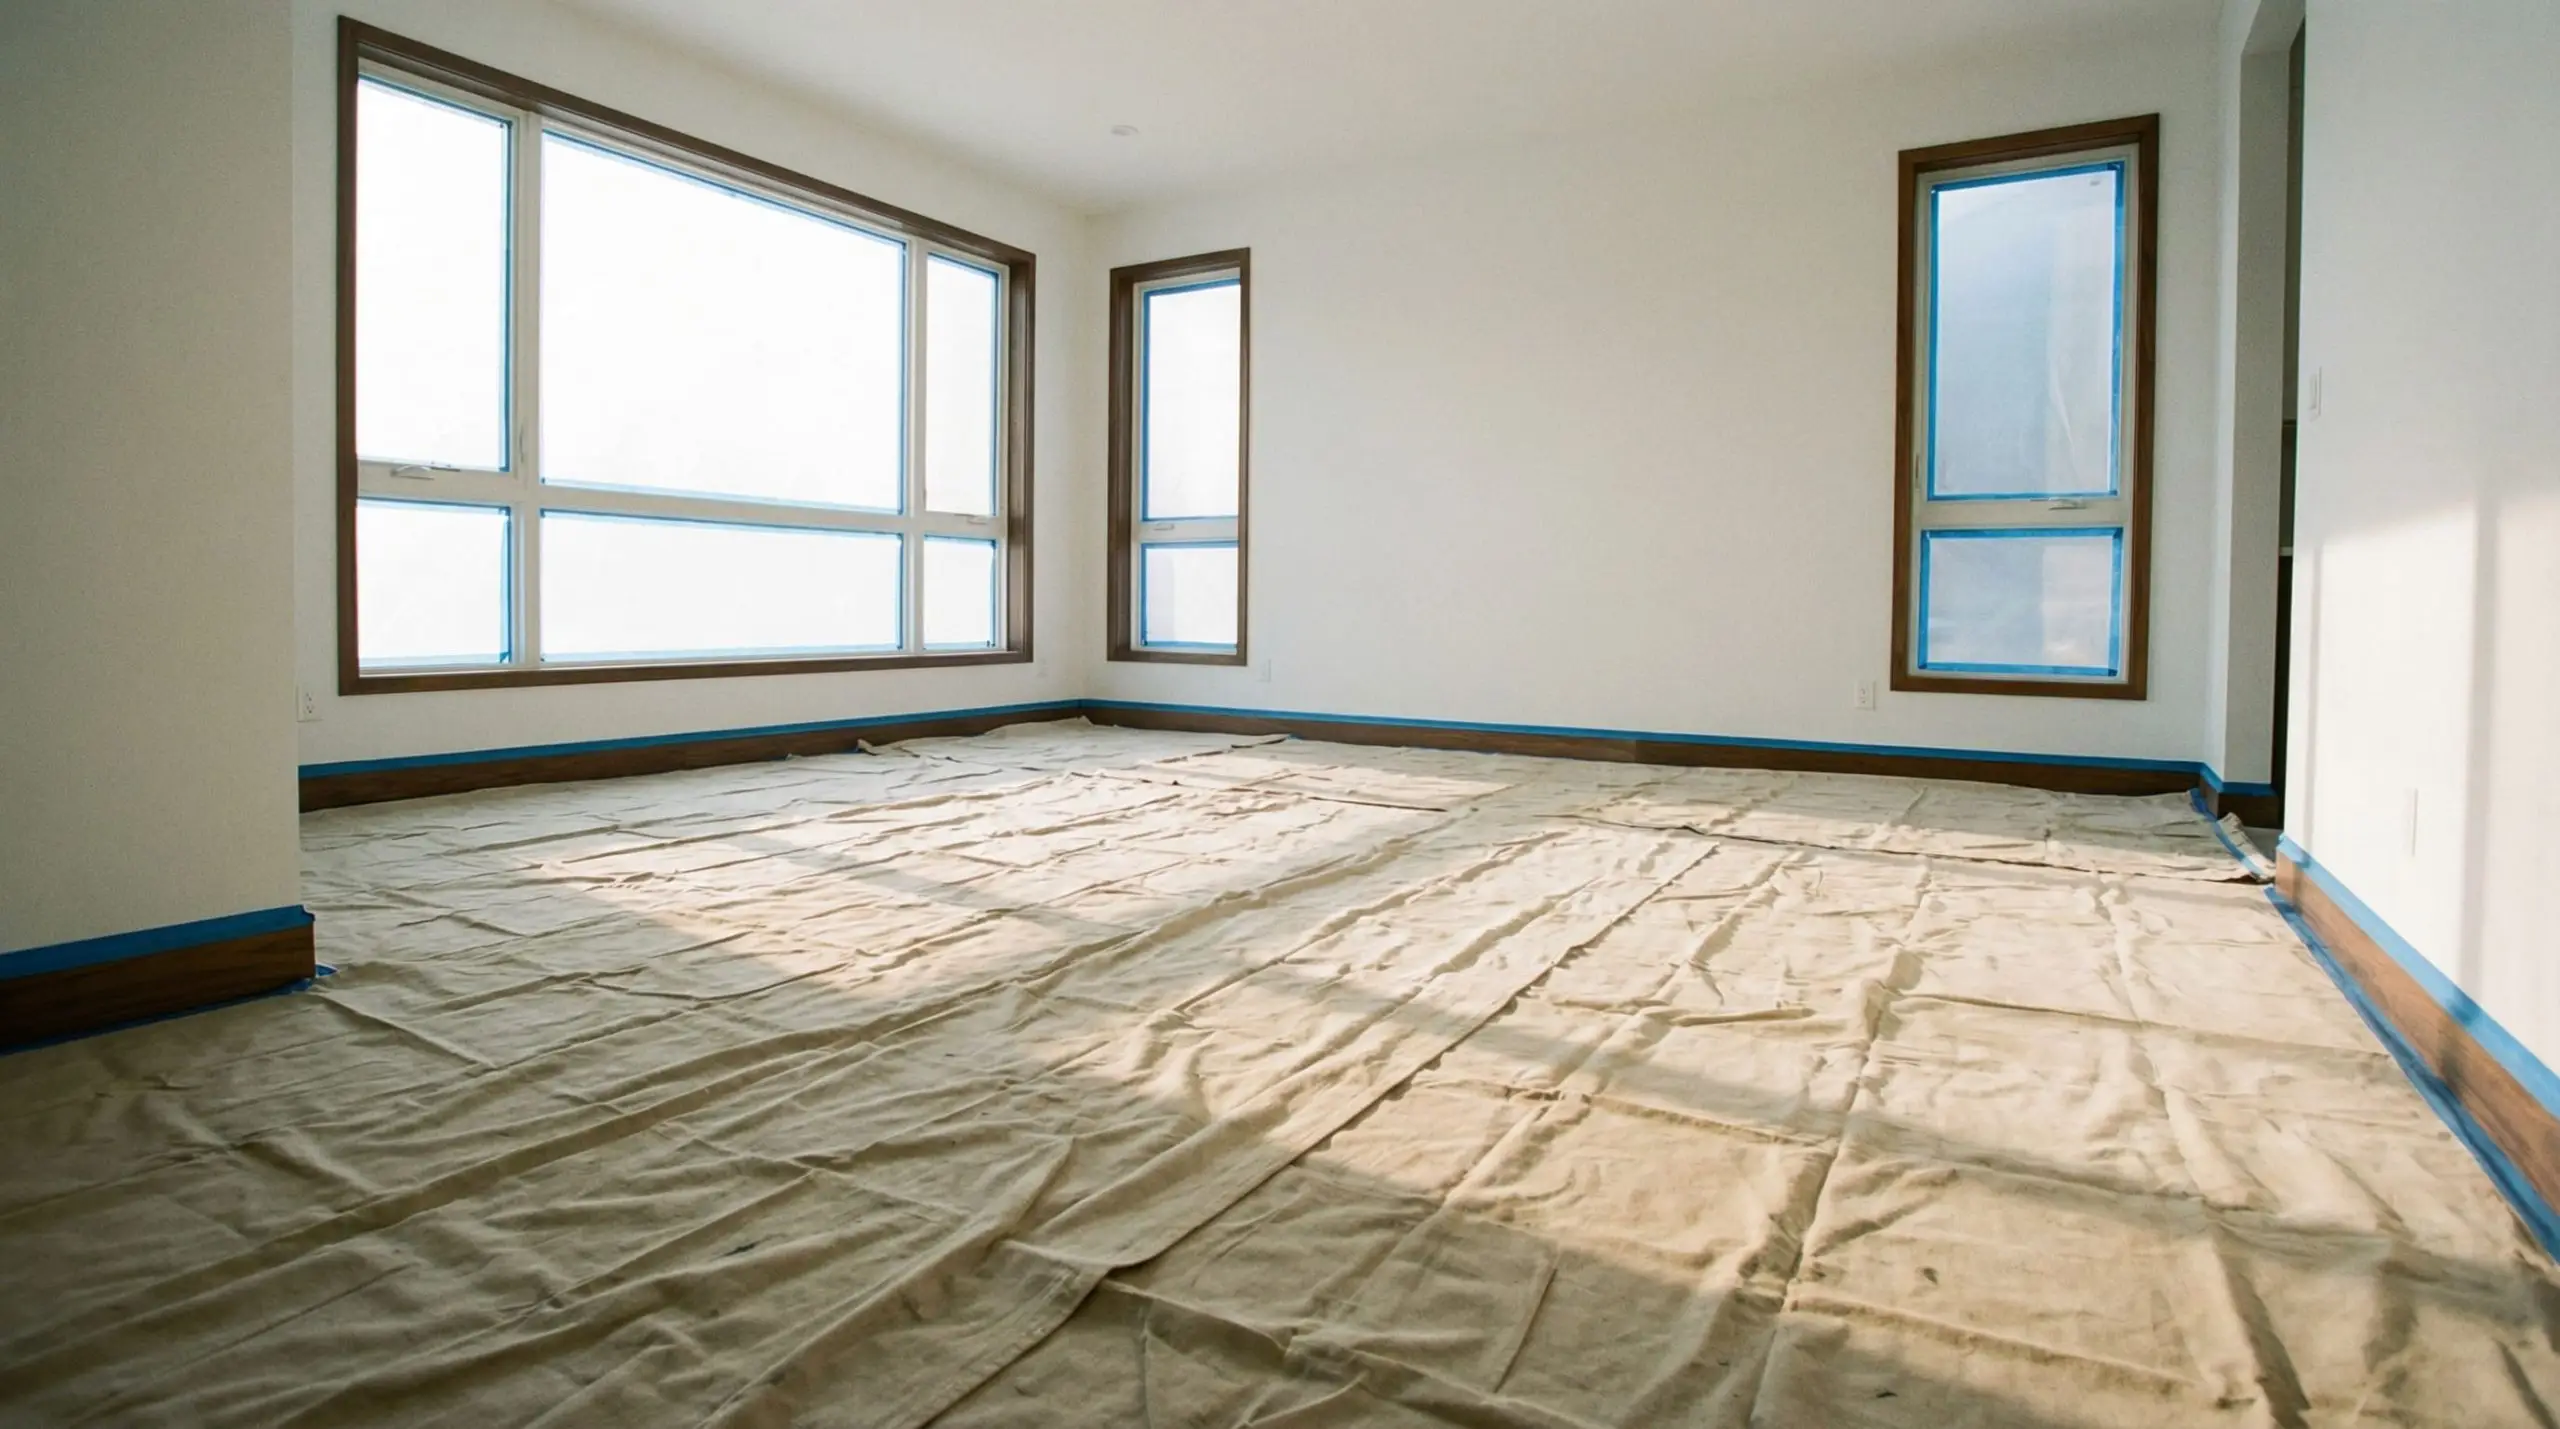
2. Mask and Protect: Limewash has a watery viscosity and will splatter relentlessly. Apply high-adhesion painter’s tape to all baseboards, ceiling lines, and trim. Cover the floor entirely with canvas drop cloths.
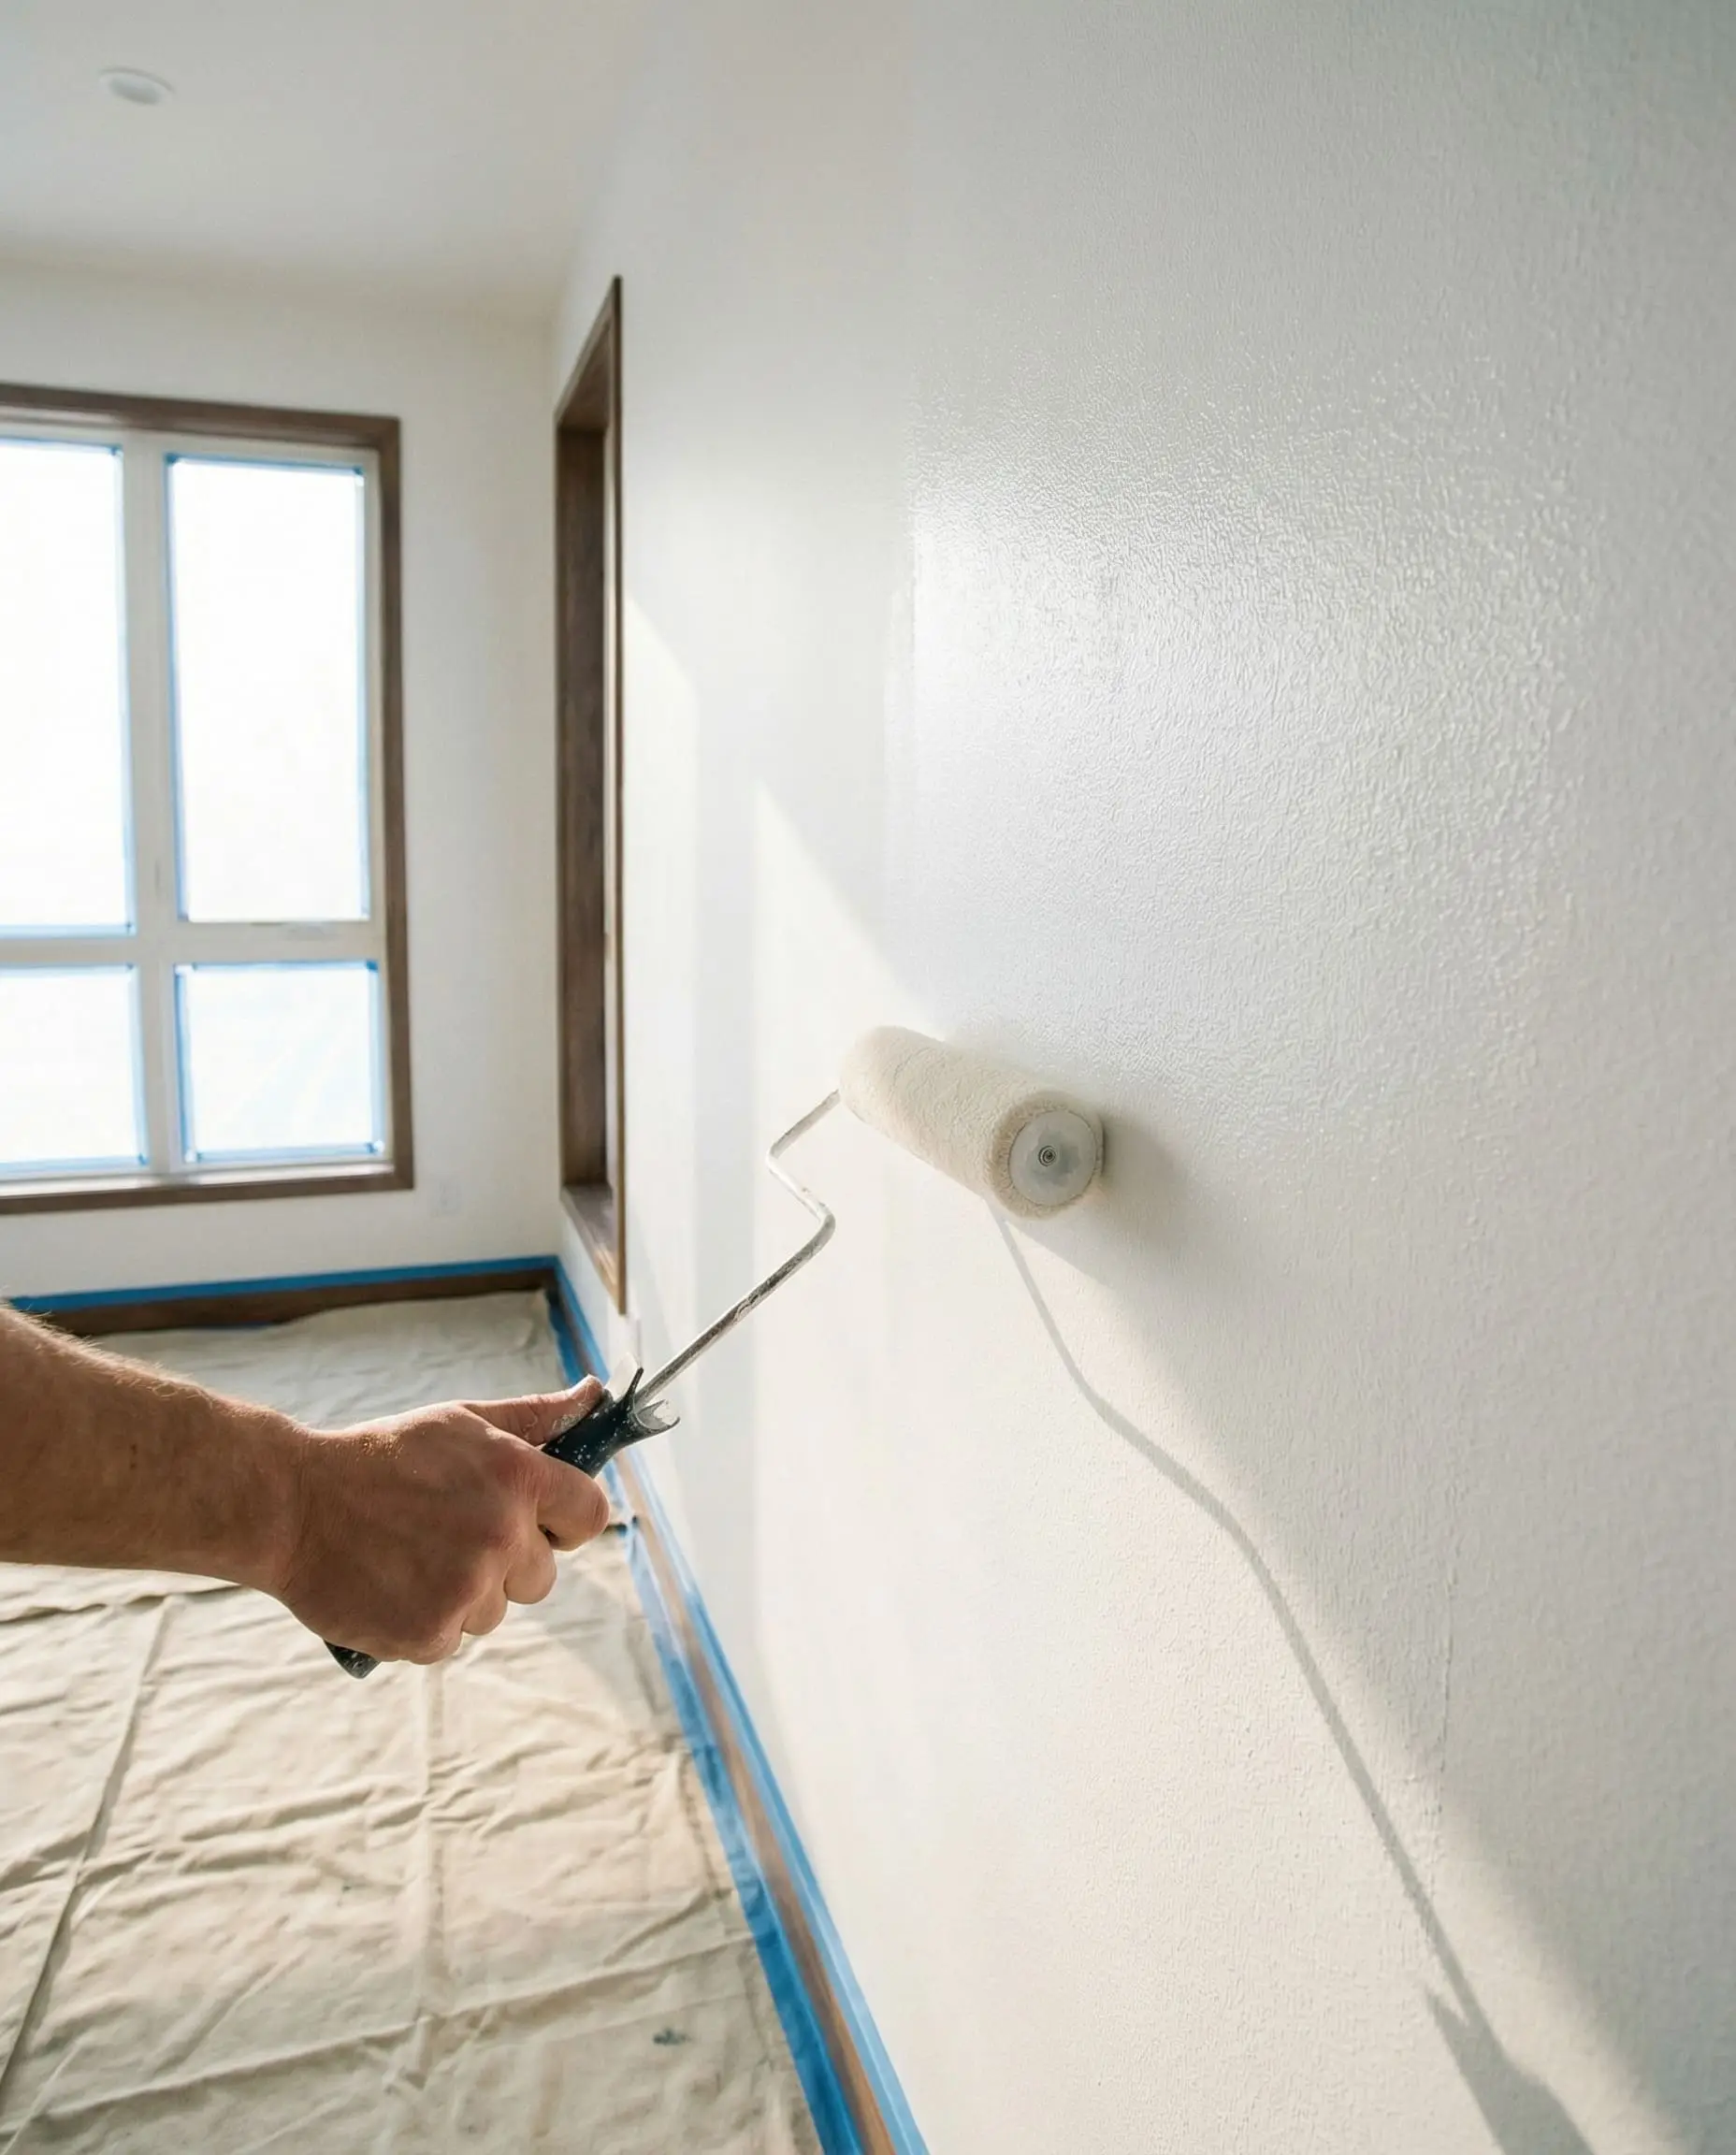
3. Apply the Mineral Primer: Unlike the limewash itself, the mineral primer can be applied using a standard 3/8-inch nap roller. Cut in the edges with a standard synthetic brush, then roll the primer evenly across the entire surface.
You must respect the chemical flash times.
💡 Hackrea Pro Tip
Allow the mineral primer to dry for an absolute minimum of 8 to 12 hours. If the room is cold or humid, extend the curing window to 24 hours. Applying wet limewash over damp primer will cause the entire system to delaminate.
Phase 2: How to Apply Limewash Paint (Step-by-Step)
The substrate is primed. The perimeter is taped. The room is prepped for the chemical reaction.
It is time to execute the master artisan technique.
Pick up your block brush. Focus your attention on the mechanics of your wrist and the moisture level of the wall. We are building stone.
Step 1: Dilution and Mixing the Wash
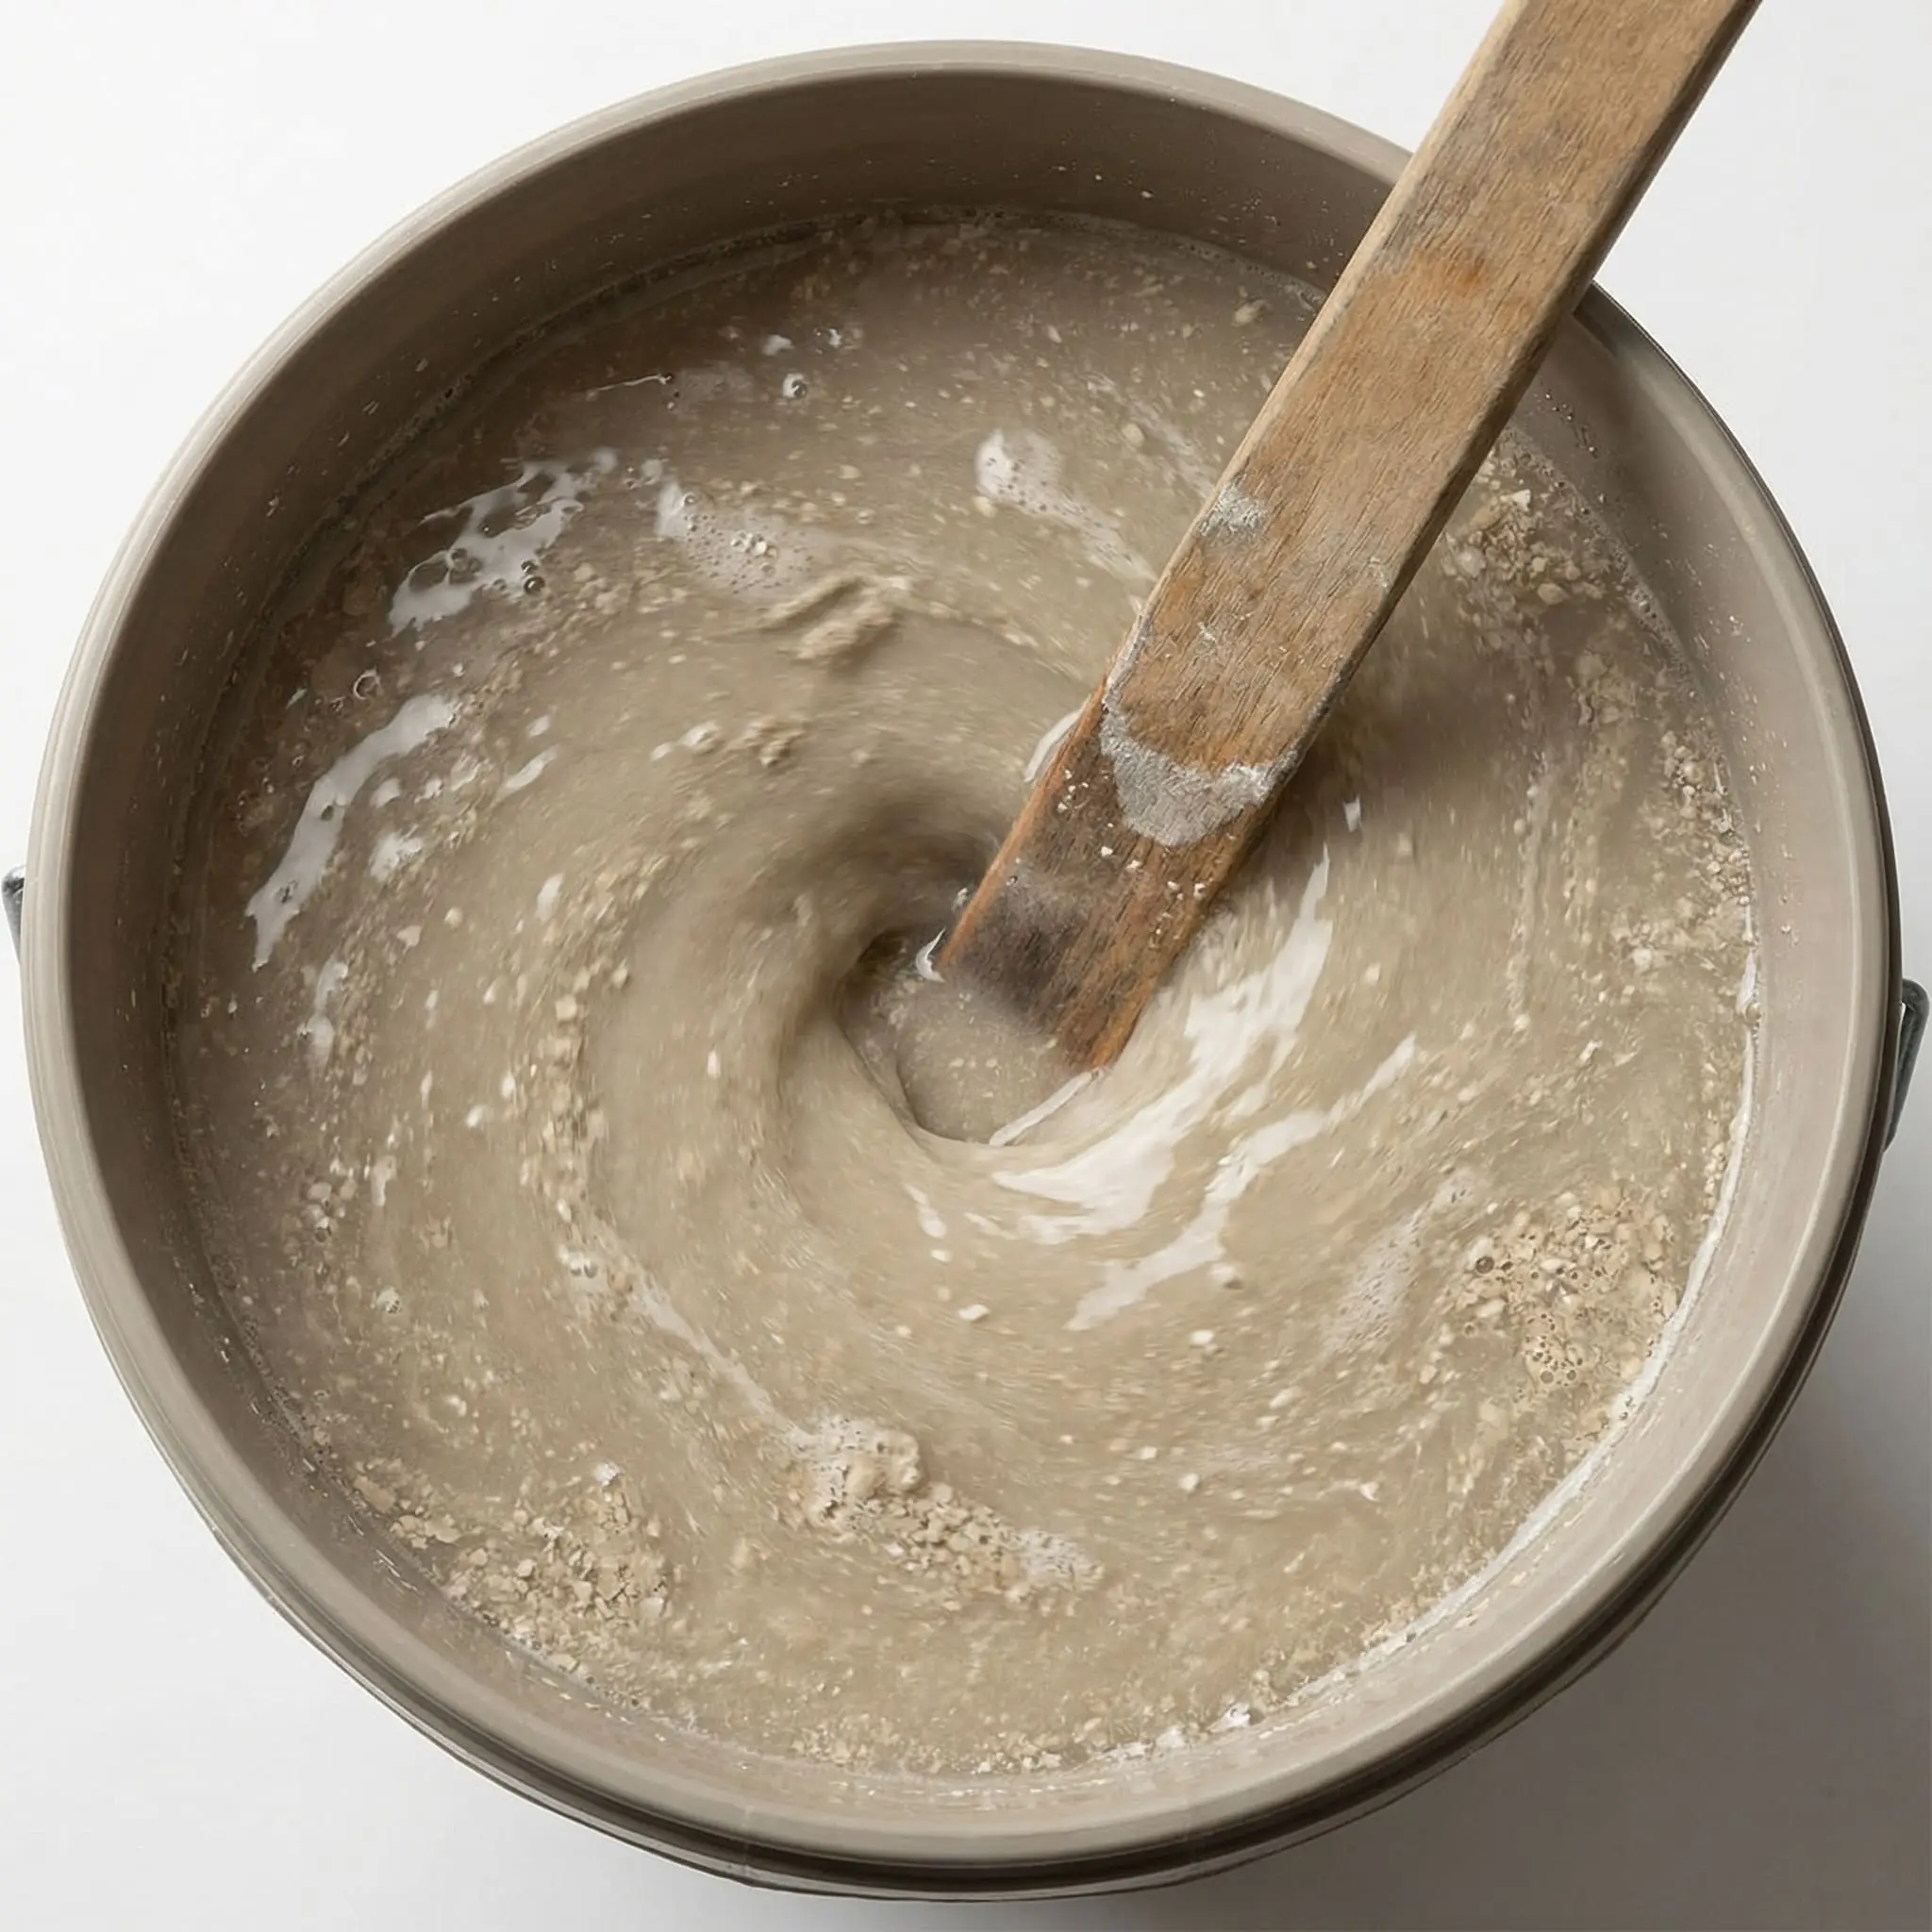
Because limewash is suspended crushed stone, the heavy minerals settle aggressively at the bottom of the bucket during shipping.
You must mix it relentlessly. Use a mechanical drill with a paddle attachment or a heavy wooden stir stick to churn the sediment back into the water. Depending on the manufacturer—brands like Portola Paints or Bauwerk Colour—your first coat will likely require a specific dilution ratio to increase the workability of the material.
Always check the technical data sheet for your specific bucket.
Typically, you will dilute the raw paint with 20% clean water. Pour the mixture into a secondary bucket and whisk it until the consistency precisely mimics whole milk. It should run off the stir stick in a thin, continuous, translucent sheet, not a thick, gloppy ribbon like standard latex. If it feels like heavy cream, it is too thick and will drag on the wall.
Step 2: The Misting Technique
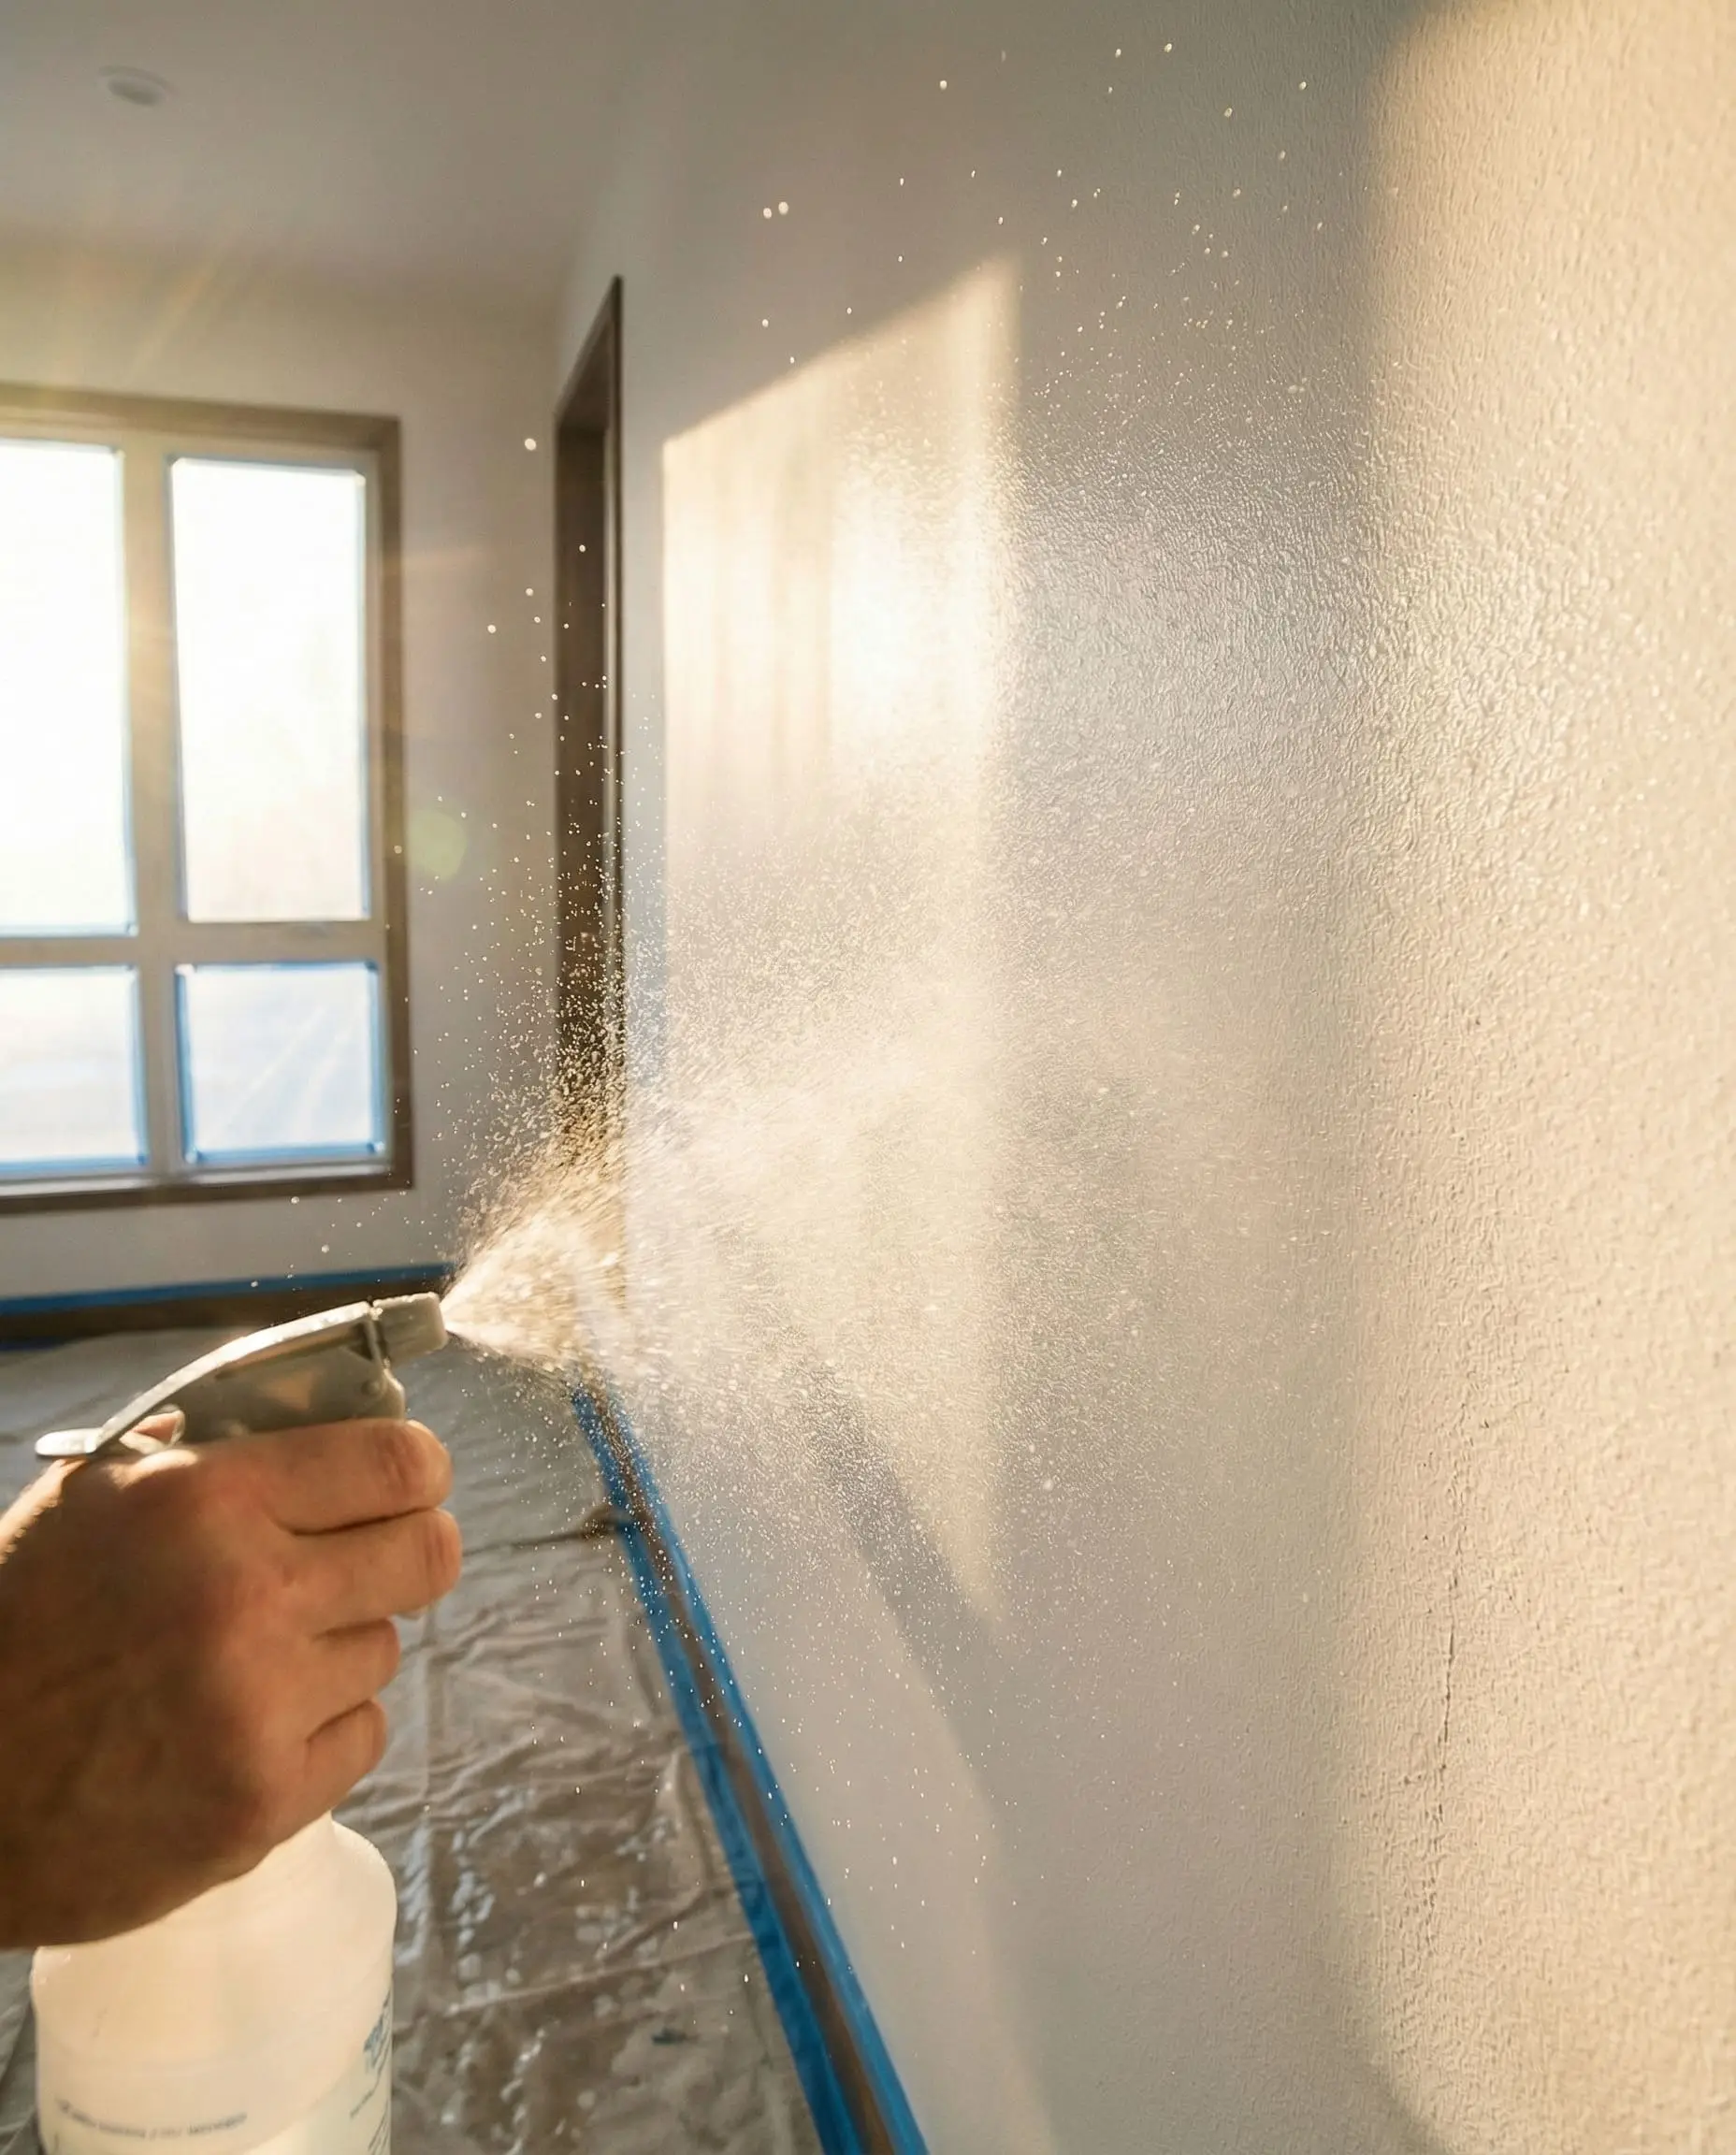
Before your loaded brush ever touches the drywall, you must manipulate the surface temperature and moisture level of the room.
Fill your fine-mist spray bottle with clean water. Lightly mist the section of the primed wall you are about to paint. The surface should feel cool and slightly damp to the touch, but never dripping wet.
This crucial step lowers the surface temperature of the wall and artificially slows down the rapid calcification process. It buys you the necessary working time to manipulate the heavy minerals.
If you skip this misting phase on a hot, dry day, the wall will instantly suck the moisture out of the paint. The calcium hydroxide will flash-cure upon contact, resulting in harsh, permanent, unblendable brush marks that will ruin the patina. Keep the wall hydrated.
Hackrea Warning Callout
Step 3: Mastering the “Crow’s Foot” Brush Stroke
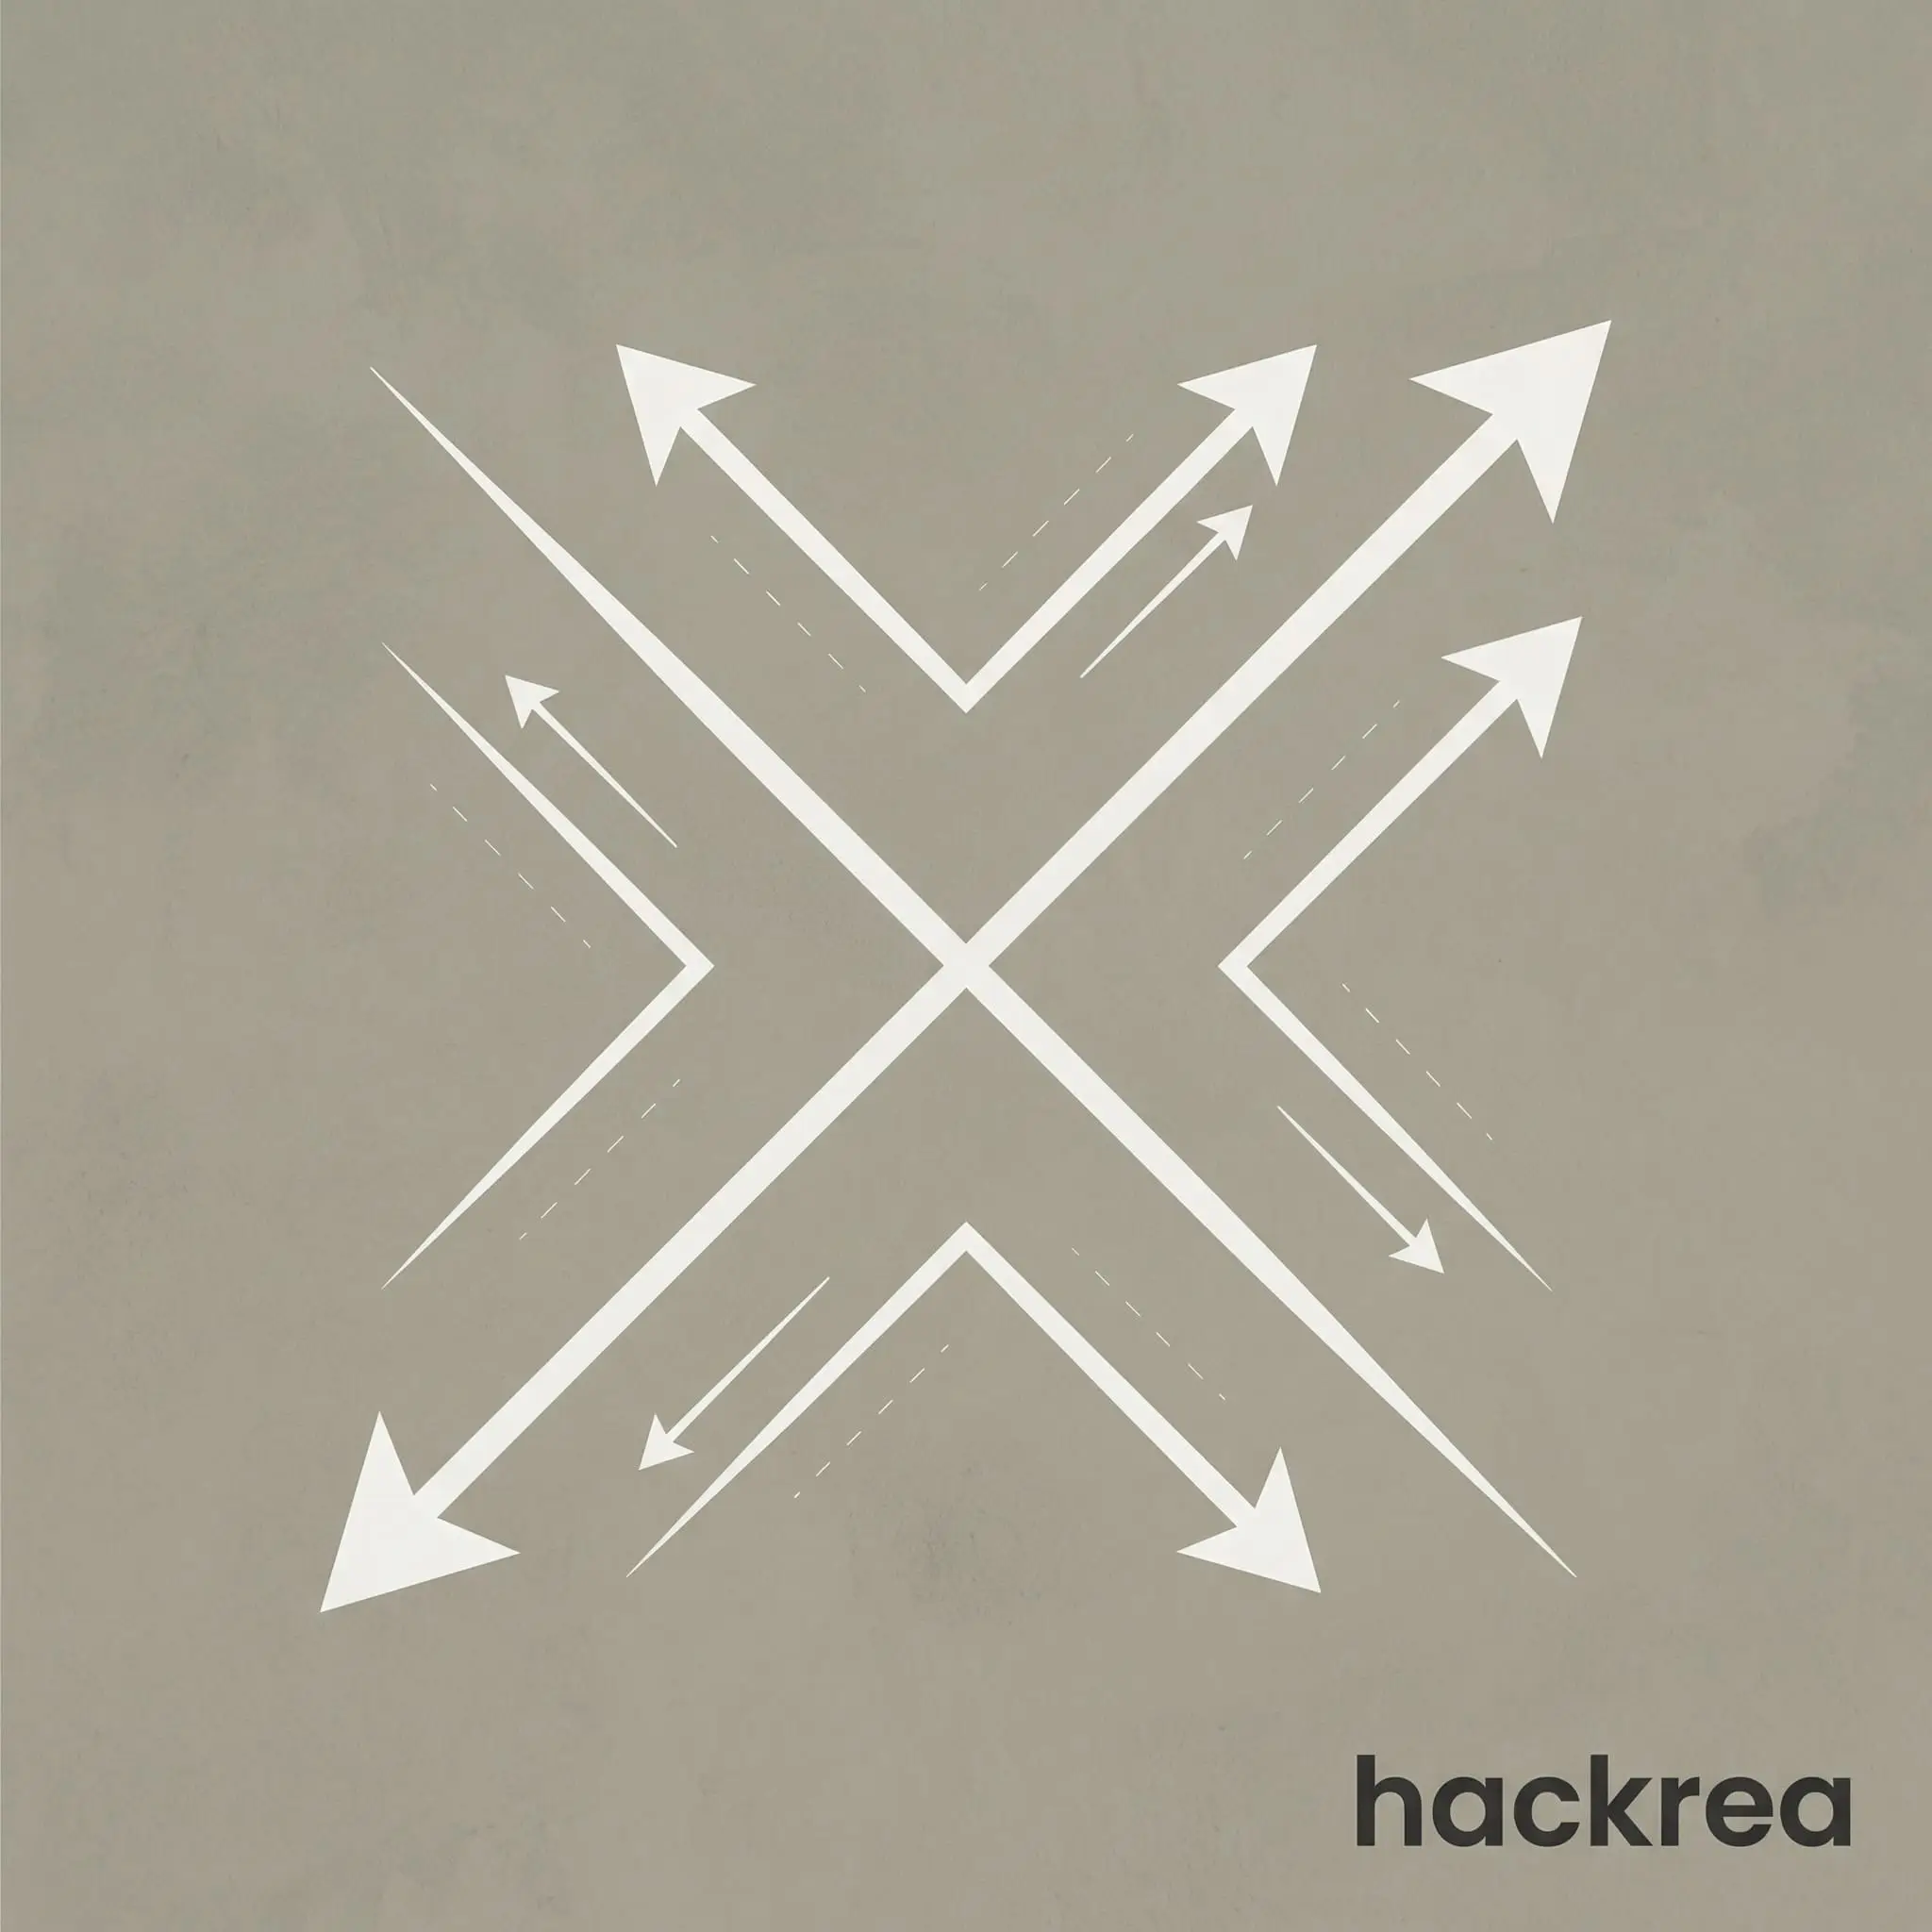
If you paint in straight, vertical lines, you will completely destroy the organic aesthetic. The goal is a multidirectional, cloudy finish.
You must utilize the cross-hatch or crow’s foot motion.
Hold the spalter brush firmly and let the dense bristles do the heavy lifting. Do not press the wooden block against the drywall. Vary the size and angle of your strokes constantly to prevent a repetitive, manufactured pattern.
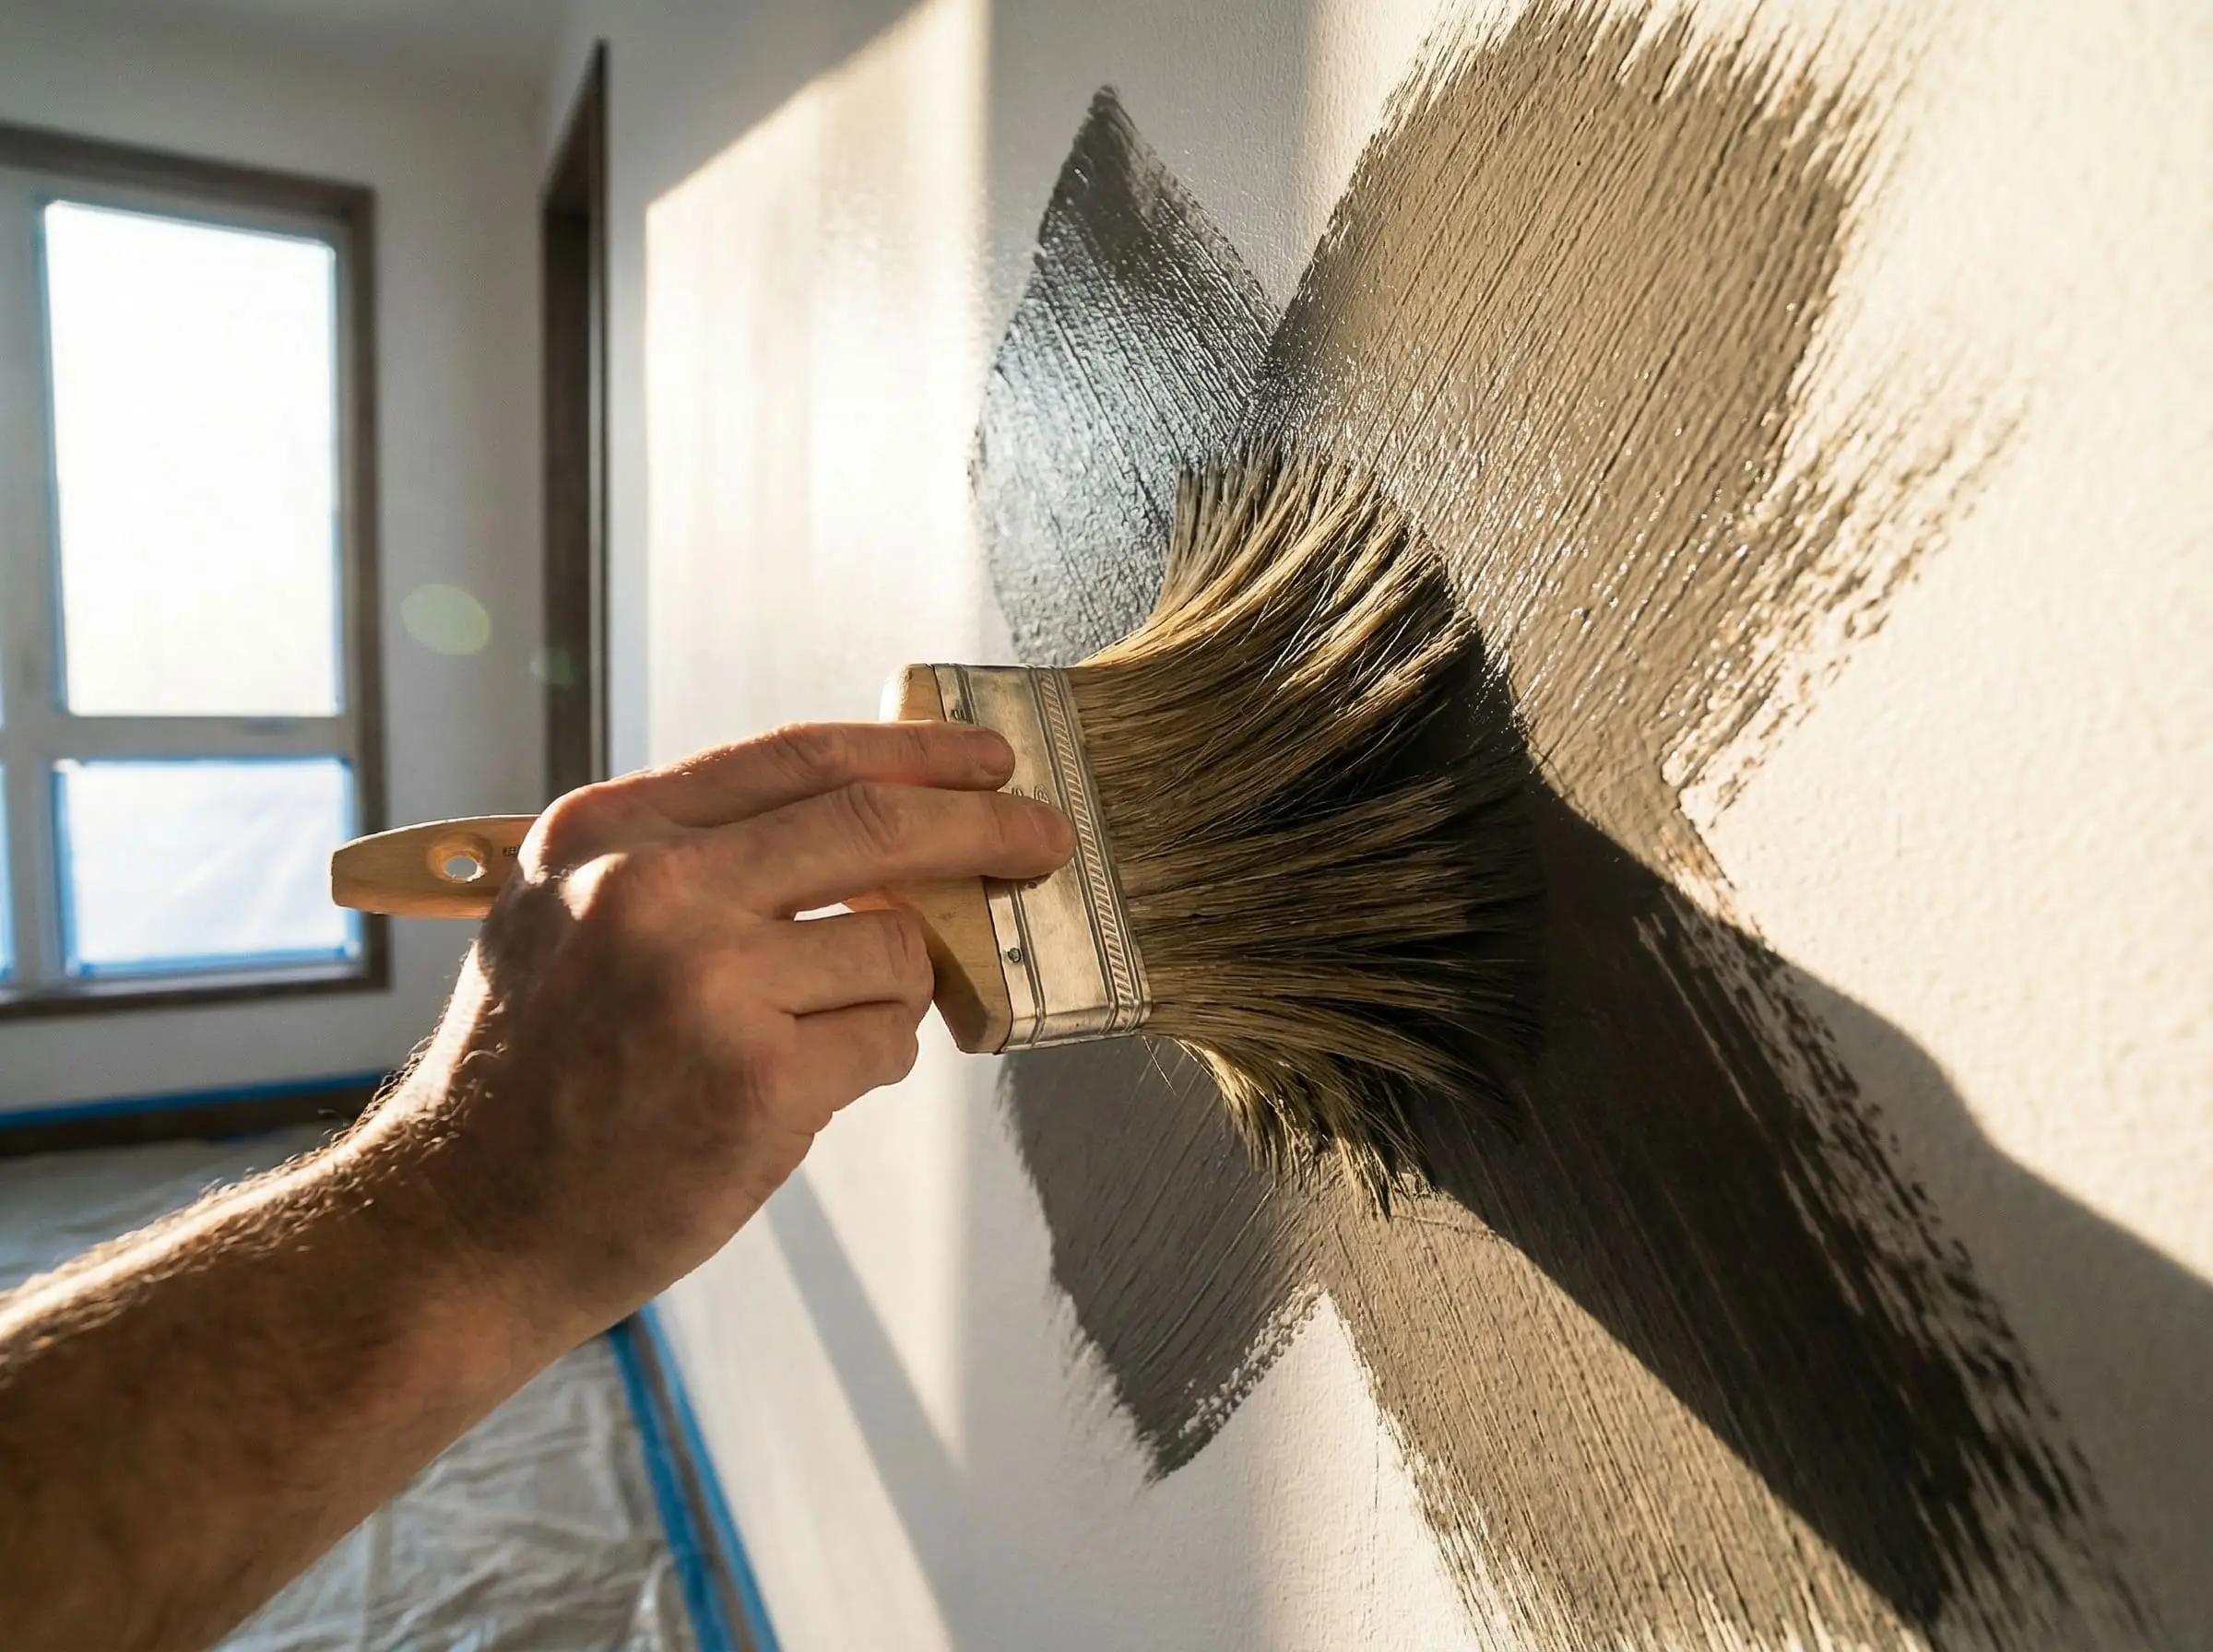
Execute this exact 1-2-3 rhythmic sequence:
- Dip: Submerge only the bottom inch of the bristles into the milky wash. Tap off the excess.
- Strike: Hit the damp wall at a 45-degree angle, dragging the brush to form a loose, sweeping “X” shape.
- Feather: Immediately use the dry tips of the brush to feather out the edges of the “X,” blending the wet paint outward until it dissipates into a soft, translucent cloud.
Step 4: Managing the “Wet Edge” to Prevent Lap Marks
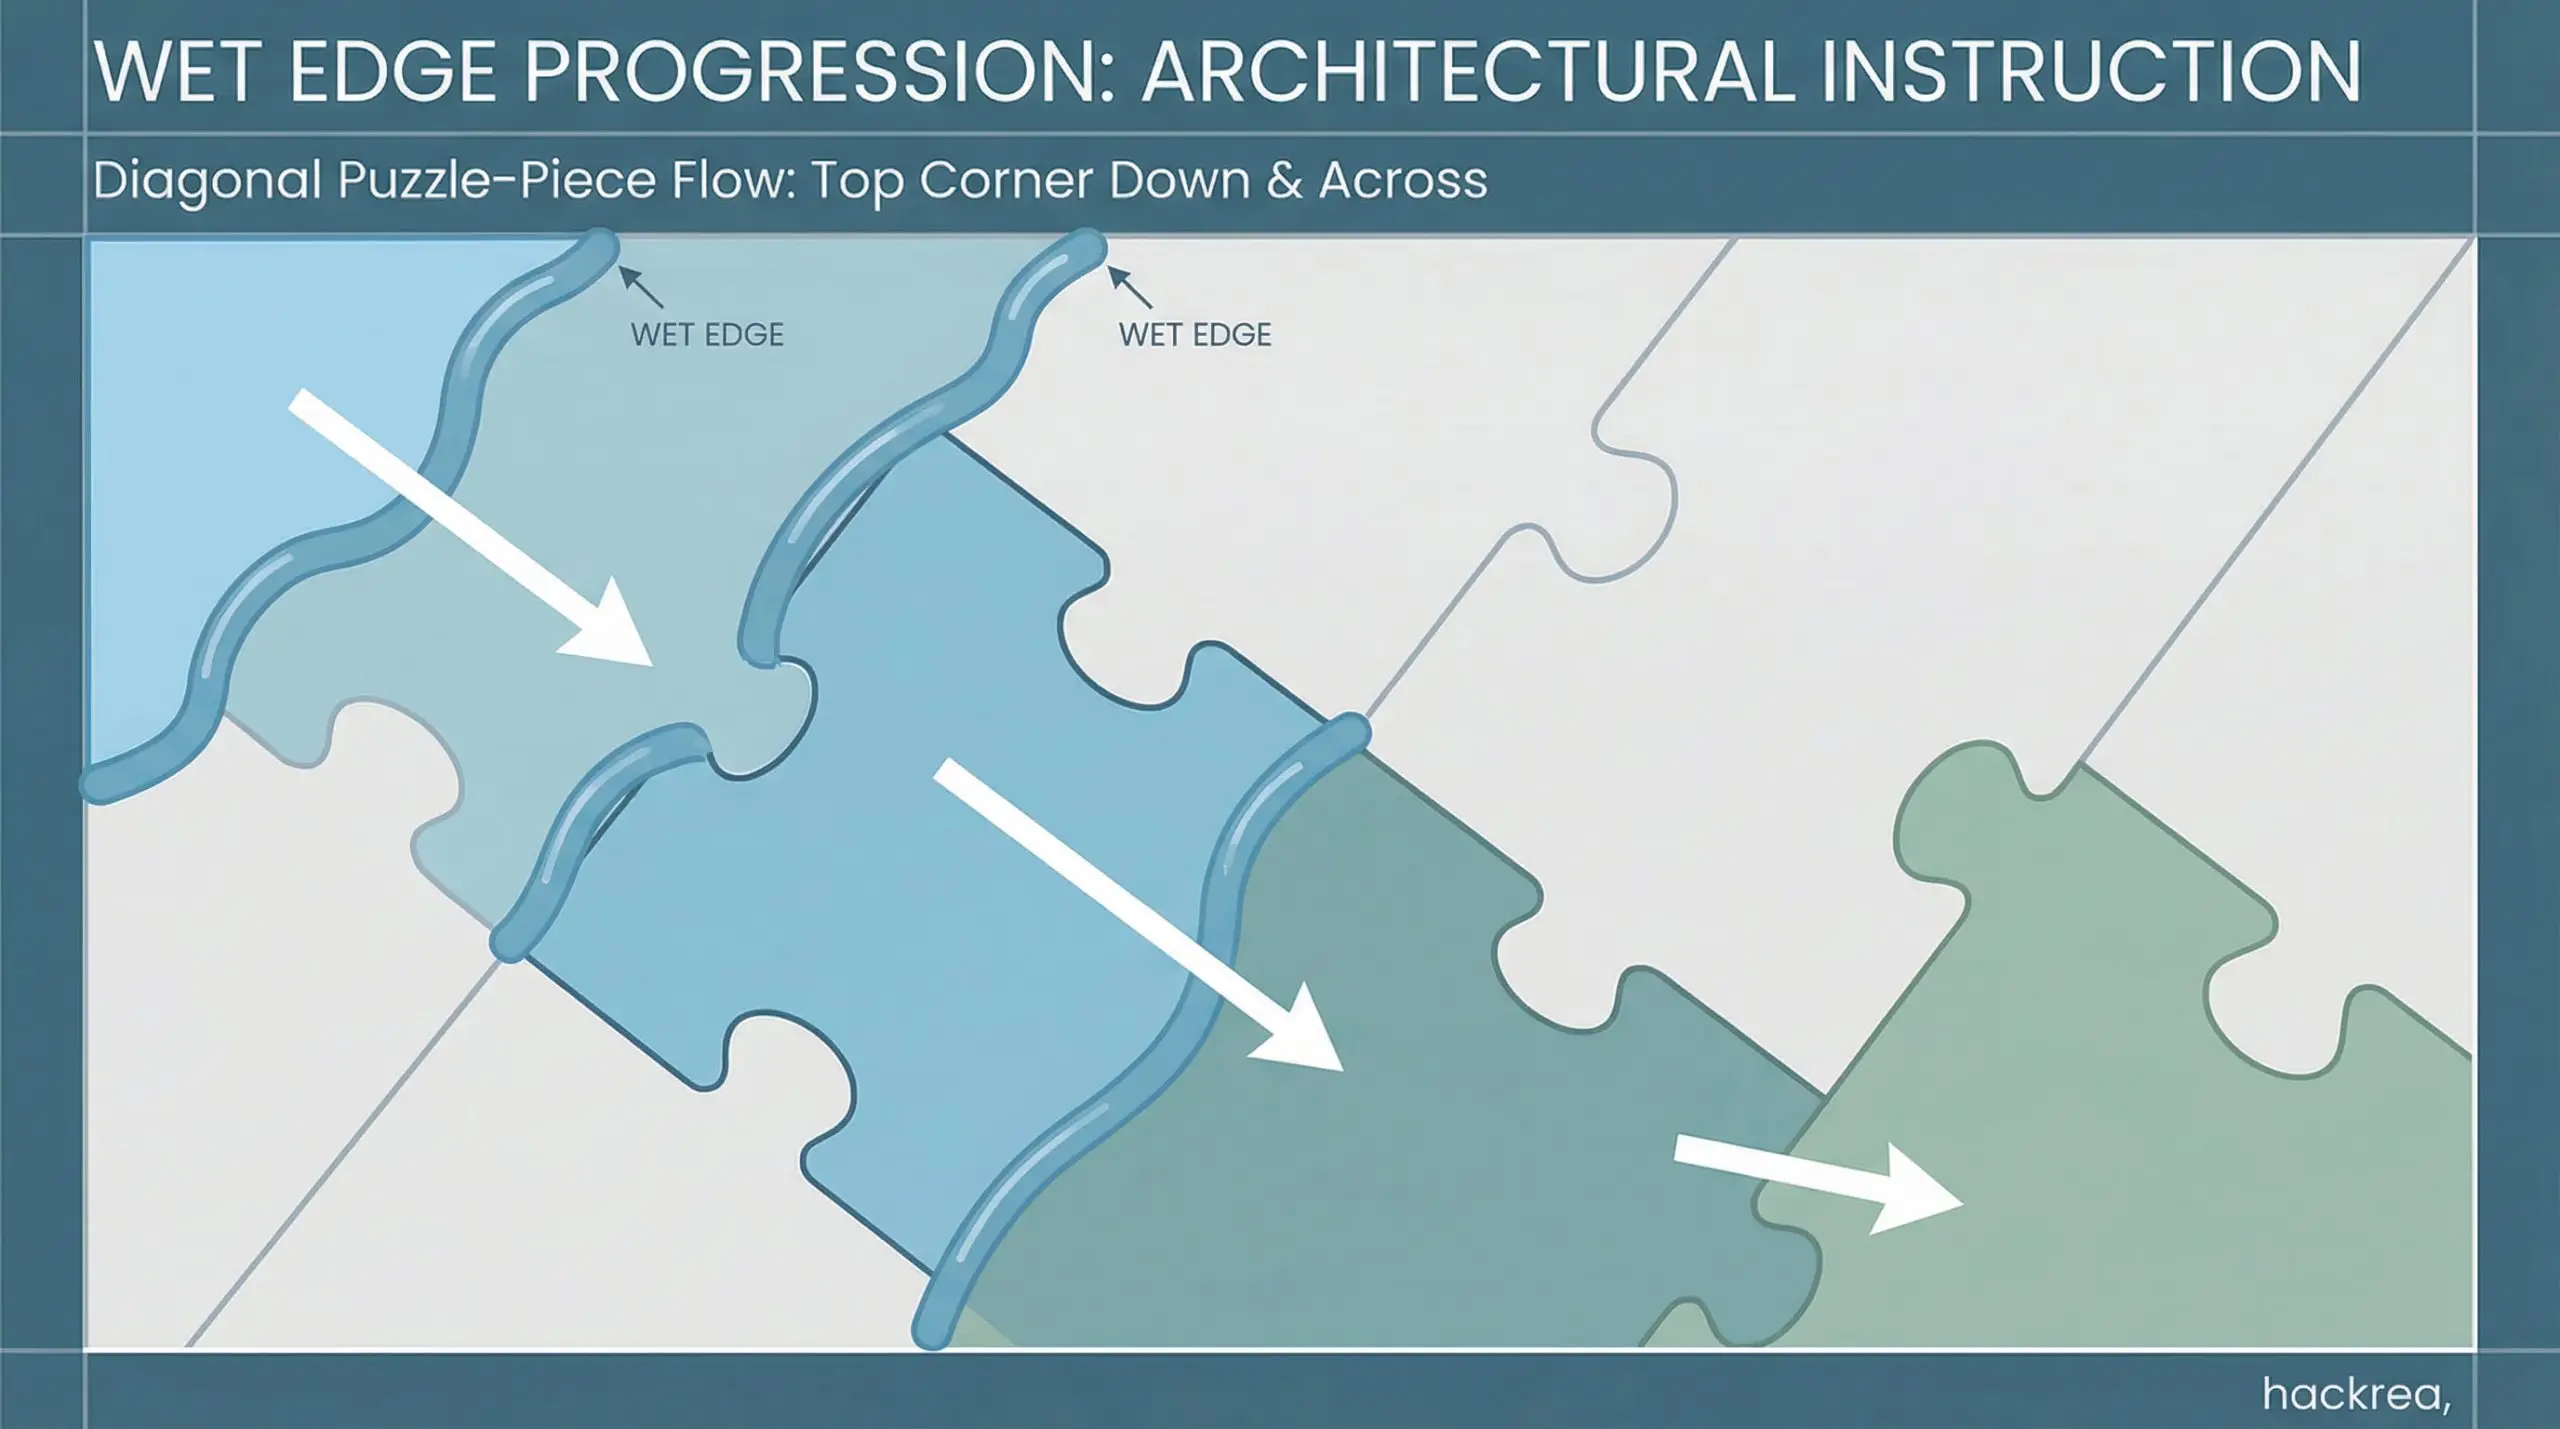
This is the single most critical structural rule of the entire application process. You cannot paint half a wall, take a lunch break, and resume later.
You must maintain a WET EDGE at all times.
If the edge of your painted section dries, the next overlapping brushstroke will double the thickness of the calcium hydroxide, creating a dark, permanent lap mark. To prevent this, move diagonally. Start in the top corner of the room and work your way down and across the wall in an organic, puzzle-piece progression.
Furthermore, do not cut in the perimeter of the entire room first.
If you outline the wall with a brush and let it dry before filling in the center, you will cause severe picture framing. You must cut in your edges simultaneously as you pull the WET EDGE across the main body of the wall. Do not stop until you hit an architectural corner.
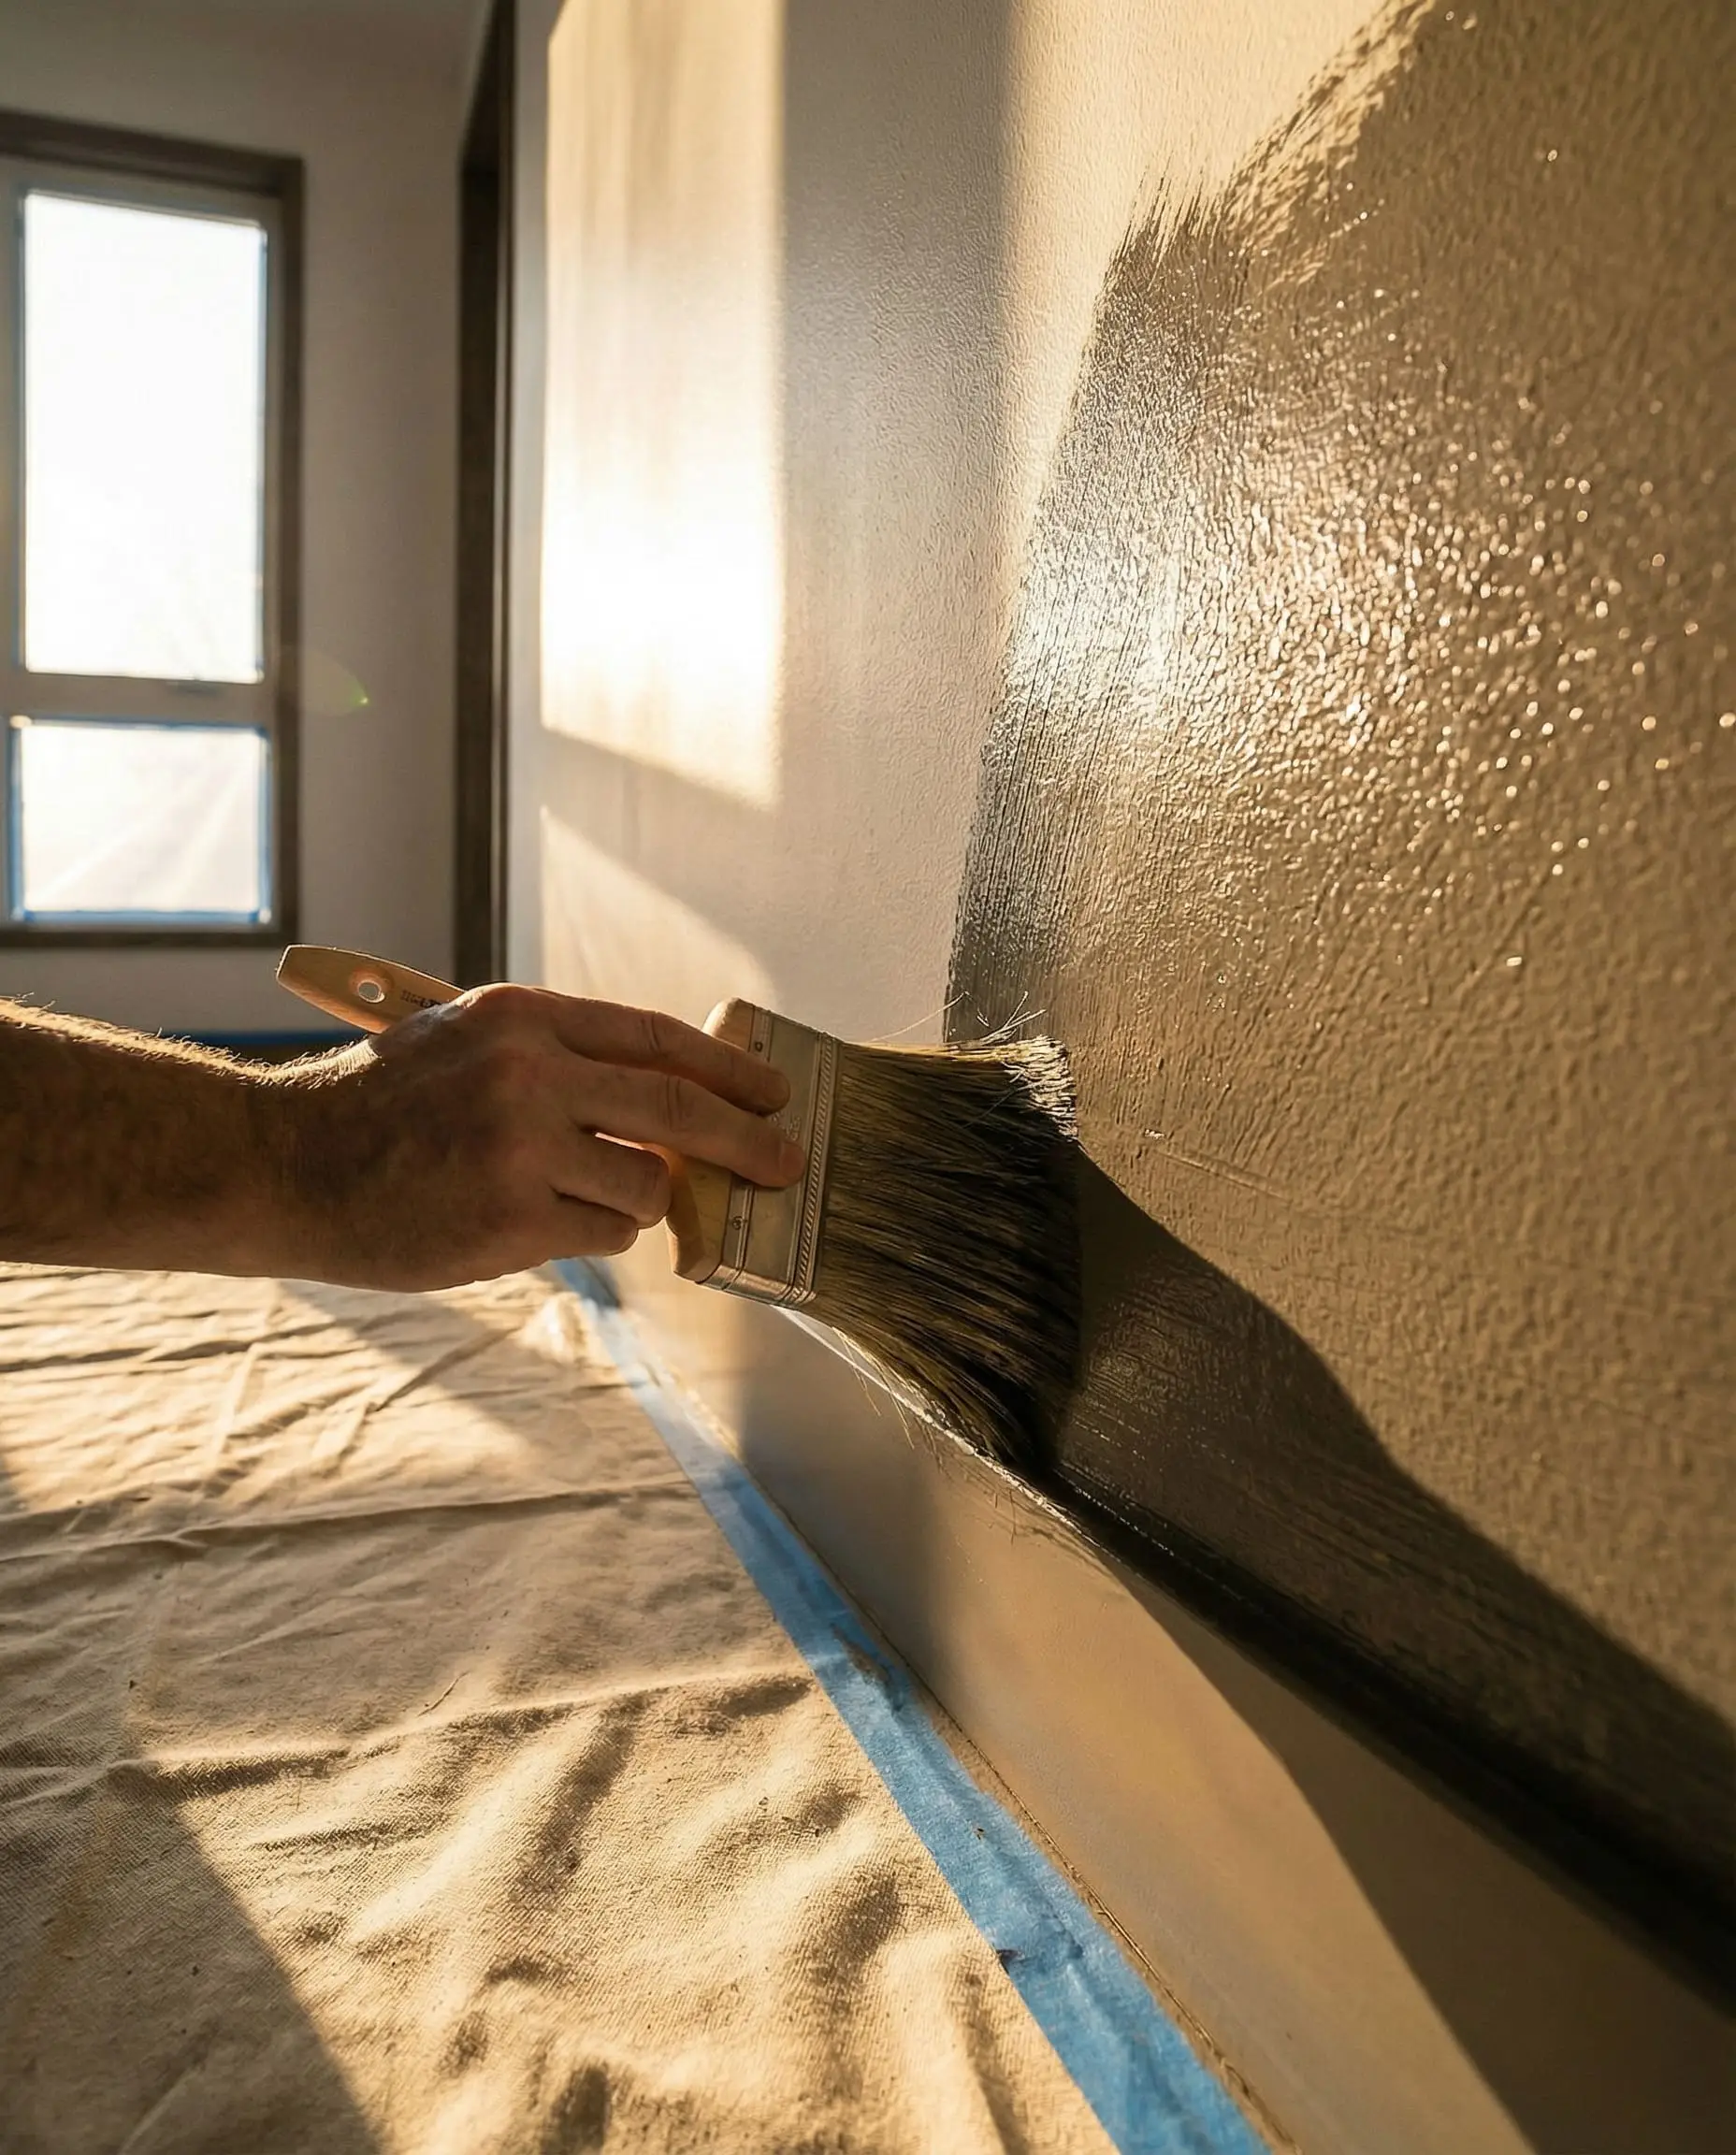
Step 5: The “Ugly” First Coat (Don’t Panic)
Put the brush down. Step back.
Right now, your wall probably looks like a disaster. It is entirely normal to feel a sudden wave of DIY anxiety. When the first coat is roughly 50% dry, it looks terrifyingly patchy. The color will appear drastically uneven, and the wet sections will look intensely dark.
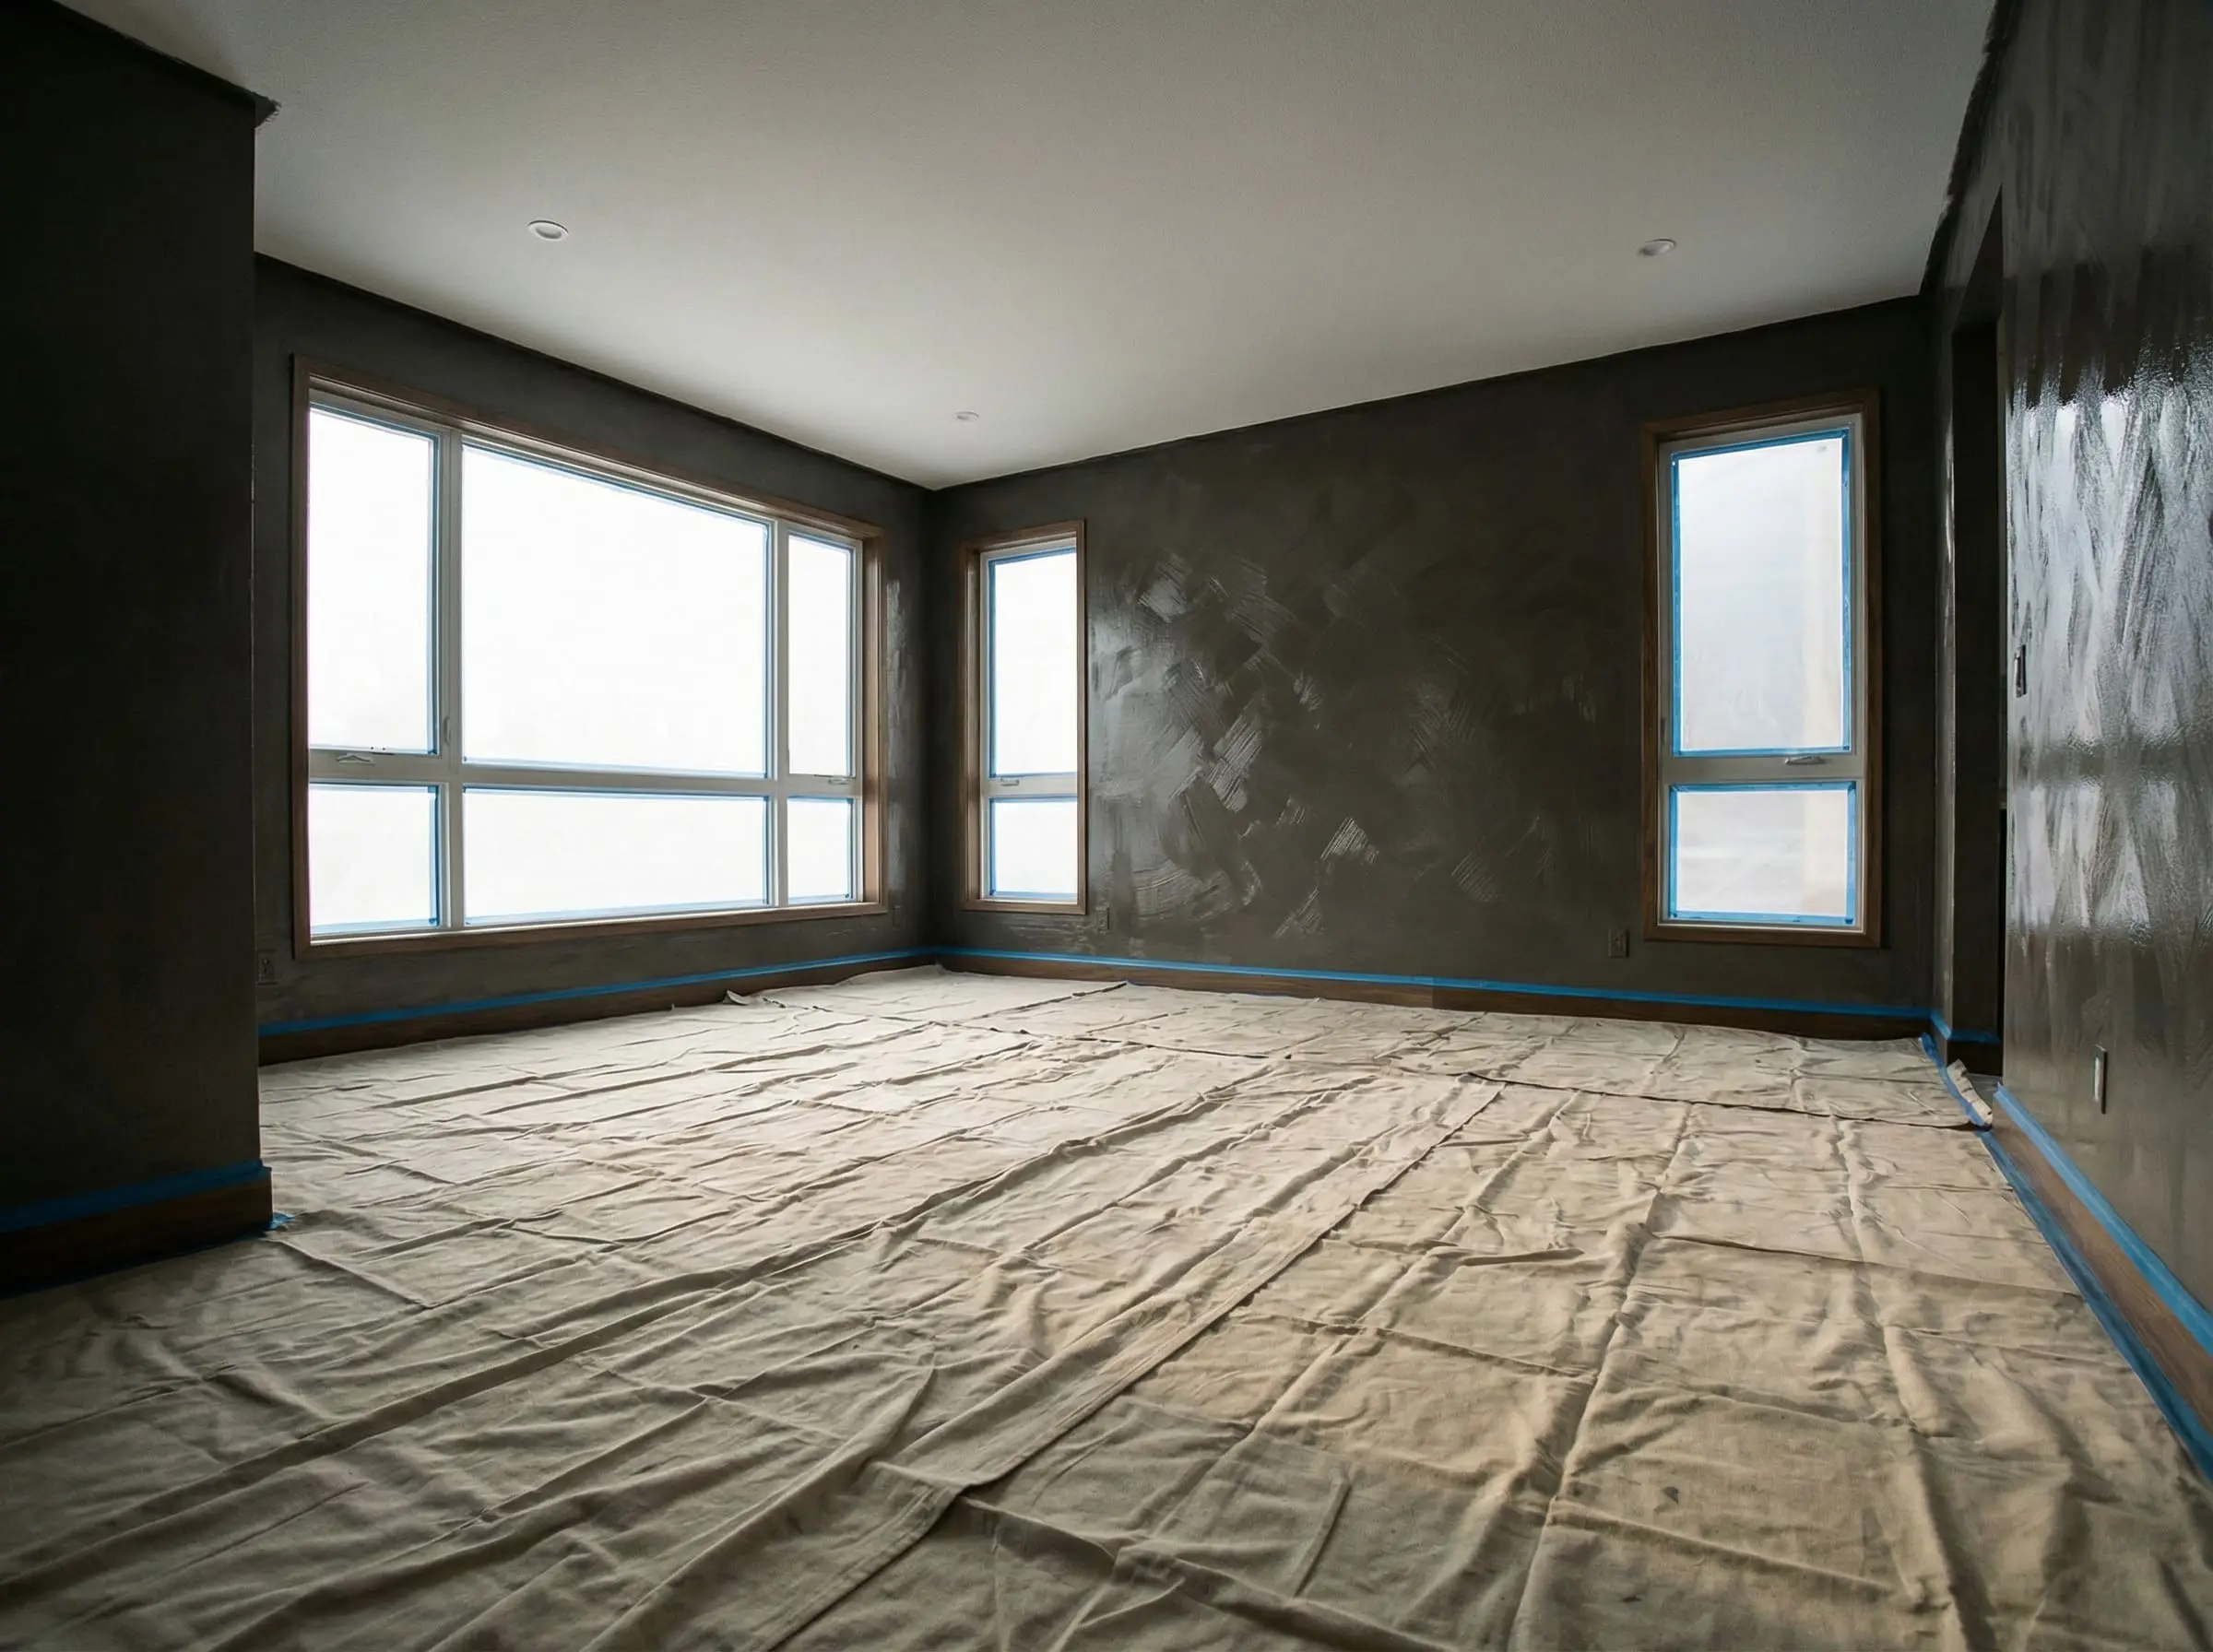
Do not panic. Do not try to fix it.
Limewash dries up to ten times lighter than its wet state. The chaotic, blotchy appearance you are witnessing is simply the natural, uneven rate of the calcification process reacting to the ambient humidity in your room.
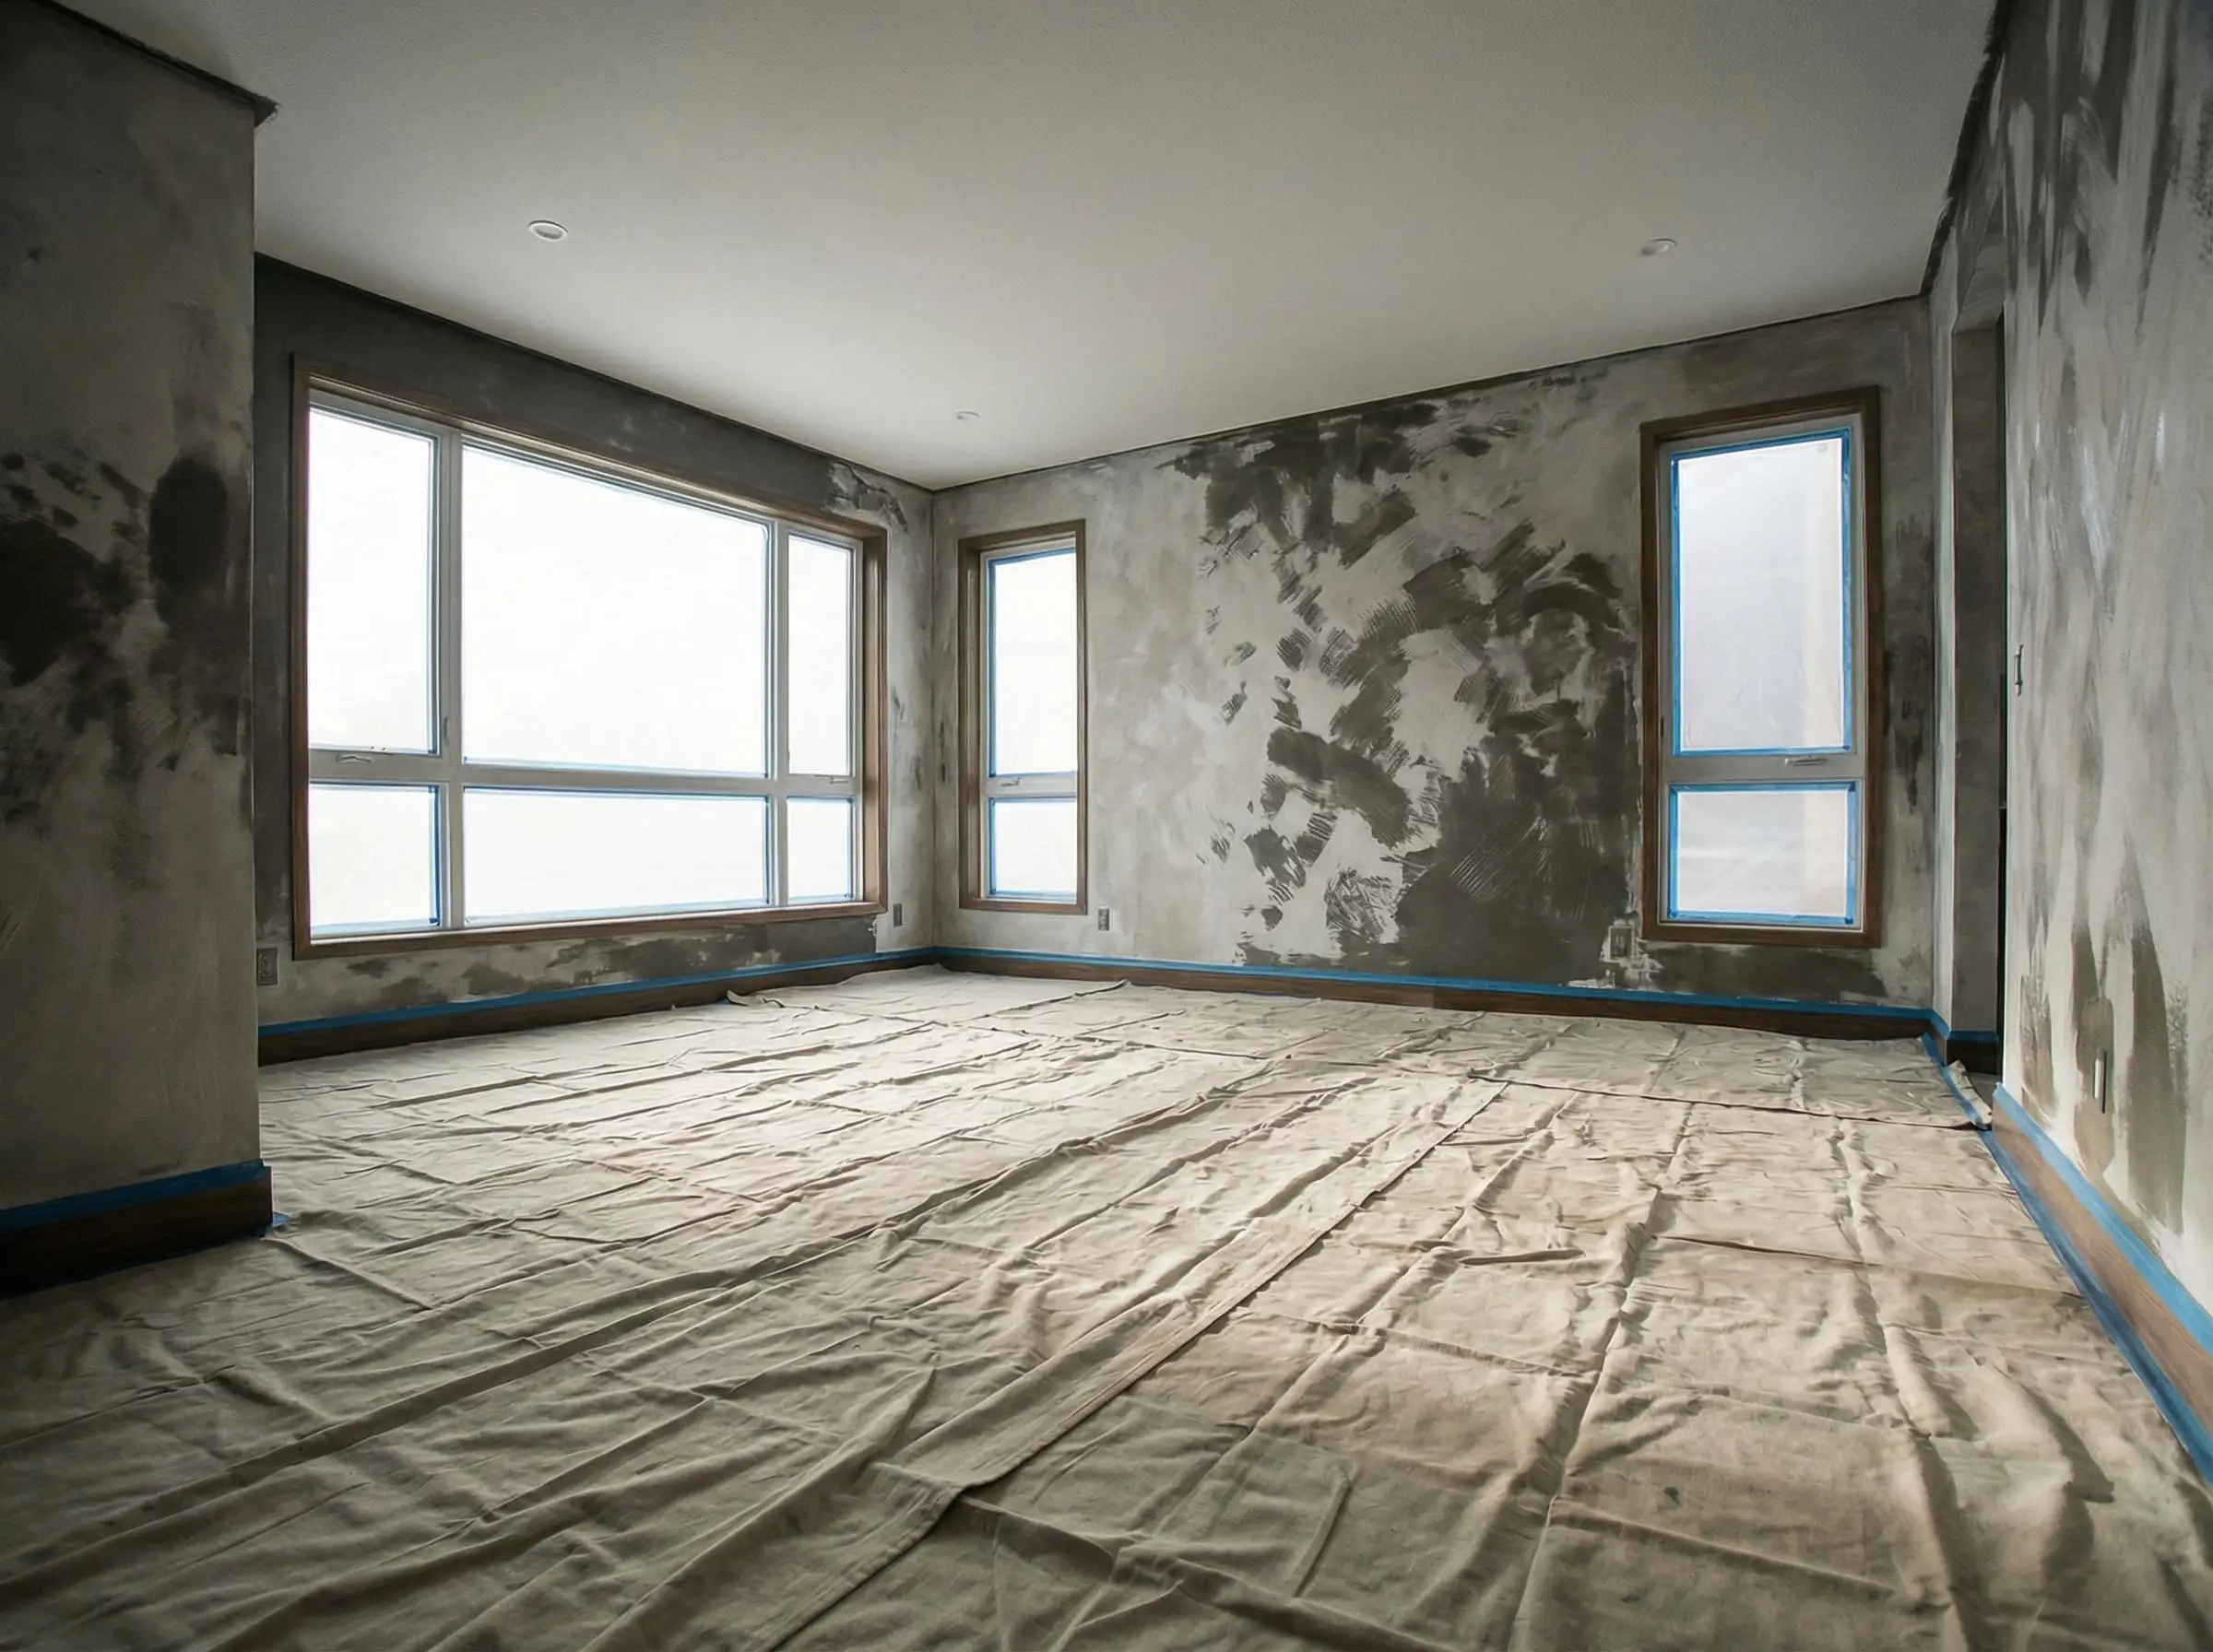
You must walk away.
Let the chemical reaction run its course undisturbed. Allow the first coat to cure completely, which typically requires a strict 12 to 24 hours depending on your local climate. It will soften beautifully as it hardens.
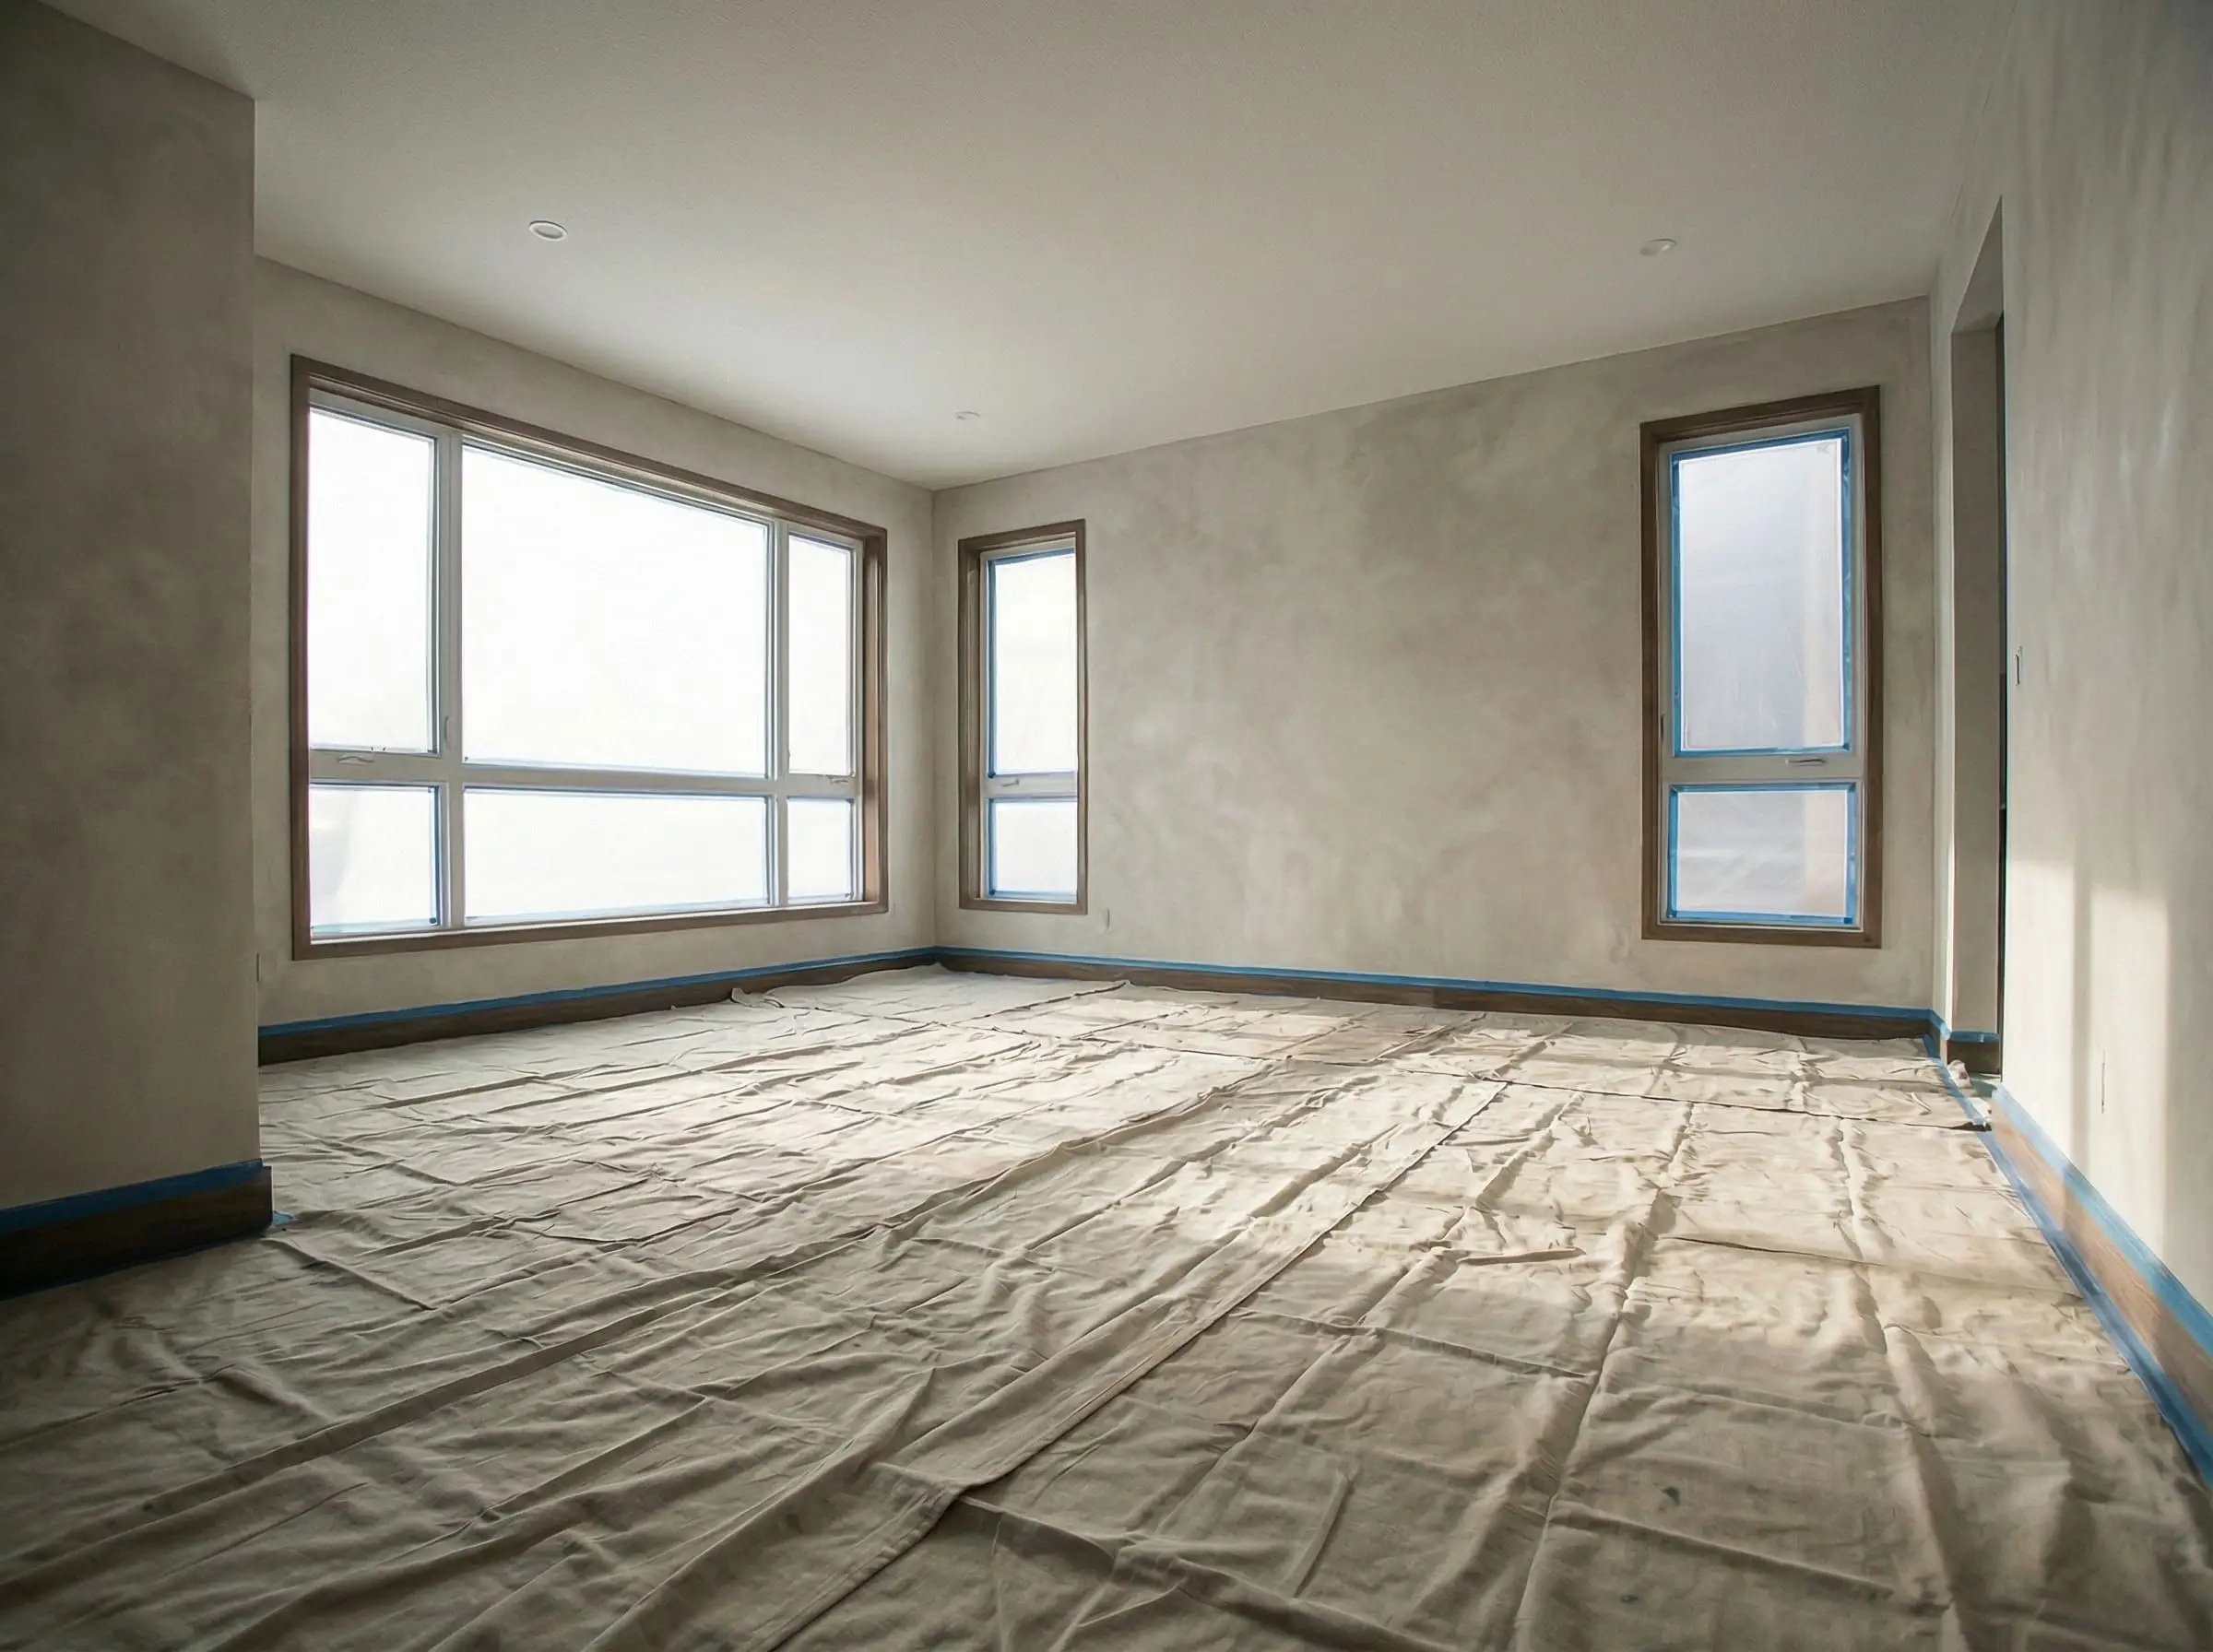
Step 6: The Second Coat and Final Clouding
Once the foundation is fully cured, the true artistry begins. The second coat is where the raw chemistry transforms into pure atmosphere.
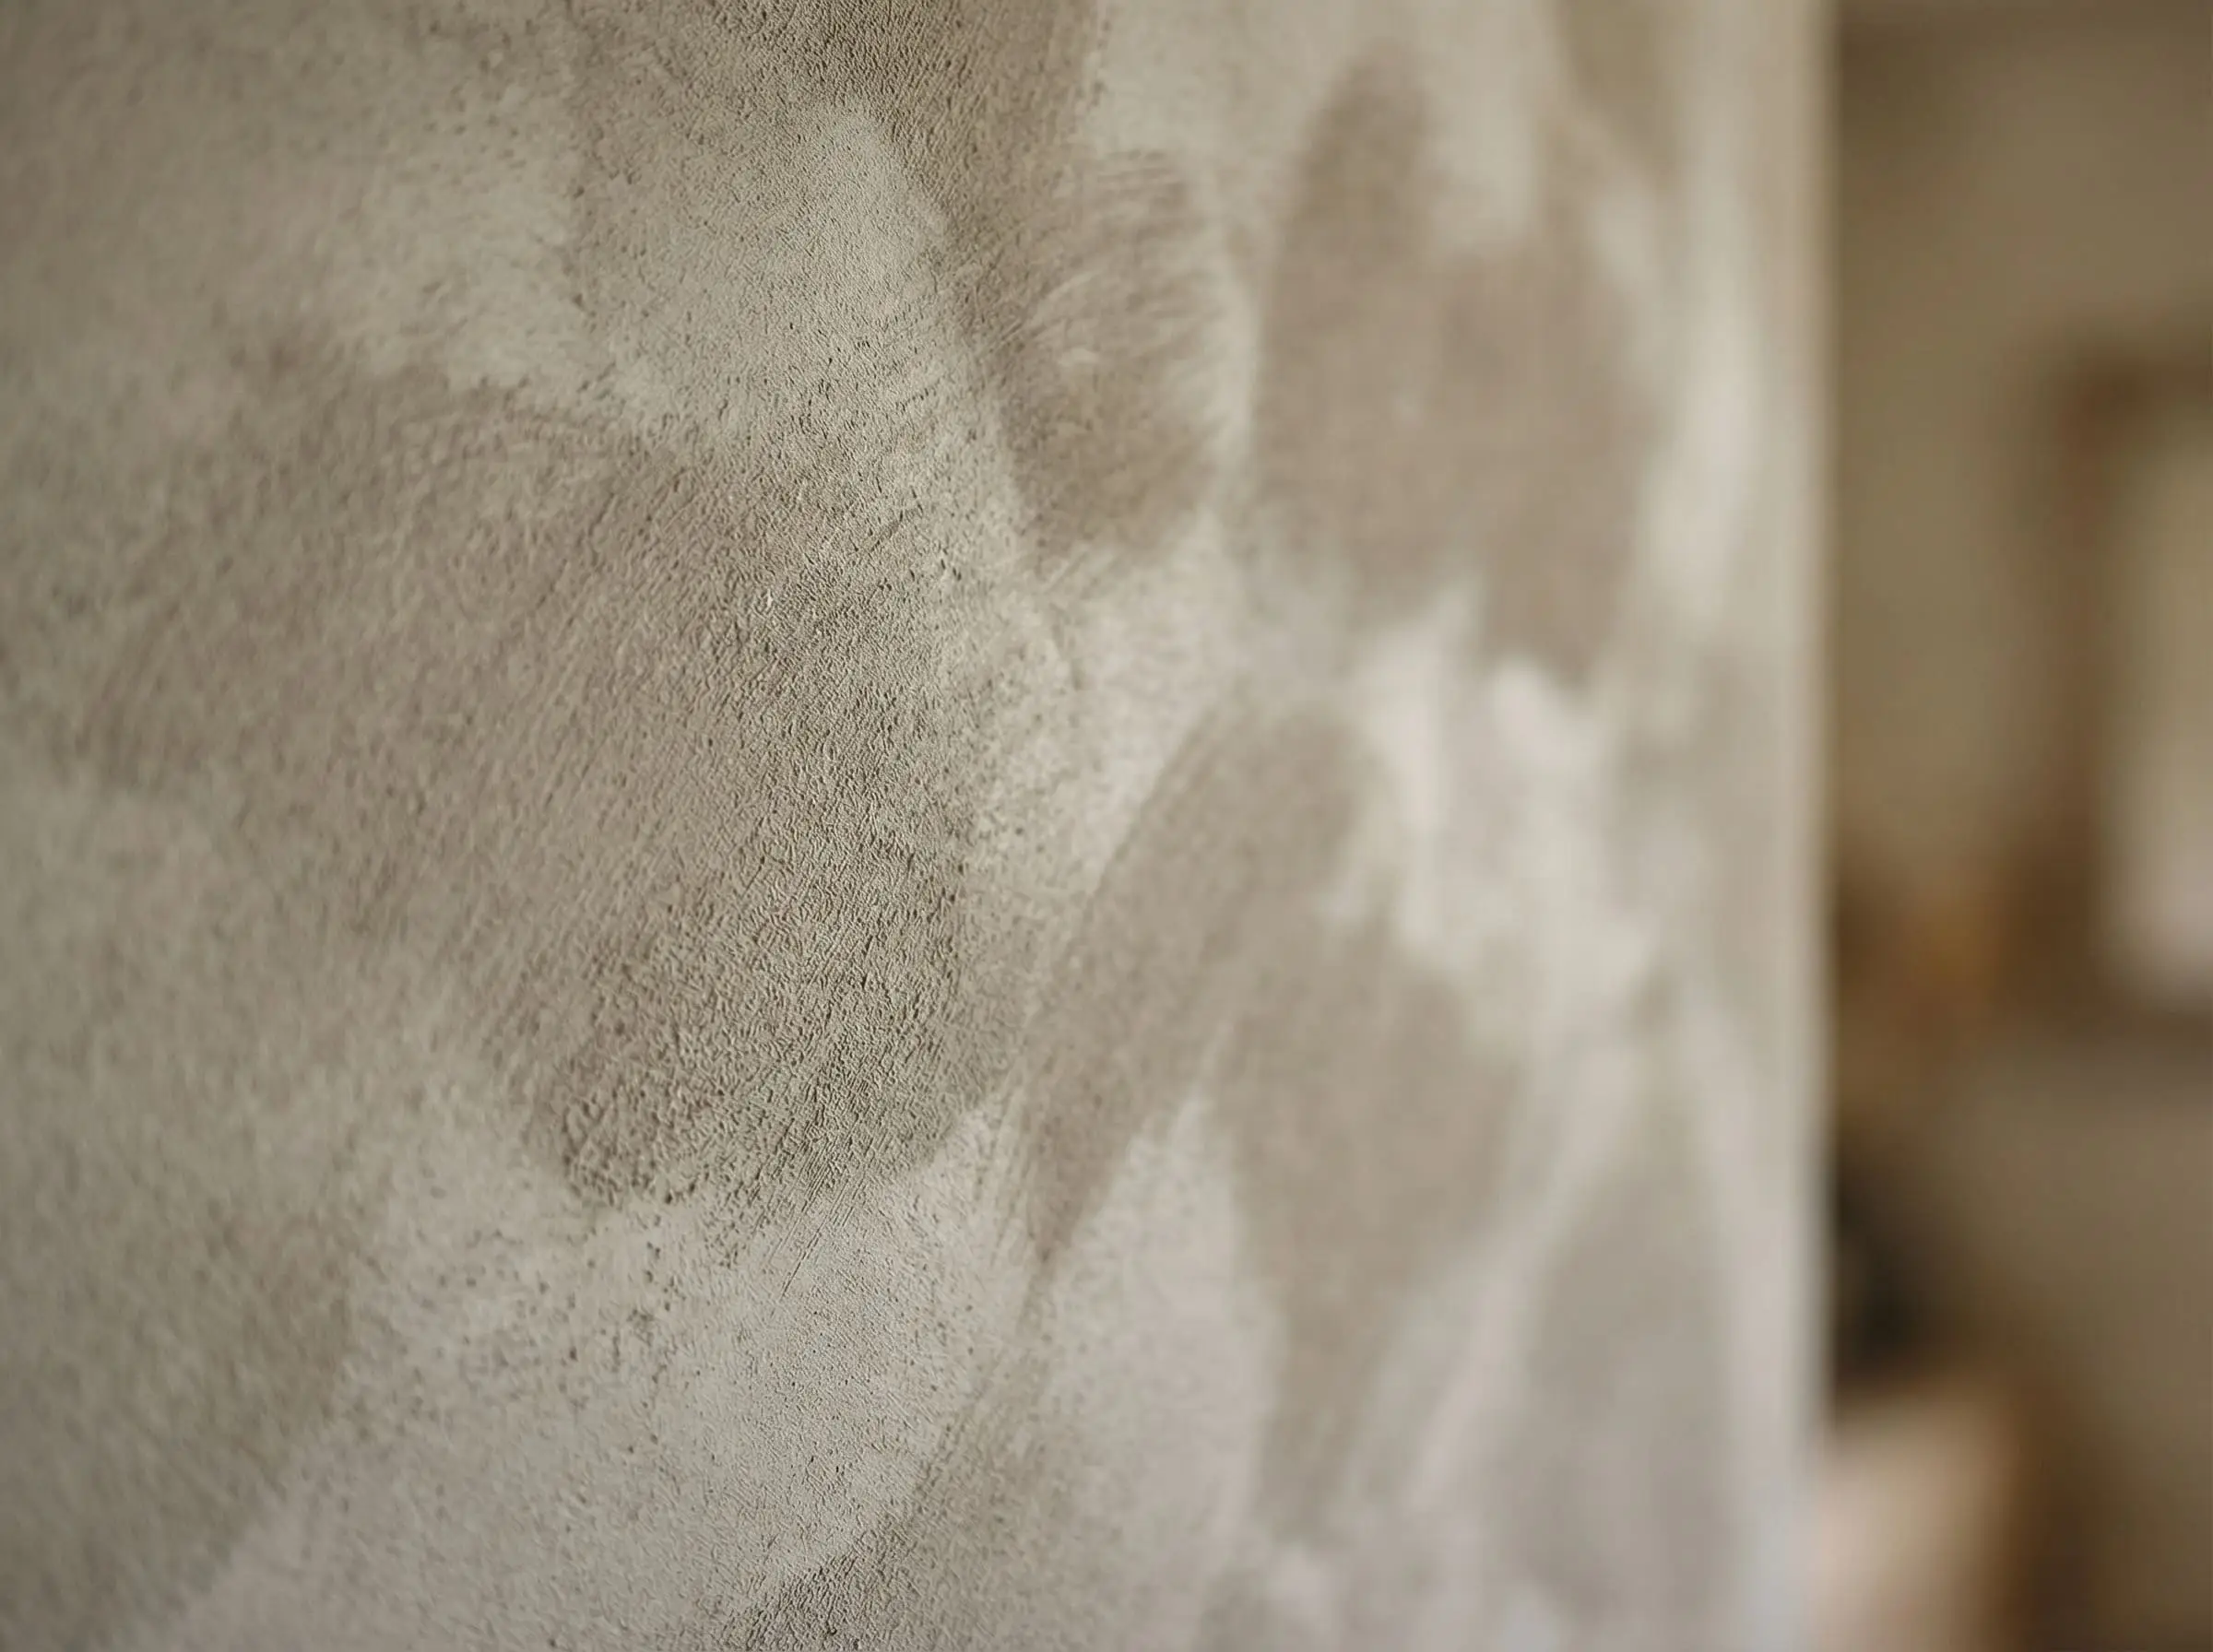
Lightly mist the wall with water once again. Apply the second coat using the exact same rhythmic, cross-hatch methodology. As this subsequent layer overlaps the first, it fills in the microscopic porous gaps, building a multidimensional, suede-like finish.
This is how the coveted clouding effect is born.
The overlapping strokes create subtle, sweeping tonal variations that catch the light, giving the flat drywall the soulful, lived-in depth of century-old European plaster. The color will finally achieve its true, grounded richness. While two coats are the industry standard for a flawless wabi-sabi aesthetic, applying a highly diluted third coat will yield an even more profound, velvety patina.
Phase 3: Curing and Sealing
The physical painting is finished, but the structural cure has just begun. Limewash requires several days to fully harden into stone. If you live in a particularly dry climate, lightly misting the wall with clean water once a day for the next 48 hours will actively strengthen the chemical bond.
Now, you must make a final decision regarding durability.

Troubleshooting Common Limewash Mistakes
Even with meticulous preparation, the volatile nature of mineral applications can occasionally lead to structural defects. When dealing with live chemistry, variables like ambient humidity, substrate temperature, and applicator fatigue can alter the final result.
Do not tear down the drywall if you encounter an error.
Most aesthetic and physical failures can be rectified with precise, targeted corrections. The key is accurately diagnosing the root cause of the failure before applying more material. Below is our definitive diagnostic matrix for resolving the most frequent application disasters.
| The Structural Problem | The Chemical/Mechanical Cause | The Actionable Solution |
|---|---|---|
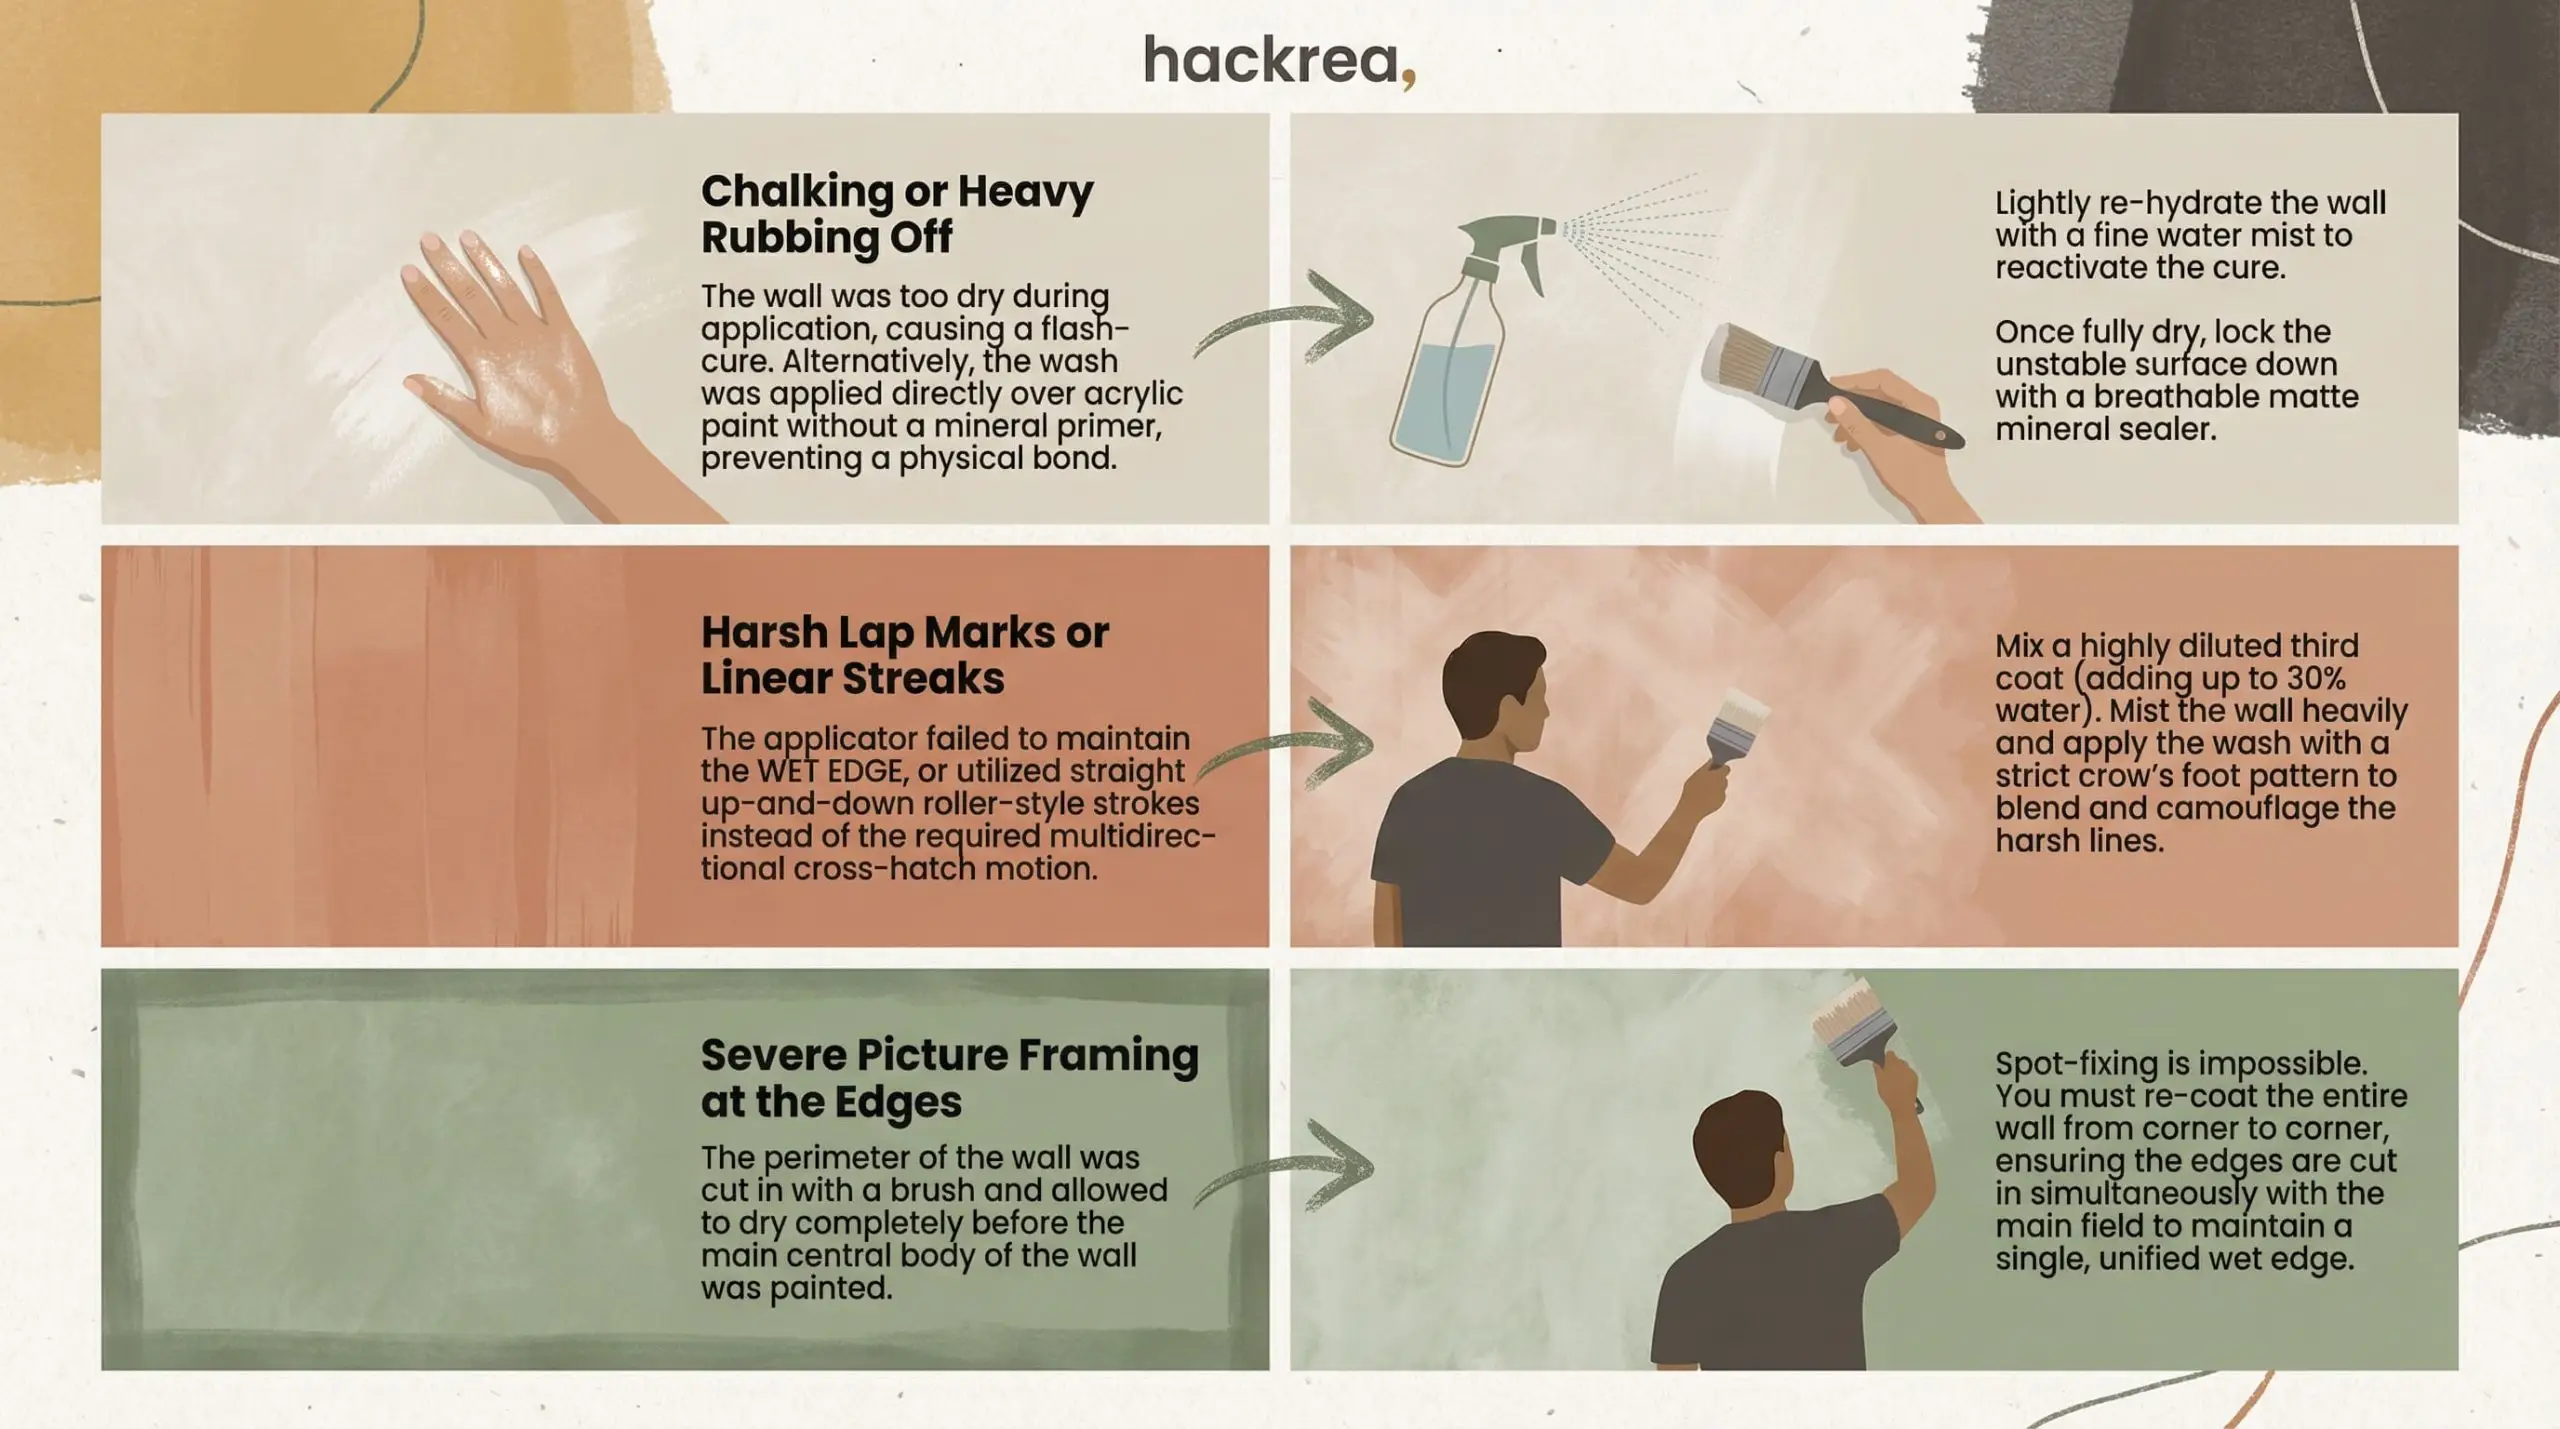
| Chalking or Heavy Rubbing Off | The wall was too dry during application, causing a flash-cure. Alternatively, the wash was applied directly over acrylic paint without a mineral primer, preventing a physical bond. | Lightly re-hydrate the wall with a fine water mist to reactivate the cure. Once fully dry, lock the unstable surface down with a breathable matte mineral sealer. |
| Harsh Lap Marks or Linear Streaks | The applicator failed to maintain the WET EDGE, or utilized straight up-and-down roller-style strokes instead of the required multidirectional cross-hatch motion. | Mix a highly diluted third coat (adding up to 30% water). Mist the wall heavily and apply the wash with a strict crow’s foot pattern to blend and camouflage the harsh lines. |
| Severe Picture Framing at the Edges | The perimeter of the wall was cut in with a brush and allowed to dry completely before the main central body of the wall was painted. | Spot-fixing is impossible. You must re-coat the entire wall from corner to corner, ensuring the edges are cut in simultaneously with the main field to maintain a single, unified wet edge. |
Execute these fixes with the same patience as the initial application.
Top Limewash Brands: A Quick Artisan’s Review
The boutique mineral paint market has exploded, but not all buckets are formulated equally. As a master contractor, I rely on a specific tier of manufacturers who respect the traditional chemistry while offering modern reliability.
Here is our rapid-fire technical assessment of the top three industry leaders.
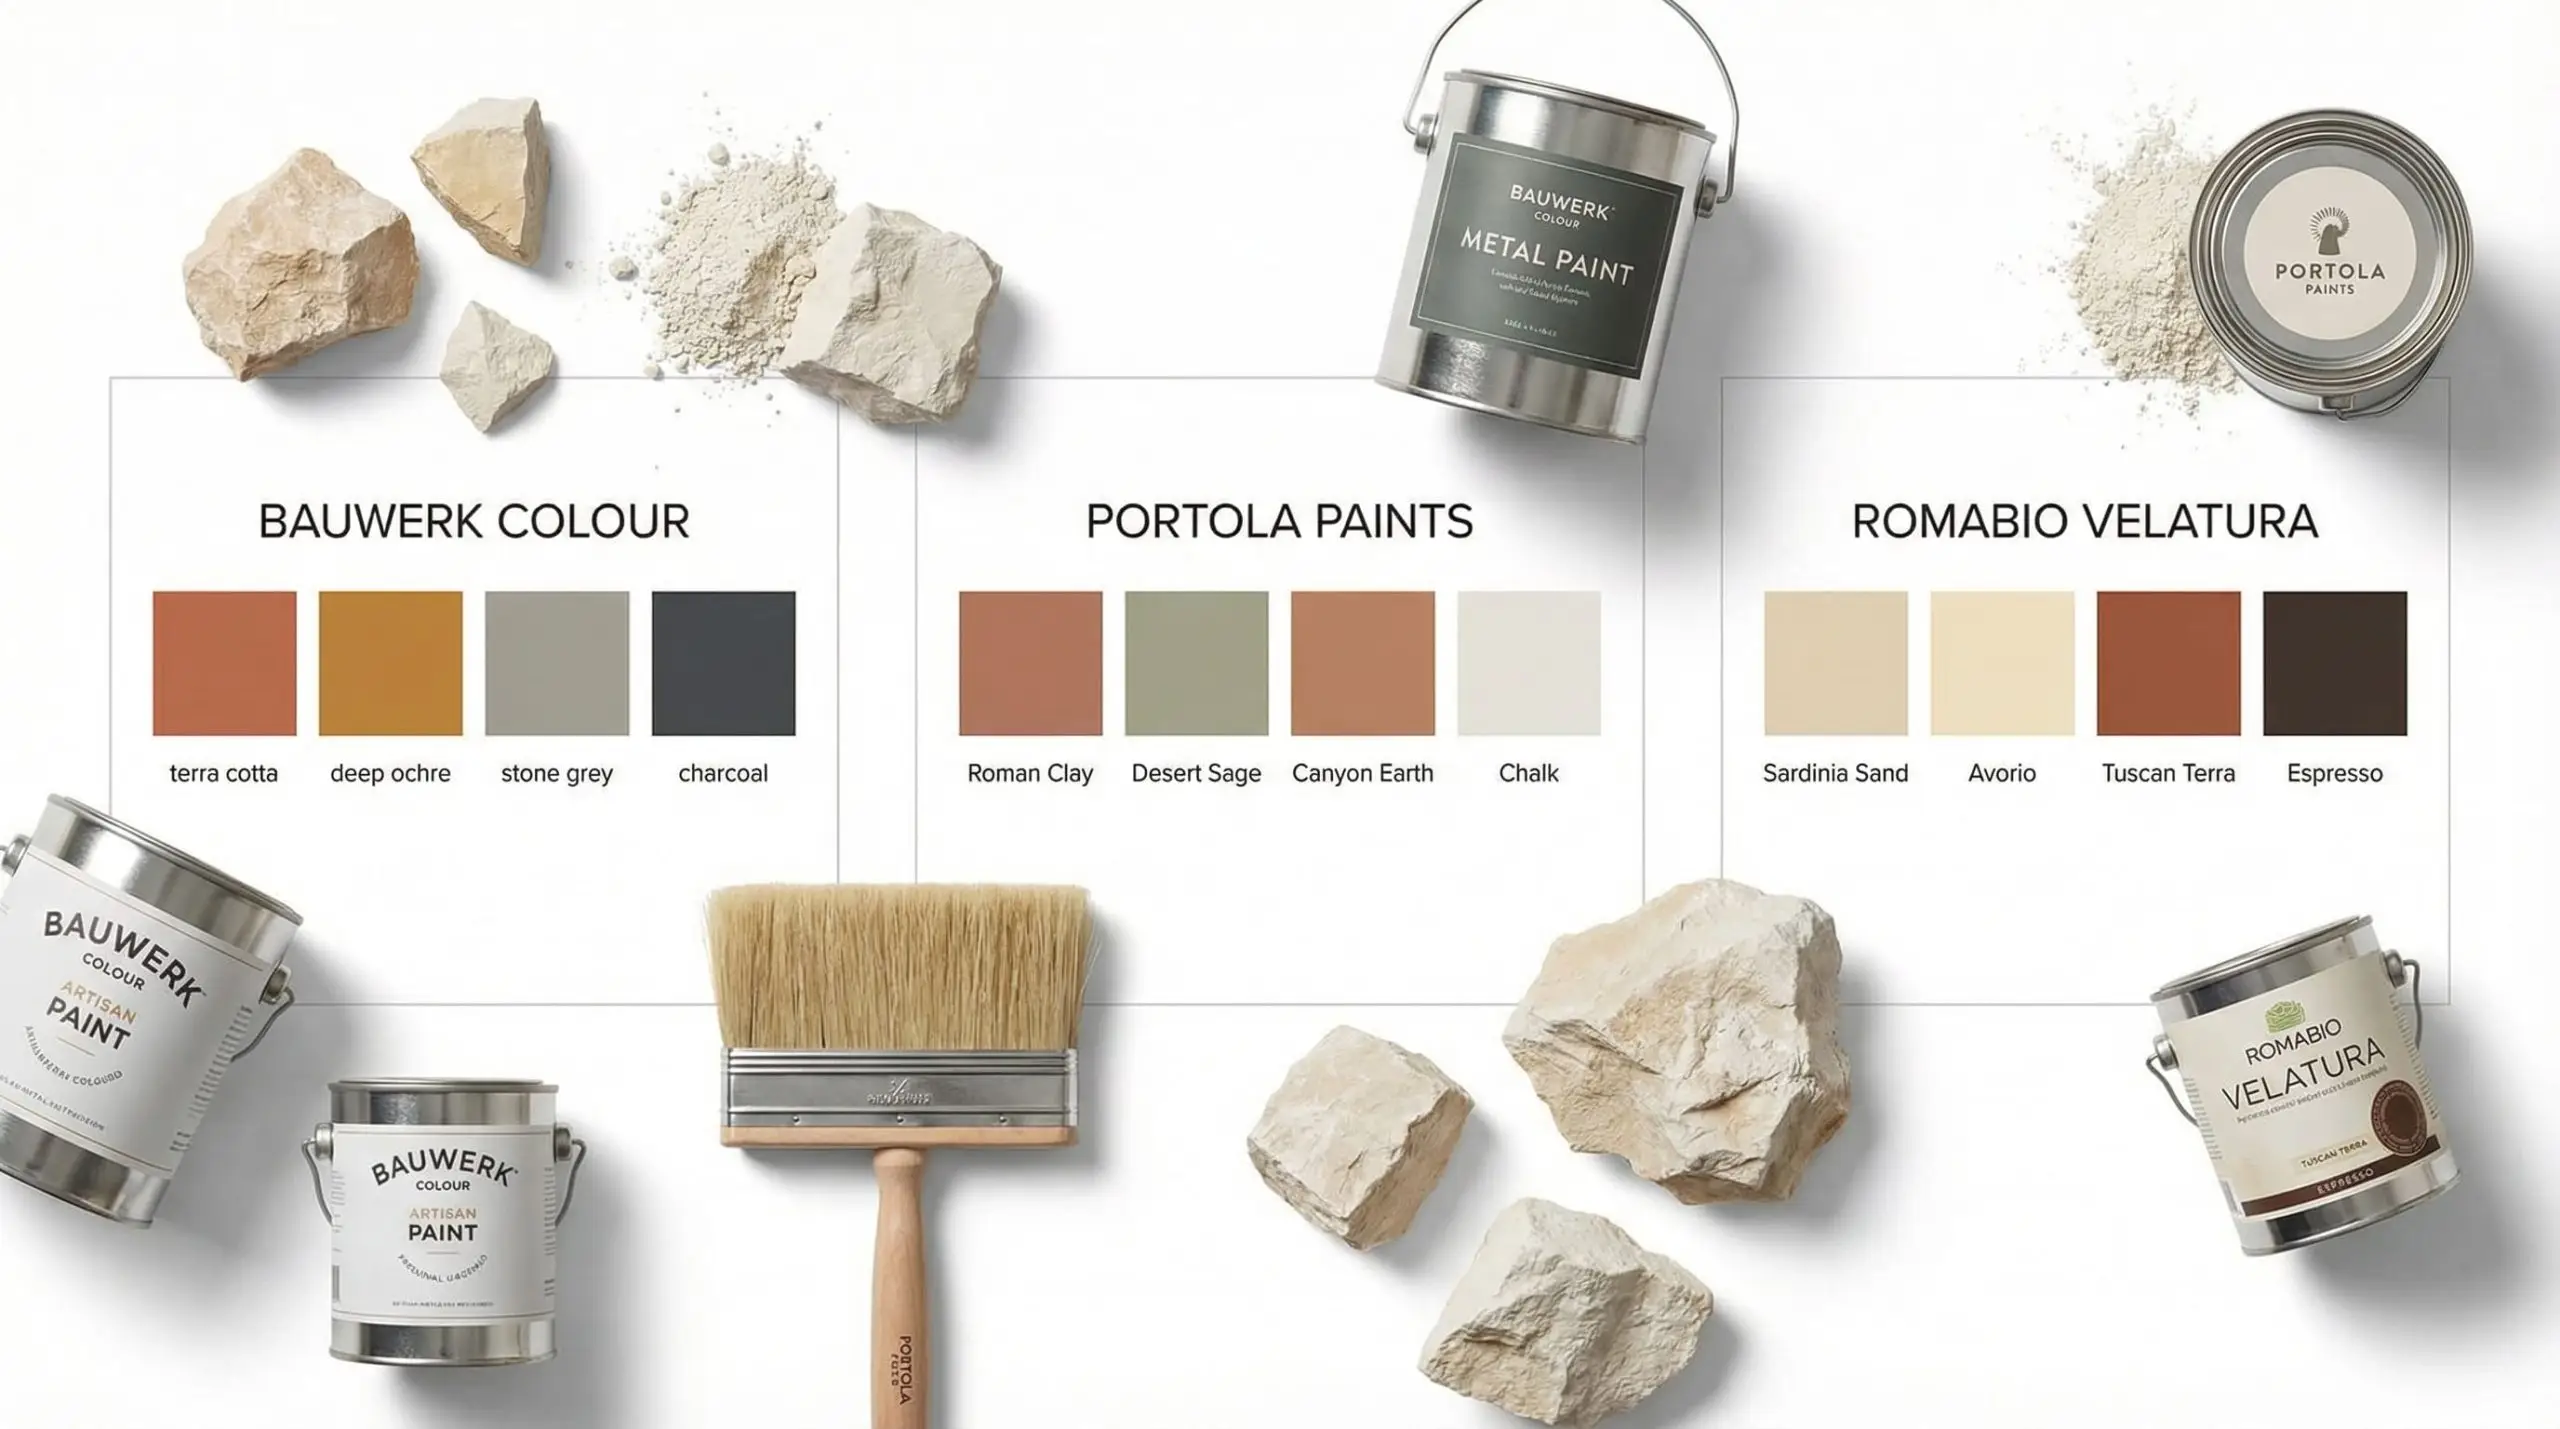
- Bauwerk Colour: Formulated with an incredibly thin, highly traditional consistency. It requires meticulous brush control but delivers an exceptionally authentic, translucent patina.
- Ideal For: Raw, unpainted masonry, brick, and advanced applicators seeking the largest spectrum of organic colorways.
- Portola Paints: Dominating the US market, this brand offers a slightly thicker, more forgiving viscosity right out of the bucket. Their pigment loads produce deeply rich, saturated earth tones that anchor a room instantly.
- Ideal For: High-end residential interiors and achieving deep, moody, dramatic aesthetics.
- Romabio Velatura: Backed by centuries of Italian heritage, their formulation is practically bulletproof. Their proprietary mineral primer system is the most reliable bonding agent in the industry, drastically reducing the margin for DIY error.
- Ideal For: First-time applicators and flawless transitions over previously painted, high-gloss acrylic drywall.
Select the formulation that matches your specific substrate and skill level.
The Long-Term Maintenance Matrix
A true artisan considers the lifespan of their work long after the tools are cleaned. Maintaining this finish requires a shift in your standard housekeeping protocols.
You cannot scrub an unsealed limewash wall.
If you attack a scuff mark with a wet, abrasive sponge and chemical cleaners, you will literally wipe the crushed limestone off the drywall, leaving a glaring bald spot. For minor dust, use a dry microfiber cloth or a soft vacuum brush attachment. If the wall sustains a heavy scuff or permanent stain, the only structurally sound fix is a highly diluted touch-up wash. Keep a small mason jar of your leftover, diluted paint specifically for dabbing over future blemishes.
You have now mastered the chemical realities and the physical mechanics of the craft.

By respecting the mineral primer, controlling the wet edge, and trusting the calcification process, you have transformed standard drywall into living, breathing architecture. Now that the structural execution is flawless, it is time to focus on the interior curation. To perfectly complement your new artisanal walls, explore our comprehensive The Wabi-Sabi Interior Design Guide to master the organic textures, minimalist furniture scale, and earthy color palettes that bring this aesthetic to life.

The Hackrea Technical Desk handles the mathematics and material science of interior architecture. With a ruthless focus on lifecycle costs, structural integrity, and contractor-level reality checks, this desk cuts through manufacturer marketing to tell homeowners exactly how materials perform, what they actually cost, and the hidden pitfalls of installation.